Basic Liquid Soap Recipe
Coconut oil creates the abundant bubbles and cleaning power, while the olive oil and 5% superfat keep the formula gentle and moisturizing rather than stripping your skin.
Servings: 1 quart soap paste (make 1/2 gallon soap)
Equipment
- Slow cooker or very large pot
- Heat-safe glass or plastic container for mixing lye
- Stainless steel or heatproof plastic mixing spoon
- Gloves, goggles, and safety gear
- Scale (for accurate weighing)
- Thermometer
- Plastic sheeting + bungee cord (optional, for sealed cook method)
- Mason jars or bottles for storage
Ingredients
- 9.3 ounces Potassium Hydroxide
- 29.4 ounces Water for mixing with lye
- 31.75 ounces Coconut Oil
- 3.5 ounces Olive Oil
- 5.3 ounces Alcohol
- 50 ounces Distilled Water for dilution
Instructions
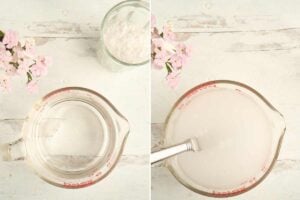
- Make the Lye Solution. Put on gloves and goggles for safety. Weigh 264g (9.3 oz) of KOH and 834g (29.4 oz) of water separately. Slowly add the KOH to the water (NEVER the other way around).Stir until fully dissolved. The solution will get very hot you will also hear a crackling sound as you stir. All normal! Set aside in a very place to cool.
- Heat the Oils. Weigh and add 900g (31.75 oz) of coconut oil and 100g (3.5 oz) of olive oil into a slow cooker or stainless steel pot. Turn slow cooker on high to let melt directly in there. To speed up the process, melt the oils in a pan on the stovetop on low.
- Let both components cool. Let the lye water cool down until it is clear, not cloudy. Let the oils cool slightly until the pan or slow cooker is warm but not too hot to the touch.
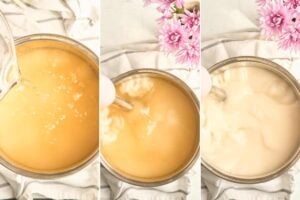
- Mix the Lye Solution with Oils. Slowly pour the cooled lye solution into the melted oils. If you’re using the alcohol, add it now. Begin mixing with a stick blender in short bursts until it is well combined. If you aren’t using the alcohol this will take awhile and you may only reach a thin trace. If you are, it will go a bit faster. Make completely sure there are no visible spots of oil before moving on to the next step.
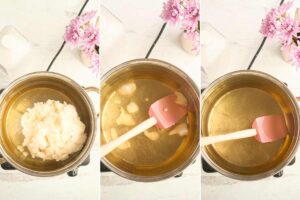
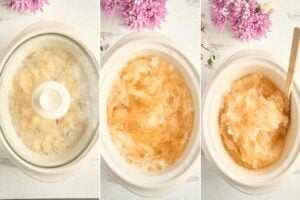
- Cook the Soap Paste. Turn the slow cooker to medium or high heat or set large pot on very low heat on electric stove or hot plate. Place the soap batter inside and cover. Cover the slow cooker with plastic sheeting and secure it tightly with a bungee cord (optional, this makes sure the alcohol does not evaporate off and keeps the heat in.) (Do not use gas.) Stir occasionally while cooking for 2–3 hours, until the mixture becomes thick and translucent. The soap is ready when it reaches a gel-like, translucent consistency and passes the zap test. It will be relatively solid, like playdoh. If there’s still liquid in there, keep cooking. Note: some people like to weigh the full pot before and after cooking, then add more alcohol in to replace any that burns off. I don’t do this, but just accept a small amount will evaporate.
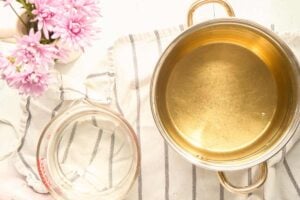
- Store Paste. This process leaves you with a paste that you will then dilute to use as a finished product. I prefer to store the gel paste and then dilute it as I need it. But if you’d like to dilute the whole batch, you can.
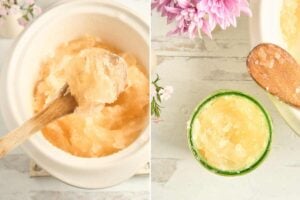
- Dilute. Be aware that if you don’t go through your soap quickly, mold is a possibility once water is added. The general rule of dilution is: 1 part distilled water to 1 part soap paste. You can heat the water and blend it if you’re in a hurry, but I just let it sit overnight and it’s diluted in the morning. Go slowly, it’s always easy to add more water.
- Add color or fragrance if desired. Add essential oil, fragrance oil, or liquid colorant if desired. The amount needed will depend on the specific oil.
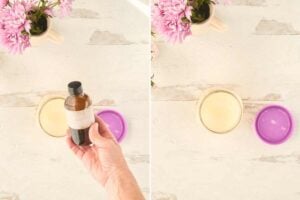
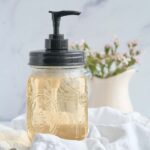
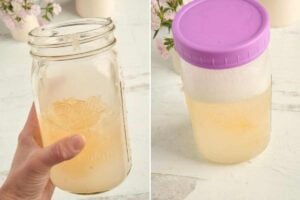
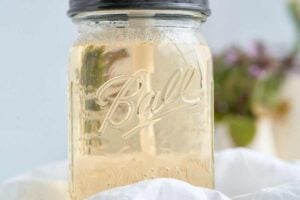
- Bottle and Store. Pour the finished soap into pump bottles, mason jars, or dispensers. It will be cloudy at first but will become clearer over the next 1-2 weeks.
Notes
Commercial soaps have a lot of glycerin and other additives to make them thicker, so this will seem thin to you. But don't use too much, there's still lots of lather and cleansing properties.
This is slightly lower in lye than most liquid soap formulas which keeps it gentle on your skin and good for the whole family. But because of this it will never be crystal clear.
You can do this on a stovetop on very low heat, but it’s quite dangerous. You’ll need to trim the plastic and keep an extremely close eye on everything. At some point the soap with puff up as it cooks, and if any leaks out, the alcohol in it makes it very flammable. I don’t recommend it.