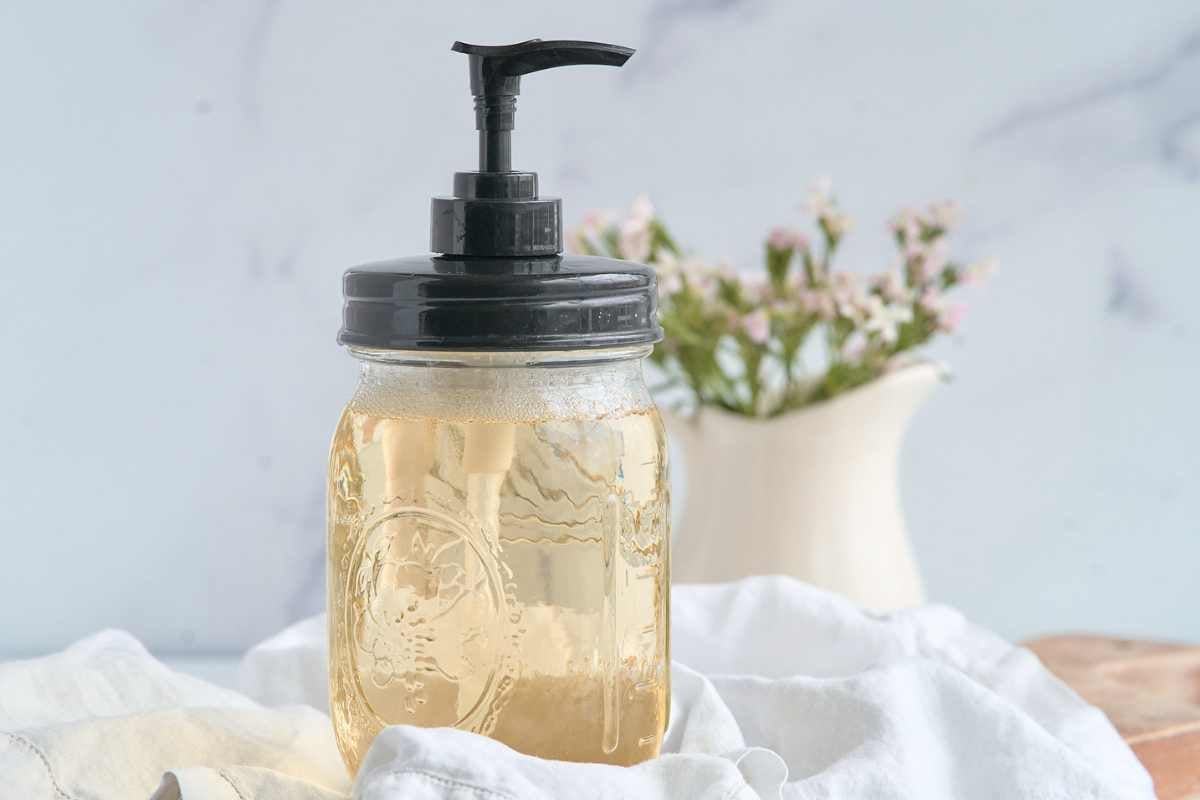
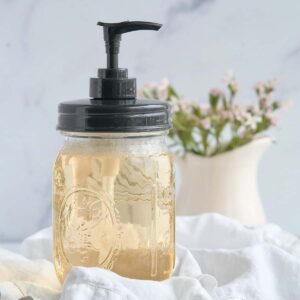
DIY Liquid Soap (Coconut & Olive Oil)
Making liquid soap is a bit weird…but it’s not hard. We’re blending lye water and oils to create a soap solution, cooking it down into a gel-like paste, then diluting that as we need it to create a lovely liquid soap. And with two simple oils, this recipe is a great place to start. It creates a beautiful lather without drying your skin. I promise you can do this.
This formulation is simple and perfect for your first time, a basic blend of common soap making oils that balance each other out.
What makes this recipe different from many others you’ll find is the slightly lower lye amount. This is intentional! While it means your soap won’t be crystal clear, it will be gentler on your skin and suitable for everyone in your family.
Table of contents
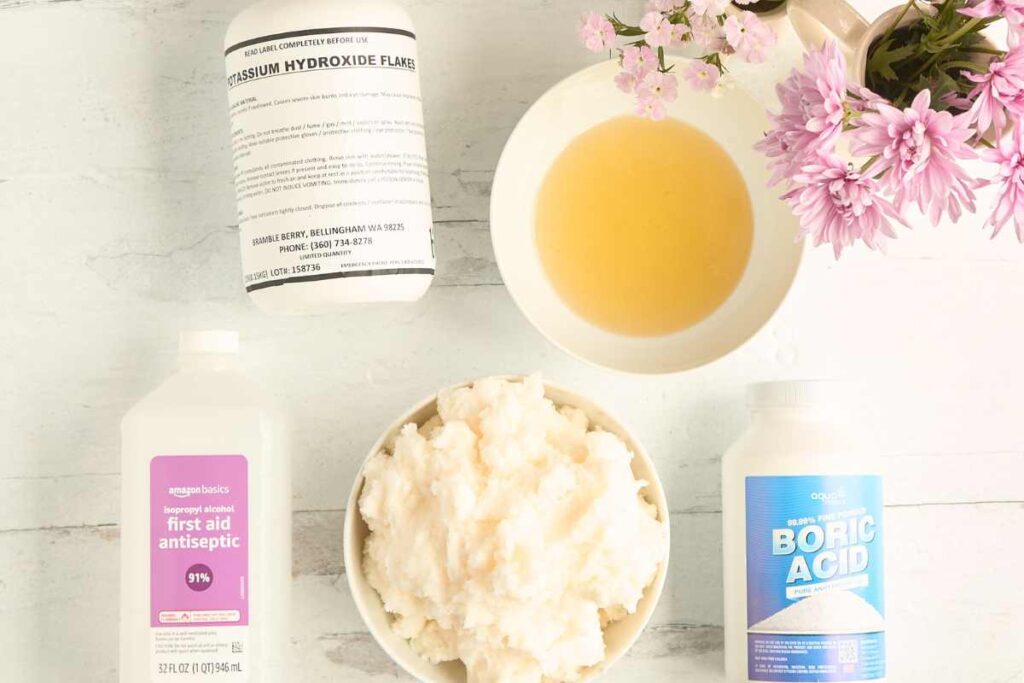
A Look at Each Ingredient
This recipe makes about 2.5 pounds of soap paste. When diluted 1:1 with water, you’ll get around 5 pounds of finished liquid soap – that’s roughly 10-12 pump bottles worth.
Remember, you have to use potassium hydroxide. It’s a must and there are no substitutes!
For the Soap Base:
- 9.3 ounces Potassium Hydroxide (KOH) – this is different from regular sodium hydroxide used in bar soap
- 29.4 ounces Water (for mixing with lye)
- 31.75 ounces Coconut Oil
- 3.5 ounces Olive Oil
- 5.3 ounces Alcohol (optional but speeds up the process)
For Dilution
- 50 ounces Distilled Water
Optional Additions
- Essential oils or fragrance oils (add to taste)
Equipment
- Slow cooker: Makes the whole process much easier. Best to use a dedicated one for soap, but a thoroughly cleaned one can go back to food use.
- Stick blender: You’ll need this – whisking by hand won’t work for liquid soap. It ensures everything mixes properly and saves you from stirring for hours.
- Scale: Accuracy matters in soap making. Small measurement errors can leave you with soap that’s too harsh or won’t set right.
How to Make
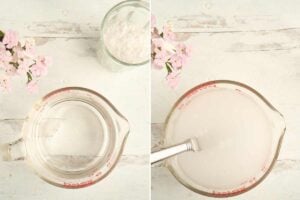
Step 1: Make the Lye Solution
Put on your gloves and goggles – this stuff is serious business. Weigh out your KOH and water separately, then slowly add the KOH to the water (never the other way around or you’ll get a volcanic reaction).
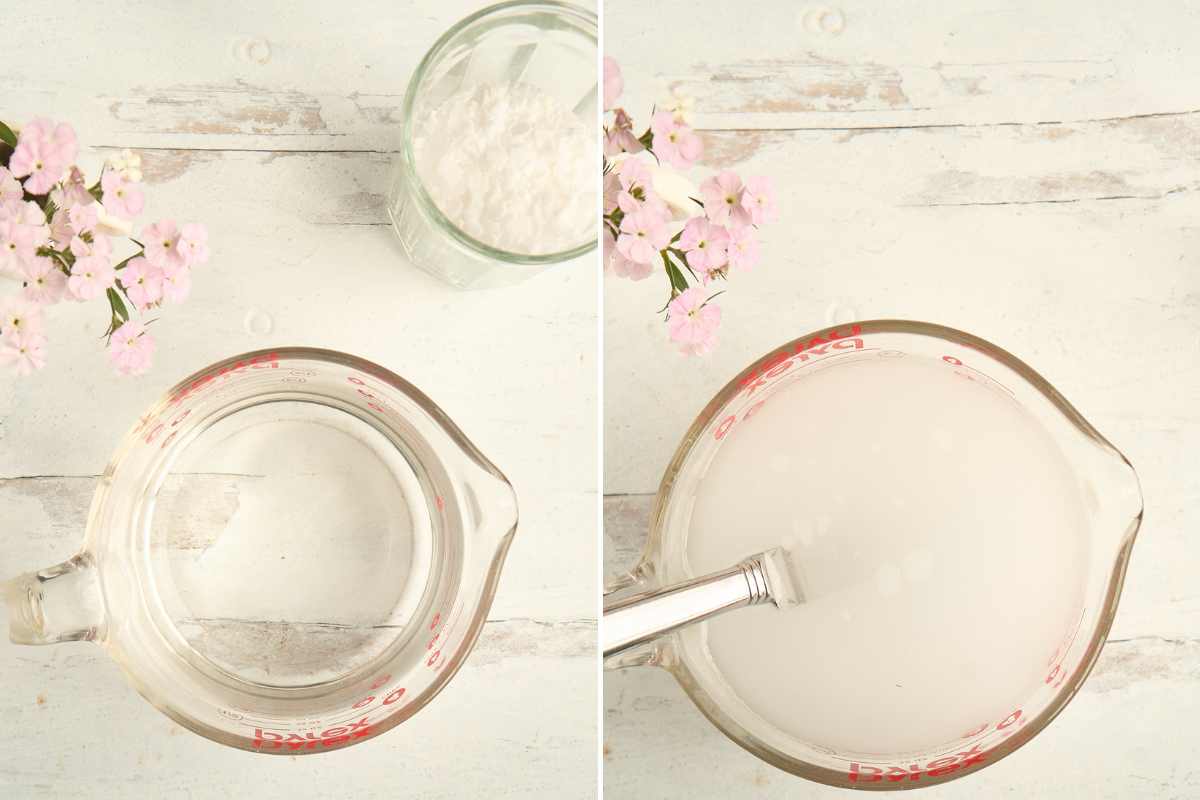
The mixture will get HOT and make crackling sounds as you stir – totally normal! Just keep stirring until it’s fully dissolved. Set it aside somewhere safe to cool down. You’ll know it’s ready when it goes from cloudy to clear.
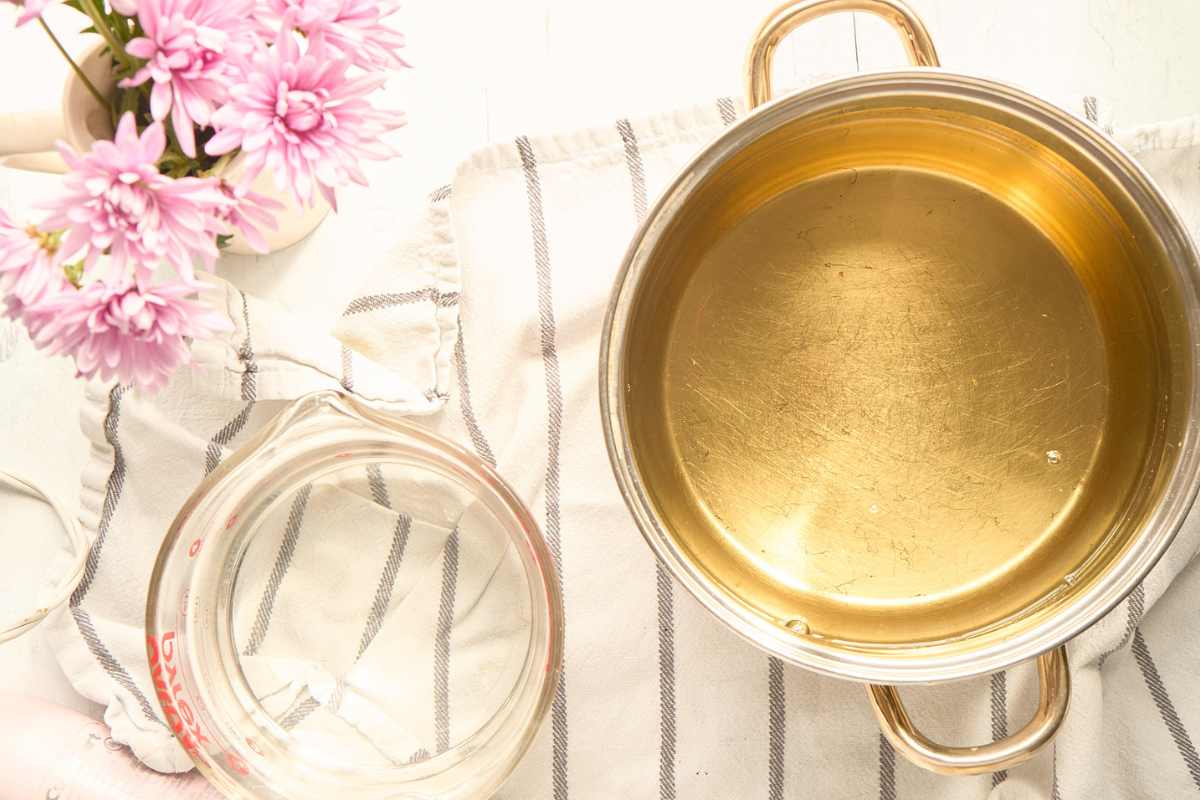
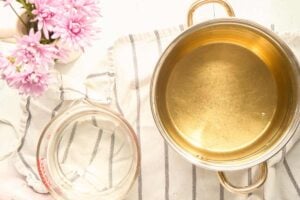
Step 2: Heat Your Oils
Toss your coconut oil and olive oil right into the slow cooker and turn it on high. If you want to speed things up, melt them in a pan on the stovetop instead, just keep it on low heat.

The coconut oil will go from solid white chunks to completely liquid. No need to get it super hot, just melted and warm to the touch is perfect.
Step 3: Let Everything Cool
This is where patience pays off. Your lye solution needs to cool until it’s completely clear, and your oils should be warm but not hot enough to burn you.
Step 4: Combine Lye and Oils
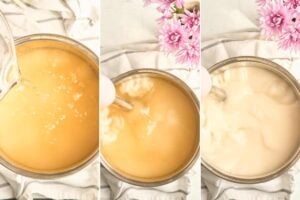
Pour that cooled lye solution slowly into your melted oils. If you’re using alcohol, add it now – it’ll speed up the whole process.

Start blending with your stick blender in short bursts. This is going to take a while if you skipped the alcohol, but keep going until you don’t see any oil streaks. The mixture should look uniform before you move on.
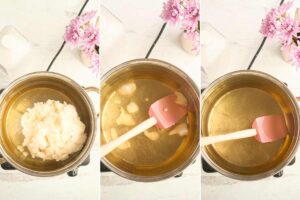
Step 5: Cook the Soap Paste
Turn your slow cooker to medium or high and cover it up. If you want to get fancy, cover the whole thing with plastic sheeting and secure it with a bungee cord – this keeps the alcohol from evaporating and holds the heat in better.
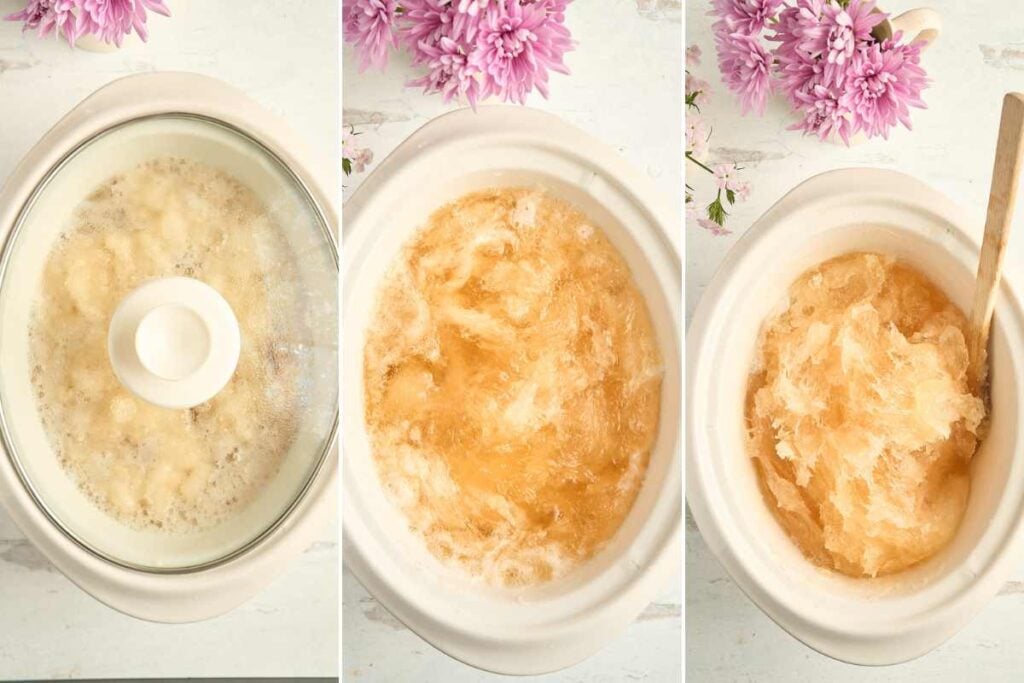
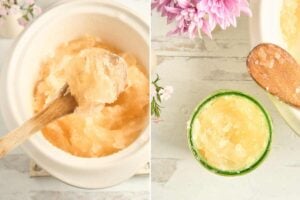
Now you wait. For 2-3 hours, stirring occasionally, until the mixture turns thick and translucent. It’ll look like clear playdough when it’s done. If there’s still liquid hanging around, keep cooking.
The soap is ready when it passes the zap test…touch a tiny bit to your tongue and if it doesn’t zap you, you’re good to go.
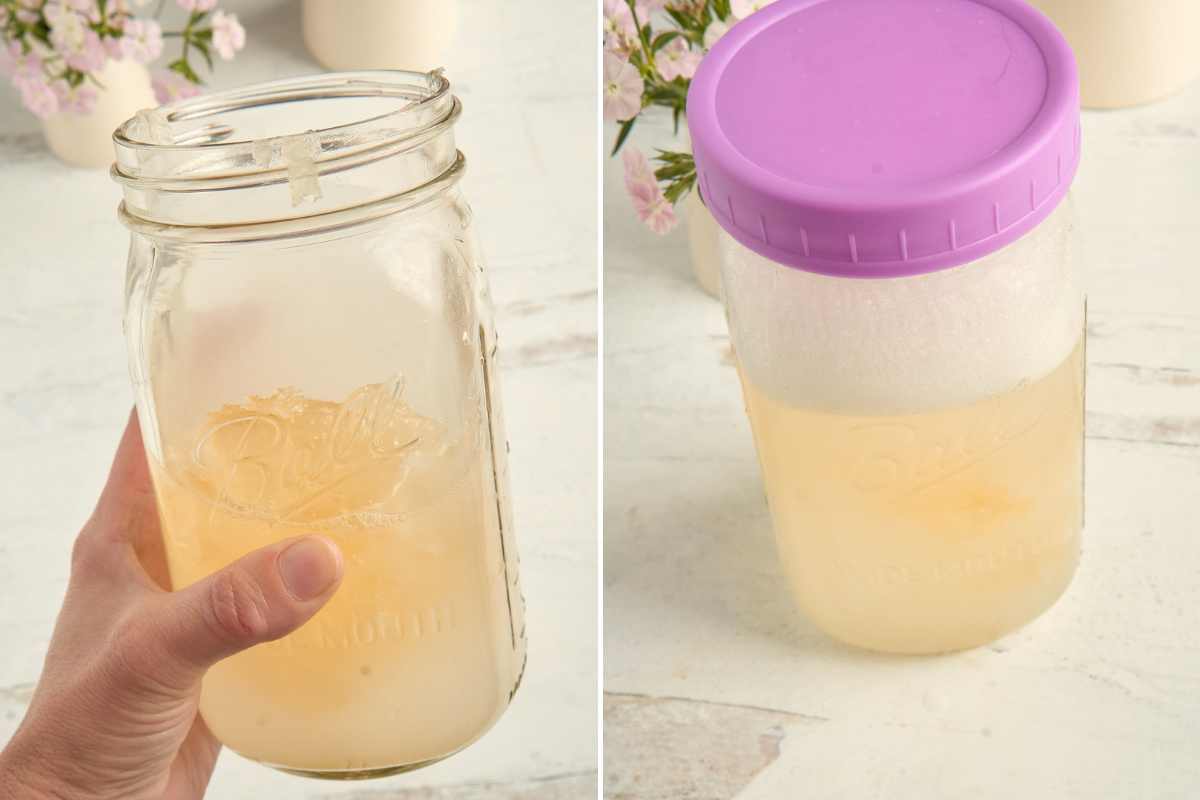
Step 6: Store Your Paste
You’ve got soap paste now! I like to store this as-is and dilute it as needed.

It keeps forever and takes up way less space than diluted soap.
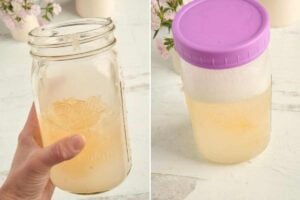
Step 7: Dilute to Use
The basic rule is 1:1 – one part paste to one part distilled water. You can heat the water and blend if you’re in a hurry, but I just mix it up and let it sit overnight.
Start with less water than you think you need – you can always add more, but you can’t take it back.
Once you add water, mold becomes a possibility if you don’t use it up fairly quickly.
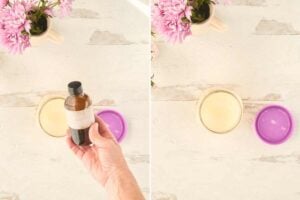
Step 8: Add the Extras
Want color or scent? Add essential oils, fragrance oils, or liquid colorant now. Go easy – a little goes a long way.
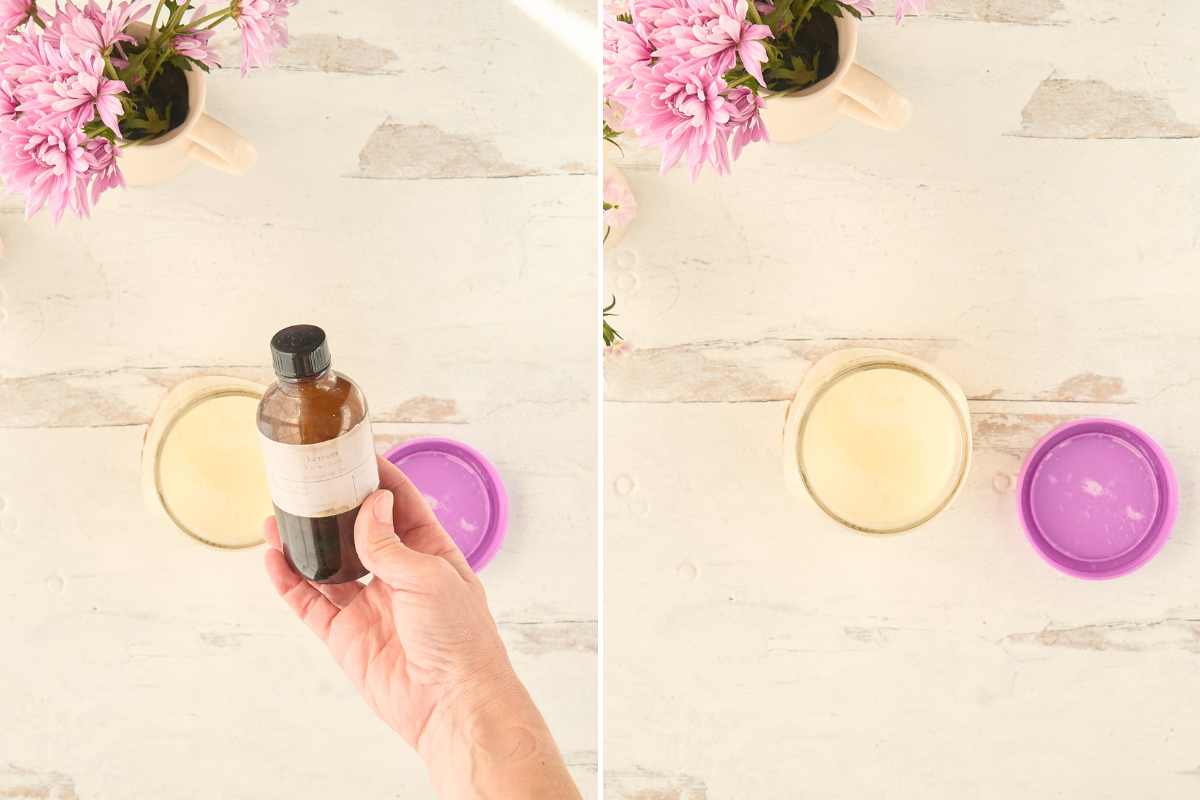
I never add color, but here’s how you’d do it: use a colorant specifically formulated for liquid soap. Add just a few drops after dilution when the soap is below 140°F. Adding them to the paste can result in uneven distribution or color changes during the cooking process.
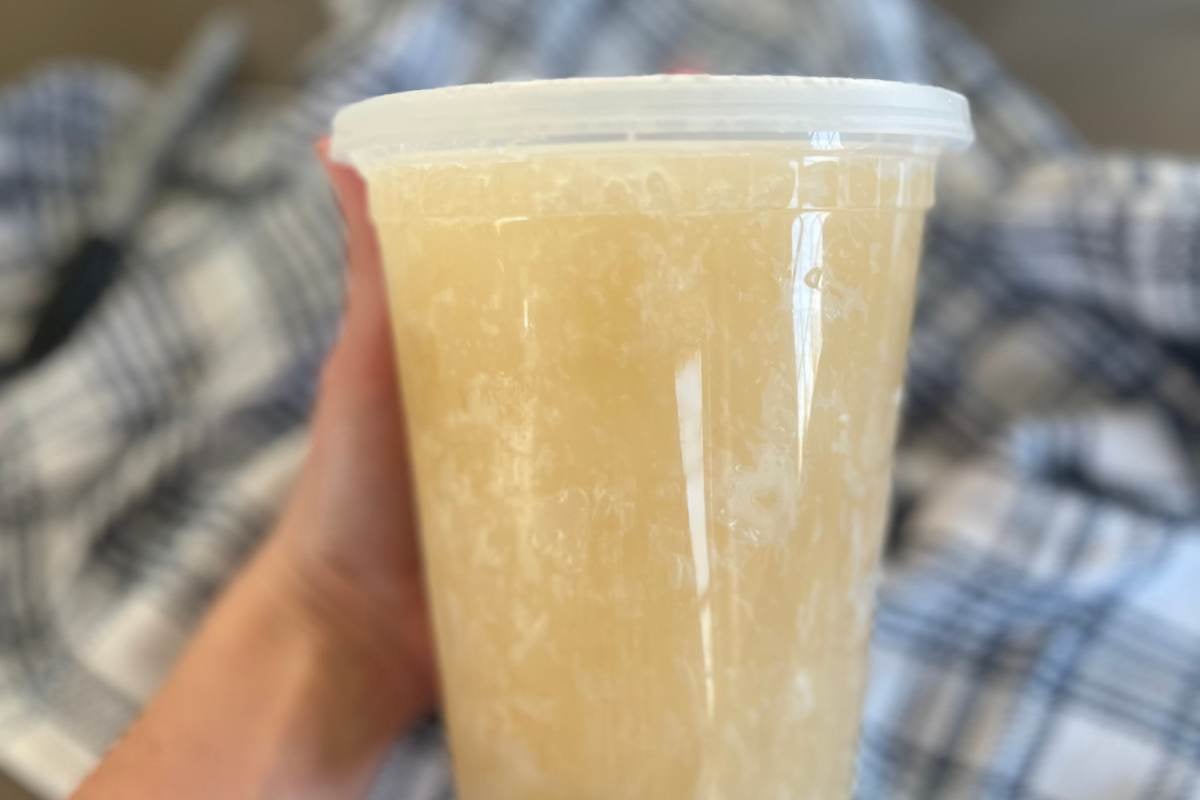
Step 9: Bottle It Up
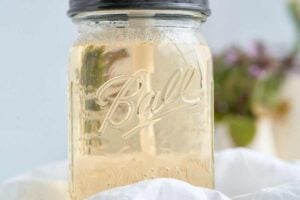
Pour into whatever containers you want to use. It’ll be cloudy at first but will clear up over the next week or two.
Remember: This will be thinner than store-bought soap, but it’s still got plenty of cleaning power. Use less than you think you need.
Customizing Finished Soap
This is a lovely clear base, for just about anything.
- To make a kitchen hand soap: Add 15-20 drops of lemon essential oil per cup of diluted soap. The bright citrus scent cuts through cooking odors like garlic and onion, while the coconut oil base provides plenty of cleaning power for dirty hands
- bubble bath: For a simple bubble bath, dilute the soap paste slightly less than normal (using about 20% less water).
How to Store It
The way you store your liquid soap makes all the difference in how long it lasts.
Undiluted soap paste is your best friend for long-term storage: it can last up to a year in an airtight container in a cool, dark place with virtually no risk of spoilage. This is because the high pH environment is naturally hostile to most bacteria and molds.
Once you dilute the paste with water, however, the clock starts ticking. Without preservatives, diluted liquid soap typically stays good for 3-6 months. You can add preservatives like Optiphen or Liquid Germall Plus after dilution.
This is why I prefer to store most of my soap as paste and just dilute what I’ll use within a month or two.
Always use distilled water for dilution, as tap water contains minerals and potential contaminants that can reduce shelf life and affect clarity. (I don’t always do this, but I should!)
Questions and Troubleshooting
Some people just prefer it! I love bar soap but confess a liquid dish soap and shampoo is easier to deal with.
Touch a tiny bit of the cooked paste to your tongue. If it zaps you like a battery, it needs more cooking time. If not, you’re good to go.
This recipe runs slightly lower in lye than most, which keeps it gentle but means it’ll never be crystal clear. That’s by design….clear doesn’t mean better.
Heat your distilled water and blend it in if you’re in a hurry, but honestly just mixing it up and letting it sit overnight works just fine.
Basic Liquid Soap Recipe
Equipment
- Slow cooker or very large pot
- Heat-safe glass or plastic container for mixing lye
- Stainless steel or heatproof plastic mixing spoon
- Gloves, goggles, and safety gear
- Scale (for accurate weighing)
- Thermometer
- Plastic sheeting + bungee cord (optional, for sealed cook method)
- Mason jars or bottles for storage
Supplies Needed
- 9.3 ounces Potassium Hydroxide
- 29.4 ounces Water for mixing with lye
- 31.75 ounces Coconut Oil
- 3.5 ounces Olive Oil
- 5.3 ounces Alcohol
- 50 ounces Distilled Water for dilution
Instructions
- Make the Lye Solution. Put on gloves and goggles for safety. Weigh 264g (9.3 oz) of KOH and 834g (29.4 oz) of water separately. Slowly add the KOH to the water (NEVER the other way around).Stir until fully dissolved. The solution will get very hot you will also hear a crackling sound as you stir. All normal! Set aside in a very place to cool.

- Heat the Oils. Weigh and add 900g (31.75 oz) of coconut oil and 100g (3.5 oz) of olive oil into a slow cooker or stainless steel pot. Turn slow cooker on high to let melt directly in there. To speed up the process, melt the oils in a pan on the stovetop on low.
- Let both components cool. Let the lye water cool down until it is clear, not cloudy. Let the oils cool slightly until the pan or slow cooker is warm but not too hot to the touch.
- Mix the Lye Solution with Oils. Slowly pour the cooled lye solution into the melted oils. If you’re using the alcohol, add it now. Begin mixing with a stick blender in short bursts until it is well combined. If you aren’t using the alcohol this will take awhile and you may only reach a thin trace. If you are, it will go a bit faster. Make completely sure there are no visible spots of oil before moving on to the next step.
- Cook the Soap Paste. Turn the slow cooker to medium or high heat or set large pot on very low heat on electric stove or hot plate. Place the soap batter inside and cover. Cover the slow cooker with plastic sheeting and secure it tightly with a bungee cord (optional, this makes sure the alcohol does not evaporate off and keeps the heat in.) (Do not use gas.) Stir occasionally while cooking for 2–3 hours, until the mixture becomes thick and translucent. The soap is ready when it reaches a gel-like, translucent consistency and passes the zap test. It will be relatively solid, like playdoh. If there’s still liquid in there, keep cooking. Note: some people like to weigh the full pot before and after cooking, then add more alcohol in to replace any that burns off. I don’t do this, but just accept a small amount will evaporate.
- Store Paste. This process leaves you with a paste that you will then dilute to use as a finished product. I prefer to store the gel paste and then dilute it as I need it. But if you’d like to dilute the whole batch, you can.
- Dilute. Be aware that if you don’t go through your soap quickly, mold is a possibility once water is added. The general rule of dilution is: 1 part distilled water to 1 part soap paste. You can heat the water and blend it if you’re in a hurry, but I just let it sit overnight and it’s diluted in the morning. Go slowly, it’s always easy to add more water.
- Add color or fragrance if desired. Add essential oil, fragrance oil, or liquid colorant if desired. The amount needed will depend on the specific oil.
- Bottle and Store. Pour the finished soap into pump bottles, mason jars, or dispensers. It will be cloudy at first but will become clearer over the next 1-2 weeks.

Notes


Hi! I used 6.08 oz of water, 2.79 oz of Lye & 16 oz of coconut oil (i used the soap calculator…) i followed your instructions and even made sure the temp of the lye and the oils were within 10 degrees apart. It turned into a hard crumbly consistency after cooking for about 2 hours… what did i do wrong? Kind of discouraging 🙁
Teresa, I’m so sorry that batch was discouraging! From the numbers you shared, it looks like you used a completely different formula than the one in this post. My liquid soap recipe uses potassium hydroxide (KOH), a much larger amount of water, and a small amount of olive oil, which together create a soft, gel‑like paste that can be diluted later. In your batch, the lye and water amounts are much lower than a scaled‑down version of this recipe, and if your calculator was set to sodium hydroxide (bar‑soap lye), that would push it toward a hard, crumbly bar soap rather than a liquid soap paste. That’s why it set up so stiffly, even though you followed the heating and timing steps correctly.
If you’d like to try again, I’d recommend either following the recipe here exactly as written (using KOH and the full water amount), or, if you want to scale it, plugging my exact percentages and “potassium hydroxide – liquid soap” into the calculator and letting it do the math. I’m happy to double‑check your numbers before you start another batch if you want to drop them here.
Can this be used for foaming hand soap?
yes it works perfectly for that because you won’t notice the thinness at all