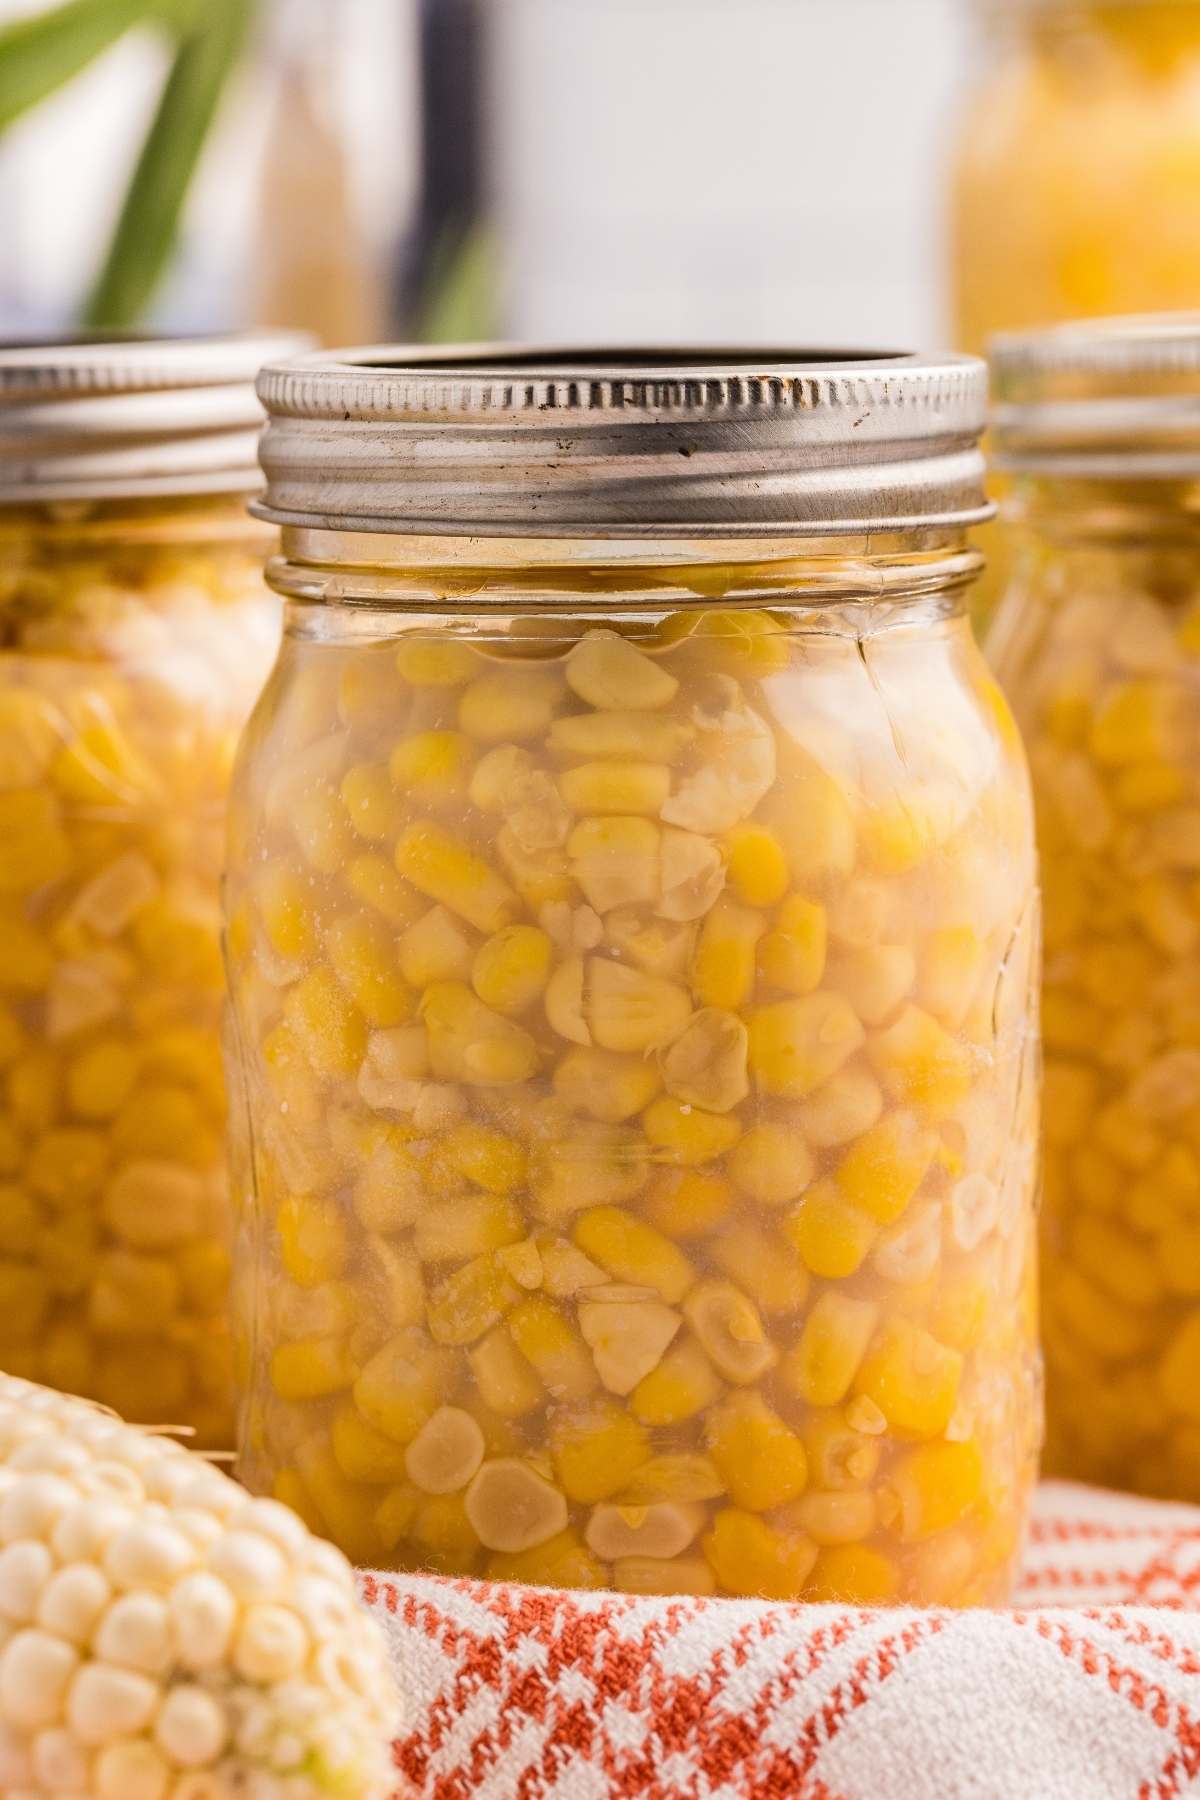
Of all the vegetables I can every summer, corn is the one I reach for all year long. And the best way to do it is a simple cold pack method: it’s easy, fast, and gives you sweet, crisp kernels that taste like peak summer even in January. Pressure canning might seem intimidating, but this method is as simple as it gets. You’ll only need a few basic tools, and it works beautifully with yellow, white, or bi-color corn. Let me walk you through it step by step.
If you’re new to pressure canning, don’t worry. This is a great beginner project. Corn is low-acid, so it must be pressure canned for safety, but the steps are simple and repeatable.
Table of Contents
Ingredients and Tools You’ll Need
The salt is not required for safety, but I always use it and your finished product will be quite bland without it!
ingredients
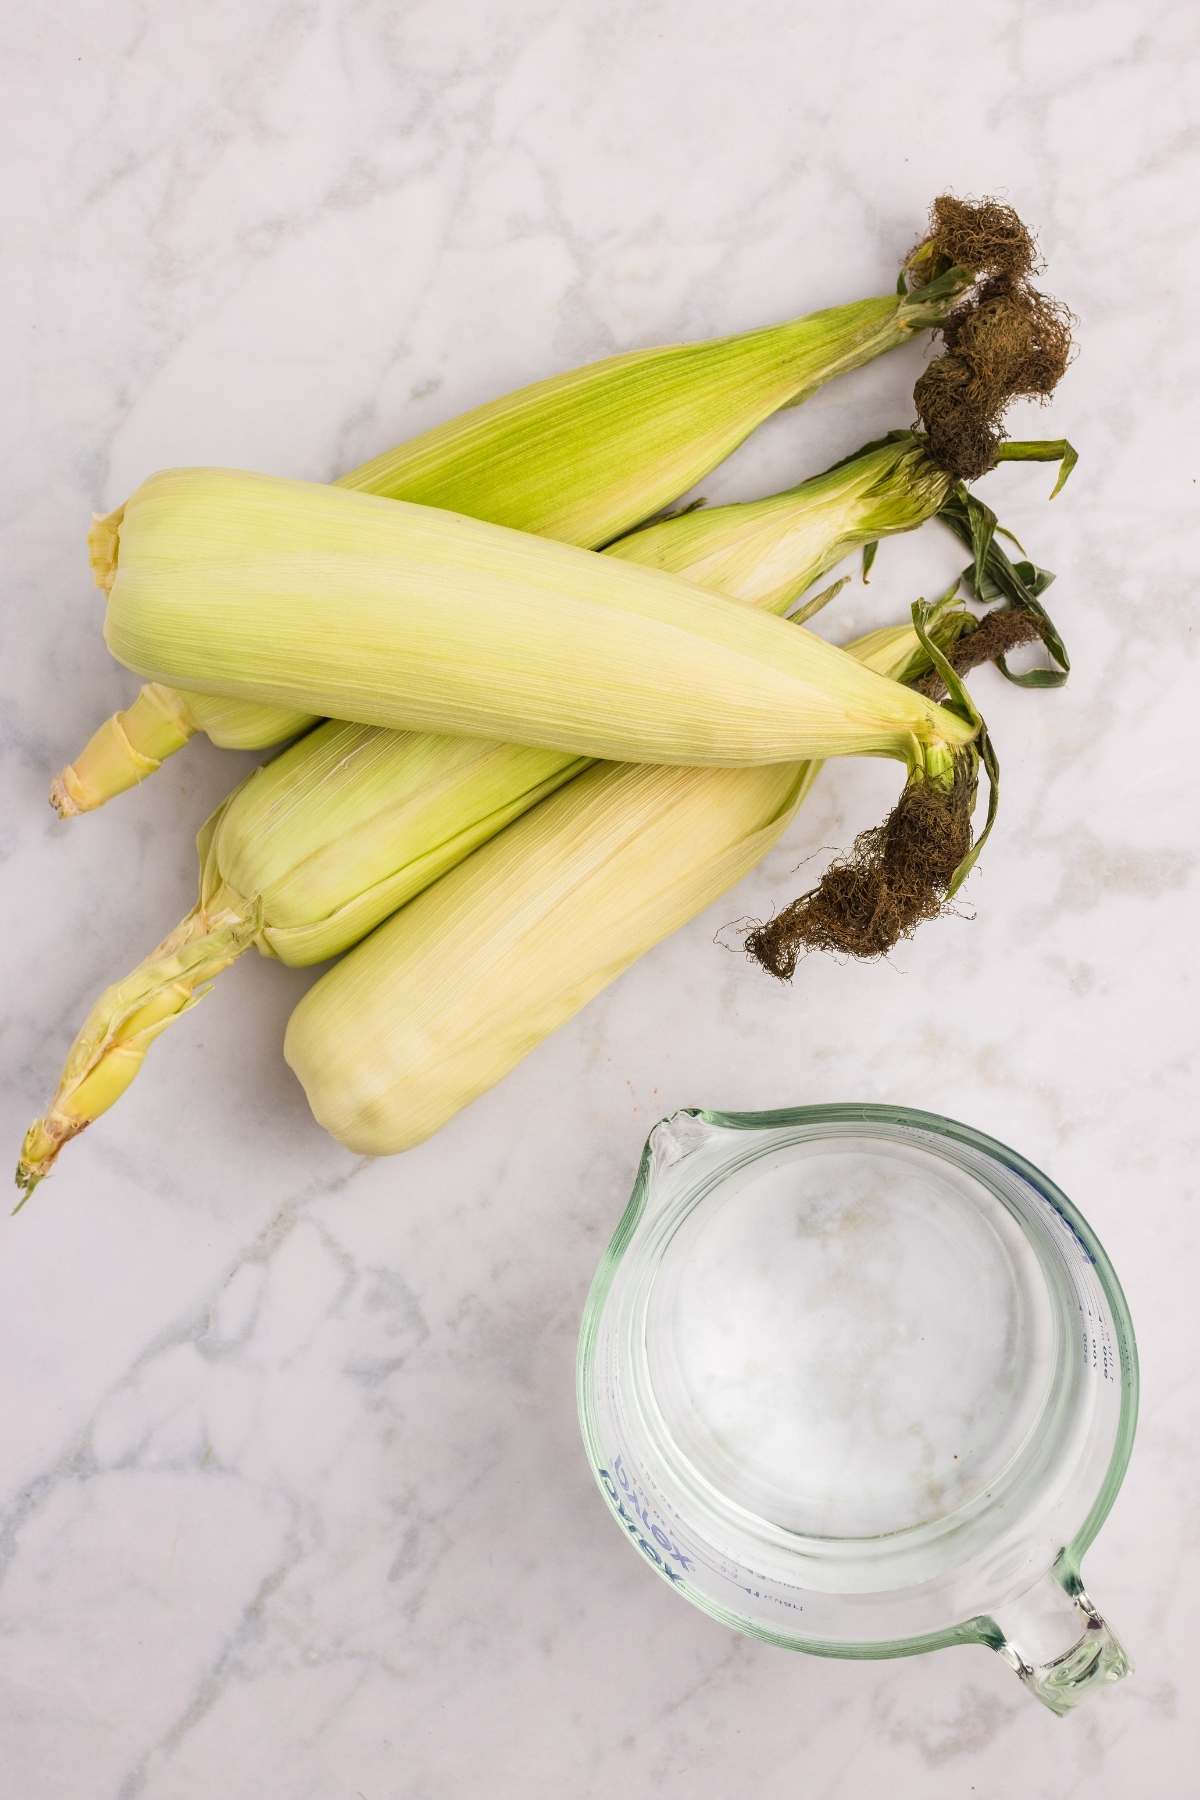
- 8 ears of corn (about 8 cups of corn) frozen corn is safe to use, but relatively pointless!
- Hot water
- Canning salt (optional)
If you’d like to double or triple this recipe, or use metric measurements, you can make adjustments in the recipe card at the bottom of this post.

FREE FOR SUBSCRIBERS
Canning Binder
Subscribe (free!) to my newsletter to receive this PDF + dozens of others in my printable library. You’ll also get emails you’ll truly love, with a weekly meal and so much more.
equipment
- Cutting board
- Sharp knife
- Pressure canner
- Pint or quart mason jars
- Canning lids and rings
- Slotted spoon
- Large mixing bowl
- Canning funnel
- Debubbler or chopstick
- Lid lifter (optional but helpful)
- Jar lifter
- Clean towel (for setting hot jars on)
How to Pressure Can Corn
Just make sure not to overpack your jars; corn expands as it processes and needs room to breathe.
Step 1: Prep Your Jars and Canner
Start by washing your jars with hot, soapy water. They don’t need to be sterilized, but they do need to be squeaky clean. Place them in your pressure canner and fill them halfway with water. Add water to the canner itself up to the fill line, then set it over medium heat.
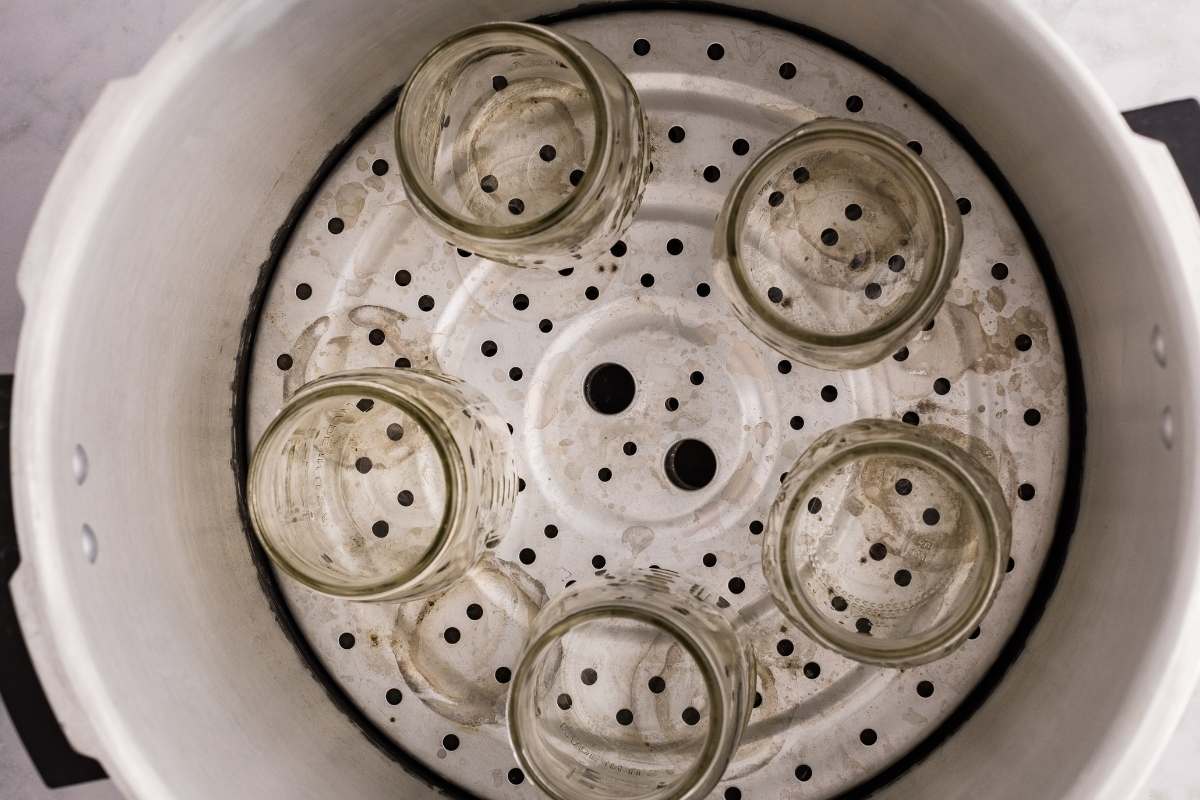
This warms everything up gradually so your jars won’t crack when the hot corn and water go in.
Step 2: Boil the Water
While your jars heat up, get a kettle or pot of water going. You’ll be pouring this into your filled jars later, so you want it hot and ready. If you have hard water, using filtered or bottled water can help avoid cloudy liquid in your finished jars.
Step 3: Prep the Corn
Shuck the corn by peeling off the husks and silk, then snap off the bottom stalk if it’s still attached. It makes the ears easier to handle when cutting. Give each ear a good rinse to get rid of any lingering silk.
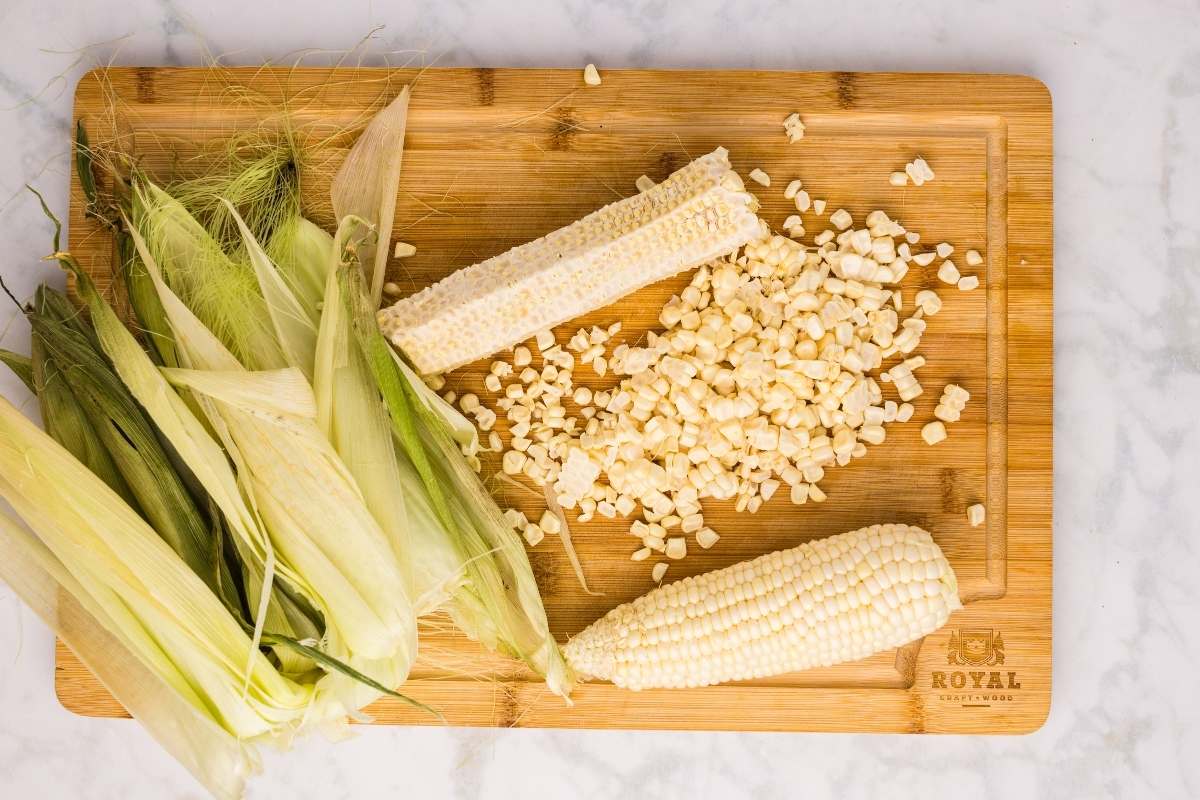
Stand each ear upright on a cutting board and slice straight down to remove the kernels. You don’t need to get every last bit—just avoid cutting too deep into the cob, which can leave tough pieces in your jars. It’s also best to skip the very tips of the ears since those kernels are usually underdeveloped.
Step 4: Rinse and Portion
Once all the kernels are cut, transfer them to a colander and give them a final rinse. This helps remove any debris or stray silk threads.
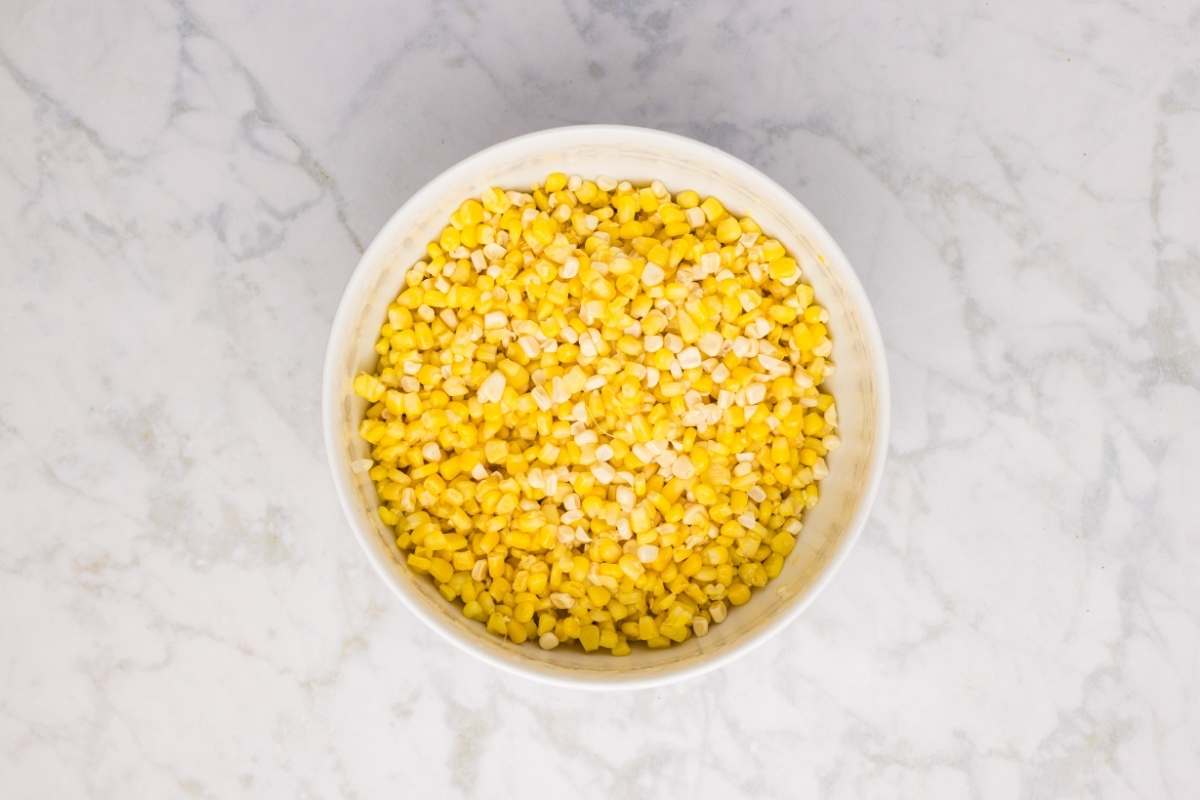
From there, move the corn to a large mixing bowl so it’s easy to scoop into jars later on.
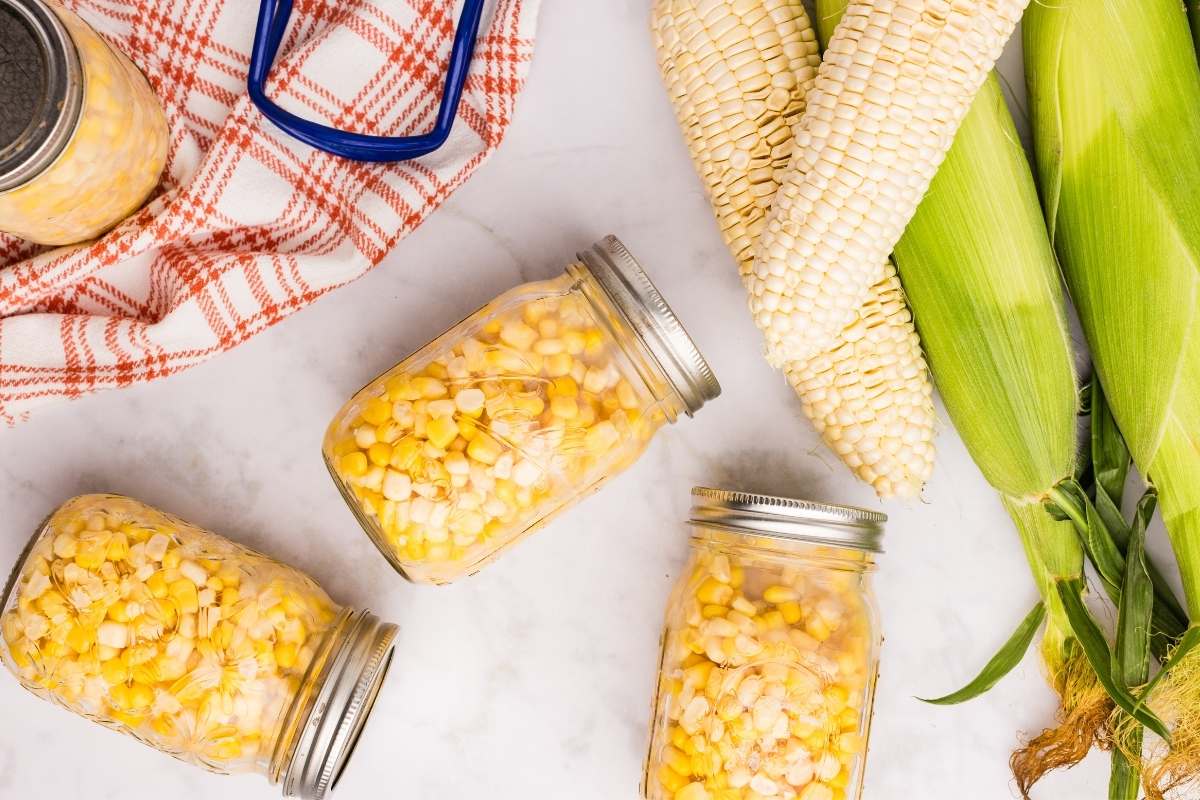
Step 5: Fill the Jars
Take the jars out of the canner and set them on a towel. Use a canning funnel and a slotted spoon to fill each jar with corn, leaving a full inch of headspace at the top. Don’t shake or pack the corn down—leave it loose. It’ll expand a little during processing, and overfilling can lead to jars siphoning or even breaking.
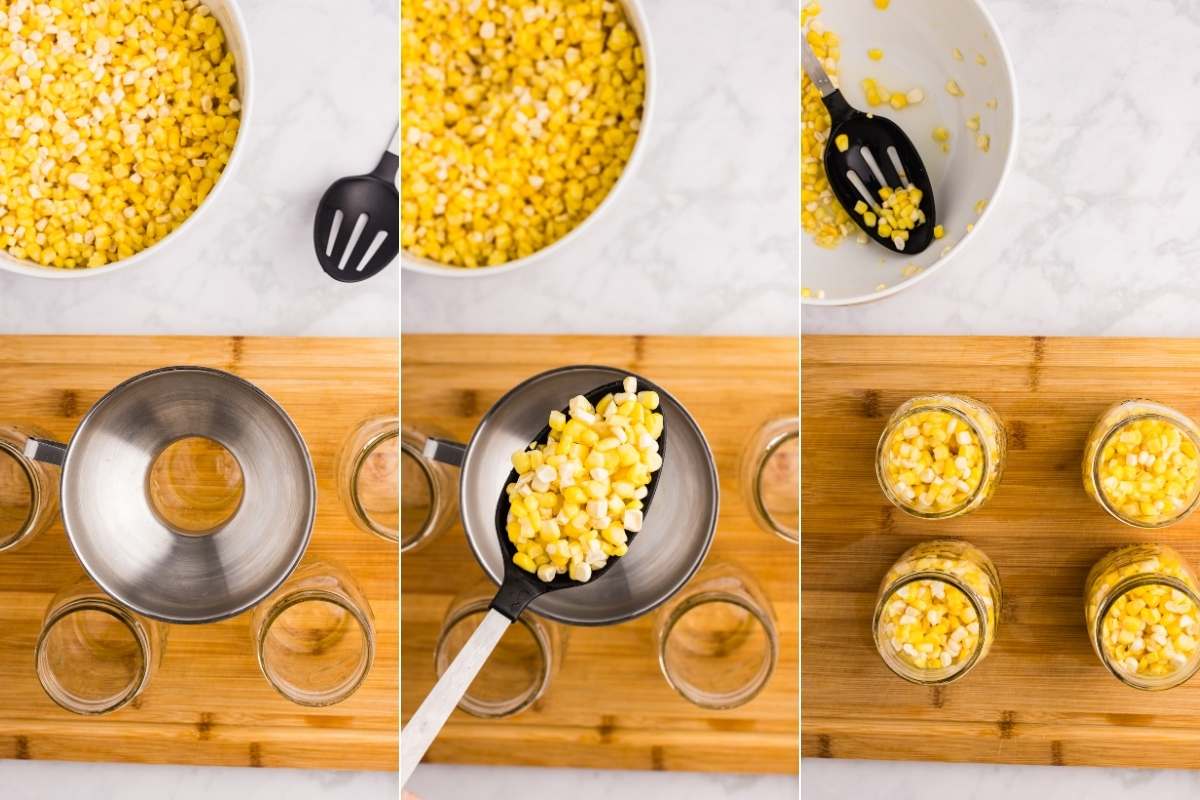
If you’re using canning salt, sprinkle in ½ teaspoon per pint or 1 teaspoon per quart. Then pour the hot water over the corn, still leaving 1 inch of headspace.
Step 6: Remove Bubbles and Add Lids
Take your debubbler or a chopstick and run it around the inside edge of each jar to release any trapped air. Add a little more water if needed to bring it back up to the 1-inch line.
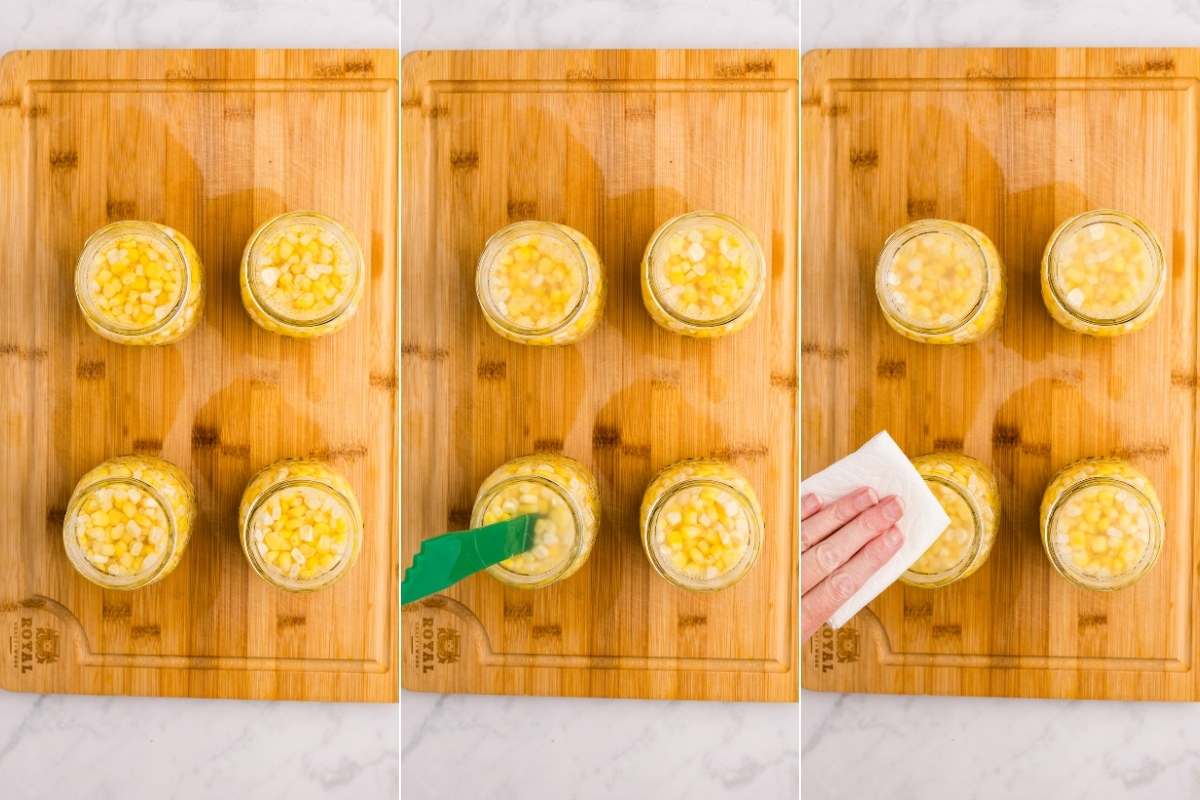
Wipe the rims with a clean, damp towel. Even a tiny grain of salt or corn kernel can stop the jars from sealing properly. Place the lids on and screw the rings down to fingertip tight. That means just snug enough—you want the jars to vent steam during processing.
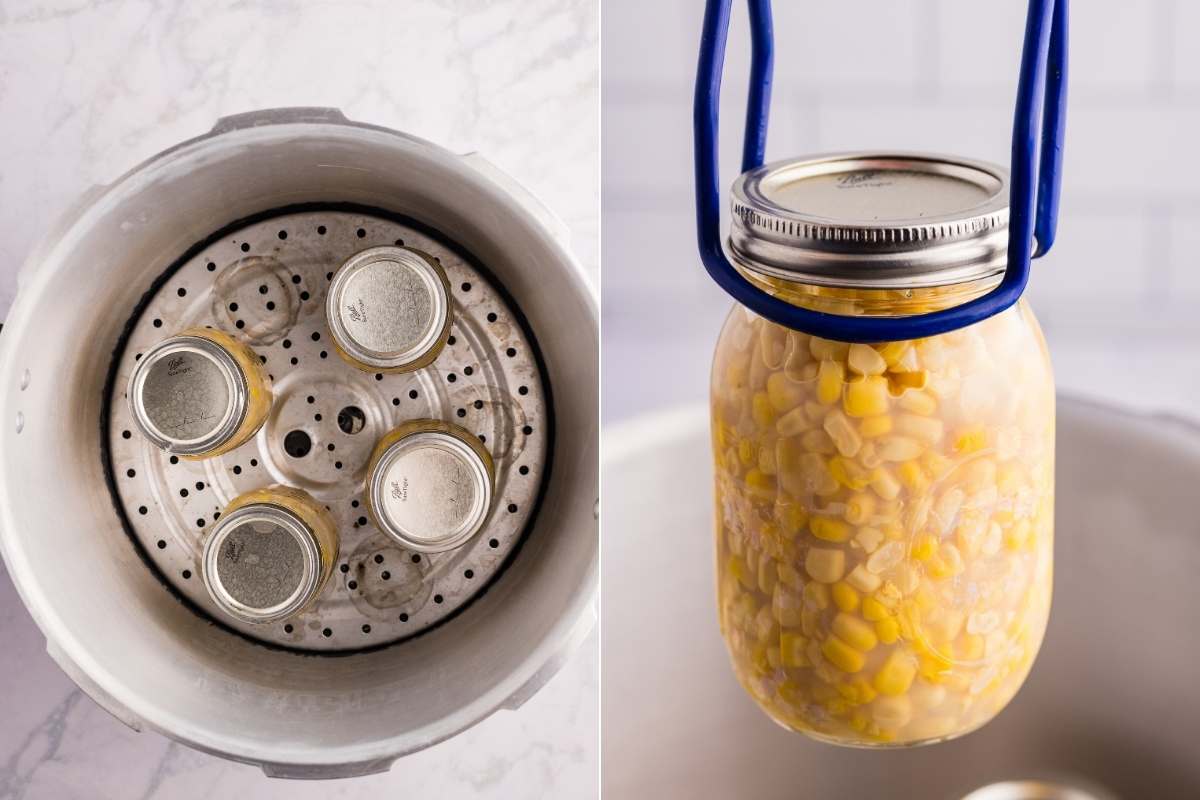
Step 7: Load the Canner
Use your jar lifter to place the filled jars into the canner. If you’d like, you can add a splash of white vinegar to the canner water to help prevent mineral buildup on the outside of your jars. Once all the jars are in, close the lid and turn the heat to medium-high.
Step 8: Vent the Canner
As the canner heats up, steam will start coming out of the vent pipe. Let it vent steadily for 10 full minutes—this step drives out trapped air so the canner can reach the correct pressure. After 10 minutes, add your weight or close the vent according to your canner’s instructions.
Step 9: Bring to Pressure and Process
Let the pressure build up: 10 pounds for weighted-gauge canners, 11 pounds for dial-gauge. Once the correct pressure is reached, set your timer. Process pints for 55 minutes or quarts for 85 minutes.
Keep an eye on the pressure. If it drops at any point, you’ll need to bring it back up and start the timer again from the beginning.
Step 10: depressurize
When the timer’s up, turn off the heat and leave the canner alone until the pressure drops to zero. Don’t rush this part. Once it’s fully depressurized, remove the weight or open the valve, then wait 5 more minutes before opening the lid. Always tilt the lid away from you to avoid steam burns.
Let the jars rest in the canner for another 5 minutes before removing them.
Step 11: Let Jars Cool to room temperature
Use your jar lifter to move the jars to a towel-lined surface, leaving space between them. Let them cool undisturbed for 12 to 24 hours. You’ll hear the satisfying ping of the lids sealing as they cool.
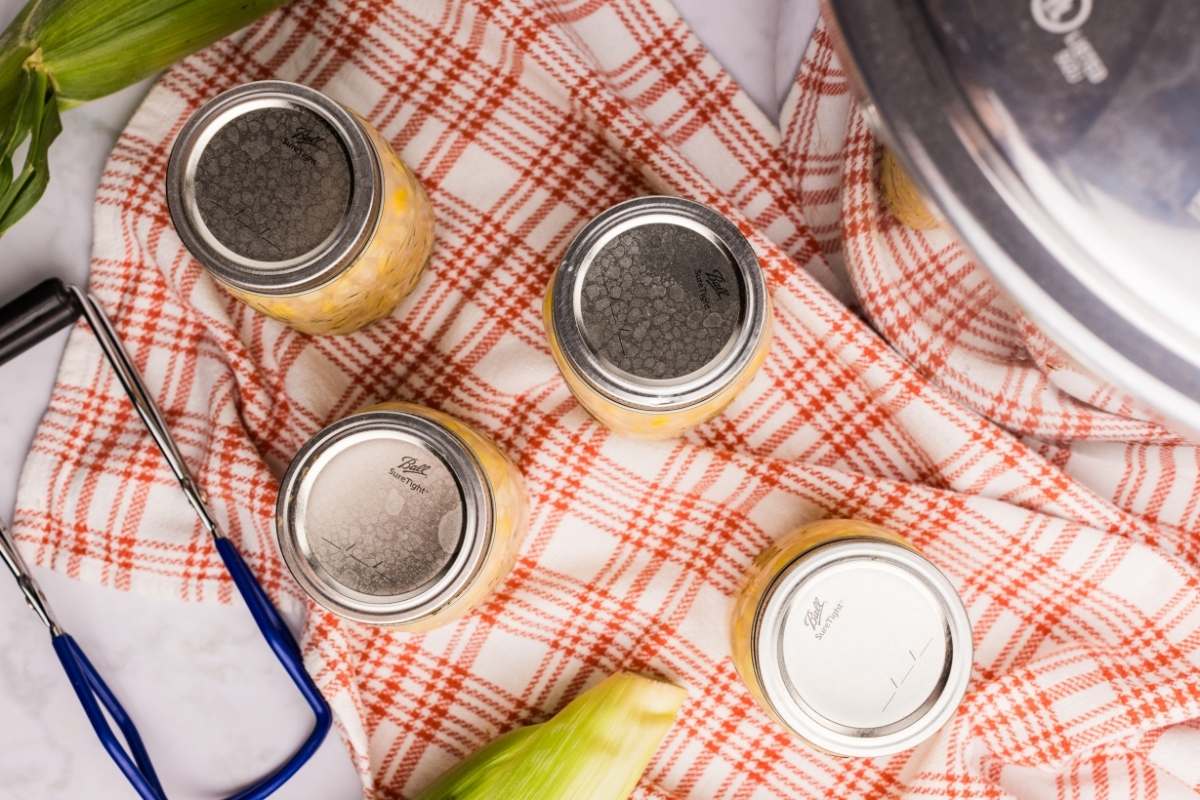
Once cooled, check the seals by pressing the center of each lid—if it’s firm and doesn’t flex, it’s sealed. If any didn’t seal properly, move them to the fridge and use within a few days.
Once sealed, jars can be stored in a cool, dark place for up to 18 months.
More Recipes For Corn Season
If you grow corn at home, you know it comes in waves. One planting will be ripe all at once and you want to use it right that minute while it’s at its sweetest.
- Since you already know how to pressure can, this black bean and corn salsa is a great choice.
- We adore this corn chowder (it uses fresh corn), but it’s best for your last planting because it’s warm and filling.
- And of course, freezing is a great option. It’s simple. Cut the kernels off into a Bundt pan, flash freeze them on a baking sheet, then bag them up!
Printable Recipe
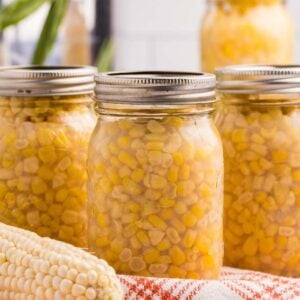
Pressure Canning Corn
Equipment
- 1 Cutting board
- 1 Sharp knife
- 4-5 pint mason jars with lids and rings
- 1 Slotted spoon
- 1 large bowl
- 1 Canning funnel
- 1 Debubbler or chopstick
- 1 Jar lifter
- 1 Towel
Ingredients
- 8 ears corn about 8 cups of kernels; white, yellow, or bi-color all work
- r hot water enough to cover the corn
- ½ teaspoon canning salt optional, per pint jar
Save This Recipe
You'll join my email list which you will love. And if you don't, unsubscribe in one click. ❤️
Instructions
- Prep equipment. Wash jars in hot, soapy water. Place in the canner, add water, and warm over medium heat.
- Shuck corn. Shuck the corn, remove silks, and rinse well. Cut kernels from the cob and transfer to a bowl.
- Fill jars with corn. Remove warm jars. Loosely spoon corn into each jar, leaving 1 inch of headspace.
- Add salt and water Add 1/2 teaspoon of canning salt per pint jar, if using. Pour hot water over corn, maintaining 1 inch headspace.
- Debubble and attach lids and rings Remove air bubbles, wipe jar rims, and apply lids and rings until fingertip tight.
- Process. Load jars into pressure canner. Lock lid and vent steam for 10 minutes. Then bring to 10 lbs pressure and process pints for 55 minutes (adjust for altitude).
- Cool. Turn off heat and let pressure return to zero naturally. Remove lid and let jars sit for 5 minutes before transferring to a towel to cool for 12–24 hours.
Notes


I have a water canner, can I use that?
no, it must be pressure canned, the acidity is too high for waterbath!