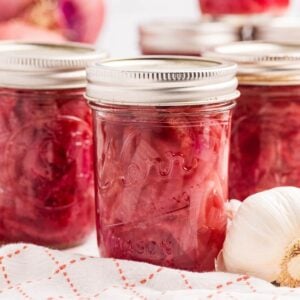
With just red wine vinegar, garlic, and a pinch of optional pickle crisp, these pickled red onions are loaded with flavor and easy to make. Because it’s water-bath friendly and uses standard half-pints, it’s an easy win whether you’re brand-new to canning or just stocking up for taco night. Let’s dive into the simple steps so you can have jewel-pink onions cooling on your counter by lunchtime.
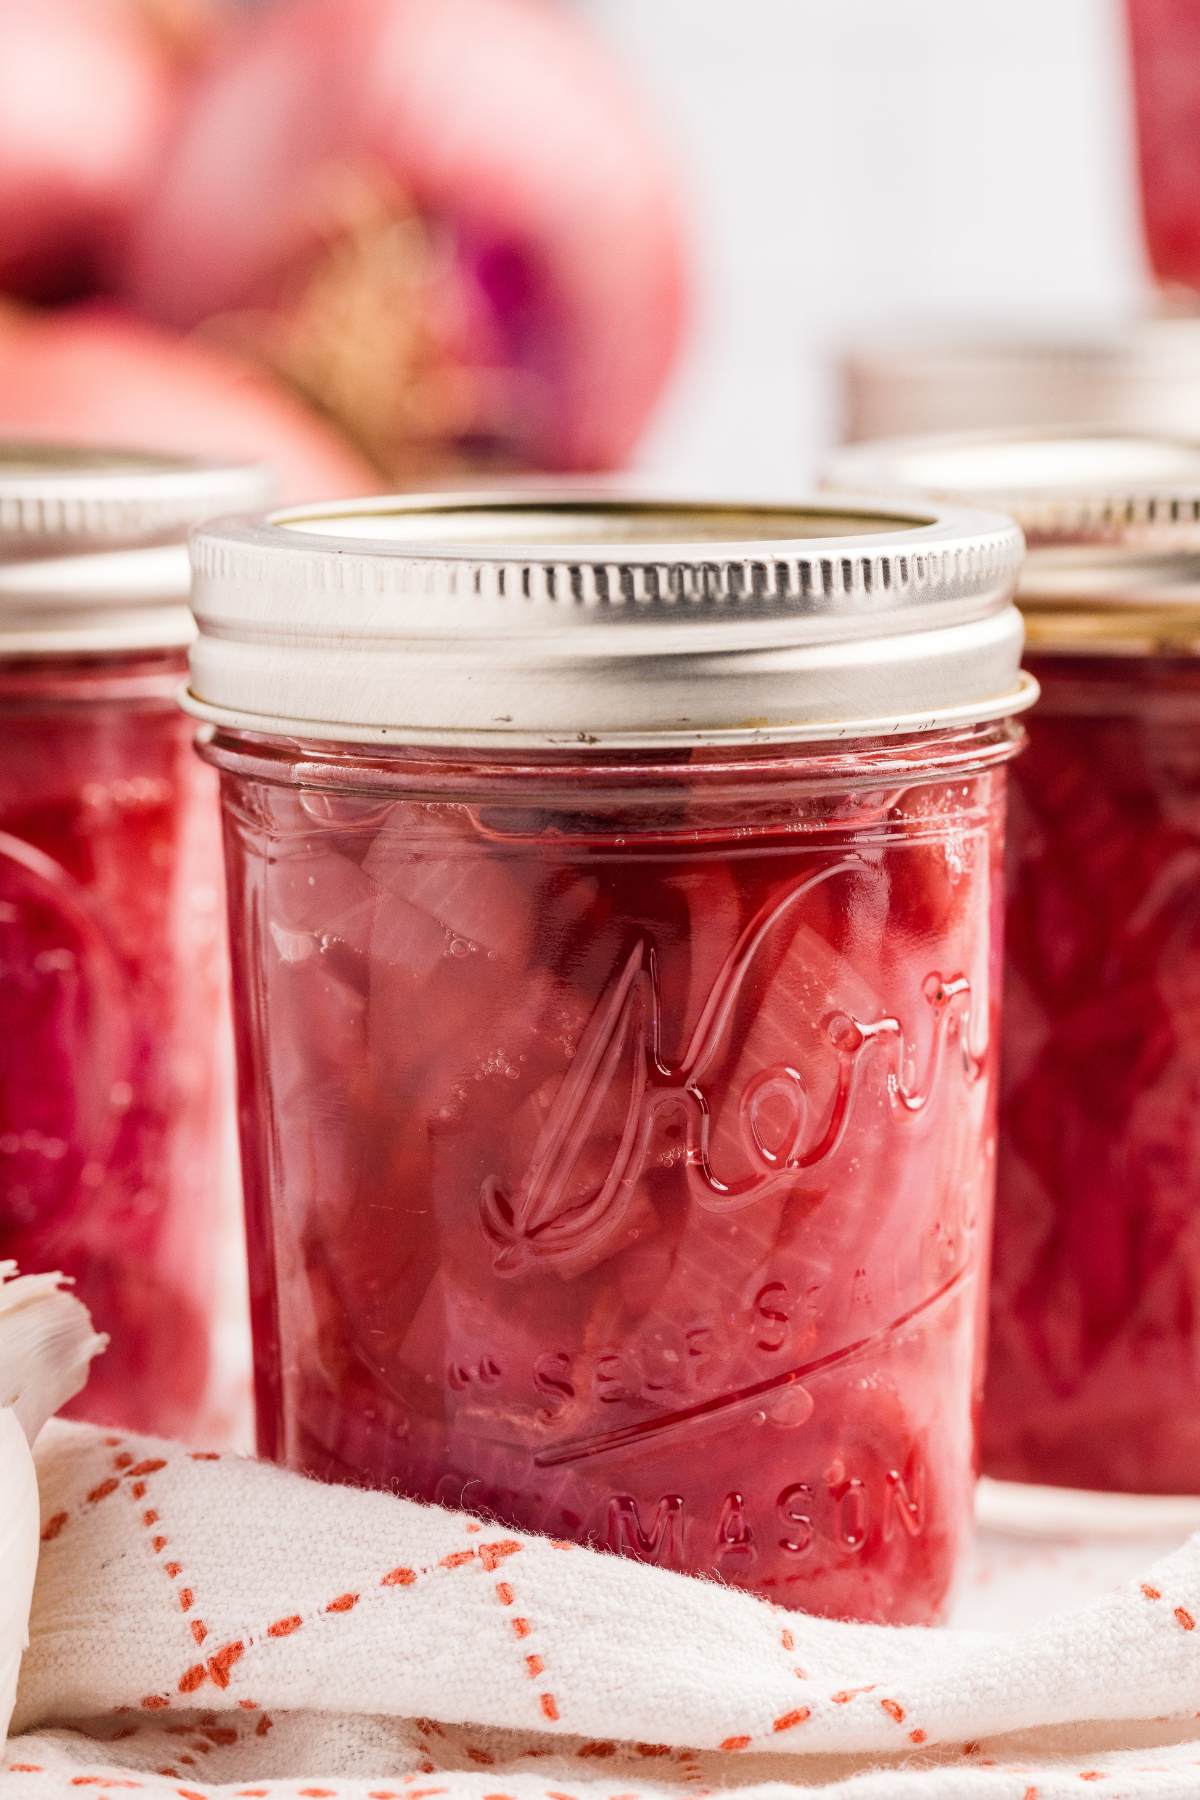
Pile these onto tacos, burgers, and pulled-pork sandwiches, or where you need flavor and a little bit of crunch.
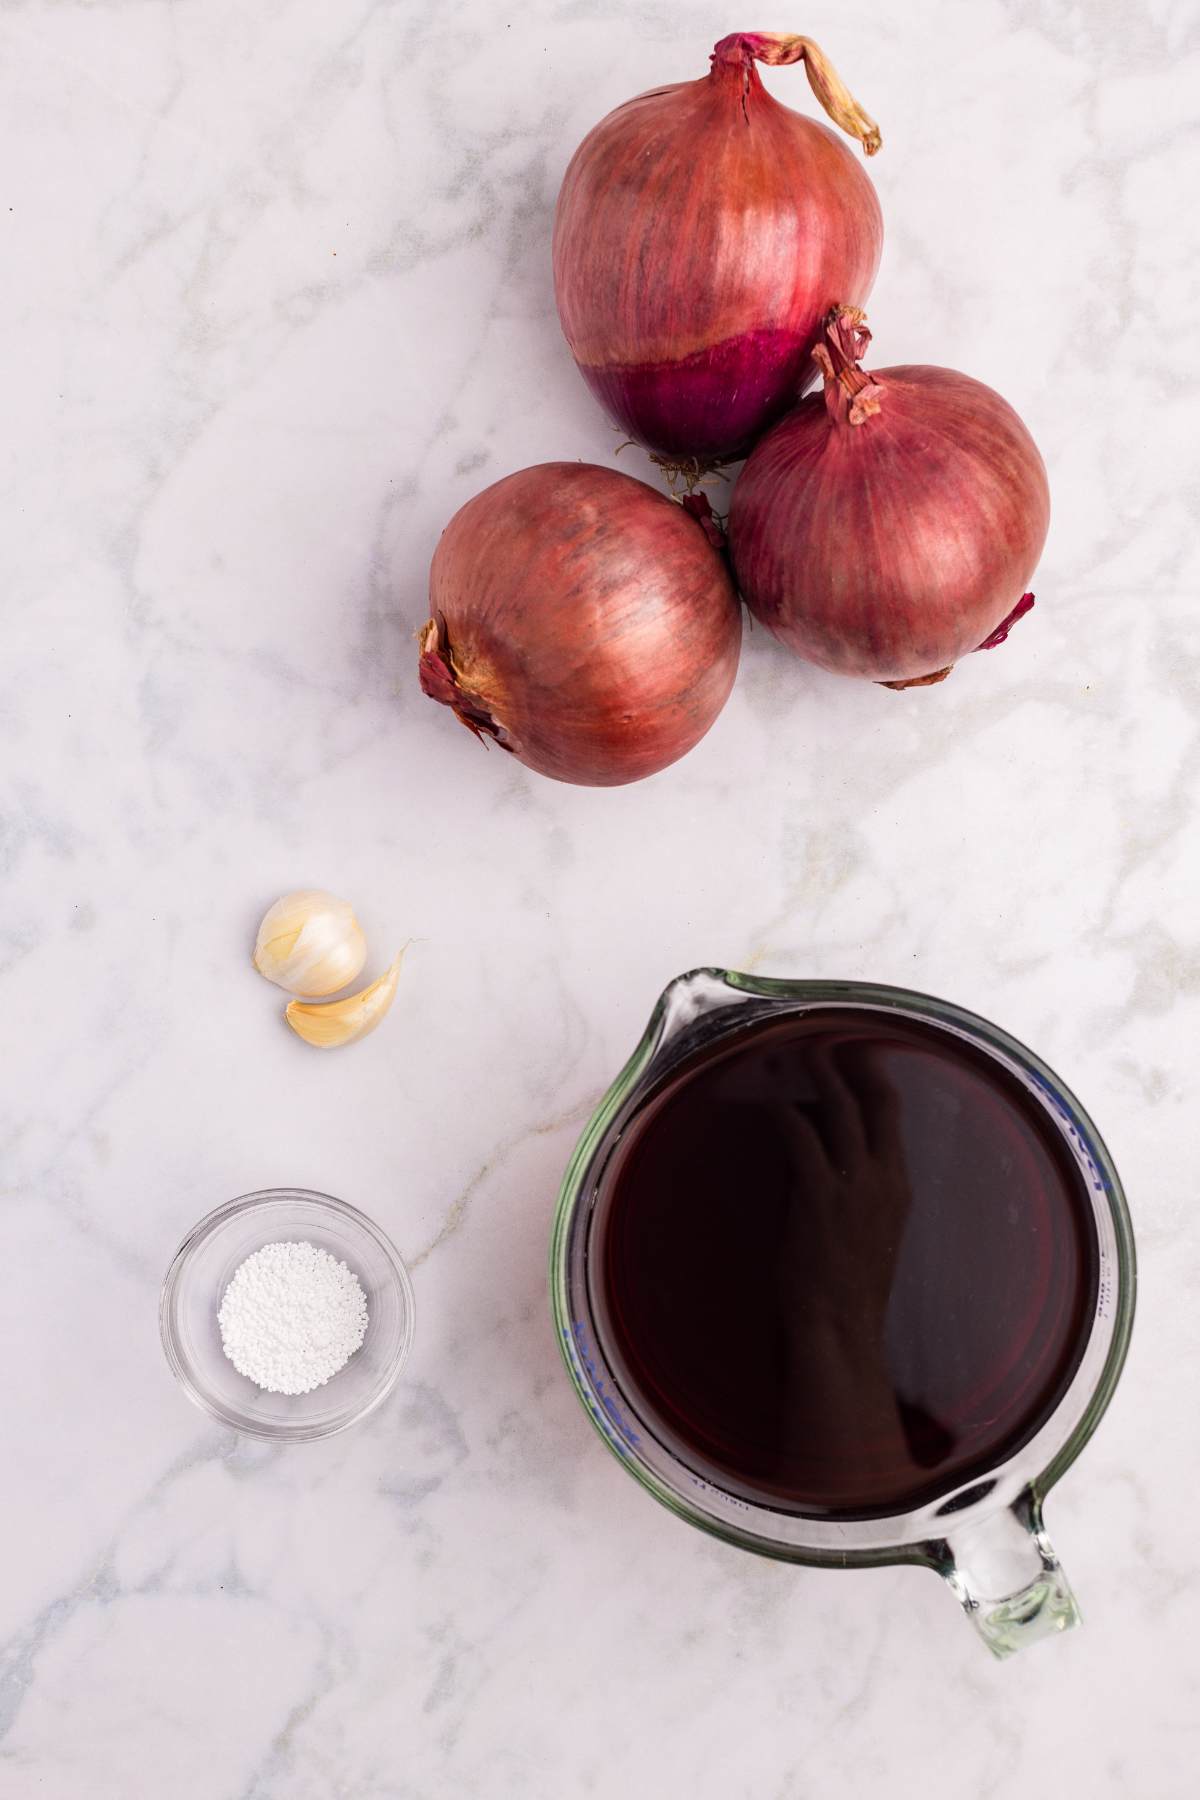
Ingredients and Tools You’ll Need
I always used the pickle crisp, but it’s optional. You don’t need it for safety, it’s just to preserve a little crunch. This is a great thing to make if you grow your own onions, but still 100% worth it if you buy them.
Heart’s Content Farmhouse is a participant in the Amazon Services LLC Associates Program, an affiliate advertising program designed to provide a means for sites to earn advertising fees by advertising and linking to Amazon.com. This means that when you click on certain links on this site and make a purchase, I may earn a small commission at no additional cost to you. I only recommend products I genuinely believe in and would use in my own kitchen. As an Amazon Associate, I earn from qualifying purchases.

FREE FOR SUBSCRIBERS
Canning Binder
Subscribe (free!) to my newsletter to receive this PDF + dozens of others in my printable library. You’ll also get emails you’ll truly love, with a weekly meal and so much more.
- 4 large red onions, thinly sliced (about 8 cups raw)
- 2 large garlic cloves, peeled and smashed (leave them whole if you prefer milder garlic)
- 4 cups red wine vinegar, 5 % acidity – the 5 % acidity is essential for safe water-bath canning
- ¾ teaspoon Pickle Crisp (calcium chloride)
How to Make Pickled Red Onions
Three important steps before you process: slice, pack, and bubble-check. Aim for ⅛-inch slices so the onions stay crisp through the quick 10-minute water-bath. Pack the onions tightly, pausing to run a chopstick around the jar after every scoop to release hidden air pockets; this keeps the brine level accurate and prevents floaters.
Warm the jars and set up the canner
Slip six clean half-pint jars into your water-bath canner, then add enough water to cover them by at least an inch.
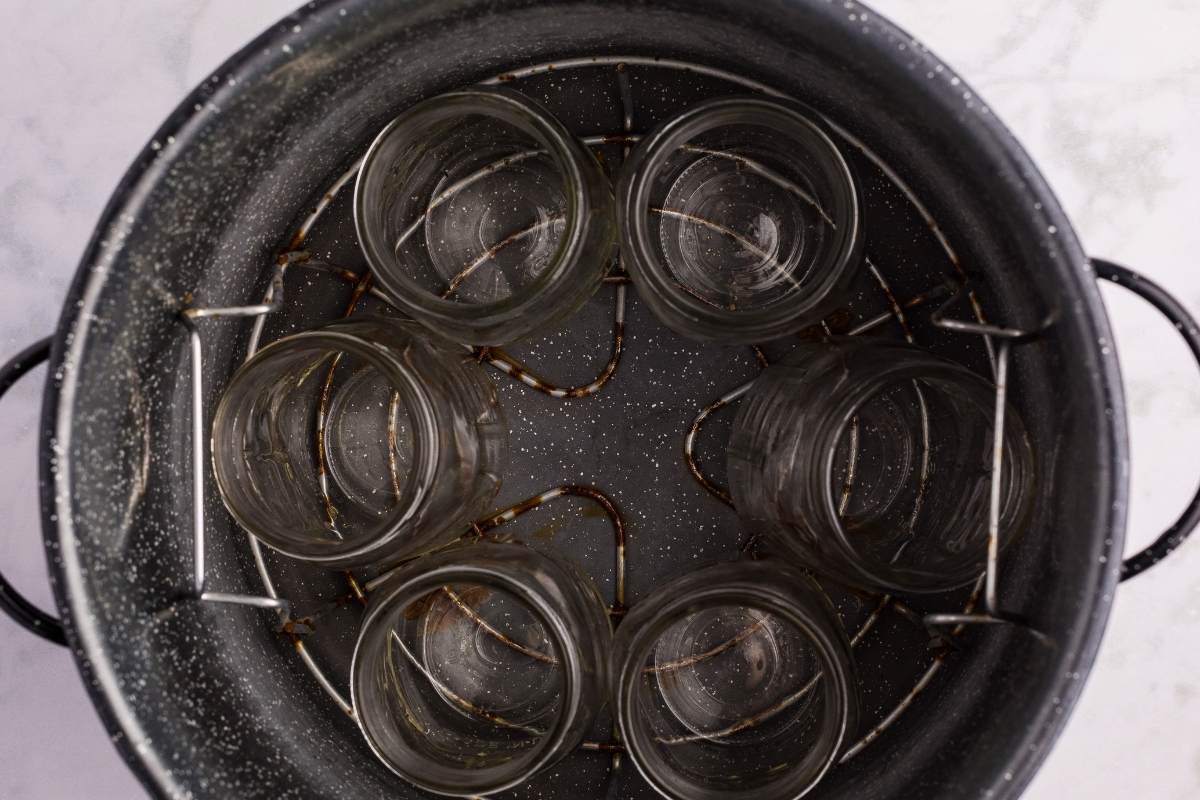
Set the canner over medium heat so the jars warm gradually while you prep the rest. Warm jars prevent sudden temperature shock when the hot onions go in.
Start the vinegar brine
Pour the red wine vinegar into a non-reactive pot, drop in the smashed garlic cloves, and bring it to a steady boil.
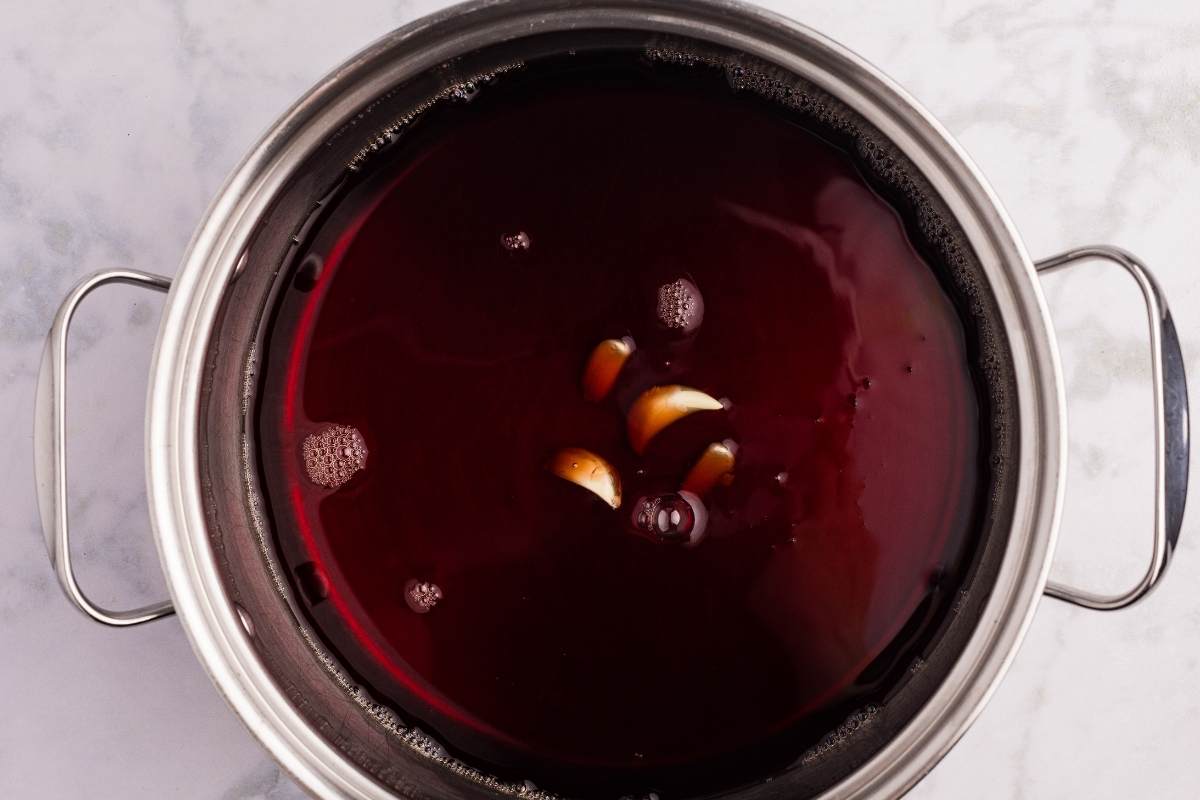
Once it boils, lower the heat and let the garlic steep for five full minutes. This quick simmer pulls out plenty of garlic flavor without over-reducing the liquid.
Slice the onions
Halve each red onion from root to tip, peel away the papery skin, and slice into even ⅛-inch crescents. A sharp knife or mandoline helps you stay consistent, which means every slice softens at the same pace and keeps a little crunch after canning.
simmer the onions
Slide the onion slices into the hot vinegar. Give everything a stir, cover, and simmer for another five minutes.
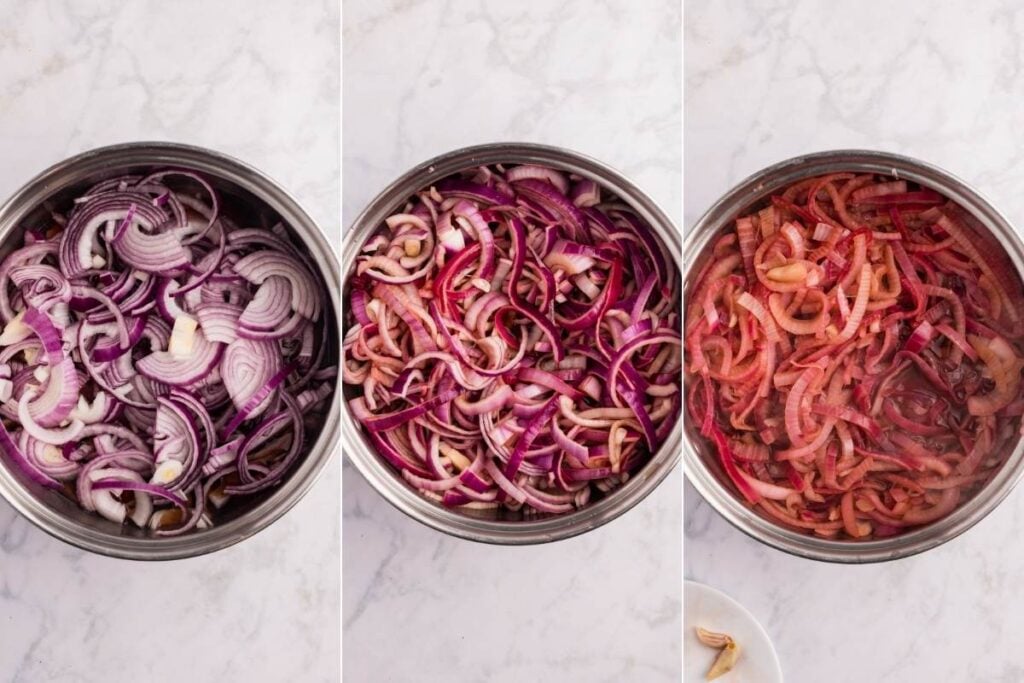
The goal is to let the onions wilt and soften so they’ll pack easily.
Pack the jars with onions
Spread a kitchen towel beside the canner. Use a jar lifter to set one hot jar onto the towel, then fit it with a canning funnel.
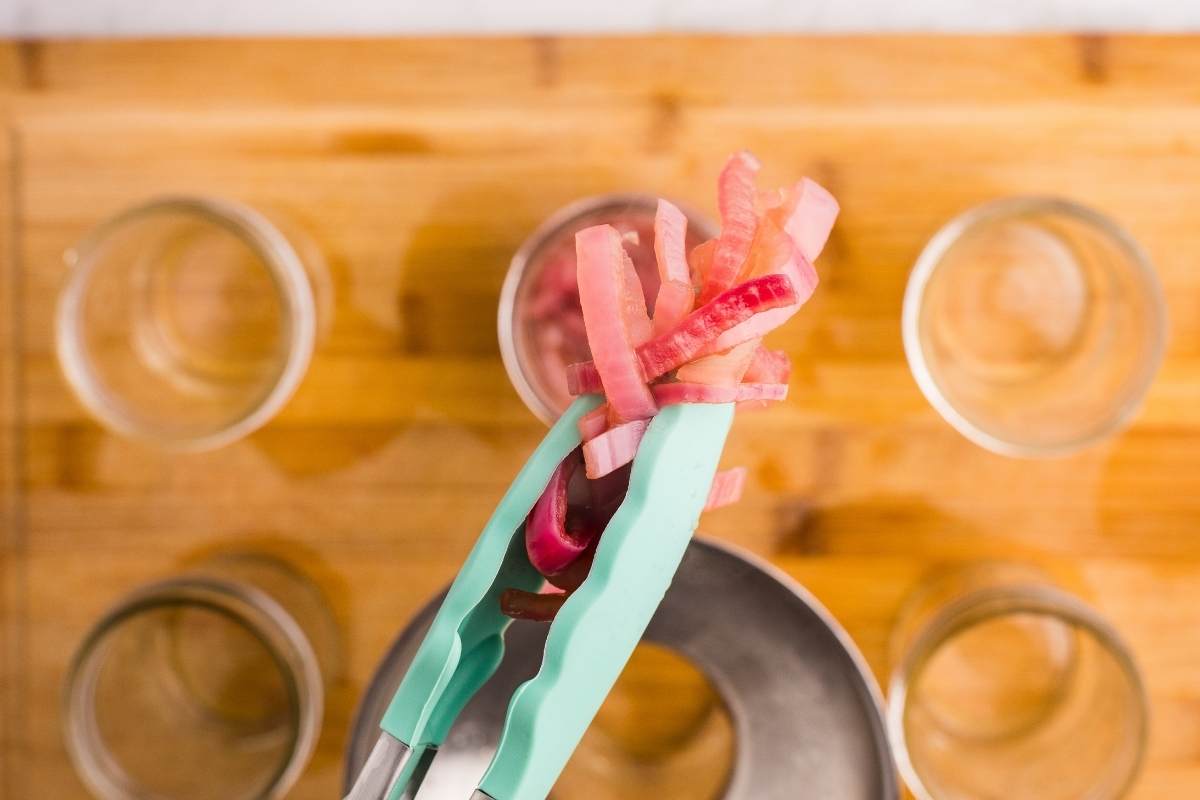
Tongs make it easy to transfer onions while you pause every scoop to run a chopstick or debubbler around the inside edge. This releases hidden air pockets and helps you fit more onions.
Add brine and pickle crisp
Ladle the hot brine (minus the garlic cloves) over the onions until each jar shows ½-inch headspace.
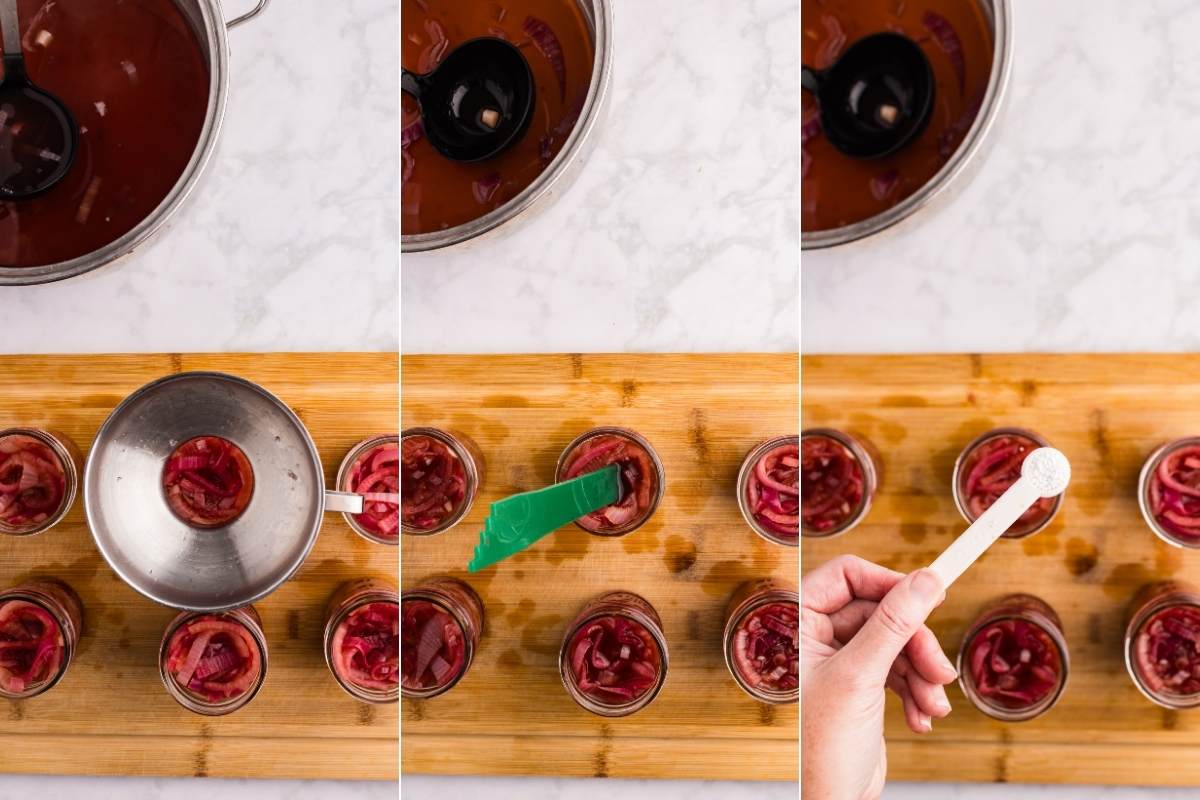
If you like extra crunch, sprinkle ⅛ teaspoon of pickle crisp on top now. Check headspace once more; topping up with brine now prevents siphoning later.
Wipe rims and apply lids
Dampen a clean towel with warm water and wipe each jar rim to clear away any stray vinegar. Center a lid, screw on the ring until fingertip tight, and move to the next jar.
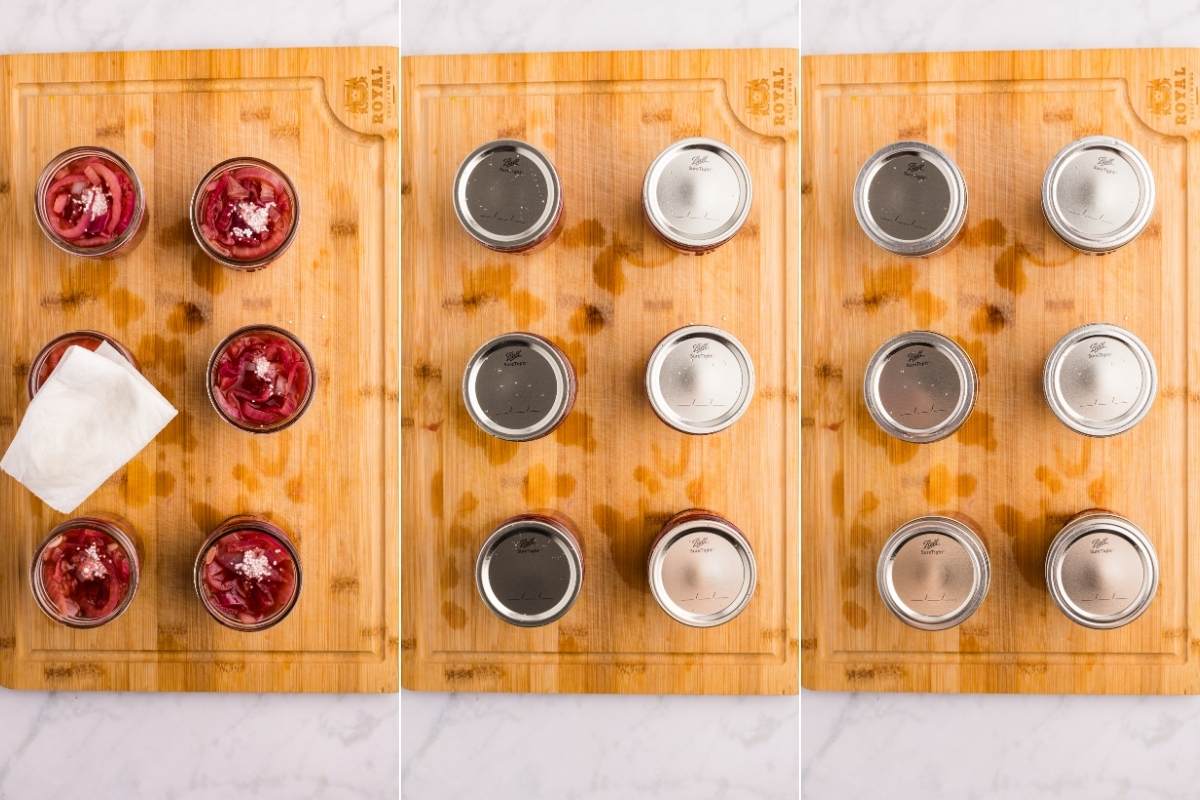
A clean rim is a must! The lids won’t seal otherwise.
Process in the water bath
Lower the filled jars back into the canner, ensuring they sit on a rack and stay fully submerged by at least an inch of water.
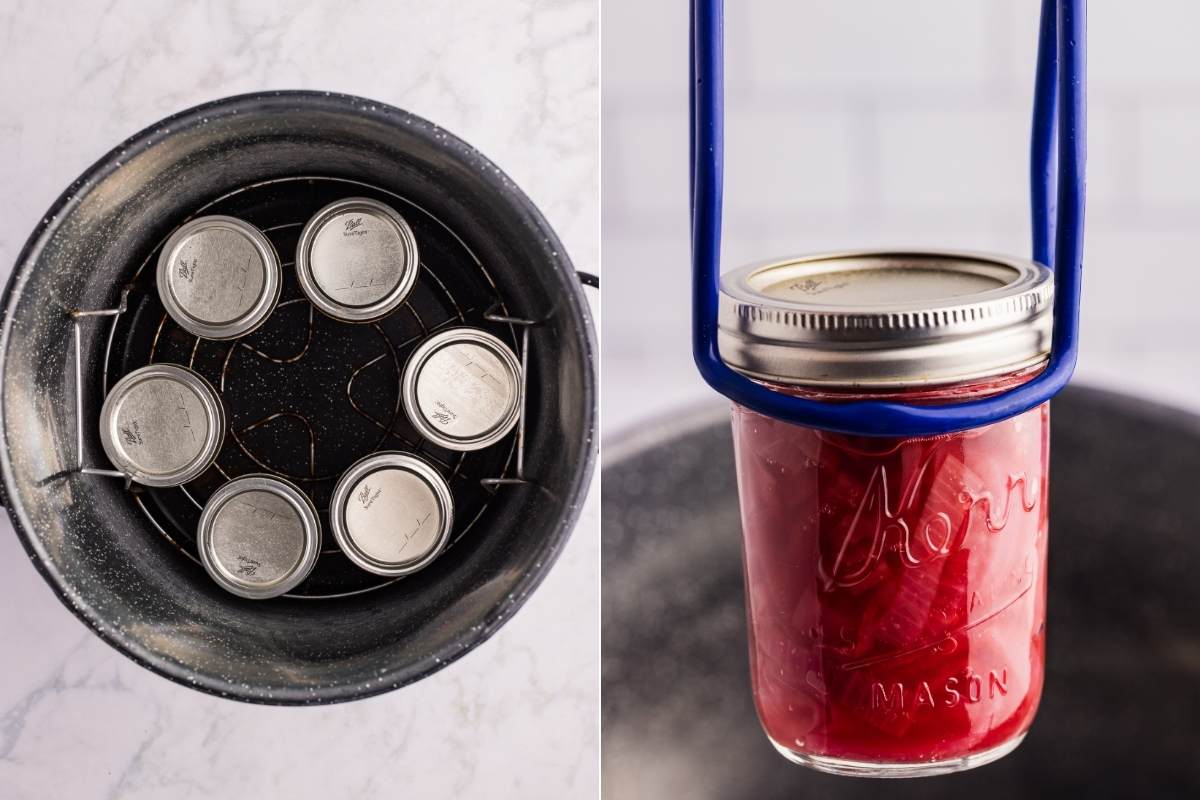
Bring the canner to a rolling boil, then start a 10-minute timer (adjust if you live above 1,000 ft). Keep the boil steady the whole time.
Cool and store
When the timer ends, turn off the heat, remove the lid, and let the jars rest in hot water for five minutes. Lift them onto a towel-lined counter and leave undisturbed for 12–24 hours.
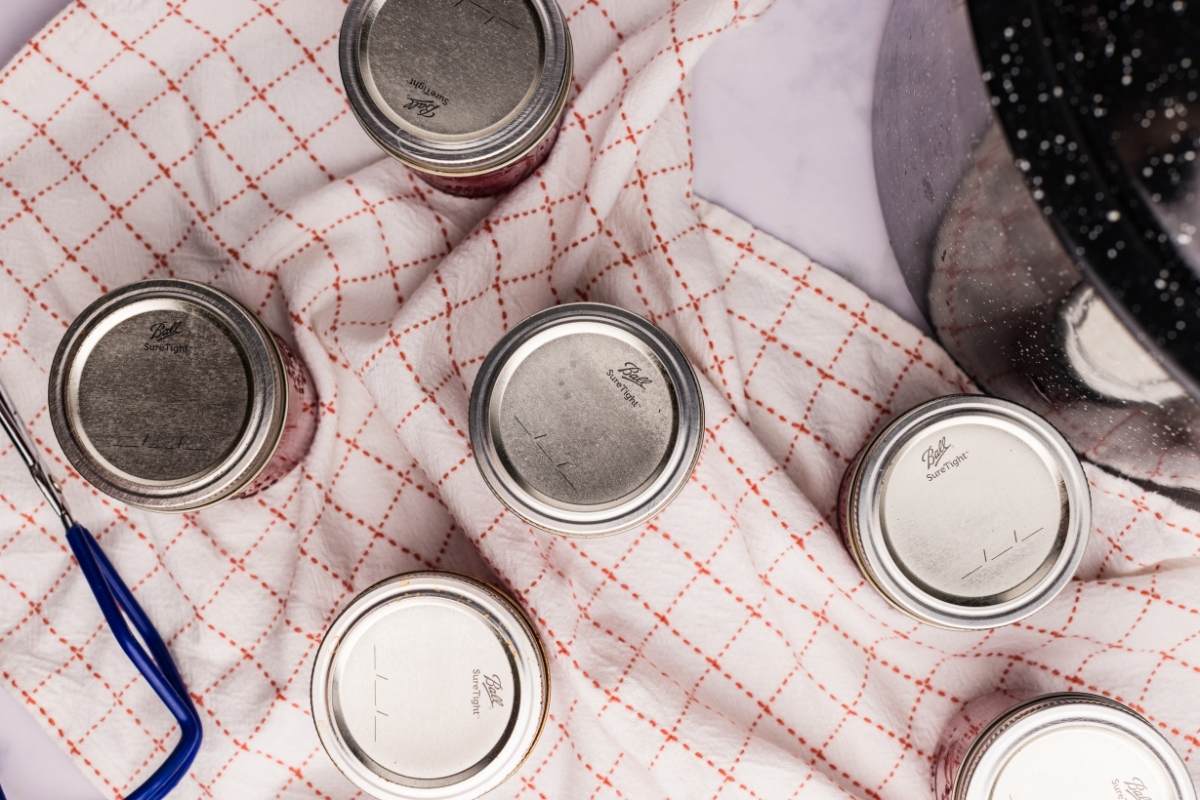
Check seals the next day, label, and store in a cool, dark cupboard for up to 18 months. Any jar that failed to seal can head straight to the fridge and will keep for about three months.
Put sealed jars in a cool, dry place out of direct sunlight. It’s best to remove the rings first. Quality is best within 12–18 months, but a properly sealed jar remains safe longer.
Printable Recipe
Canning Pickled Red Onions
Equipment
- 6 half-pint mason jars
- 1 large non-reactive pot
- 1 Funnel
- 1 Jar lifter
Ingredients
- 3-4 large red onions sliced ⅛–¼ inch thick
- 4 cups red wine vinegar 5 % acidity
- 2 large garlic cloves peeled and smashed
- ¾ teaspoon pickle crisp optional
Save This Recipe
You'll join my email list which you will love. And if you don't, unsubscribe in one click. ❤️
Instructions
- Store. Cool jars 12–24 hours. Check seals; refrigerate any unsealed jars.
- Make brine. Combine vinegar and garlic in a non-reactive pot. Bring to a boil, then simmer 5 minutes.
- Cook onions. Add sliced onions; cover and simmer 5 minutes to soften.
- Fill jars. Pack hot onions into hot jars, debubbling as you go and leaving 1/2-inch headspace. Ladle hot brine over onions, keeping ½-inch headspace. Add ⅛ teaspoon pickle crisp per jar if using.
- Fasten lids. Wipe rims, apply lids and rings until fingertip tight.
- Process. Process in a boiling water-bath canner for 10 minutes (adjust for altitude).
- Cool undisturbed until sealed. Cool jars 12–24 hours. Check seals; refrigerate any unsealed jars.
Notes

More to Explore
Hot Pepper Jelly Glazed Wings
Simple Homemade Marinara
How to Make Garlic Powder in a Dehydrator
Homemade Spiced Apple Rings (For Canning)