Growing Onions in Your Garden (A Beginner’s Guide)
Inside: Ready to take a step into self sufficiency? Here’s everything you need to know about growing your own onions.
With a few hours of work and a narrow row in your garden, you can have a year’s supply of this super-versatile veggie. One of the most practical things to plant, these kitchen heroes are easy to grow and keep a long time. These aren’t the most popular plants for gardeners, but they’re still one of my favorites. I hope I can convince you to grow them too.
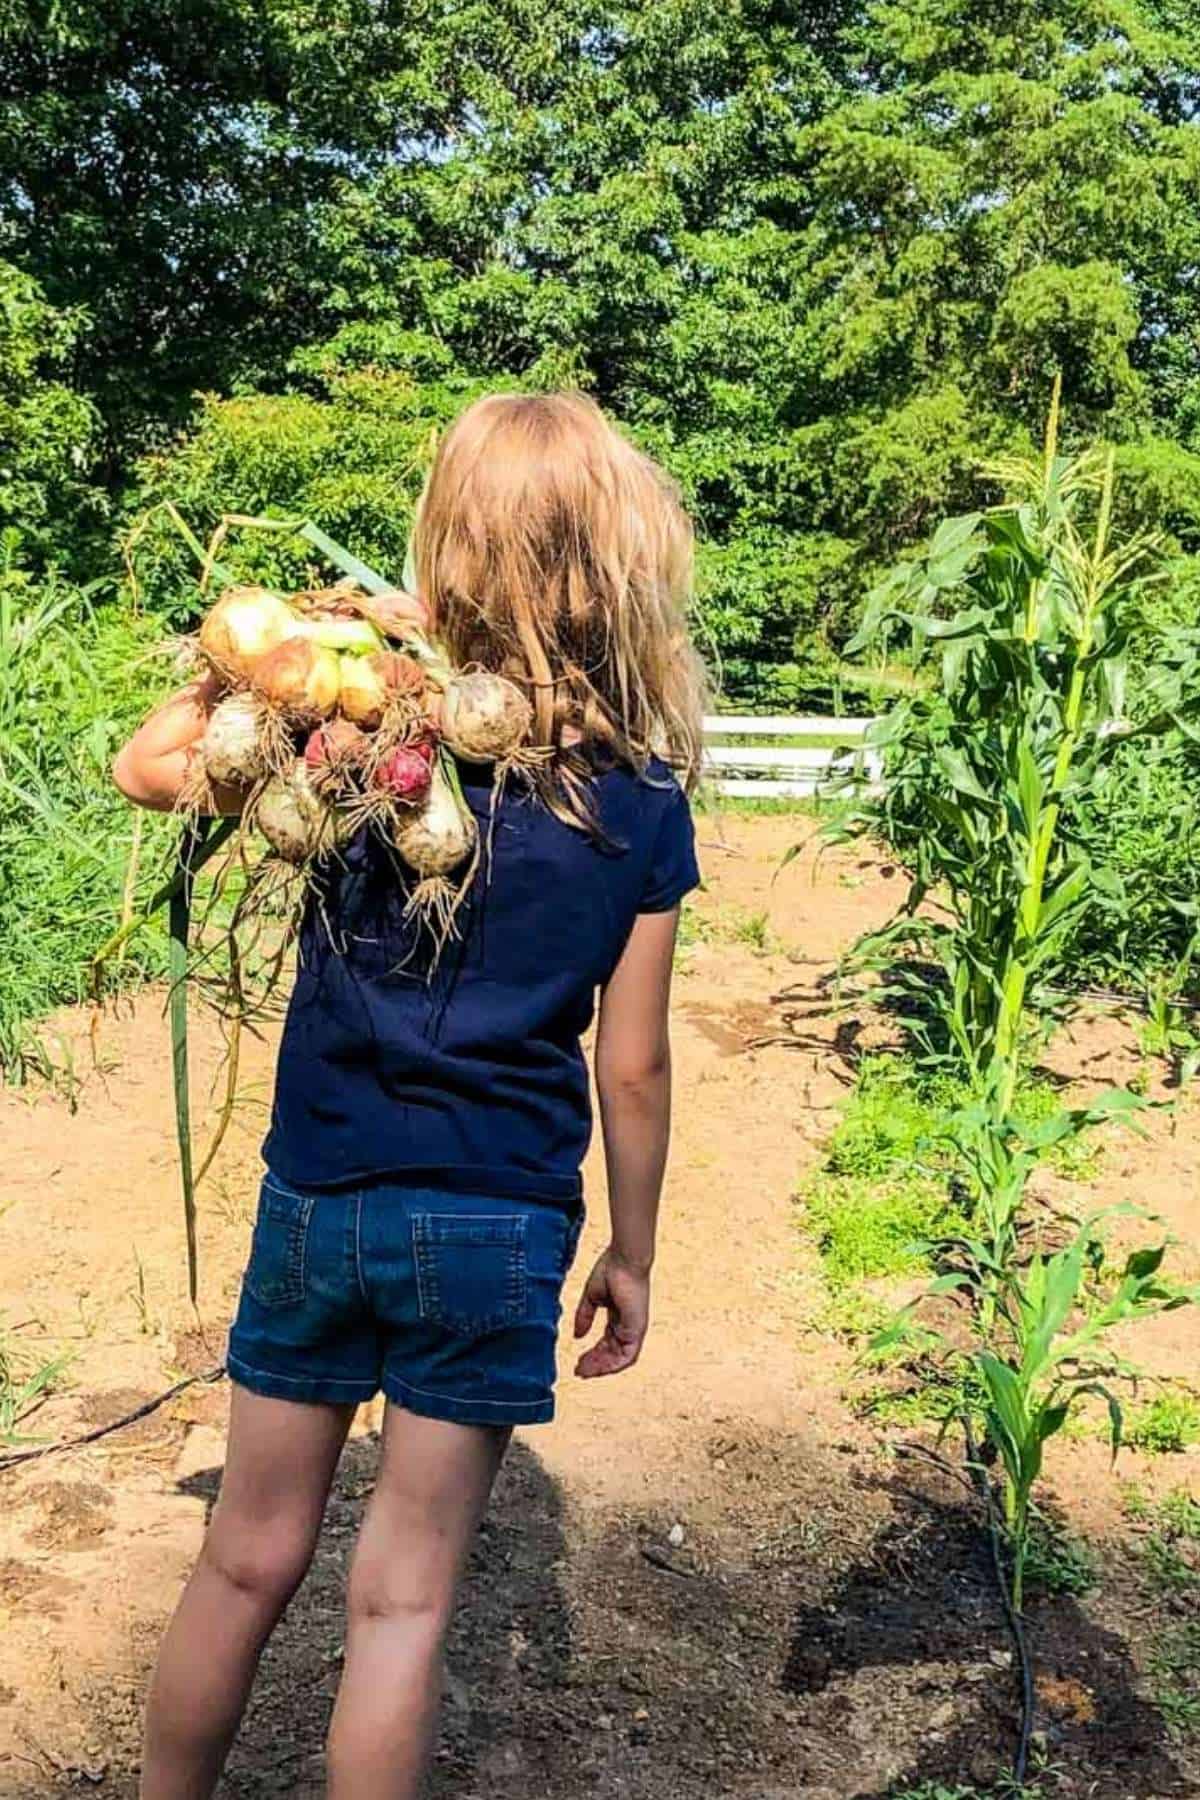
Starting a garden or trying a new crop for the season can feel overwhelming and daunting, but it doesn’t have to be. Onions take up hardly any room, are super versatile, and last for months. A single 4 x 8 garden bed filled with them will last for months!
heirloom homemaker email course
A 5-day series straight to your inbox to help you create a beautiful home life.
No logins, no guilt, no overwhelm.
Promise.
I promise to keep your email address safe. Unsubscribe at any time
Step One: Prepare
Here’s how to get your garden and your plants ready.
Picking the Right Onion Variety (Your Latitude Matters)
Shall I attempt a latitude/ attitude joke? No? Okay. But you have to get this part right. It’s a must.
Onions are “programmed” to start bulbing up once the days reach a certain length in late spring and early summer. The farther north you are, the longer your days are in summer. Therefore, you would plant long-day varieties. Farther south, your longest summer day will be shorter, so you will plant intermediate or short-day varieties.
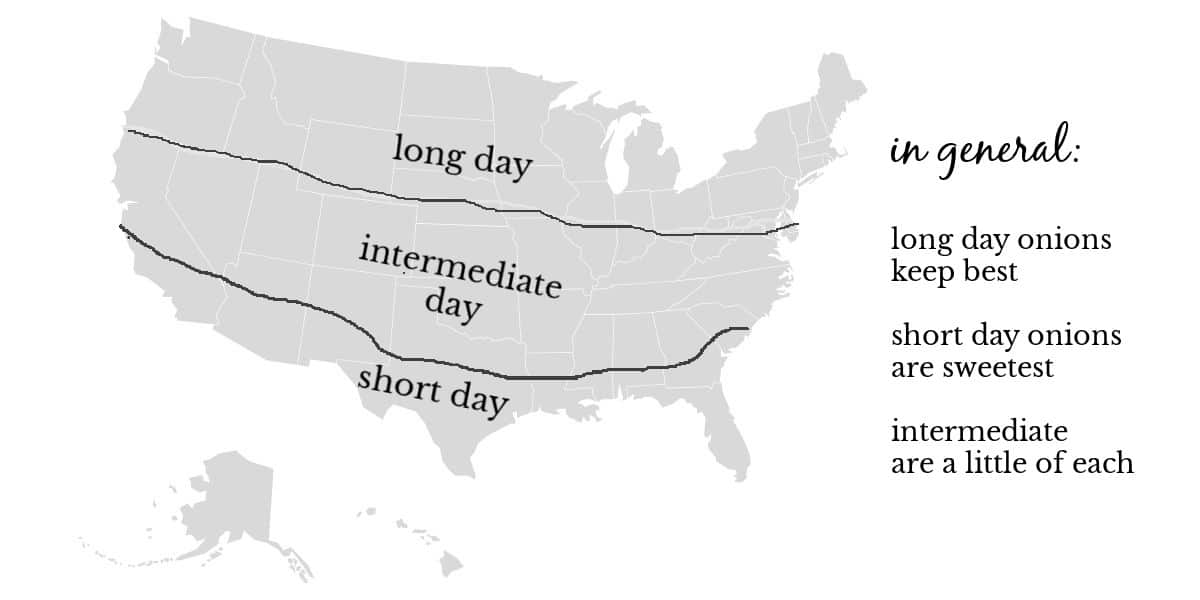
This is not just the generic advice to pick a variety that does well in your area. It’s of paramount importance to pick the right onion for your latitude.
If you live in Georgia and June days are 13 hours long, but you’ve planted a long-day onion that needs 14 hours to bulb, that onion will never bulb. NEVER!
It’s not about temperature, but latitude.
- Short-day onions form bulbs with 10-12 hours of sunlight. These tend to be very sweet, like the famous Vidalia onion.
- Intermediate day (or day-neutral) onions form bulbs with 12-14 hours of daylight and produce beautiful onion bulbs in most regions. Candy, which comes in yellow and red varieties, is sweet, a good keeper, and perfect for intermediate-day regions.
- Long-day onions form bulbs with 14-16 hours of sunlight and are better options for northern regions and colder climates. Copra (a great storage onion) and Walla Walla Sweet are good long-day onions.
The best time to plant your onions when using transplants or sets is 4 to 6 weeks before the last frost. This is early! It will still be cold out.
If you aren’t sure, check out this locator to determine what month is the best to plant onions in your area.
Picking a Spot and Prepping the Soil
Choose a spot in your garden that receives plenty of direct sunlight. The soil should be crumbly and not compact; to loosen the soil up, work in compost. Onions love nitrogen, so if you have a high-nitrogen fertilizer like composted chicken manure, that’s a great choice.
You will harvest your plants in early summer, so you can follow your onion patch with a cool-weather crop like fall potatoes.
It’s also good to know what your soil’s pH is. Anything above 7.0 is alkaline, and anything below 7.0 is acidic. You can easily find a soil test kit at your local nursery or from Amazon.
Onions grow best in soil with a pH between 6.2 and 6.8, which is slightly more acidic than is “ideal” for most other veggies. If you regularly lime your garden, it might be too alkaline. You can easily find a soil test kit at your local nursery or from Amazon.
Onion Plants
Remove the onion sets from the box and keep them in a spot with plenty of cool air circulation until you can plant them. They often come in bunches that are wrapped in rubber bands. Be sure to cut the rubber bands to give them air.
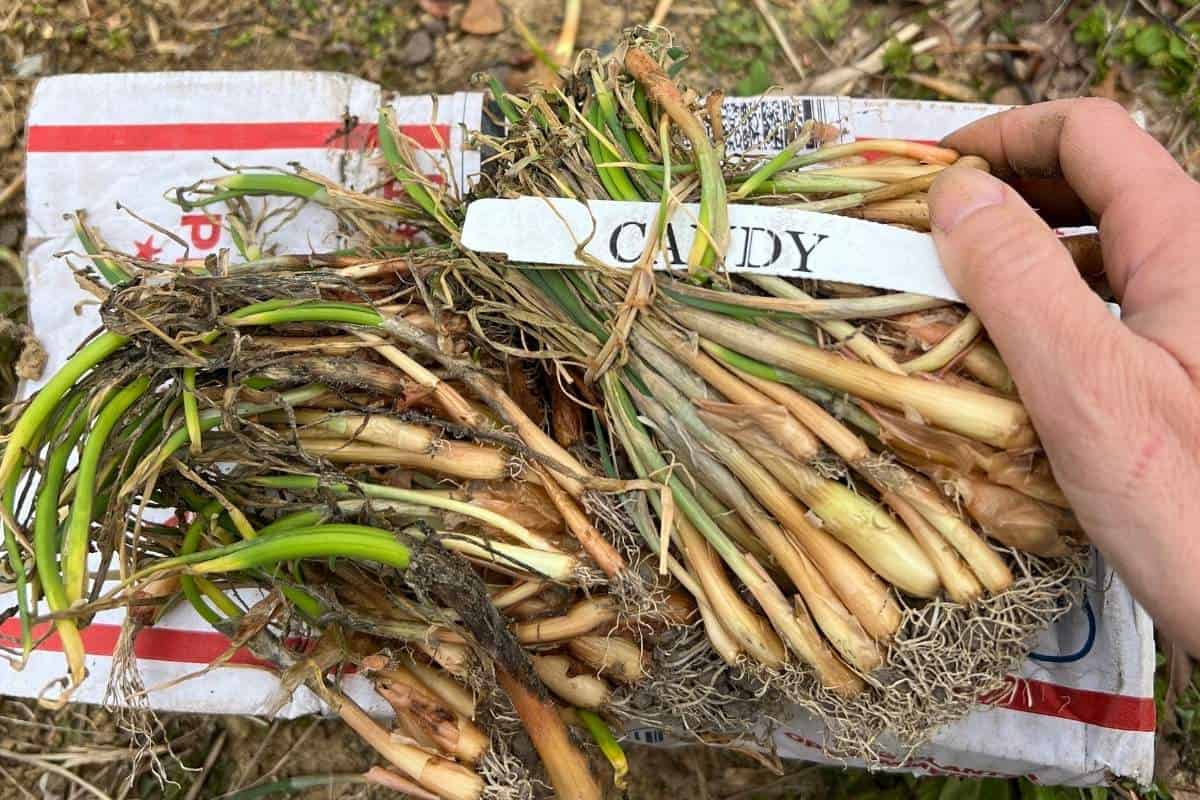
If you can’t plant them right away, that’s okay! As long as they have air, they will be happy to wait for you up to a couple weeks.
Step Two: Plant
If you’re planting from onion sets, make planting holes 2 inches deep and 4 to 6 inches apart.

Place the set pointed end up and fill in the rest of the hole. Typically one pound of onion sets will plant a 50-foot-long row.
If you are planting transplants, only plant them one inch deep. Like sets, give them 4 to 6 inches in all directions.
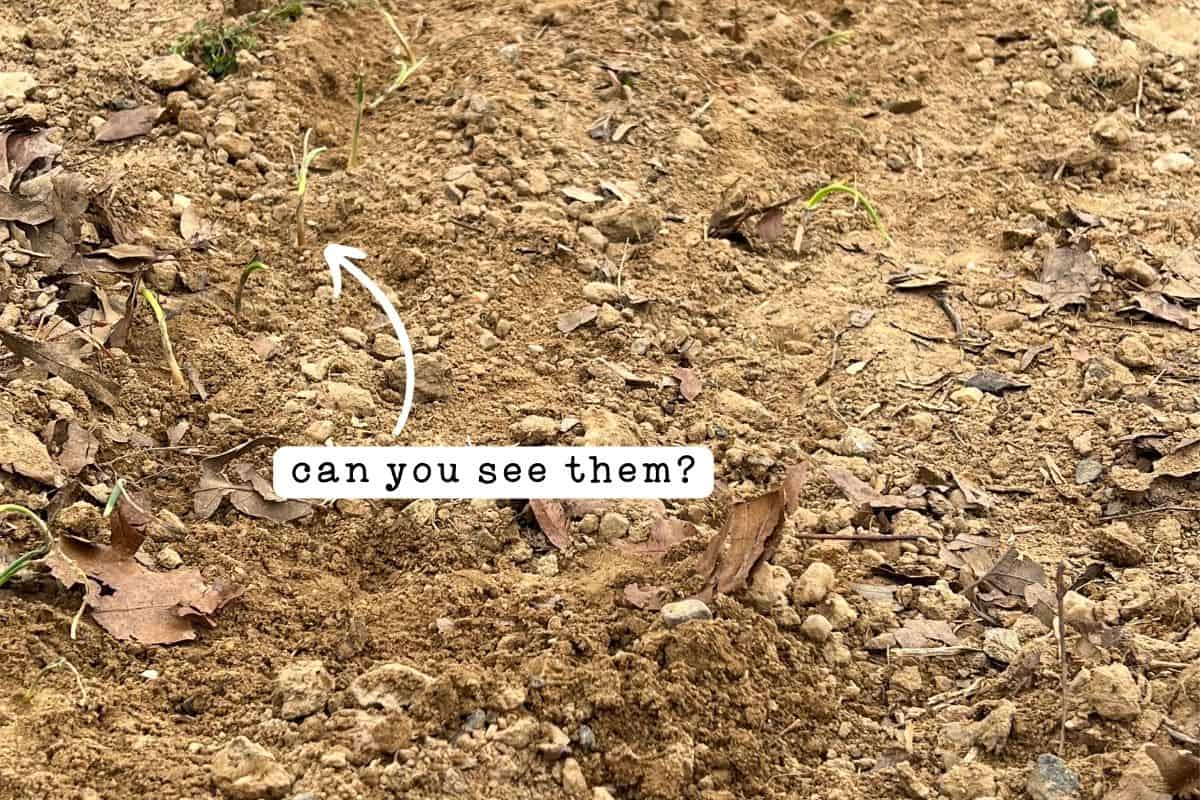
If you’ve planted plants, they will look very small (almost invisible) in the garden. That’s okay! After a few weeks, they’ll green up and start growing quickly.
Step Three: Caring for Growing Onions
In short: Water, water, water! (And some nitrogen!)
Watering
They need lots of water! Luckily, they are planted in early to mid-spring, which is a rainy season in many parts of the country. But if it’s dry at all, you’ll need to supplement.
Onions have shallow roots, so keep an eye on the soil around the plants to prevent it from drying out and looking like it has cracks.
See some yellowing on the leaves? Decrease the amount of water you are giving the plants.
The closer to harvest, the greater the amount of water they need, up to a point. When the tops of the onions start falling over, stop watering and let the soil dry out before harvesting.
Fertilizing
Remember, the best pH for onions is 6.2 to 6.8. Check your soil every few weeks.
If your soil becomes too acidic, use calcium nitrate to fertilize the soil to make it more alkaline. Use 1/2 cup per 10 feet of row.
If your soil is too alkaline, use ammonium sulfate. To be clear, these are both fertilizers that also can adjust the pH.
Always water the onions after placing fertilizer. If you can go out and fertilize before a rain, that’s perfect.
Stop fertilizing when the onions begin to bulb. Bulbing is when the onion pushes the soil away, and the ground starts to crack. This is when you want to stop fertilizing.
Step Four: Harvest
It’s time to harvest the onions when the tops turn brown or yellow and fall to the side.
Harvesting onions is easy. You just give them a good pull, and the whole thing comes out. It’s very exciting and a great thing to do with the kids.
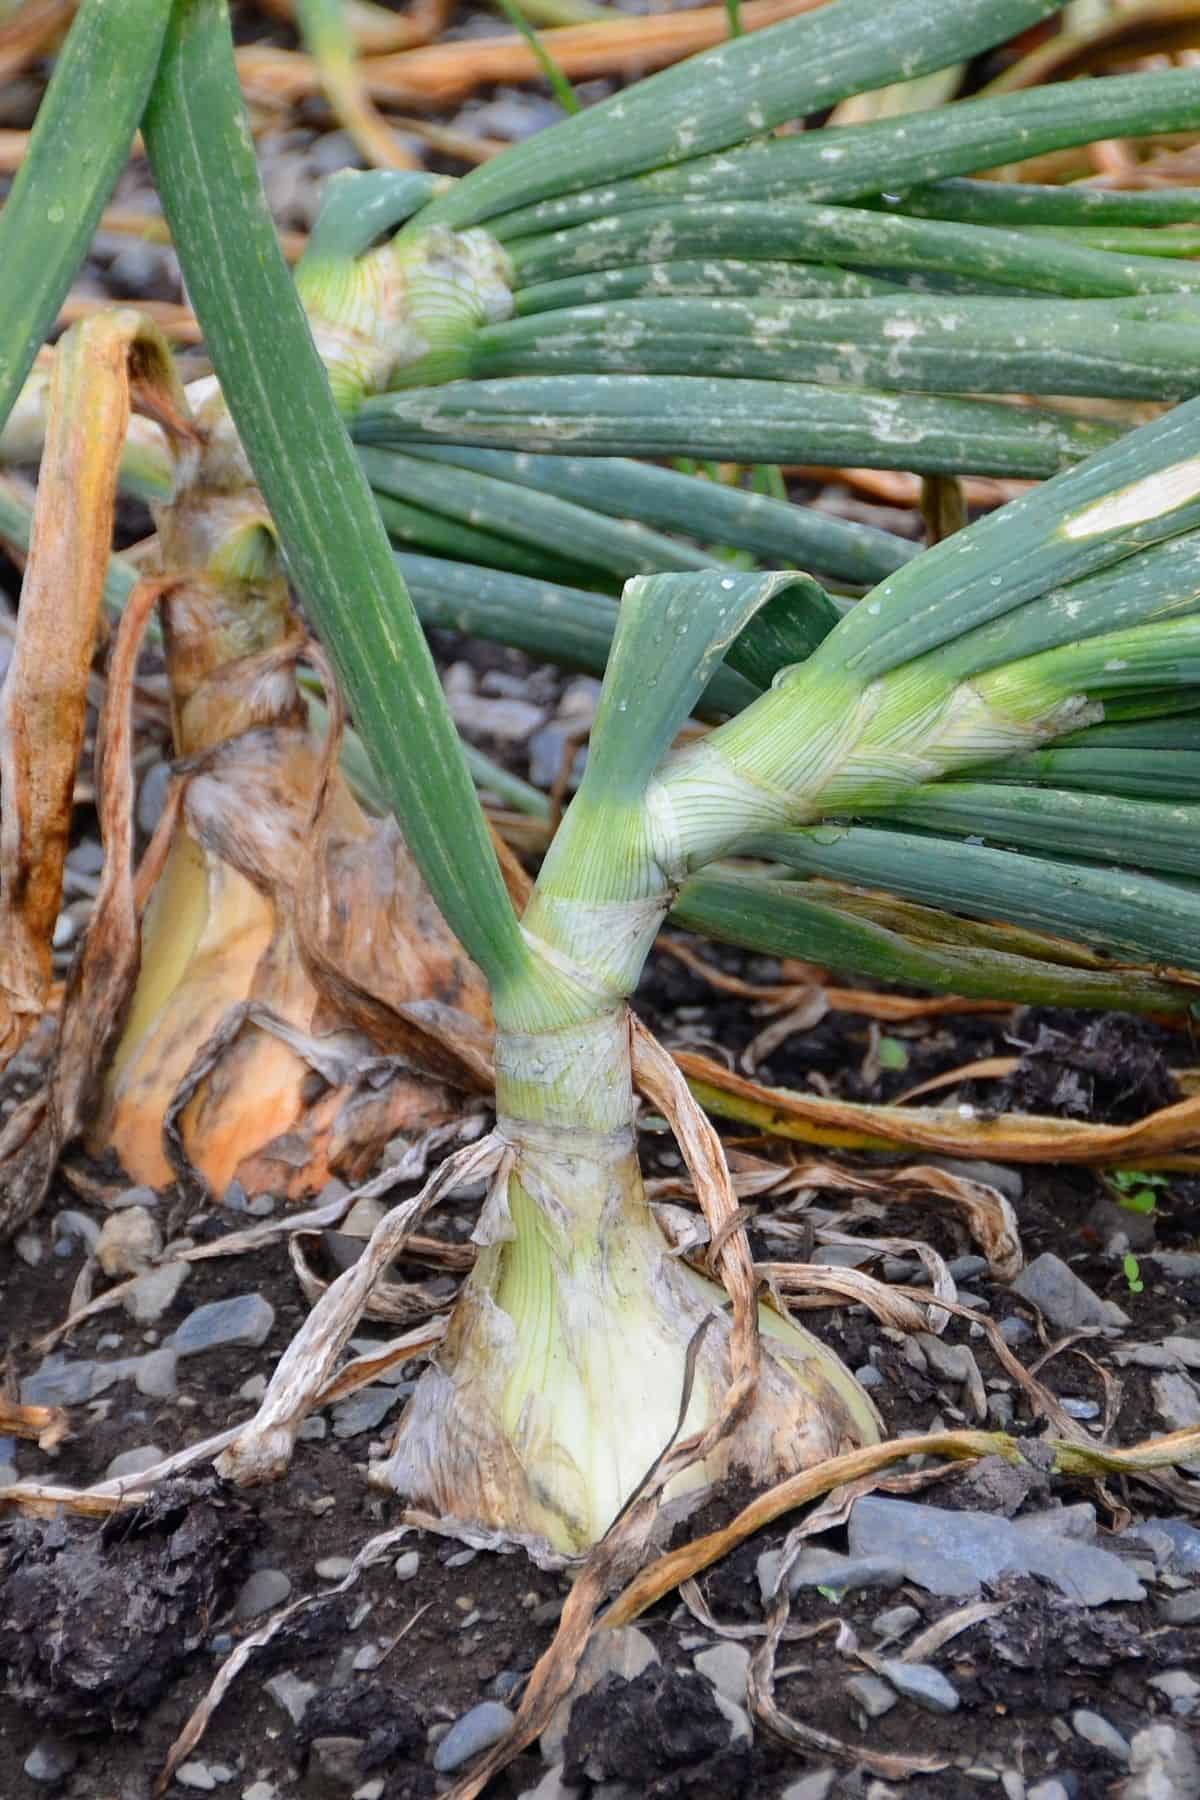
Pull the onions on a morning with plenty of sun in the forecast. You are going to dry the onions in the sun for two days. You want to prevent sunscald, so place the tops of one row over the bulbs of another.
If it begins to rain, you need to bring the onions inside immediately. The moisture can cause rotting. There are a lot of rules, I know. But you’ll find that usually, it rains when they need it and the sun comes out when they need to dry.
Step Five: Storage
Once you have allowed the onions to dry out in the sun, you can place them in a cool location with decent ventilation, for example, a garage or porch, to continue drying out.
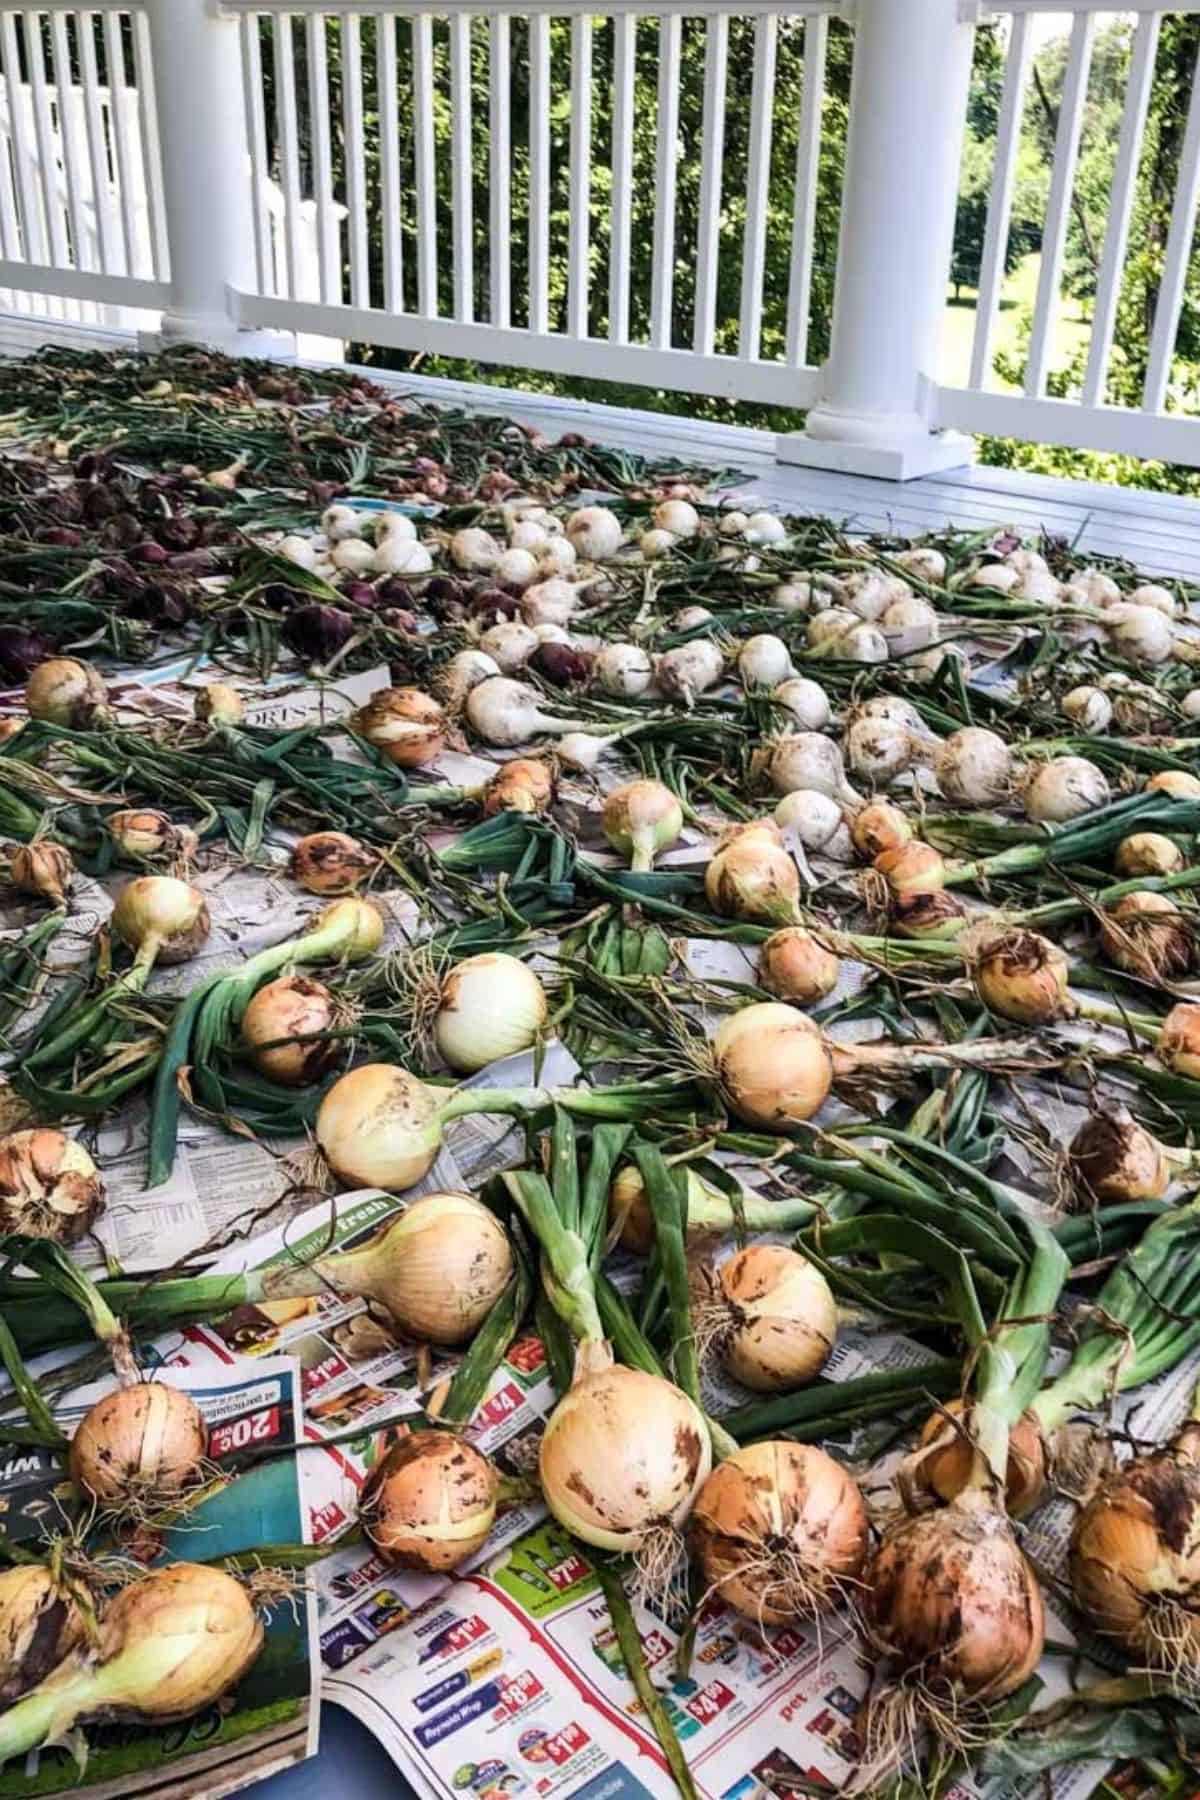
The leaves all the way to the bulb should be dry before you clip the roots of the onion at the bottom and cut the tops, too.
Dried bulbs will keep for around four months to a year in a mesh or net to permit airflow.
I use shallow cardboard boxes lined with newspaper so that the onions aren’t stacked too deep.
Check every so often for any soft onions to prevent the rest of the batch from spoiling. One bad onion can ruin a batch, so be diligent about this.
Onion Plants vs. Seeds vs. Sets
There are three ways to start growing your own onions.

- Planting transplants is when you have seedlings started in the current season and sold in bunches. This is my preferred method! My favorite source for onion plants is Dixondale Farms.
- Onion sets are immature bulbs that were grown the previous year. Onion sets are typically what you might find at your local nursery.
- Or you can use seeds, which take the longest amount of time to grow and tend to have the most issues. They need to be started in early winter, believe it or not.
Troubleshooting Onion Plants
First, know that onions are not a disease-prone crop! You are likely to breeze through the season without too much trouble. But if you are running into a problem, here are some possibilities.
It could be poor soil causing your onions to turn yellow or also small onions.
Look at the spacing of your onions to make sure you gave the onions enough space. 4 to 6 inches apart is the best amount of space for your growing onions.
Fungus is typically the leading cause for onion leaves turning brown.
Other characteristics of fungal disease in onions are white onion rot, rusts, mold, smut, white leaves, and downy mildew. These could result from weather conditions being too hot and humid.
Try adding tomato feed, another high potash fertilizer, or even anti-fungal spray when you first see onions turning brown. This helps the soil with nutrient balance.
Your problem could be thrips.
Thrips are insects that can attack onion plants. They are hardly visible and appear as tiny yellow or dark specks.
Simply treat thrips with an application of insecticide.
Hope you enjoy this strange and fun veggie in your garden.
Love,


WOW!! Thank you, Katie I am so thrilled to have found you, your teaching style is what i have needed for years. Garden seasons come and go and there is always so much to know. I am thanking you for sharing your skills with me. God Bless You forever, patty
Thanks for all the great tips.