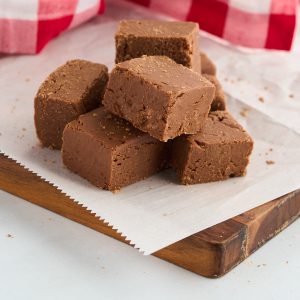
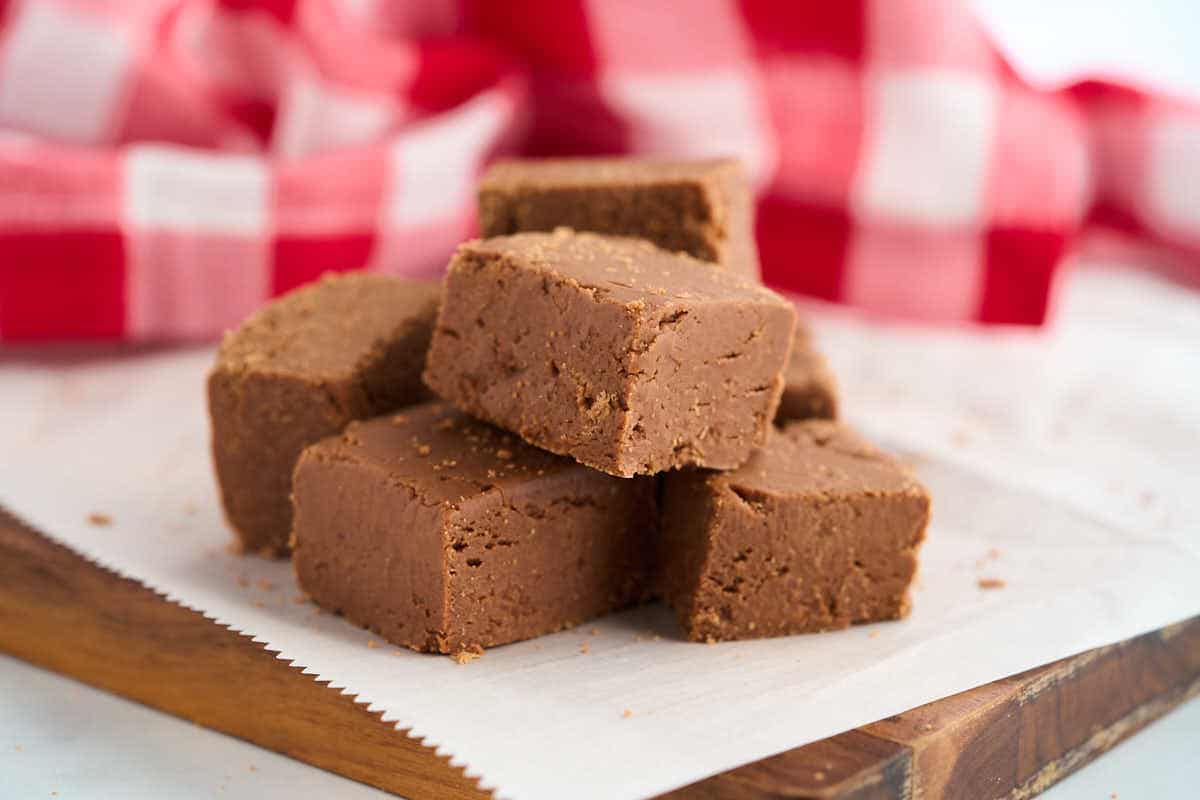
Grandma’s Old Fashioned Fudge {Classic Stovetop Recipe}
Everyone loves homemade fudge, but most recipes are poor imitations of the real thing. They focus on being easy instead of being good.
But the old fashioned kind is not hard to make, and it’s worth the small amount of effort. If your grandma made fudge at Christmastime, I bet it was just like this.
Old Fashioned Stovetop Fudge
Equipment
- 2 quart saucepan
- Whisk
- Butter knife or spatula
- Hand mixer
- Butter-coated plate or small baking dish
- Spatula
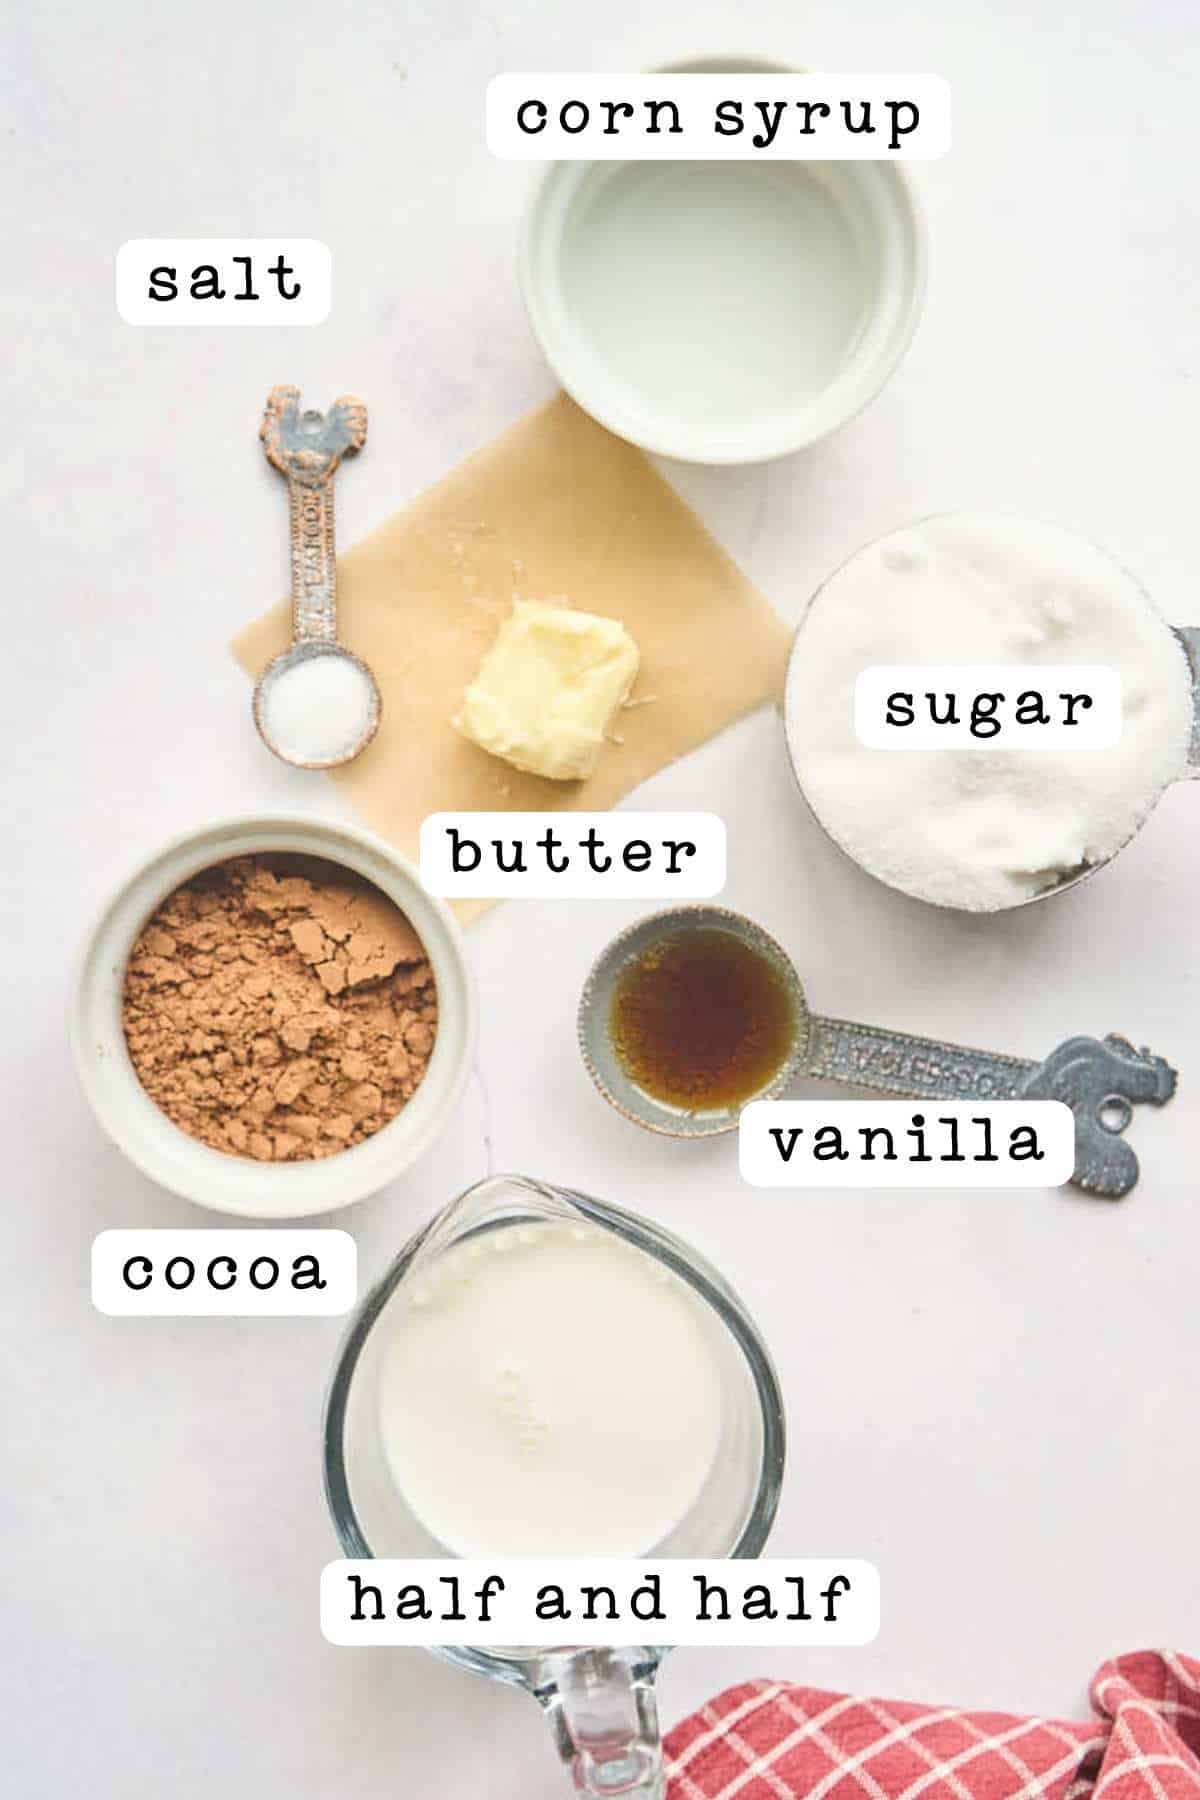
Ingredients
- 2 cups granulated sugar
- ¼ cup cocoa powder (Hershey's is fine)
- ½ teaspoon salt
- ⅔ cup half and half
- 1 tablespoon corn syrup
- 3 tablespoons butter
- 2 teaspoons vanilla extract
Save This Recipe
You'll join my email list which you will love. And if you don't, unsubscribe in one click. ❤️
Instructions
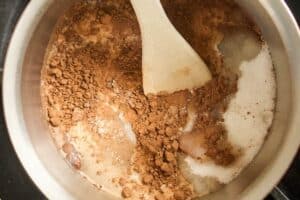
- Prepare the fudge base. In a 2-quart saucepan, combine the sugar, cocoa powder, half-and-half, salt, and corn syrup. Then, whisk the ingredients until smooth and well-mixed. Place the pan over medium-low heat and bring the mixture to a gentle boil, stirring occasionally.
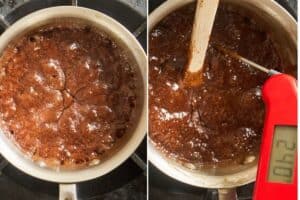
- Heat to 240°F. Allow the mixture to cook without stirring until it reaches 240°F (soft-ball stage) on a candy thermometer. This temperature is essential for setting the fudge’s texture. Once the temperature is reached, immediately remove the pan from the heat.

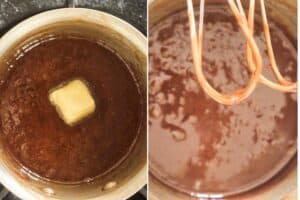
- Add the butter and vanilla, then cool. Place the butter and vanilla on top of the hot fudge mixture, but do not stir. Let it cool undisturbed for about 20 minutes or until the side of the pan is warm but not hot to the touch. This resting time helps the fudge set up correctly.
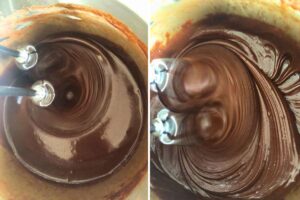
- Beat until thickened. Using a hand mixer at medium to low speed, beat the fudge mixture for 1-3 minutes or until it starts to thicken and lose its shine. This change in texture indicates the fudge is ready for pouring.
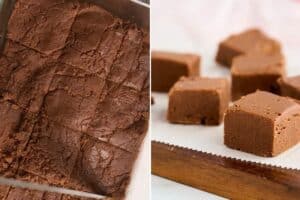
- Pour and set. Quickly pour or scoop the fudge into a buttered plate or dish, using a spatula to spread it evenly if needed. Work swiftly here, as the fudge will set quickly once it cools. Then, allow the fudge to cool for about 20 minutes before cutting into one-inch squares.
Notes
Nutrition
While modern fudge recipes use marshmallow fluff or condensed milk for shortcuts, this method uses more simple ingredients. And really, it’s just as easy as those. You’re just heating, beating, and pouring. Simple.

Think of this like making caramel, it’s simple, but each step matters. Follow the instructions and you’ll be happy with the results.
Tips for Success
It’s important to hit 240°F for the right texture. If it’s lower, the fudge won’t set properly; it can become dry and crumbly if it’s higher. A candy thermometer is best, but an instant-read thermometer can work, too. If your fudge didn’t set, it didn’t reach 240°F. End of story. Always use a thermometer.
To check if your thermometer is accurate, boil a small pot of water—it should read 212°F. If it doesn’t, adjust your target temperature slightly to make sure your fudge is right.
Humidity can affect the texture of the fudge. On very humid days, your fudge might be softer than usual. Make fudge on a dry day, or cook it a minute or two longer. For more fudge inspiration and basic recipe ideas, check out this guide from King Arthur Baking to explore different fudge flavors and techniques.
Letting the mixture cool without stirring before you beat it helps create a smooth texture. Moving it too soon may end up grainy, so it’s worth being patient.
Watch for the shine when you start beating the fudge—it should start losing its gloss and thickening. Stop beating at that point, or it may harden too quickly and become hard to spread in the pan.
If you live above sea level, read here to learn about candy-making at high altitudes.
Ingredients and Equipment
Here’s what you’ll need and why it matters:
- Candy thermometer: This is an absolute must. You can find one in the store’s baking aisle or kitchen section.
- Corn syrup: A small amount helps keep the sugar from crystallizing, which keeps the fudge smooth and soft. In grocery stores, you can typically find corn syrup near baking supplies or sweeteners.
- Butter: Use real, unsalted butter for the best flavor and texture—margarine won’t work.
Make It Your Own
- Mix in chopped nuts before pouring.
- Try peppermint extract for holidays.
- Add espresso powder for mocha fudge.
This is absolutely worth the trouble. Hope you love it at Christmas, Valentine’s Day, or any time at all.
More Classic Homemade Candies:
Our favorites are fudges and caramels, so we have a ton of recipes.
- Vanilla fudge is a stovetop favorite without all the chocolate.
- Peanut butter fudge is one of my children’s favorites.
- Making caramels on the stove is easier than you think.
- And here is my personal favorite homemade candy.


My grandmother’s fudge was always soft, but somewhat crystallized. How can I get that texture? she never wrote it down
First time I have seen the same recipe that my Mom used to make her fudge, I make about 6-7 batches every year. My brother who was a professional baker and made candy told me to buy a copper pan, works good.
hi erllene. yes its such a great classic recipe isn’t it?! i would love a copper pan, saving up for one!
I only have chocolate chips on hand. Do you know how many ounces or grams of chips I should add to equate to ¼ cup of cocoa powder?
stephanie i wouldn’t recommend using this recipe without cocoa. the chips will have oils and other things and i don’t think the fudge would set up right. 🙁
Whenever I make a recipe with cocoa powder, I combine the sugar and cocoa alone and mix them thoroughly. This helps with breaking down clumps in the cocoa powder and reduces the tendency for new clumps to form when the liquid is added.
I do not agree that stirring while bringing mixtures up to 240° creates problems. But it is not helpful to stir unless the burner is too hot.