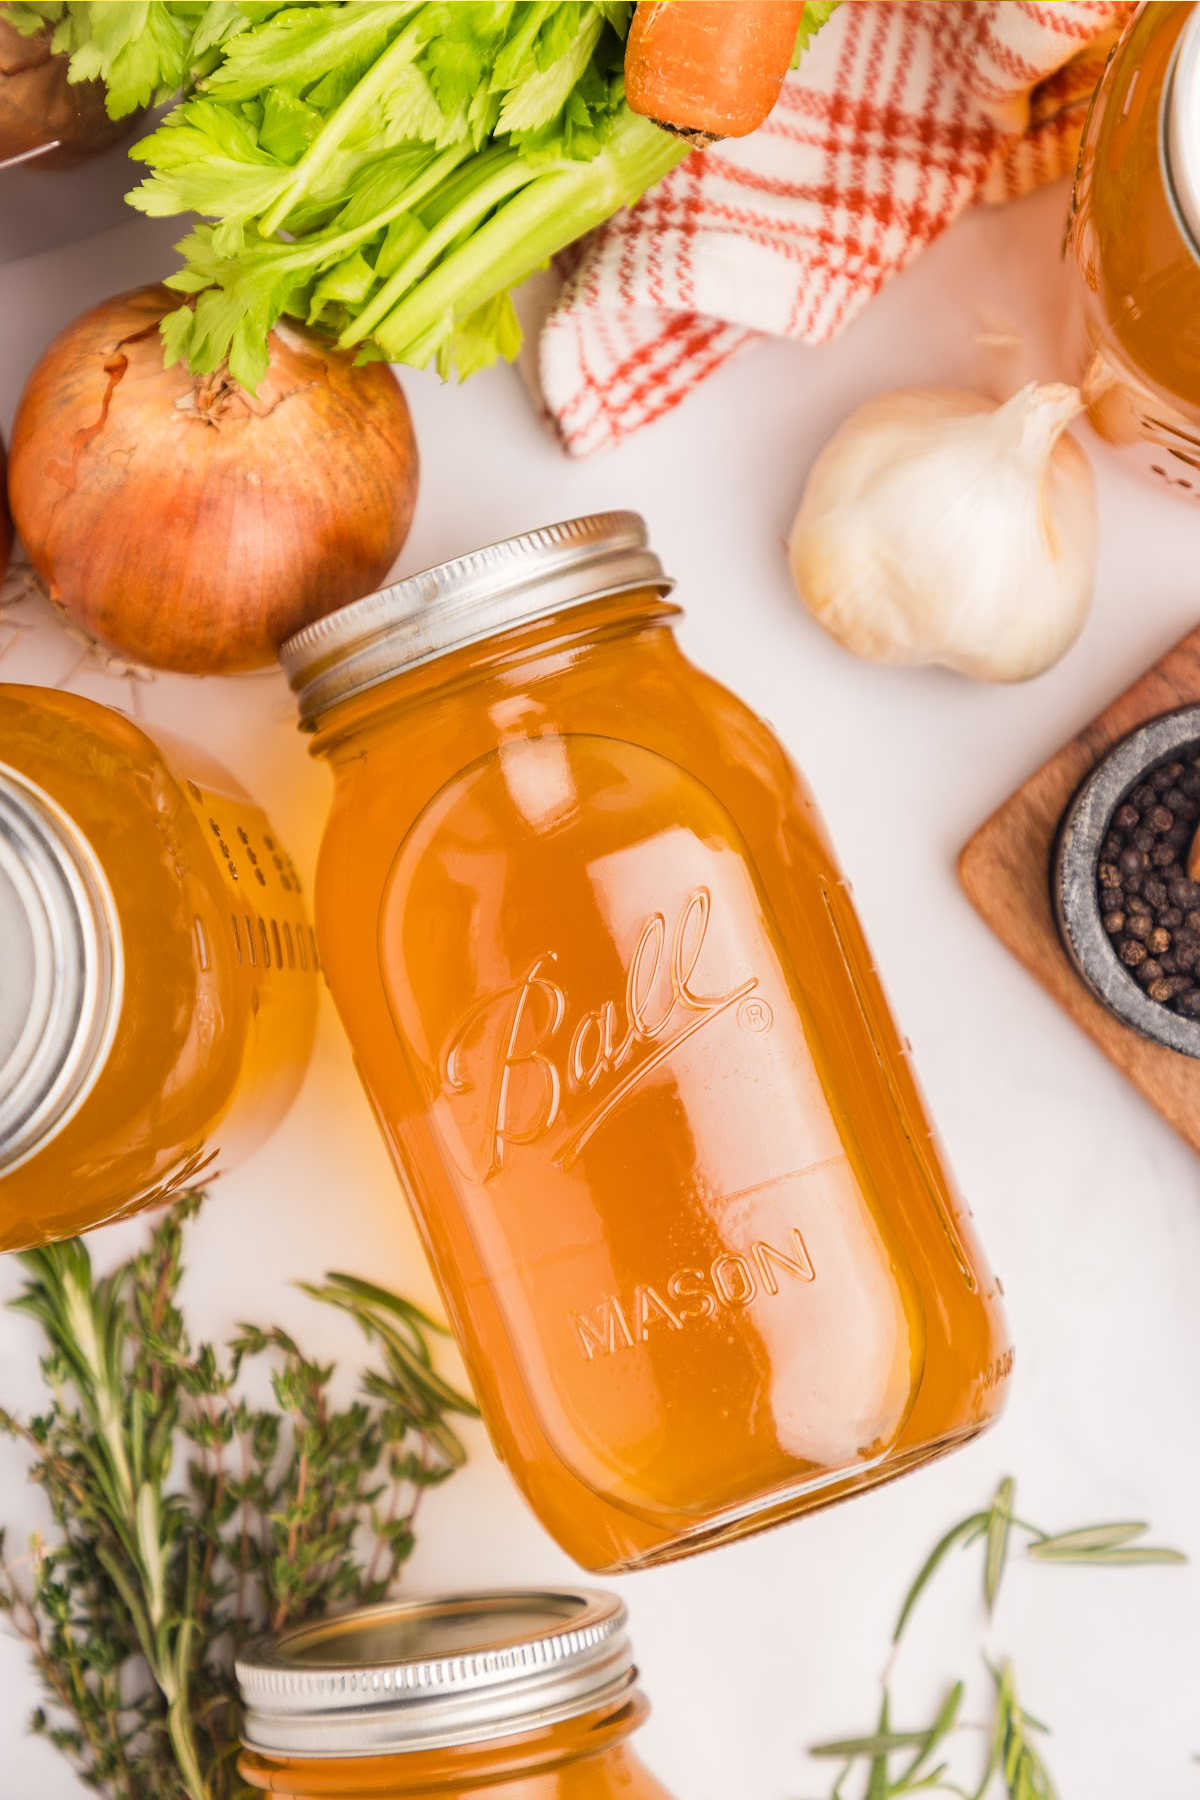
Vegetable Stock.with Herbs (To Pressure Can or Freeze)
A recipe that helps you make something out of nothing, this stock transforms all those veggie scraps into a flavorful base for rice, soups, or stews. You can freeze it just fine, but I love having it canned so it’s ready to go and not taking up freezer space. I have instructions below for however you’d like to preserve it.
This recipe uses pressure canning because of the low-acid ingredients. Do not use a waterbath canner!
Table of Contents
Ingredients and Tools You’ll Need
This is super handy whenever you need to add some extra flavor to a dish, like rice. I also love knowing what’s in it (sadest-looking veggies from the fridge 😅). You have to use a pressure canner, not a water bath canner, for safe long-term storage. If you don’t have one, you can make it and refrigerate or freeze it. Just don’t process in a water bath canner.
This will make 4 quarts, or 8 pints (about 16 cups). If you’d like to double or triple this recipe, you can make adjustments in the recipe card at the bottom of this post.

Equipment
- Pressure canner
- Mason jars
- strainer
- Cheesecloth
- Large pot
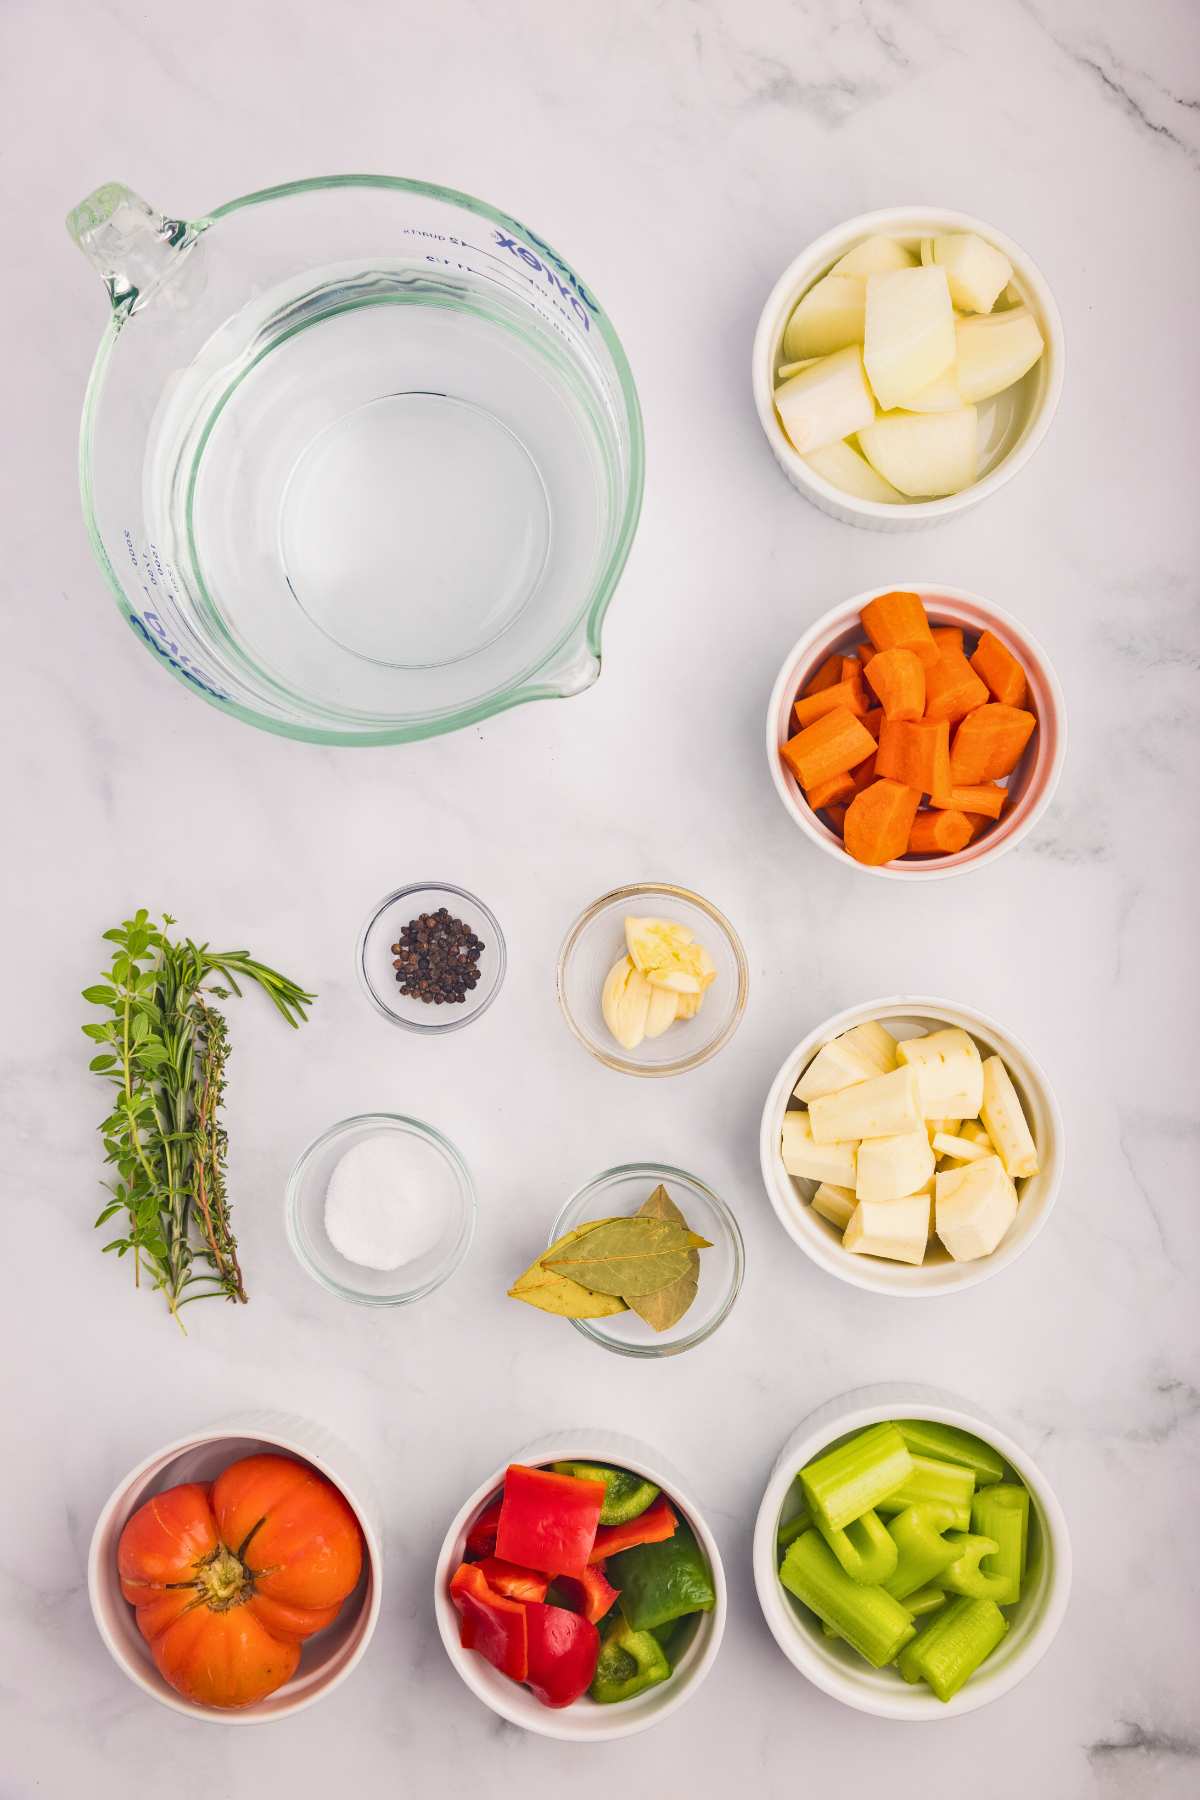
Ingredients
- 10 carrots peeled and roughly chopped (about 1 lb)
- 6 celery stalks roughly chopped
- 2 medium onions roughly chopped
- 2 bell peppers, roughly chopped and seeds removed (any color)
- 1 parsnip peeled and roughly chopped
- 1 large tomato or 3 Roma chopped or left whole
- 6 cloves garlic smashed and papers removed
- 4 bay leaves
- 4 sprigs oregano or 1 tablespoon dried oregano
- 4 sprigs thyme or 1 tablespoon dried thyme
- 4 sprigs rosemary or 1 tablespoon dried rosemary
- 1 tablespoon salt, optional
- 1 tablespoon whole black peppercorn
- 32 cups water 2 gallons
How to Make Vegetable Stock
For those of you who live above sea level, use this article to adjust your pressure canner’s weight and processing time for your altitude.
Step One: Cook
Throw all the ingredients in your biggest pot with the water. Bring it to a boil, then simmer covered for 2 hours.

Step Two: Prep Jars
About an hour in, wash your canning jars and put them in your pressure canner with water. Turn the heat on medium to get everything hot.

Step Three: Strain
After 2 hours, strain out all the vegetables. You just want the liquid. Bring the strained stock back to a boil.

Step Four: Fill And Seal Jars
Fill your hot jars with the hot stock, leaving 1 inch at the top.

Wipe the jar rims clean, put the lids on, and tighten the rings snug but not tight.

Step Five: Process
Put the jars in your pressure canner with about 3 inches of water. Lock the lid and turn heat to medium-high. Let the steam vent for 10 minutes, then bring the pressure to 11 pounds. Process for 35 minutes.

Step Six: Cool And Check Seals
When it’s done, turn off the heat and let the pressure drop on its own. Don’t open it early or your jars could break. Once the pressure is gone, wait 10 more minutes, then carefully remove the lid. Let the jars sit in the canner for 5 minutes, then move them somewhere to cool for 24 hours.

Check the seals by pressing the lid centers. If they stay down, you’re good. If not, put the jar in the fridge.
Freezing It Instead
If you don’t have a pressure canner or want to freeze your stock, that’s fine! Let it cool down to room temperature and pour it into freezer-safe containers or bags, leaving some headspace for expansion. Freeze the stock for up to 6 months
Storing & Using
Store your sealed jars in a cool, dark place for 12-18 months. Once you open a jar, refrigerate it and use within 5 days.
- Serve in soups, like creamy chicken noodle soup or ham and bean soup, stews, sauces, or gravies.
- You can use vegetable stock to replace chicken stock in any recipe.
- I like cooking rice in it and serving it with broiled brown sugar salmon.
Questions and Troubleshooting
Sure. Use whatever you have in the fridge. Just try to keep the proportions the same.
Peeling just gives you a cleaner-looking stock. If you are short on time or don’t really care, you can throw them in unpeeled.
The vegetables were boiled too much. Next time, try a long gentle simmer. And make sure you strain it well. You might need to strain it twice or through a cheesecloth.
You can still make it, but you can’t store it in the pantry long-term. You can skip the canning steps, pour the cooled stock into airtight containers, and store it in the fridge for up to 5 days.

More Pantry Staples To Make
Use these canning recipes to have a stocked pantry all year long.
- Along with veggie stock, it’s also good to have some bone broth on hand.
- This homemade Dijon mustard is super simple and full of flavor.
- Preserve some green beans from your garden.
- It’s always good to have some homemade jams. Try cherry jam, plum jam, or some apple pie jam!
Printable Recipe
Vegetable Stock for Canning
Equipment
- Mason jars
- strainer
- Cheesecloth
- Large pot
Ingredients
- 10 carrots peeled and roughly chopped (about 1 lb)
- 6 celery stalks roughly chopped
- 2 medium onions roughly chopped
- 2 bell peppers roughly chopped and seeds removed (any color)
- 1 parsnip peeled and roughly chopped
- 1 large tomato or 3 Roma chopped or left whole
- 6 cloves garlic smashed and papers removed
- 4 bay leaves
- 4 sprigs oregano or 1 tablespoon dried oregano
- 4 sprigs thyme or 1 tablespoon dried thyme
- 4 sprigs rosemary or 1 tablespoon dried rosemary
- 1 tablespoon salt optional
- 1 tablespoon whole black peppercorn
- 32 cups water 2 gallons
Save This Recipe
You'll join my email list which you will love. And if you don't, unsubscribe in one click. ❤️
Instructions
- Cook. In a large pot, add all of the ingredients. Set it over medium heat and bring it to a boil. Once the mixture is boiling, reduce the heat to simmer, cover, and simmer for about 2 hours.
- Prep jars. Halfway through the simmering time, prepare the jars for canning. Wash the jars, lids, and rings with hot soapy water. Transfer the jars to your pressure canner. Fill the jars with water, and fill the canner to the water fill line (about 3 inches). Place the canner over medium heat.
- Strain. Strain the broth over a fine mesh strainer. Transfer back into the large pot and bring back to a boil. (If you do not have a fine mesh strainer or want a clearer broth, line a strainer with 2 layers of cheesecloth.)
- Fill jars. Ladle the hot broth into the hot jars, leaving a 1-inch headspace.
- Wipe rims. Wipe the rims with a clean, damp cloth (you can dampen the cloth or paper towel with white vinegar)
- Secure jars. Place the lids and rings on the jars. Tighten so they are fingertip tight.
- Process. Transfer jars to the pressure canner and fill with water until the fill line (or about 3 inches of water). (Add a splash of white vinegar to prevent mineral deposits from forming on the outside of your jars.) Place the lid on and lock it in place. Set the heat to medium-high. Let the canner vent steam continuously. Once steaming, set the timer for 10 minutes. After 10 minutes, set the canner to 11 lbs (digital) or place weight (10 lbs). Once the canner is up to pressure, set the timer for 35 minutes (quart jars) or 30 minutes (pint jars). If the pressure goes below the set pressure, stop the timer, bring the pressure back up, and restart the timer.
- Vent. Once the timer goes off, remove the canner from the heat and allow the pressure to drop naturally. When the pressure hits zero, remove the weight (or set the dial to 0) and allow the steam to stop venting. Wait 10 minutes once the steam stops venting to remove the lid.
- Cool. Remove the lid, tilting the lid away from your face, and allow the jars to rest in the canner for 5 minutes. Transfer the jars to a heat-safe area and let them cool for 12-24 hours.
- Check seals. After 24 hours, check the seal by pressing the middle of the lid. If it stays down, your jars are properly sealed. Remove the rings and store them in a cool, dark place for 12 to 18 months, depending on your lid manufacturer’s recommendations. If a proper seal has not happened, refrigerate the broth and use it within 5 days.
Notes
Nutrition