Juice is expensive and can be full of sugar, but making your own is quite simple. The process is long but straightforward, and the result is a clean, naturally sweet juice. If you’ve never tried canning before, this is a great place to start. I’ll walk you through exactly how to can grape juice at home.
This recipe is long, but easy. Take your time and don’t rush. Don’t skip the settling step or you won’t have pretty, clear juice at the end.
Table of Contents
Ingredients and Tools You’ll Need
You don’t need the sugar, but feel free to add it. I would slowly add up to ¼ cup, tasting along the way.

Heart’s Content Farmhouse is a participant in the Amazon Services LLC Associates Program, an affiliate advertising program designed to provide a means for sites to earn advertising fees by advertising and linking to Amazon.com. This means that when you click on certain links on this site and make a purchase, I may earn a small commission at no additional cost to you. I only recommend products I genuinely believe in and would use in my own kitchen. As an Amazon Associate, I earn from qualifying purchases.

FREE FOR SUBSCRIBERS
Canning Binder
Subscribe (free!) to my newsletter to receive this PDF + dozens of others in my printable library. You’ll also get emails you’ll truly love, with a weekly meal and so much more.
If you’d like to double or triple this recipe, you can make adjustments in the recipe card at the bottom of this post.
Equipment
- Water Bath Canner
- potato masher
- Fine-mesh sieve or cheesecloth
Ingredients
- 12 cups seedless grapes, about 5 pounds
- boiling water
- sugar optional (use up to ¼ cup)
How to Make Grape Juice for Canning
Step One: Boil Water
Bring a pot of water to a boil.
Step Two: Stem And Smash Grapes
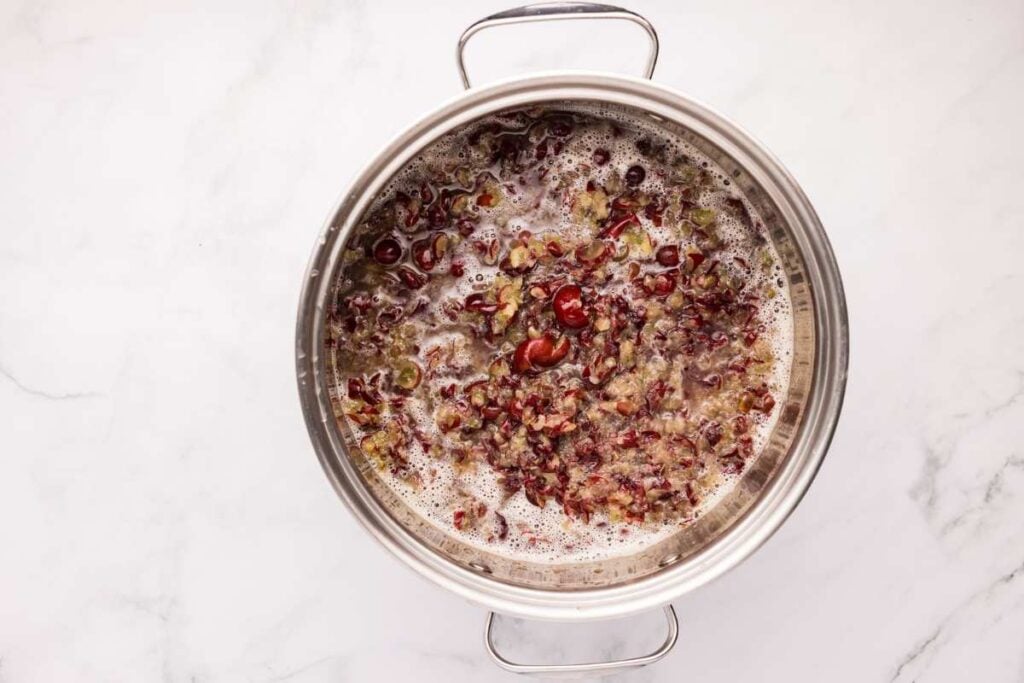
Remove the stems from the grapes and rinse the grapes under water. Place them in a separate large pot. Using a potato masher, smash the grapes.

Step Three: Boil
Cover the grapes with the boiling water. Bring the mixture back to a boil over medium-high heat, stirring occasionally.
Step Four: Simmer
Reduce the heat and simmer for 30 minutes.
Step Five: Strain
Transfer to a dampened jelly bag or fine mesh strainer set over a deep bowl or large stock pot. Let the mixture drip, undisturbed, for at least 2 hours.

Step Six: Chill
Cover the juice and refrigerate for 24-48 hours to allow the sediment to settle.
Step Seven: Prep For Canning
Prepare your jars by washing them with hot, soapy water and place them in a water bath canner. Fill the canner with water so the jars are fully submerged. Place the canner over medium heat and cover. Place the rings and lids of the jars in a saucepan filled with water set over medium-low heat and simmer (do not boil).
Step Eight: Strain Again
Strain the juice again through a dampened jelly bag or cheesecloth-lined colander. Transfer to a clean saucepan.
Step Nine: Add Sugar (Optional)
If adding sugar, add now according to your taste.
Step Ten: Heat Juice
Heat the juice to 190℉ (88℃) over medium-high heat. Do not boil. Keep the juice at a consistent 190℉ for 5 minutes, adjusting the heat to maintain the temperature.

Step Eleven: Fill Jars
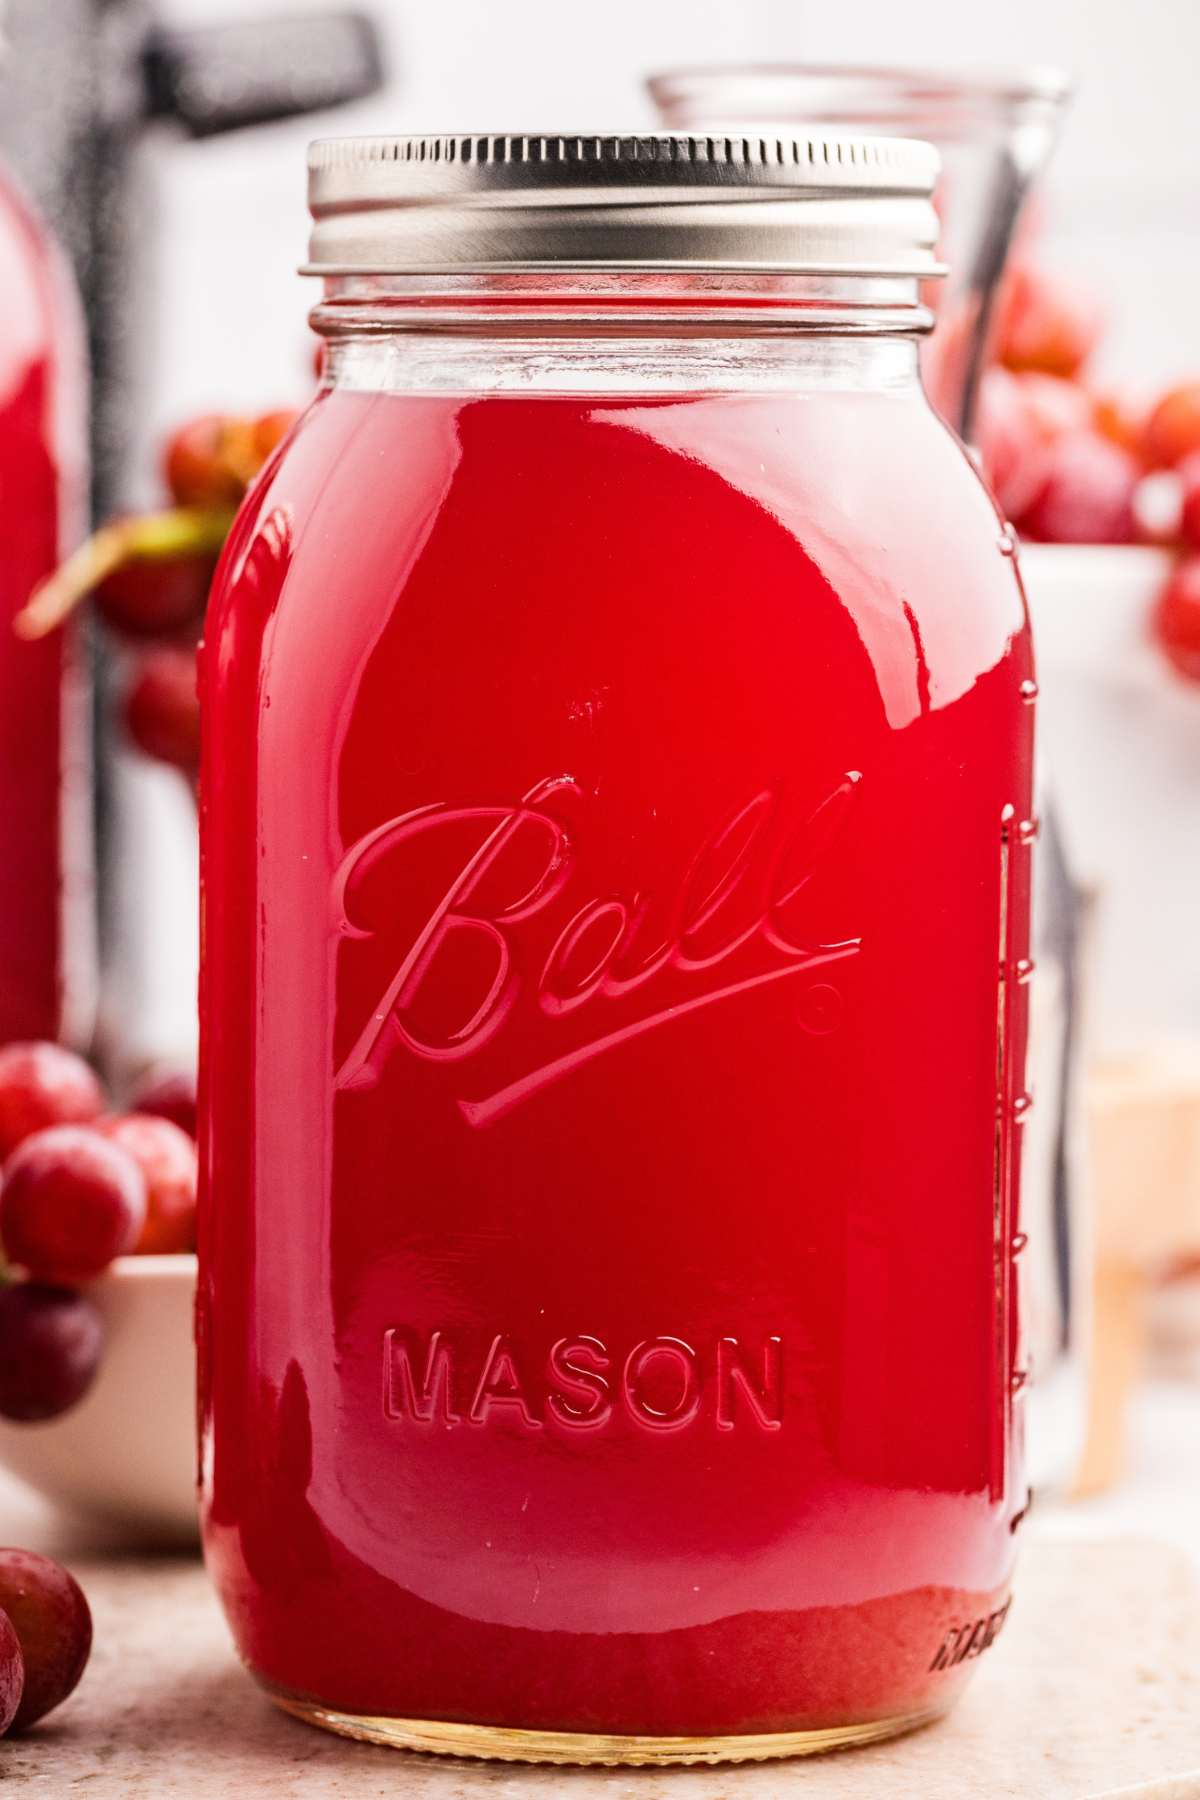
Ladle the hot juice into the hot jars, leaving a ¼ inch headspace.

Step Twelve: Wipe Rims And Twist On Lids
Wipe rims with a dampened cloth and place the lid and rings on the jars, tightening them so they’re fingertip tight.

Step Thirteen: Process
Place the jars in the canner, making sure that they’re fully submerged in water with 2 inches above the jars. Bring to a boil. Once boiling, process for 15 minutes for quart jars or 10 minutes for pint jars.

Step Fourteen: Cool And Check Seals
Turn the heat off, remove the lid, and let the jars sit for 5 minutes. Remove the jars from the canner and transfer them to a heat-safe place to cool undisturbed for 24 hours. Once completely cooled, check the jars for a proper seal. Once a proper seal has been confirmed, remove the rings and store the jars in a cool, dark place for up to 18 months or per your lids manufacturer’s recommendations.

Storage Instructions
Once your grape juice is canned and the jars have properly sealed, store them in a cool, dark place like a pantry or cupboard. The juice will stay fresh for up to 18 months.
Make sure to check the seals before storing, and remove the rings from the jars to prevent rusting.

More Drink Recipes For Canning
- Canned apple juice is another kid favorite recipe.
- This cranberry juice is lovely in winter and can be added to cocktails.
- Mix some canned strawberry lemonade concentrate with water or club soda for a quick summer drink.
Printable Recipe
Canning Grape Juice
Equipment
- potato masher
- Fine-mesh sieve or cheesecloth
Ingredients
- 12 cups seedless grapes about 5 pounds
- boiling water
- sugar optional (use up to ¼ cup)
Save This Recipe
You'll join my email list which you will love. And if you don't, unsubscribe in one click. ❤️
Instructions
- Boil water. Bring a pot of water to a boil.
- Stem and smash grapes. Remove the stem from the grapes and rinse the grapes under water. Place them in a separate large pot. Using a potato masher, smash grapes down.
- Boil. Cover the grapes with the boiling water. Bring the mixture back to a boil over medium-high heat, stirring occasionally.
- Simmer. Reduce the heat and simmer for 30 minutes.
- Strain. Transfer to a dampened jelly bag or fine mesh strainer set over a deep bowl or large stock pot. Let the mixture drip, undisturbed, for at least 2 hours.
- Chill. Cover the juice and refrigerate for 24-48 hours to allow the sediment to settle.
- Prep for canning. Prepare your jars by washing them with hot, soapy water and place them in a water bath canner. Fill the canner with water so the jars are fully submerged. Place the canner over medium heat and cover. Place the rings and lids of the jars in a saucepan filled with water set over medium-low heat and simmer (do not boil).
- Strain again. Strain juice again through a dampened jelly bag or cheesecloth-lined colander. Transfer to a clean saucepan.
- Add sugar (optional). If adding sugar, add now according to your taste.
- Heat juice. Heat the juice to 190℉ (88℃) over medium-high heat. Do not boil. Keep the juice at a consistent 190℉ for 5 minutes, adjusting the heat to maintain the temperature.
- Fill jars. Ladle the hot juice into the hot jars, leaving a ¼ inch headspace.
- Wipe rims and twist on lids. Wipe rims with a dampened cloth and place the lid and rings on the jars tightening them so they’re fingertip tight.
- Process. Place the jars in the canner, making sure that they’re fully submerged in water with 2 inches above the jars. Bring to a boil. Once boiling, process for 15 minutes for quart jars or 10 minutes for pint jars.
- Cool and check seals. Turn the heat off, remove the lid, and let the jars sit for 5 minutes. Remove the jars from the canner and transfer them to a heat-safe place to cool undisturbed for 24 hours. Once completely cooled, check the jars for a proper seal. Once a proper seal has been confirmed, remove the rings and store the jars in a cool dark place for up to 18 months or per your lids manufacturer’s recommendations.
Nutrition


I have never made juice before, it was easy and delicious. I like that you can choose the sugar amount. I did use concord grapes with seeds,our vines did really well this year. it was not hard getting the seeds out.Thank you for the recipe.
hi lori! thanks for letting me know this. it is definitely worth the trouble. jealous of your grapes! 🙂
Im enjoying your recipes and content.
Have you ever picked Concord grapes from a vineyard? They have grapes for picking at some orchards that make amazing flavored grape juice as well.
I have never! thanks for that info I’ll have to try.