
Homemade French Rolls

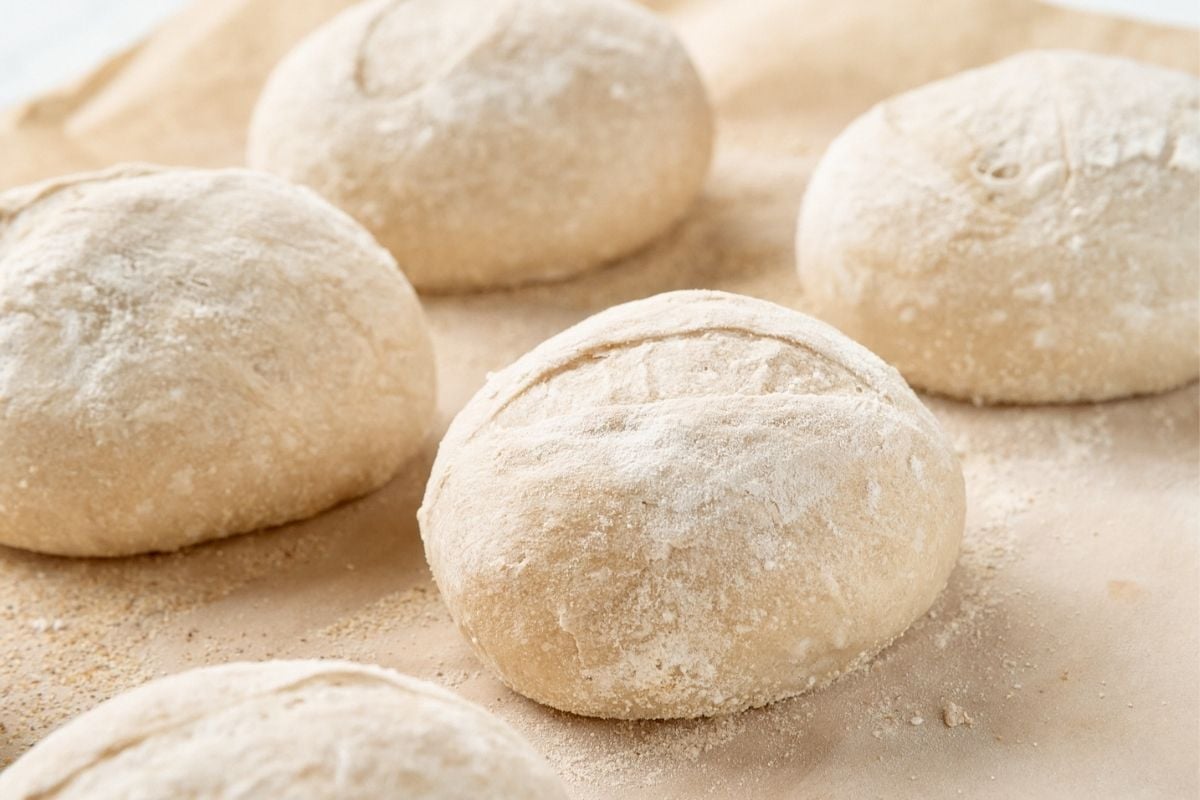
Chewy inside with a thin, crackly crust like a baguette, these are beginner-friendly and fun to make. The recipe makes 8 largish sandwich rolls or 10 smaller dinner rolls.
What You’ll Need
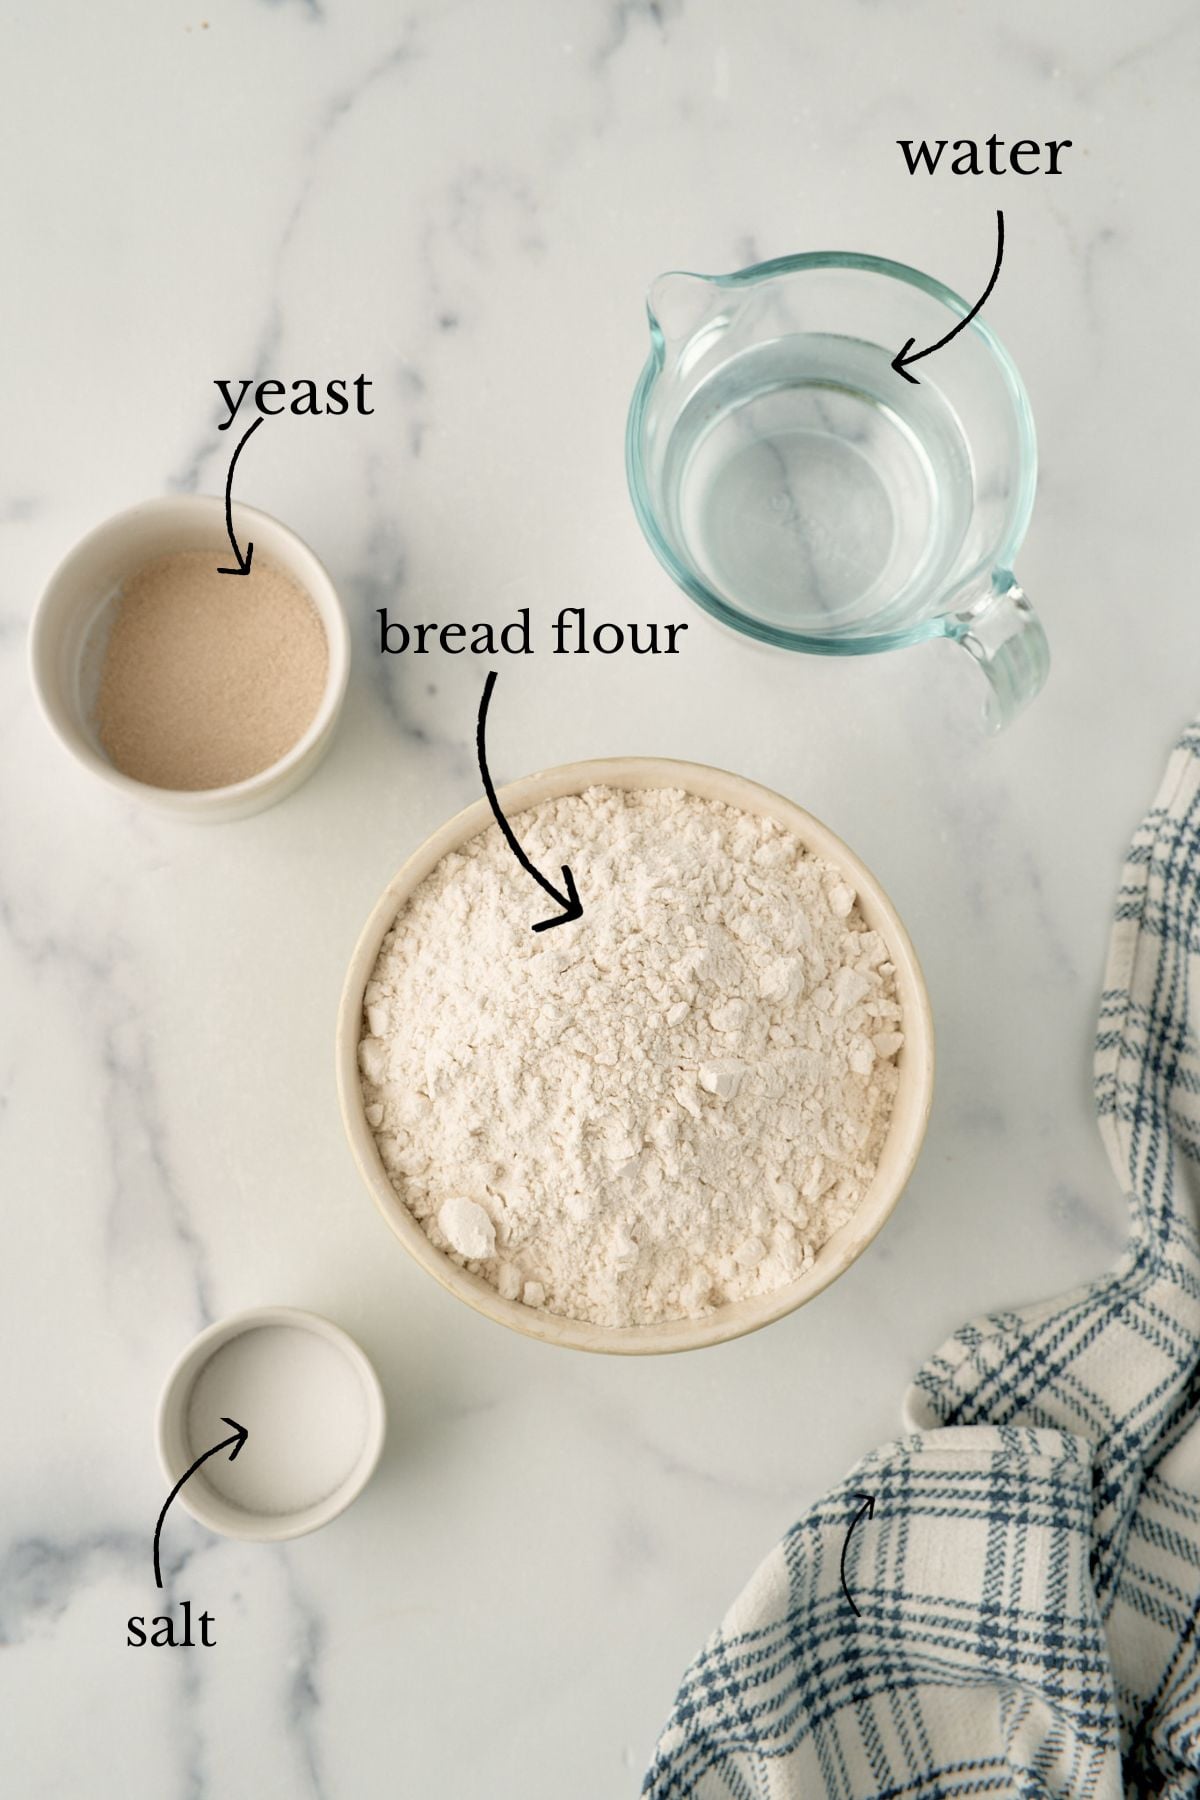
For the Dough
- 4 cups bread flour. You CAN use all-purpose, but don’t expect an amazingly chewy roll. If you do swap it, reduce the water by 20% and add some back only if the dough is dry.
- 1 ½ cups water
- 2 teaspoons salt.
- 2 ½ teaspoons instant yeast. SAF instant is my favorite.
For Dusting
- Cornmeal and flour for dusting
You can absolutely double this, but 4 cups of flour is already the limit for most bread machines, so a double batch means kneading in a stand mixer, by hand, or running the dough cycle twice. You’ll also need to bake in batches, since the steam sheet takes up your second rack.
Equipment You’ll Need
- Bread machine (or stand mixer with a dough hook). You CAN knead by hand! It’s just not my favorite.
- Two rimmed baking sheets. One is for the rolls. The other is a spare: you pour a cup of water onto it in a hot oven to make steam.”
Instructions
Mix the dough
Combine all ingredients in a large mixing bowl. I like to do this step to make sure the balance of flour is right. Depending on your humidity levels and even your brand of flour, the flour might absorb water differently, and you might find your dough is a tiny bit too dry or wet.
You’re looking for a texture that’s slightly tacky but doesn’t leave a mess on your hands or counter. Tweak as needed, then knead.
Knead the Dough
My favorite way, by far, to knead dough is using the bread machine on the DOUGH cycle. If you choose to do that, your life is easy. You can also knead dough using a stand mixer, or even by hand. Just be sure to give it enough time, no matter what.
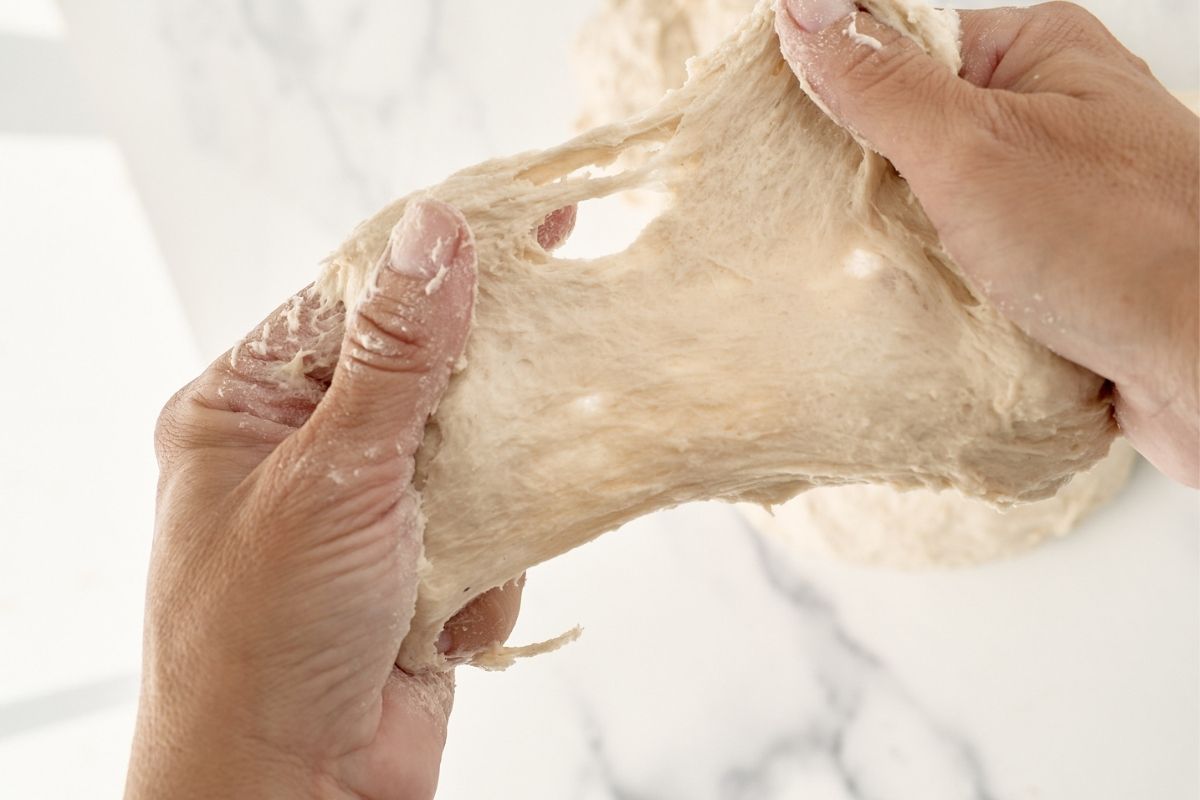
You aren’t done kneading until you see windows in the dough, meaning you can stretch out a piece and see light through it.
First Rise
Place the risen dough into a lightly greased bowl and cover it with plastic wrap or a clean, damp tea towel.
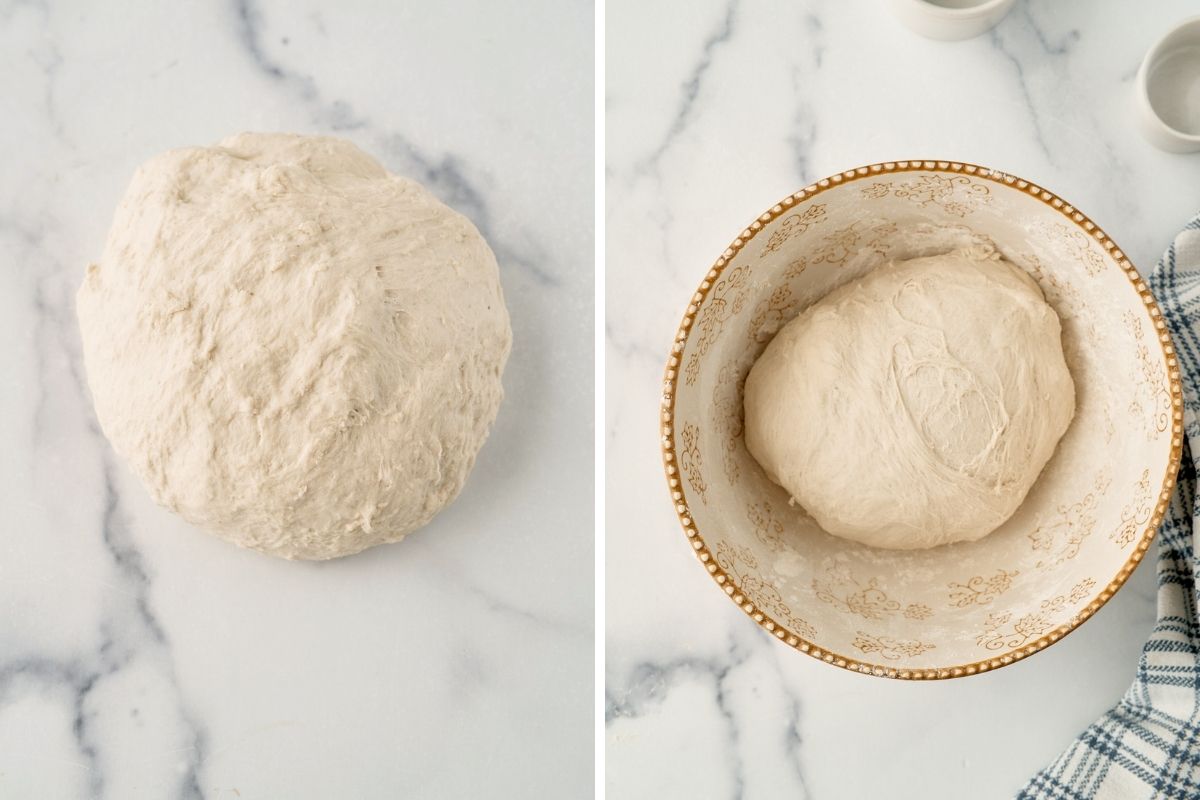
It needs a slightly warm and cozy place to rise (I like to turn on the oven briefly, turn it on, and tuck it in there.)
Shape the rolls
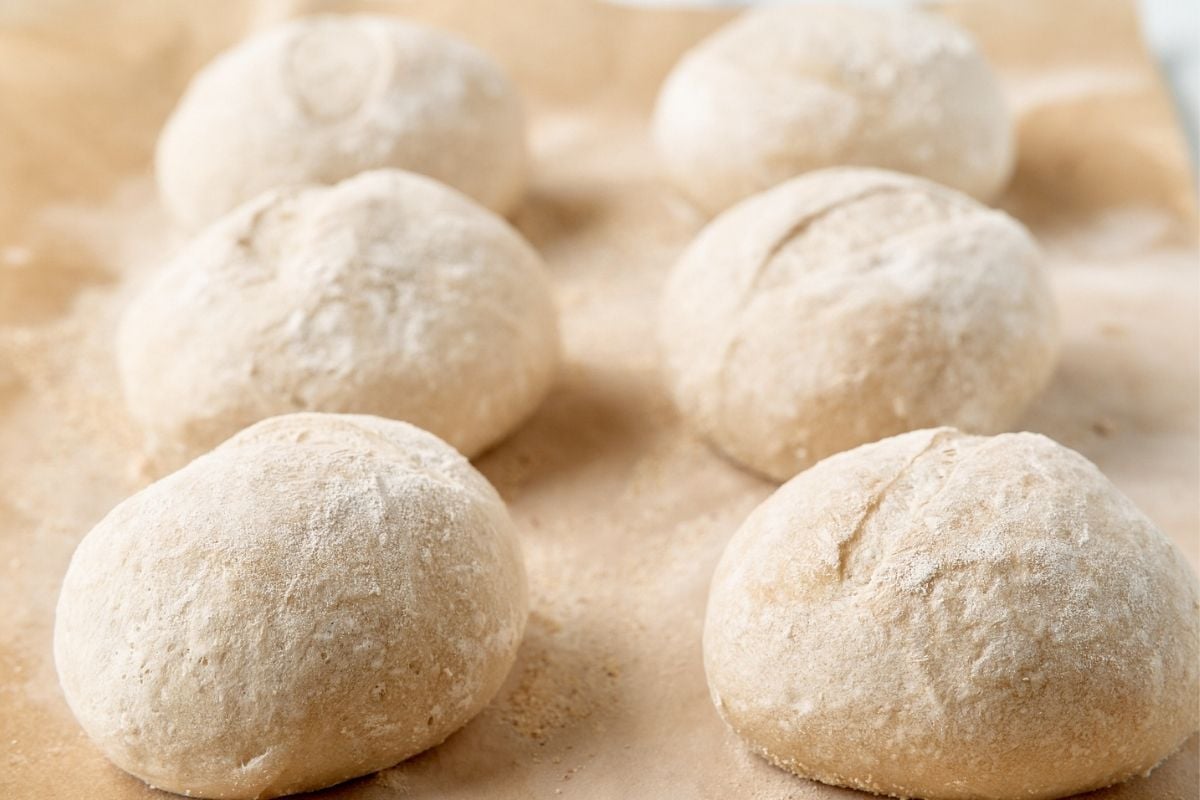
Divide the dough into 10 equal pieces with a sharp knife. Shape each one into a roll by pinching the bottom until the top is smooth and tight.
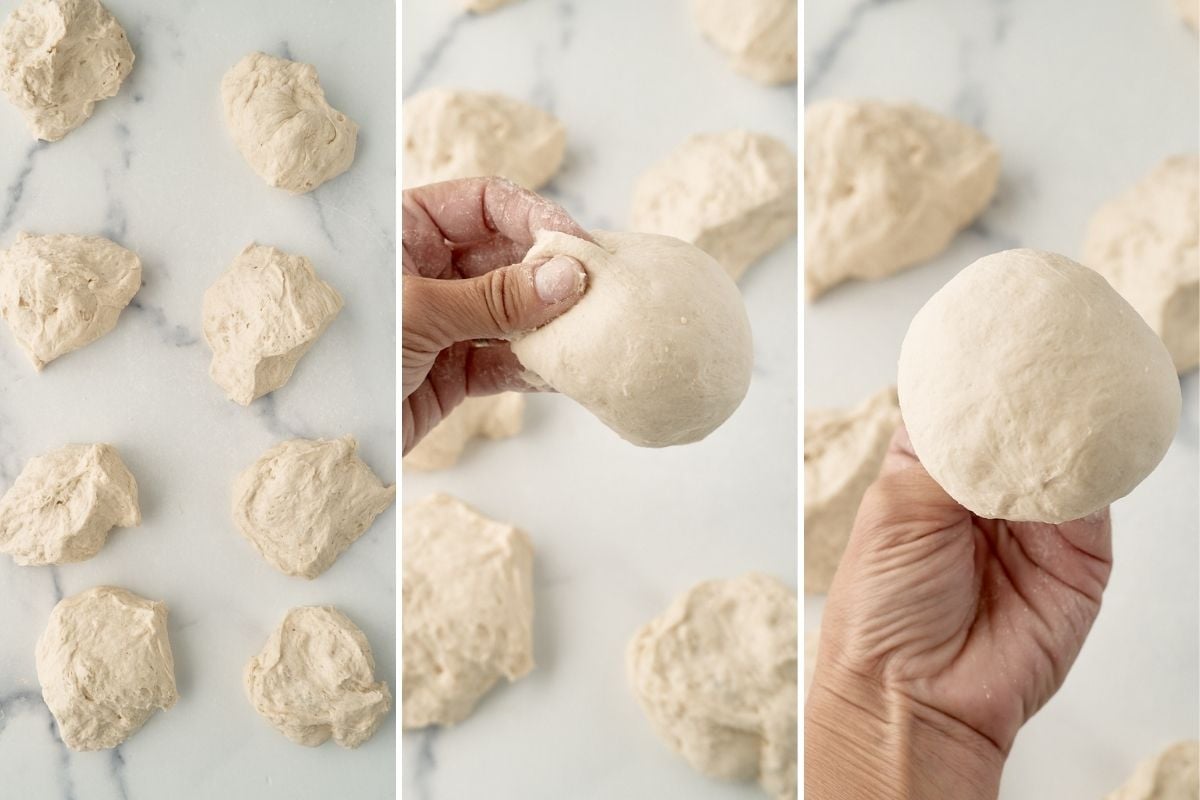
Don’t overthink this. You’re just forming a ball, and any lumpiness on the bottom disappears in the oven.
Prep Baking Sheet and Rolls for Baking
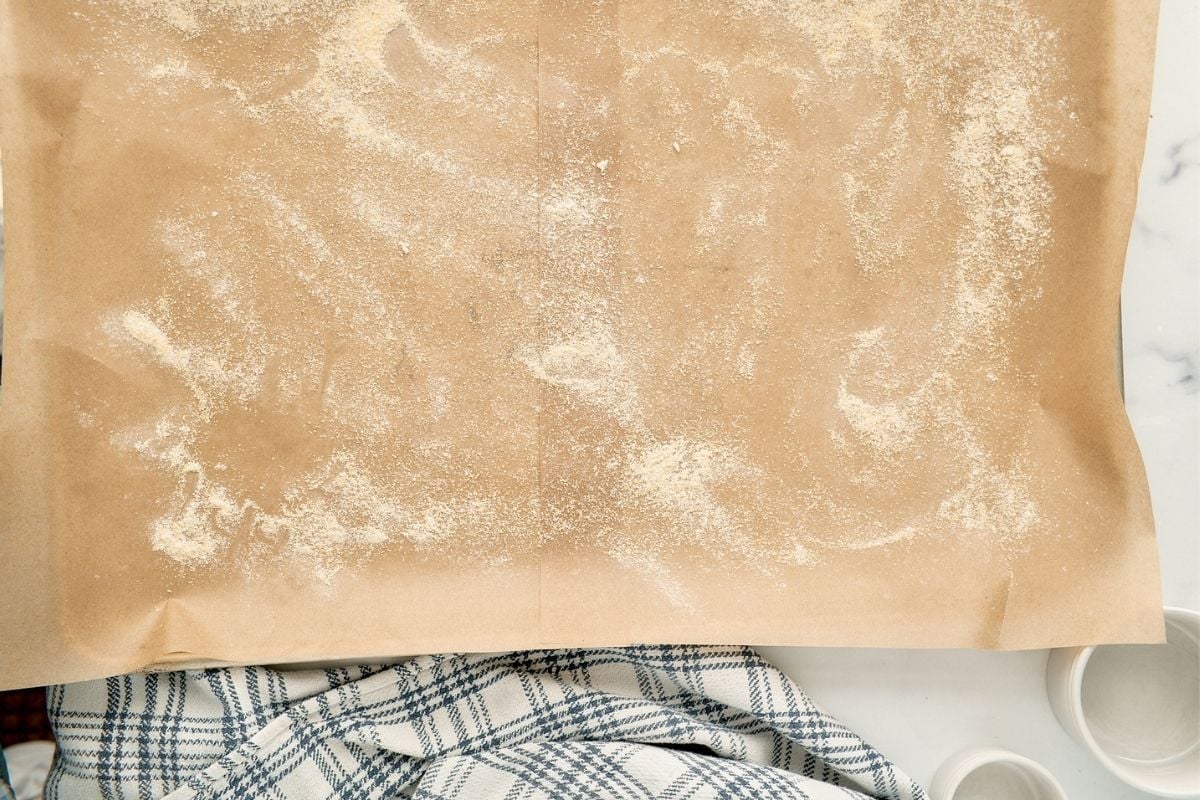
Spray your baking sheet or line it with parchment, then dust it with cornmeal.
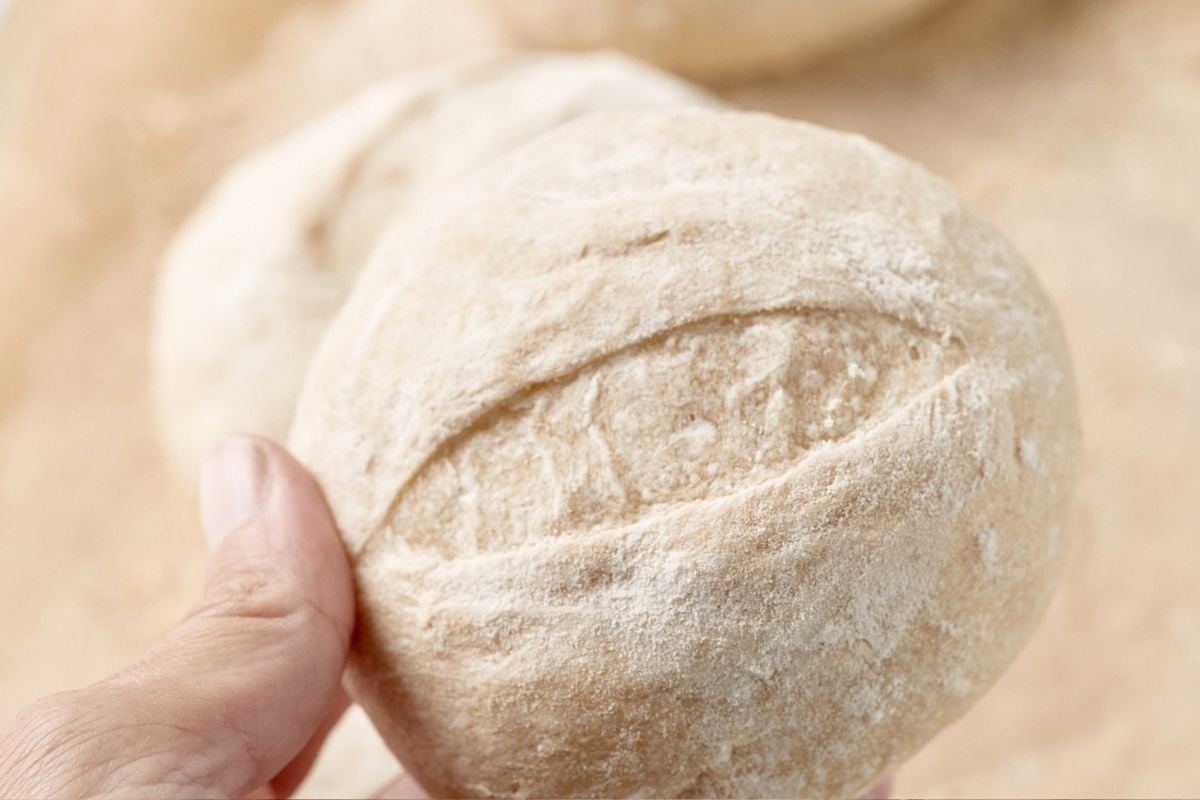
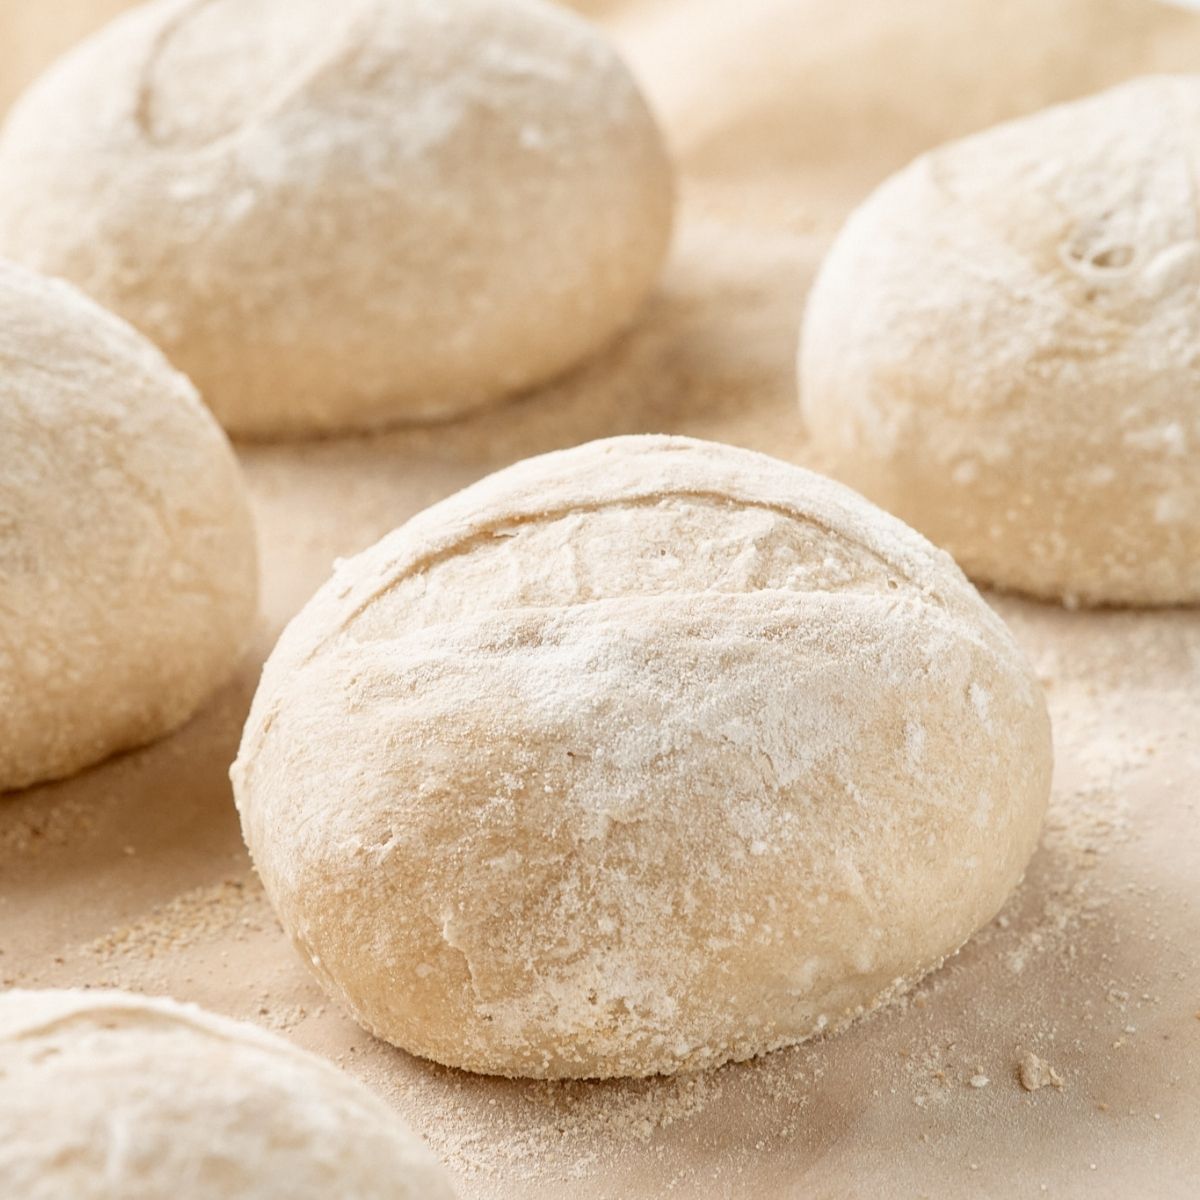
Rub a little flour on top of each roll, set them on the sheet, and slash a diagonal line across each one with a sharp knife.
Save This Post
You'll join my email list which you will love. And if you don't, unsubscribe in one click. ❤️
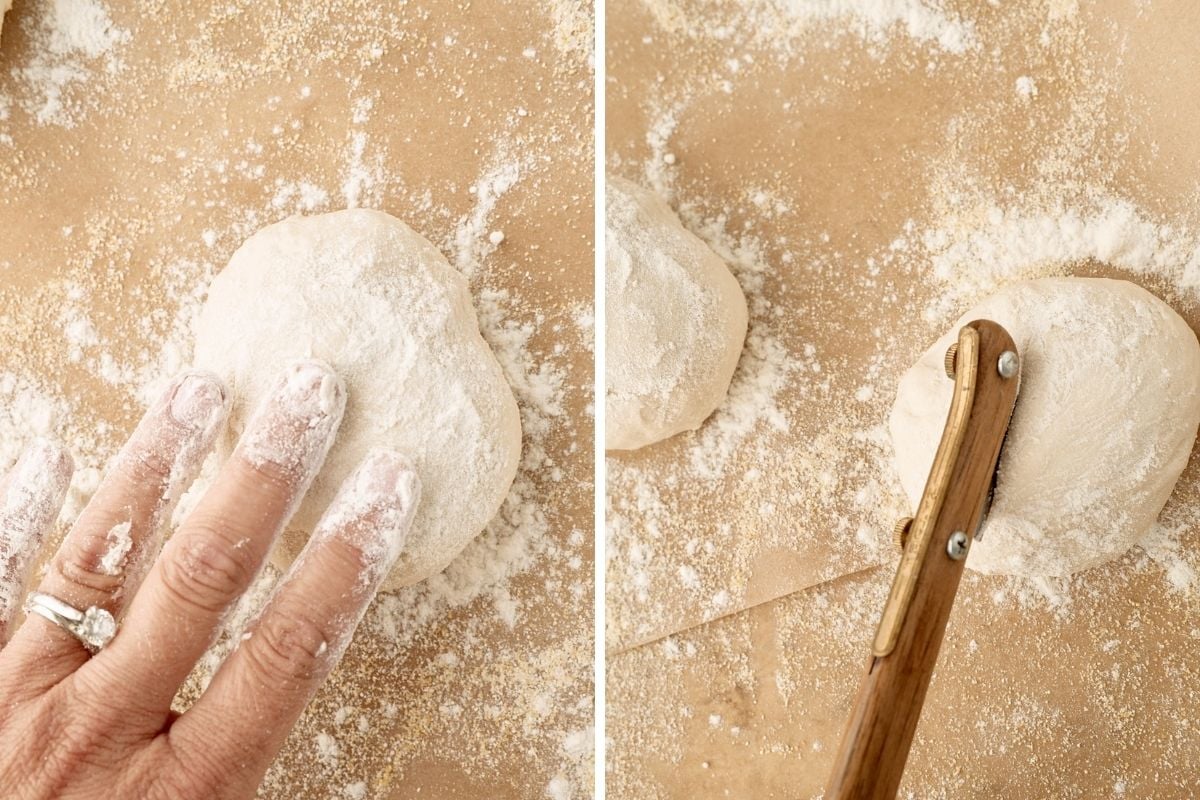
Yes, we’re slashing before the second rise.
Let them rise
Cover the rolls with greased plastic wrap and put them somewhere warm. This second rise takes roughly 45 minutes, but watch the dough, not the clock.
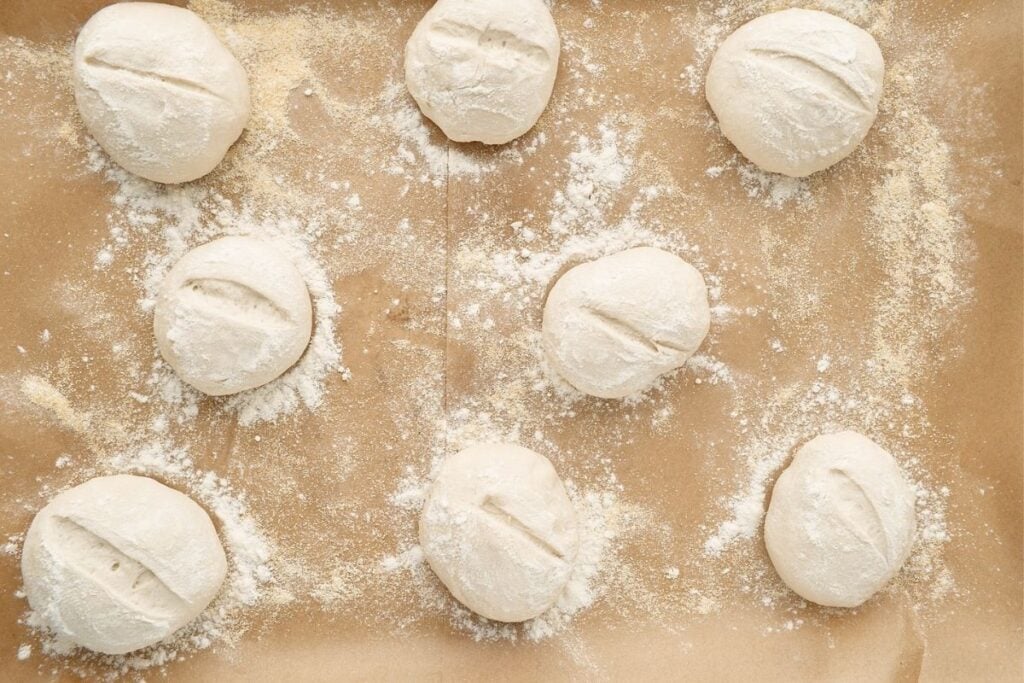
You’re waiting for them to look very puffy. When they do, pull off the plastic wrap.
Toward the end of the rise, arrange two oven racks: the lower one in the center and another a few notches below it.
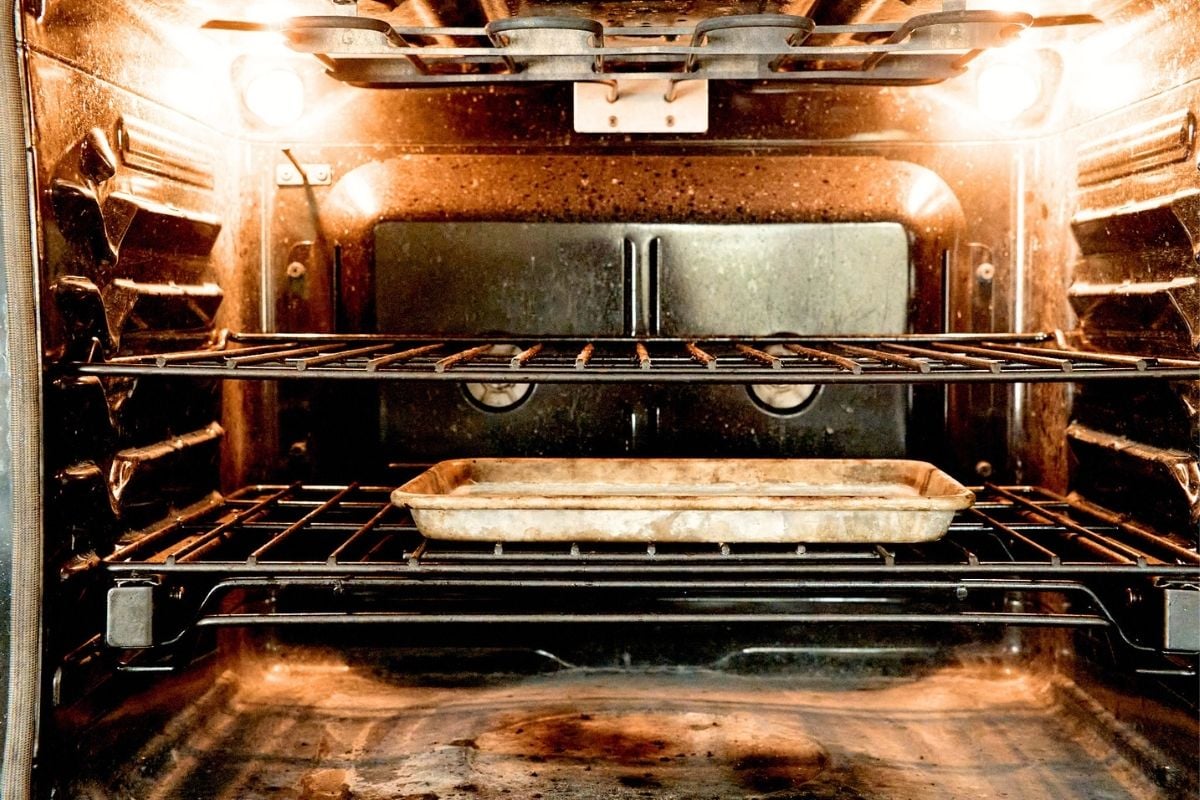
Preheat the oven to 450°F and put a spare rimmed baking sheet on that lower rack while it heats. That empty sheet is your steam machine, and it needs to be screaming hot.
Steam and bake
When the oven is fully preheated, pour 1 cup of water onto the hot spare baking sheet and quickly get the rolls in on the rack above it. The sheet may buckle with a loud pop when the water hits it. I know It’s fine, and that burst of steam is exactly what gives these rolls a thin, crackly crust like a baguette.
Bake for 16 to 17 minutes. Done rolls have slightly browned bottoms and feel light for their size. They will be a bit pale in general, and that’s okay. Again, like a baguette!
Storage Instructions
Cool them and eat them the same day, or freeze them. They reheat beautifully, so I almost always make a batch just to stock the freezer.
Once completely cool, pack the rolls in a freezer bag and they’ll keep up to 3 months. To bring one back, thaw at room temperature and then pop it in a 350°F oven for 5-8 minutes. The crust crisps right back up and honestly, they’re nearly as good as fresh.
Variations
- Seeded tops: skip the flour dusting, brush the tops with water, and sprinkle on sesame or poppy seeds before slashing.
- Garlic-herb rolls: add 1 tablespoon dried Italian herbs and ½ teaspoon garlic powder to the dough.
- Baguettes: shape the dough into 2 long loaves instead of rolls and add a few minutes to the bake time — same slash, same steam.
- Sub rolls: divide into 6 pieces instead of 10 and shape into ovals for meatball or sausage subs.
- Partial whole wheat: swap 1 cup of the bread flour for whole wheat. They’ll be a little denser but still good.
Questions and Troubleshooting
Can I use all-purpose flour instead of bread flour?
You can, but don’t expect the same chew. That’s the bread flour’s job. If you do swap, reduce the water by about 20% and add some back only if the dough feels dry.
Can I skip the steam step?
Please don’t. The steam is what gives these rolls that thin, crackly, crust.
Why do you slash the rolls before the second rise instead of after?
It’s intentional. Slashing before the rise means the cuts open gently and evenly as the rolls puff, and you don’t risk deflating a fully-risen roll with a knife.
Why are my rolls dense and heavy?
Almost always under-kneading or rushing the rise. The dough needs to be smooth and elastic before the first rise, and the rolls should look very puffy before they go in the oven — watch the dough, not the clock.
More crusty rolls for sandwiches
- Crusty Italian Sourdough Rolls
- Bread Machine Italian Hoagie Rolls
- Soft Italian Sub Rolls (Beginner-Friendly)
- Easy Bread Machine Sandwich Rolls: A Step-by-Step Guide
- Easy Crusty Sourdough Rolls
Recipe
French Rolls
Equipment
- 2 Baking sheets
Ingredients
- 4 cups bread flour
- 1 ½ cups water
- 2 teaspoons salt
- 2 ½ teaspoons instant yeast SAF brand is the best
- Cornmeal and flour for dusting
Instructions
- Mix ingredients. Combine your ingredients in a large bowl just to make sure all the flour gets hydrated. If you need to add a tiny bit more flour or water, do so now. The dough should be slightly tacky but not sticking to your hands and there should be no dry bits that don't get mixed in.
- Knead. Knead by hand, stand mixer, or bread machine on the dough cycle, until dough is smooth, stretchy, and "windows" appear in the dough when it is stretched out.
- First rise. Place dough into an oiled bowl, cover tightly, and place in a warm place until roughly doubled in size.
- Divide and shape. Divide into 10 equal pieces using a sharp knife. Shape into rolls, pinching the bottoms until the tops are smooth. Prepare your baking sheet by either spraying with non-stick spray or covering with parchment, then dust with cornmeal. Rub flour on top of the rolls. Place them on the baking sheet, slashing a diagonal line with a sharp knife.
- Second rise. Cover rolls with greased plastic wrap, and put in a warm place to rise. When they look very puffy, remove the plastic wrap. Towards the end of the rising time, preheat the oven to 450, and place a spare empty baking sheet with a lip in the oven. When the oven has preheated, pour 1 cup of water onto the spare baking sheet to create steam. It may buckle. This is okay.
- Bake. Bake for 16-17 minutes (18-19 if you are doing 8 larger rolls). When done, they will have slightly browned bottoms and feel light for their size. Cool and use immediately or freeze.
Video
Notes
Nutrition

















These are wonderful, my first successful attempt at french rolls. One question: after one day they seemed to deflate into something more akin to hamburger rolls. Is this normal? Did I do something to cause this?
this hasn’t happened to me but i usually freeze them after day 1
Eating them right now!
We have a similar bread in Brazil, which I miss so much (since I live in Canada).
So happy to be able to bake something 90% similar to my beloved Brazilian bread.
This recipe is foolproof if you’re using a bread machine. Loved it!
By the way, I used dry yeast and it worked great too… my little buns tripled in size!
so glad you liked them Bianca!
I’ve been looking for a great roll recipe lately. I can’t wait to try these!! Thanks for sharing, they look delish!
These look incredible! Thank you for the recipe, I’ll be trying them today!
Can’t wait to hear how it goes! ????
I think I’ll need to ask wifey if she will make these with me… 🙂 Thanks!
I hope she agrees!