Transform Your Kitchen with a Baking Corner That Makes Your Life Easier
Inside: How to create a dedicated baking corner that can transform your kitchen and make baking a joy. It’s time to break down that inaccessible pantry, my friend.
There’s nothing as beautiful as a pantry—baskets of potatoes, canisters of sugar and flour arranged just right, and an apron hanging on a hook. If you’re like me, it’s the dream. Forget the fancy vacation. I want a deluxe farmhouse pantry.
Here’s the problem. Setting up something like this for your everyday baking supplies is a recipe for frustration. It will look great in pictures, and that is about all it is good for.
Here’s why you’ve been thinking about kitchen organization all wrong and how to fix it. We’re getting weird.
1. Choose Your Location
Your most used ingredients and tools have to go where you are personally standing in the kitchen the most. It can’t be a place you travel to. They have to be stored where you use them.
Whatever is living in the cabinets by your sink or your cooktop, see if you can give it the boot. If your sugars and flours are in a pantry, take them out and put lesser-used small appliances in there instead, bakeware, or whatever else you don’t use every day that is taking up prime real estate in your cabinets.
It might feel unconventional to store baking supplies in prime kitchen cabinet space instead of plates or glasses. However, consider this: how often do you use your everyday dishes versus your baking staples? A plate you just grab once when food is done and then you need that cabinet later once the dishes are clean. But ingredients for a dish are constantly being accessed throughout the process of cooking. Constantly!
2. Claim Your Space
Here’s where I think your ingredients should go:
- Cabinets: These offer the most storage space and can keep baking clutter out of sight. Upper cabinets are a good choice for less frequently used items, while lower cabinets are more convenient for heavy staples like flour and sugar.
- Drawers: Deep drawers are incredibly handy for baking, as you can see everything at a glance. They’re perfect for storing mixing bowls, measuring tools, and other baking equipment.
- Countertop: Attractive canisters or jars on the counter provide easy access to staples like flour and sugar while adding a touch of visual charm.
- Combination: A mix of these options often works best, allowing you to customize your baking corner to perfectly suit your needs.
Remember, the goal is to have your most essential baking tools and ingredients easily accessible within your kitchen’s “hot zone”.
3. Gather Your Essentials
Start by stocking your baking corner with the ingredients and tools you use most often. This will help you visualize how much space is needed.
The Staples:
- Flours: All-purpose, bread, whole wheat, and any specialty flours you frequently use.
- Sugars: Granulated, brown, powdered, and other sweeteners.
- Leavening Agents: Baking powder, baking soda.
- Cocoa Powder: Both unsweetened and Dutch-process, if you use both.
- Salt & Spices: Kosher or sea salt, cinnamon, vanilla extract, and other favorite baking spices.
- Oils & Vinegars: Neutral-flavored oil for baking, vinegars (if used frequently in baking).
The Tools:
- Measuring Cups & Spoons: Both dry and liquid measuring sets.
- Mixing Bowls: A variety of sizes in sturdy materials.
- Spatulas: Flexible silicone spatulas are kitchen workhorses.
- Whisk: Essential for blending and aerating.
- Hand Mixer: If you don’t have a stand mixer or prefer a handheld option for quicker tasks.
- Other Specialty Tools: Cookie cutters, pastry brush, rolling pin, etc. (include only if you have space).
4. Organize to Optimize
Now it’s time to make the most of your baking corner! Here are some strategies to maximize efficiency and keep things looking neat:
- Canisters & Jars: Decant frequently used ingredients like flour, sugar, and sprinkles into clear containers. They’ll be easy to spot, and you can quickly see when you’re running low.
- Lazy Susan: A rotating turntable is brilliant for maximizing space in a cabinet. Store spices, extracts, smaller bottles of oil, and other compact baking items on a lazy Susan for 360-degree access.
- Drawer Dividers: Keep measuring tools, spatulas, cookie cutters, and other odds and ends neatly organized within drawers.
- Utilize Wall Space: Hang measuring cups, spoons, or frequently used utensils on hooks or a pegboard for quick grabbing and a touch of visual interest.
- Under-Shelf Baskets: If your cabinet space allows, add baskets that slide beneath shelves for extra storage of sprinkles, frosting tips, or small items.
Label everything, even if it’s in a clear container! This will ensure you (or anyone helping in the kitchen) can easily find what’s needed.
5. Personalize Your Space
Your baking corner should reflect your style and make you happy to whip up sweet treats! You can make it cute and pretty and take inspiration from a Grandmacore kitchen, but don’t forget it must be practical above all! The entire point of a baking corner is to streamline the process. Every item should be easy to see, grab, and put away, encouraging you to bake more effortlessly.
- Recipe Storage: Keep your favorite recipes close at hand. Use a cute recipe box, a decorative binder, or even a pinboard to display handwritten cards or magazine clippings.
- Small Appliances: If you have dedicated counter space, your stand mixer, bread machine, or food processor can become functional decor pieces within your baking corner. Choose appliances with colors that complement your kitchen design.
- Inspiring Touches: Add a decorative tea towel, a small vase with fresh flowers, or a framed print of your favorite baking-themed quote. These little touches create a welcoming space.
- Reflect Your Baking Style: If you specialize in cookies, keep cookie cutters handy. Love making bread? Have a dedicated proofing basket or linen cloth visible.
Avoid decorative touches that impede your workflow. Don’t force items into drawers where they won’t fit, or create awkward storage solutions (like hanging measuring cups) that become an annoyance.
Remember that real-world kitchens are meant to be used! Don’t get caught up in making your space look a certain way. A well-stocked, practical baking corner might not be magazine-worthy, but it will make the experience of baking so much more enjoyable. And that’s what kitchens are for.
By Katie Shaw

Katie shares simple, reliable recipes from her home in Virginia, where she lives with her husband, three daughters, a chocolate lab, and over thirty chickens.


Greetings,
I loved reading all your great ideas and I will actually save this in my favorites. The first paragraph that I read which began with “There’s nothing as beautiful as a pantry” sounds a lot like my pantry, so, I must be on the right track.
Lots of good information and great ideas, thank you so much.
Emeria
Thank you so much, Emeria! That means a lot to me. It sounds like you already have a beautiful and well-organized pantry! I’m so glad you found the ideas helpful. Happy baking!
what a great idea!
Hey Nicole, thank you! I’m so glad you liked it
Hi there, love this! I made my baking corner a while back. I tried it several ways but it has ended up between the sink and stove and yes it does work best there. I absolutely love it! God bless!
Hi Toni! Yes! Keep spreading the word on the baking corner 🙂
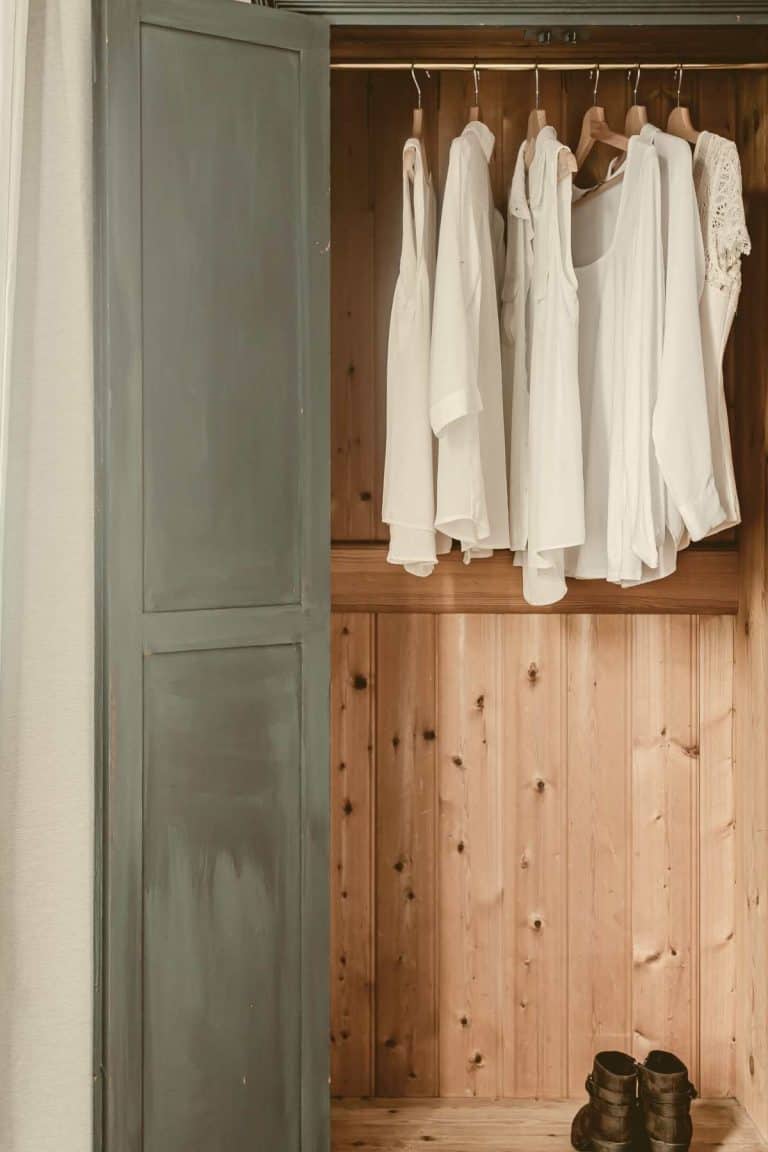
I had to laugh when I read “weirdest” vinegars …That is what I call my not so often used ones!! I am thinking about redoing a thrift store find wardrobe and making it baking and extra storage in the drawers. I also saw one that was turned into a coffee and tea station that was SO cute but despite drinking tea 3 times a day, I don’t think it would be used well. Great tips, thanks!
haha hi michelle! now you can call it your weird ingredient wardrobe 🙂
Thank you for sharing these lovely pictures! Yes, I use glass jars to see what I have on hand.
I really like this idea because it is annoying to have to haul everything from the pantry across the room to the counter when I want to bake. My daughters’ least favorite thing about baking is getting out the ingredients. This would solve that problem. I definitely need to reconsider my kitchen storage and make some changes.
I think Mom is right AND if you bake as much as I do then you need the extra steps rounding up ingredients to burn a few of the calories I know I’m going to eat! 🤣
Too many ads!
hi connie! i offer an ad free membership if you are interested!
I agree wholeheartedly with your post. All of my baking supplies are in the antique Hoosier cabinet I have in my kitchen. My stove is on one side of a doorway and the Hoosier is on the other side of the same doorway. Bulk baking supplies are stored in buckets in a cabinet in with all of my canning supplies.
I would love to know the color of your cabinets, if you know what it is? Mine are a dark, dark brown and I want to lighten them up with a cream color and not stark white.
Love this!! Yes, I agree, things should be put where they’re EASILY accessible. Especially baking supplies.