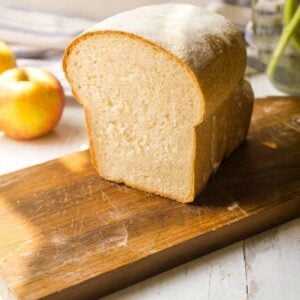
Farmhouse White Bread Recipe
Looking for a recipe for a hearty white sandwich loaf that’s easy to make and rises high and fluffy?
This farmhouse white bread recipe is just the thing. It’s a versatile, easy-to-make sandwich bread that can be used for BLTs, morning toast, or… I’m pretty sure you know how to use white bread.
First time? Read my ultra-opinionated bread-baking tips so that you can do it right.

Farmhouse White Sandwich Bread
Equipment
- Stand mixer or bread machine (helpful but not essential)
- Plastic Wrap
- loaf pan (8.5 x 2.5 x 4.5)
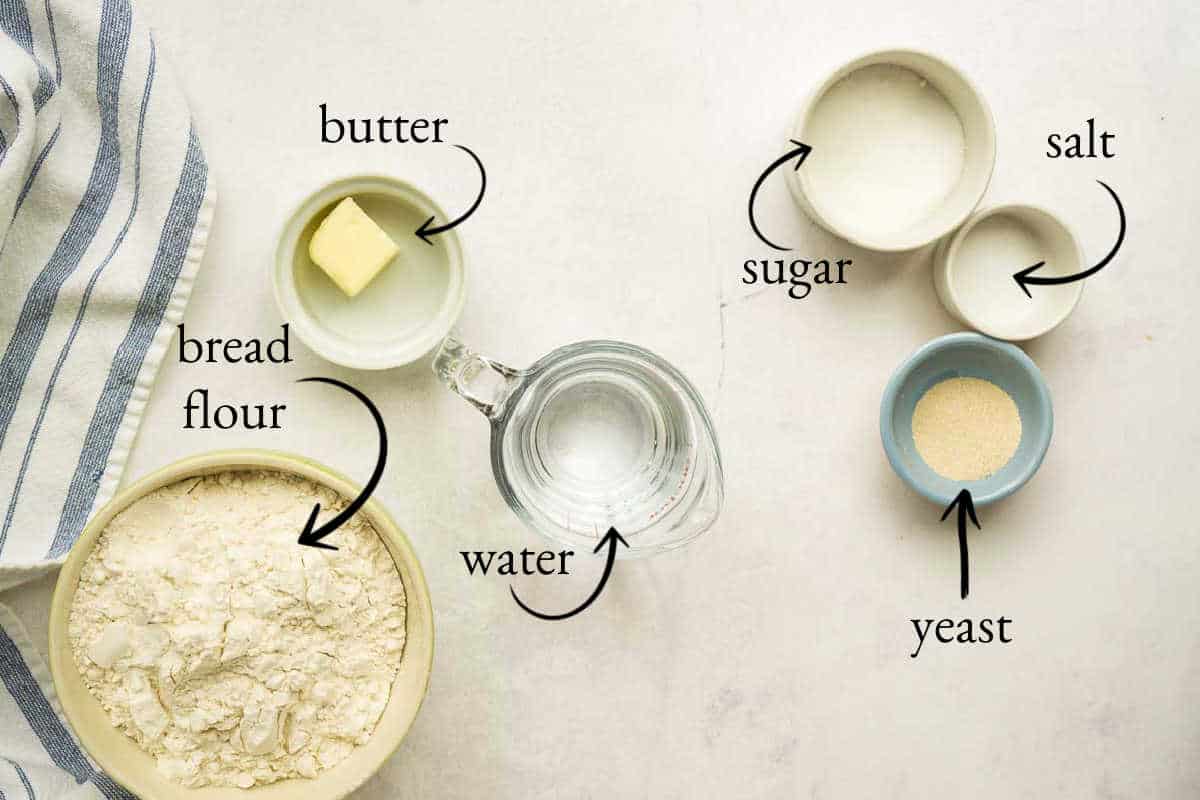
Ingredients
- 3 cups bread flour (You can use all-purpose. You won't get that super-hearty texture; it will be softer. And you'll need to reduce the water by just a bit.)
- 1 cup plus 1 tablespoon lukewarm water
- 2 tablespoons butter softened
- 2 tablespoons sugar (I put sugar in all my bread recipes! I find that it improves the rise and you can't even taste it. You can leave it out if it's bugging you.)
- 1 ½ teaspoons salt
- 2 teaspoons instant yeast (SAF brand is recommended)
Save This Recipe
You'll join my email list which you will love. And if you don't, unsubscribe in one click. ❤️
Instructions
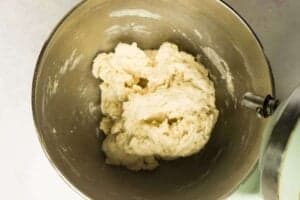
- Mix. Add all ingredients to the bowl of an electric stand mixer or to a large mixing bowl. Combine until a dough is formed that holds together and does not stick to the sides of bottom of the bowl. If it seems too dry and crumbly, add more water a teaspoon at a time. If it's too sticky, add more flour.

- Knead. Knead the dough by machine or hand for ten to fifteen minutes, until it is smooth, soft, and reaches the windowpane stage (meaning that when the dough is stretched, a translucent area appears). If using a stand mixer, allow the machine to rest every five minutes.
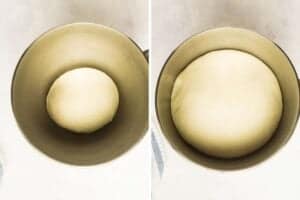
- First rise. Shape the dough gently into a ball and place into a clean, lightly oiled bowl. Cover with a clean, damp tea towel and place into a warm place to rise. Let the dough rise 60 minutes, until it is puffy and has doubled in size.
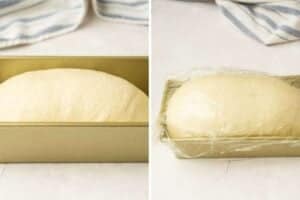
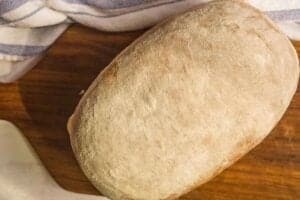
- Shape. Gently stretch the dough into a rectangle, with the short side of the rectangle as long as the long side of the loaf pan you will be using for baking. Tuck in the corners and top of the dough, and roll into a long. Pinch the seams closed and place the loaf, seam side down, into a lightly oiled loaf pan.
- Second rise. Cover with heavily greased plastic wrap and place in a warm place to rise again, until the dough rises to be one inch above the top of the loaf pan. When it is ready, preheat the oven to 350 degrees. Generously flour the top of the loaf with flour.
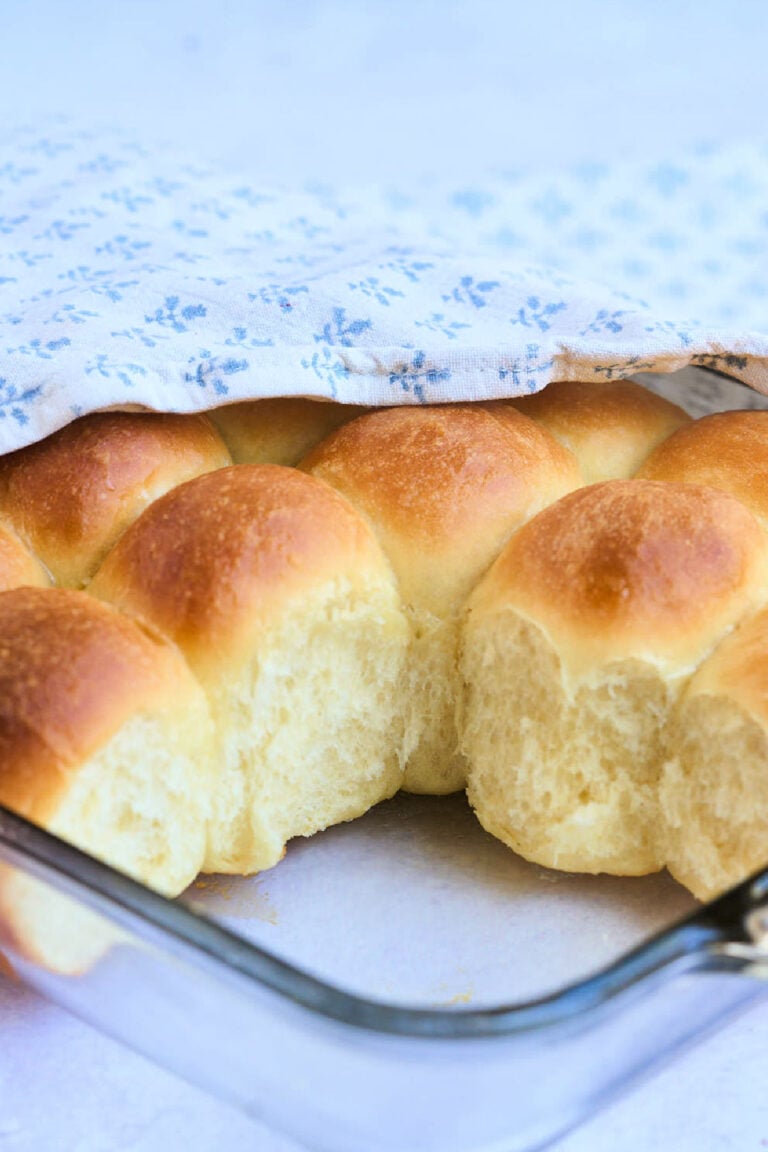
- Bake. Bake at 350 for 45-50 minutes, until the dough is 200-210 degrees internally and sounds hollow when tapped. Remove from loaf pan and allow to cool fully on wire rack. Bread stays fresh 2 days at room temperature, or 2 months frozen.


Video
Notes
Nutrition
We absolutely love, love, LOVE this farmhouse white bread recipe in our house. There’s just something so comforting about making our bread from scratch. The smell of fresh bread baking in the oven makes the whole house feel warm and cozy. Every weekend, I find myself in the kitchen, mixing the dough with my trusty dough hook and watching it rise beautifully in the loaf pans. My family can’t get enough of it – from morning toast to sandwiches and even a sneaky slice slathered with peanut butter for a late-night snack. This bread is so versatile and easy to make with simple ingredients, and it always turns out perfect.

I hope you enjoy it as much as we do!
Ingredients
FAQs
Yes, you can use all-purpose flour, but keep in mind you might need to adjust the amount of water. Strong white bread flour yields the best results for a hearty farmhouse loaf.
The bread should be golden brown and sound hollow when tapped. Additionally, it should reach an internal temperature of 200-210 degrees F.
Yes, you can use active dry yeast. Make sure to dissolve the yeast in warm water first to activate it before adding it to the dough.
Store your homemade bread at room temperature for up to three days. For longer storage, slice and freeze the loaf, pulling out slices as needed.
Substitutions
- Butter: You can substitute with margarine or even oil, but the taste and texture might slightly differ.
- Milk: If you’re out of milk, you can use water with a little bit of powdered milk for a similar effect.
- Sugar: Honey or maple syrup can be used instead of sugar for a different flavor profile.
- Bread Flour: If you don’t have bread flour, use all-purpose flour. The bread will be softer but still delicious. You might need to reduce the water by about 20%.
Additional Uses
- French Toast: This farmhouse white bread makes excellent French toast. The hearty texture holds up well to soaking and frying.
- Garlic Bread: Spread butter and minced garlic on slices of this bread and toast in the oven for a quick and tasty garlic bread.
- Peanut Butter Sandwiches: The soft yet sturdy slices are perfect for making peanut butter sandwiches that won’t fall apart.
I hope you enjoy making and eating this farmhouse white bread as much as we do. It’s a simple and satisfying recipe that brings a lot of joy to our home. Feel free to experiment with it and make it your own. Happy baking!


This is by far the easiest and most straight forward bread recipe I’ve tried. It came out perfectly fluffy (the addition of the temperature for doneness was greatly appreciated).
I am new to bread making and struggled mightily with the learning curve. I tried a lot of recipes for white sandwich bread and was repeatedly disappointed. I finally came across your recipe and it has been a smash hit over and over and over again. Thank you so much for this simple and easy recipe!
can this be made in a Pullman pan and put the lid on to bake to make the regular sandwich loaf?
yes, should work just fine but it will have a soft crust 🙂
Hi there! I just got mine out of the oven and it looks lovely (I decided on the egg wash top) except for it turned out short and squatty and not large and fluffy looking? Where could I have gone wrong? Before I put it in the oven it had risen easily an inch over the pan.
OMG…wish I could post a picture here. Thanks for posting this recipe. This is the best looking and best tasting loaf of white bread I have ever baked. I took the risk of substituting butter-flavored Crisco for the butter, and it behaved as I had hoped.
yay! so glad to hear it. i actually love butter-flavored crisco 🤣 so i might give that a try myself
“ If you do not have bread flour, all purpose flour can be substituted. You will need to reduce the water by 20% and increase slightly if needed. The bread will have a less hearty texture.”
Increase what slightly? I feel like there is a word missing here. I just figured out why my bread isn’t rising as tall as it should. I totally missed this note. *face palm*
Beth… the quote means start with 20% less of the water, and if your dough is too dry, increase the water slightly. there are a number of reasons you bread might not rise but i don’t thin not adding enough water would do it. hope it turns out for you. 😊
Dear Katie: I’ve made your wonderful bread many times, and we all love it. I was just gifted a 9 x 4 Pullman Pan with lid. Do you think I could make a successful Pullman loaf using this terrific recipe? Thanks for your opinion.
Dawn I think it would work just fine! you’ll have a softer crust. I’m so glad you enjoy the recipe.
what size pan did you use? I have a 9×5 and a 12×4. I’m trying to find a recipe that will work for my 12×4!
Ellen I’m using 8.5 x 4. I have never seen a 12×4 i had to look that one up!
Great recipe! I made a test loaf and decided this was my go to white bread recipe from now on. I kneaded it by hand and it rose and browned and cut perfectly! Even at altitude. (5500′) No major adjustments, I just made sure the dough was the right consistency and left it to rise less time.
willow i’m so glad your loaf was a success. it’s 100% our favorite white too!
How crusty is this recipe? For years, I used one similar that made a beautiful loaf with a crisp crust that was out of this world–it reminded my kids of Pepperidge Farm’s bread, but nicer. Unfortunately, the recipe has disappeared, to my complete disgust.
I am about to start making bread again on a daily basis, and am looking for a good replacement.
Tracy it is crusty enough that when i cut into it the crust sort of flakes (if that makes sense).
I really like this bread, made it three times. But the last time it collapsed. It rose an inch above thrown, I put it in the oven, and it came out level with the top of the pan. Any idea what I did wrong?
hi jerry! usually this is because it has over-risen (either during the first or second rise) and the yeast sort of…runs out of steam… in the oven. it happens to me occasionally if my room is warmer than usual. happens to everyone now and then. 🙂