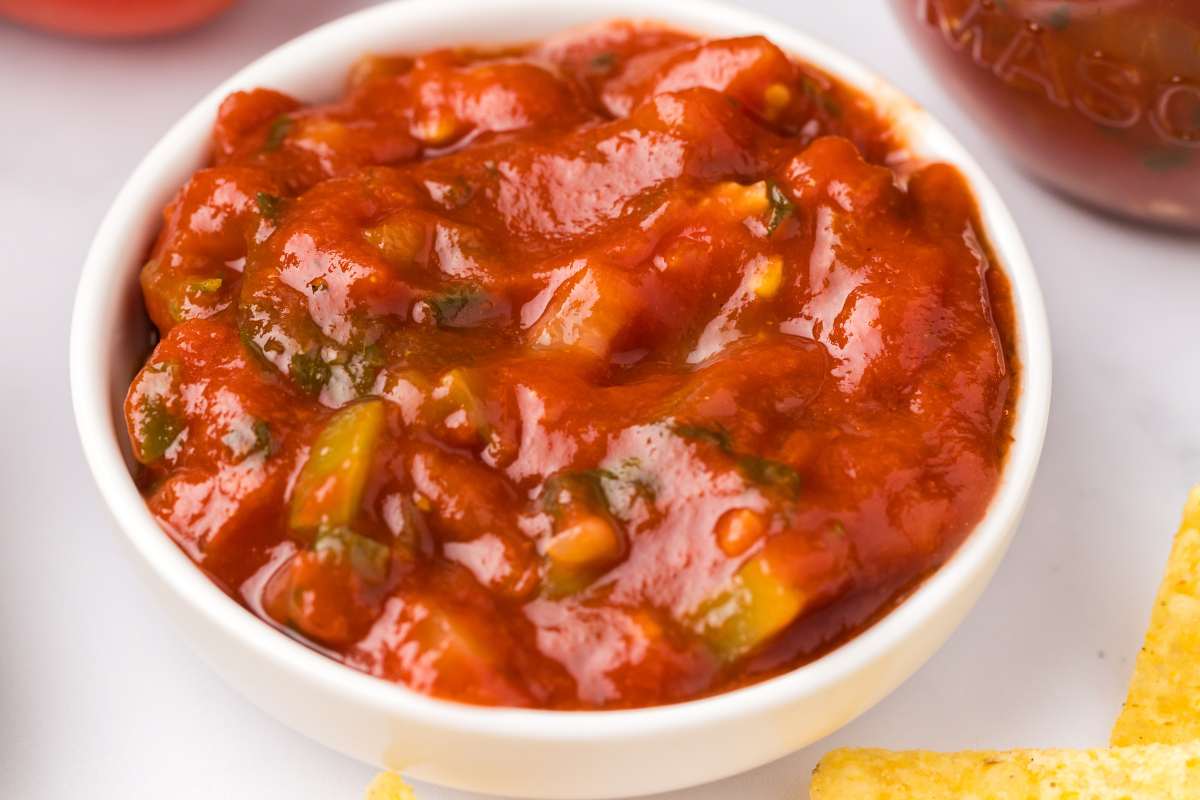
A fresh and delicious salsa with tons of fresh flavor. This recipe was given to me by a friend of a friend, and Lila’s name was on it. I asked if I could share it here and they said yes. So there you have it.

This is great to pull out with a bag of chips last minute when you have friends over. Of all the canning recipes I make, people ask me for this one the most.
Table of Contents
Ingredients and Tools You’ll Need
Fresh tomatoes are best, but if you have to, you can use canned diced tomatoes; just drain the extra liquid.
Heart’s Content Farmhouse is a participant in the Amazon Services LLC Associates Program, an affiliate advertising program designed to provide a means for sites to earn advertising fees by advertising and linking to Amazon.com. This means that when you click on certain links on this site and make a purchase, I may earn a small commission at no additional cost to you. I only recommend products I genuinely believe in and would use in my own kitchen. As an Amazon Associate, I earn from qualifying purchases.

FREE FOR SUBSCRIBERS
Canning Binder
Subscribe (free!) to my newsletter to receive this PDF + dozens of others in my printable library. You’ll also get emails you’ll truly love, with a weekly meal and so much more.
If you’d like to double or triple this recipe, you can make adjustments in the recipe card at the bottom of this post.
Equipment
- Waterbath canner
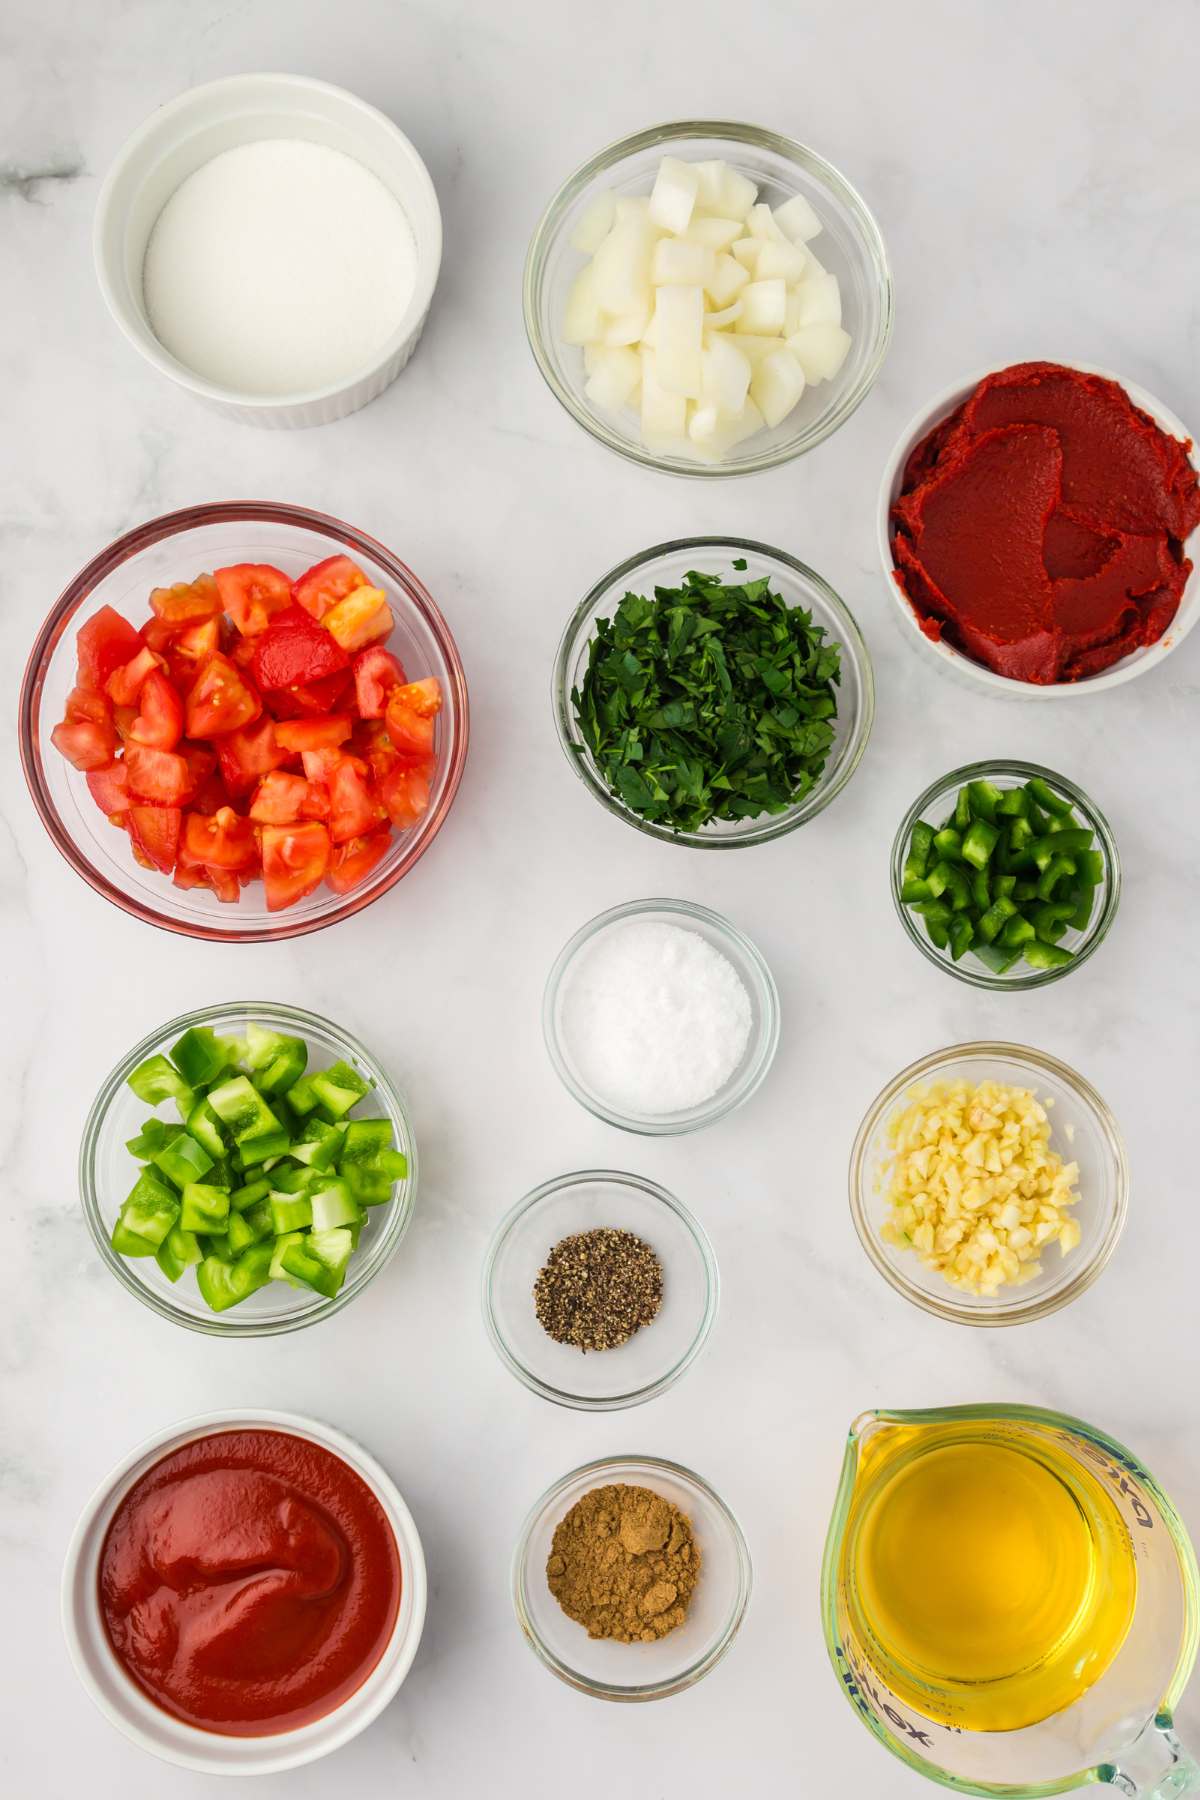
Ingredients
- 8 cups tomatoes diced and peeled
- 2½ cups onions finely chopped
- 1½ cups green bell peppers diced
- ¼ cup jalapeno peppers finely diced (adjust to taste for heat)*
- 6 garlic cloves pressed or minced*
- 2 teaspoons cumin seeds ground *
- 2 teaspoons freshly ground black pepper *
- 2 tablespoons sea salt or pickling salt
- ¼ cup fresh cilantro finely chopped*
- 1 cup apple cider vinegar with 5% acidity
- 2 cups tomato sauce choose a high-quality brand
- 2 cups tomato paste
- ⅓ cup granulated sugar
How to Make And Can Salsa
Step One: Prep
Before you begin, make sure you have clean jars, lids, and bands. Sterilize the jars and lids in boiling water or in a dishwasher on the hottest setting. Make sure everything is chopped and ready to go before you put the salsa on the stove.
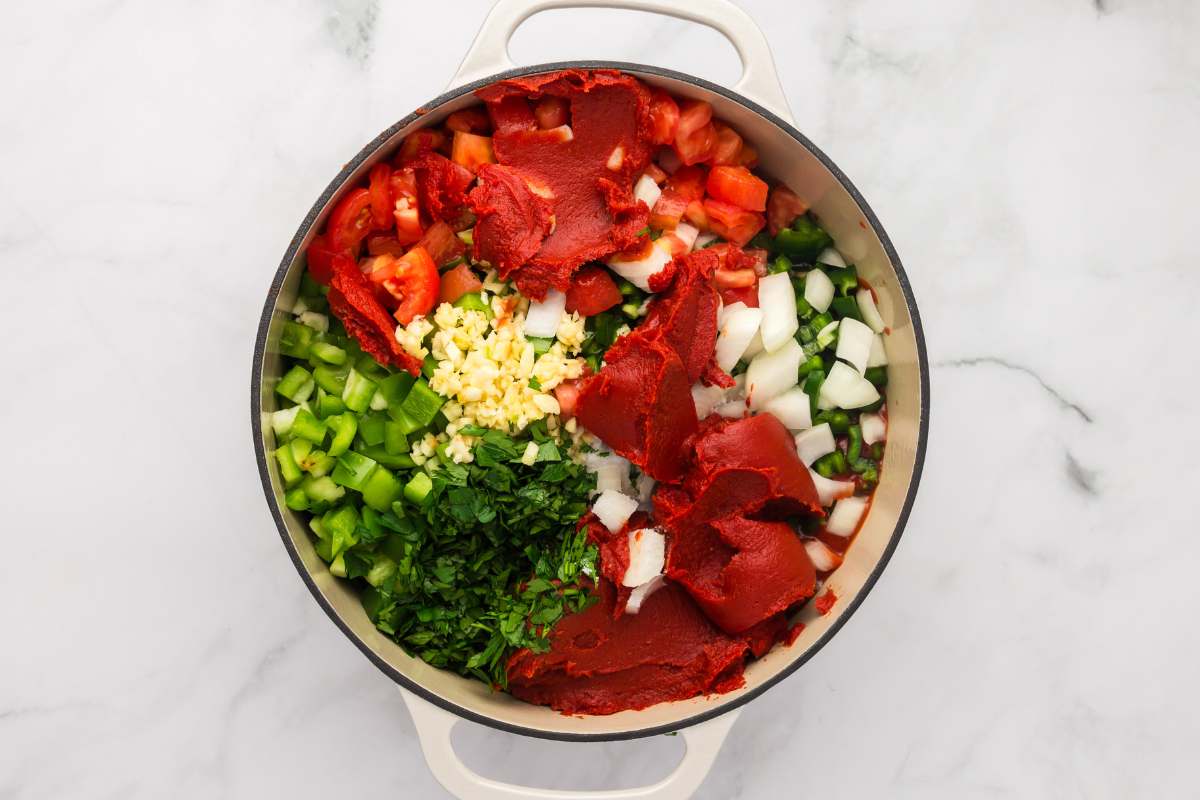
Step Two: Cook
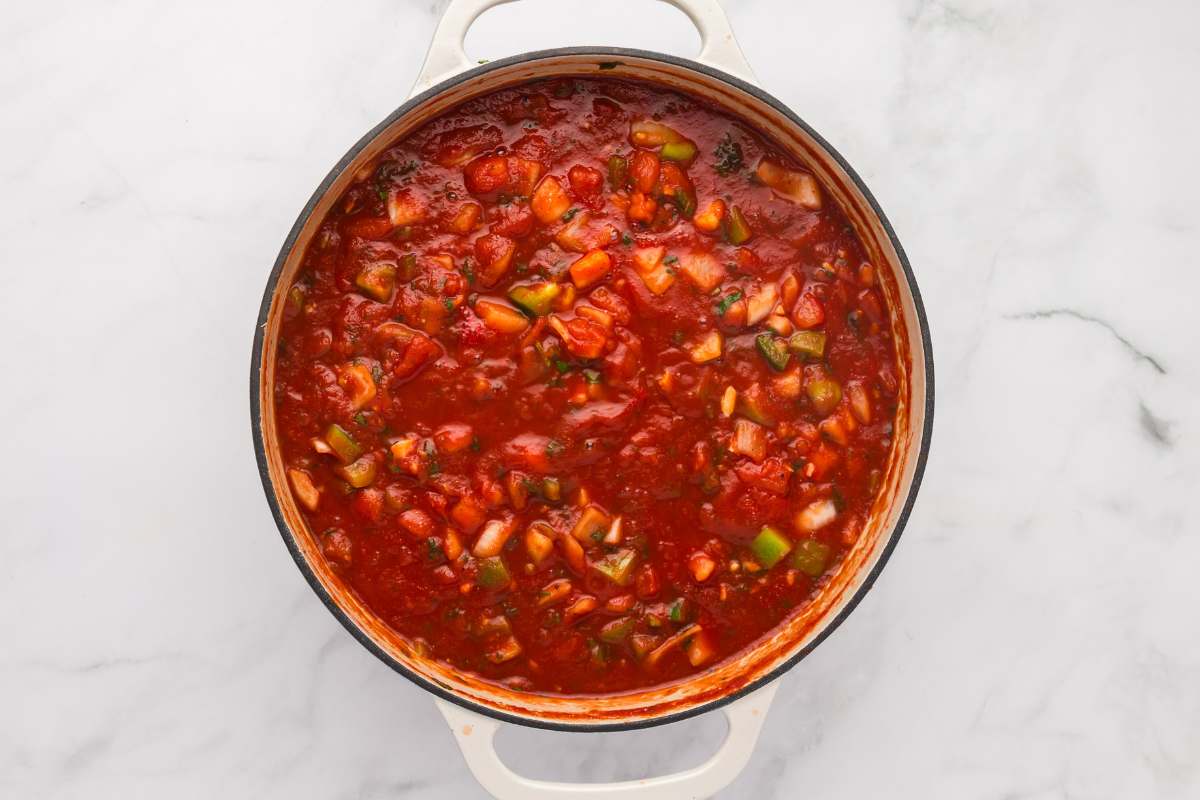
Put all of your ingredients into a large stock pan and simmer for at least 30 minutes until the mixture thickens slightly.
After simmering, do a taste test. If you prefer your salsa with a little more kick, consider adding an extra pinch of ground cumin or a few more finely chopped jalapenos. If it’s too spicy, add a touch more sugar to balance the heat. As long as you do not reduce the sugar, the vinegar, or add more tomatoes, you are fine.
Step Three: Fill Jars
Using a funnel, carefully ladle the hot salsa into the prepared jars, leaving about a ½-inch headspace from the top. This space allows the salsa to expand during processing. Using a clean, damp cloth or paper towel, wipe the rims of the jars to ensure they’re free from any residue. Place the sterilized lids on the jars and screw on the bands until they are fingertip-tight.

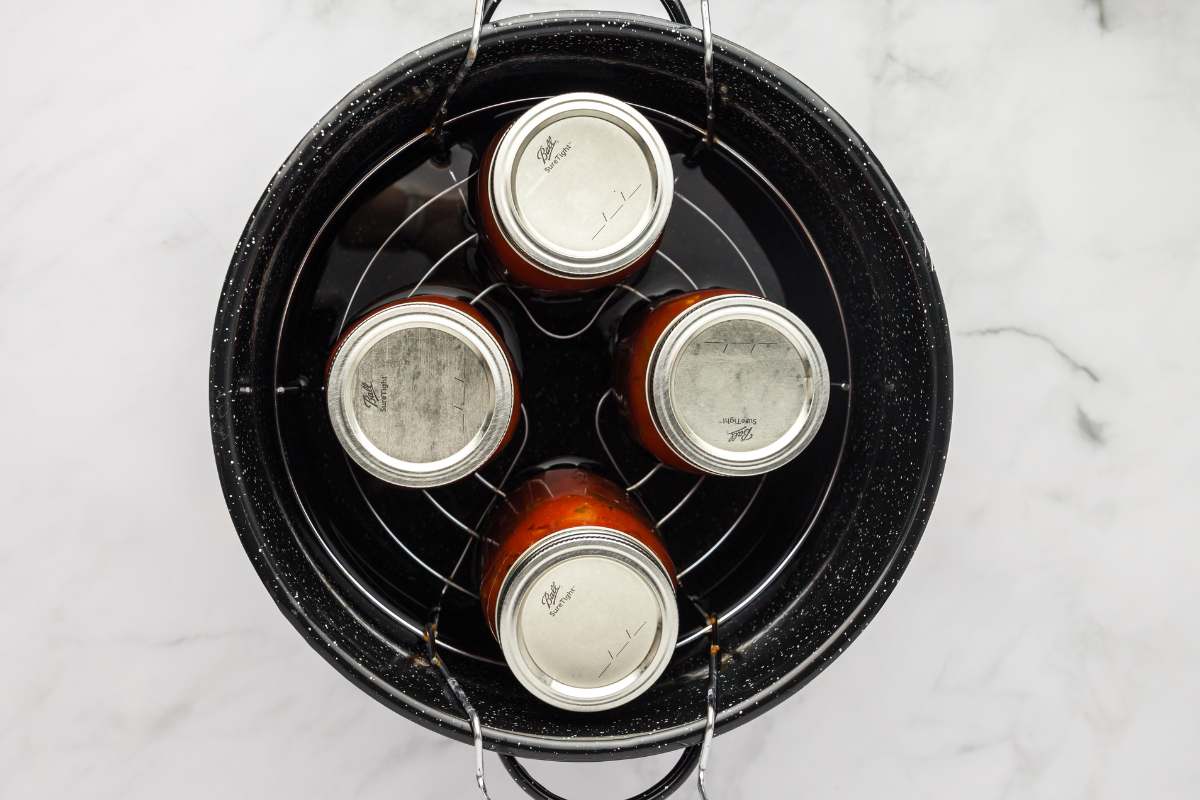
Step Four: Process
Prepare a boiling water bath in a large canning pot. The water should be deep enough to cover the jars by at least an inch. Gently lower the filled jars into the boiling water using a jar lifter or a similar tool. Once all the jars are in the pot, put the lid on and let them process for 20 minutes.
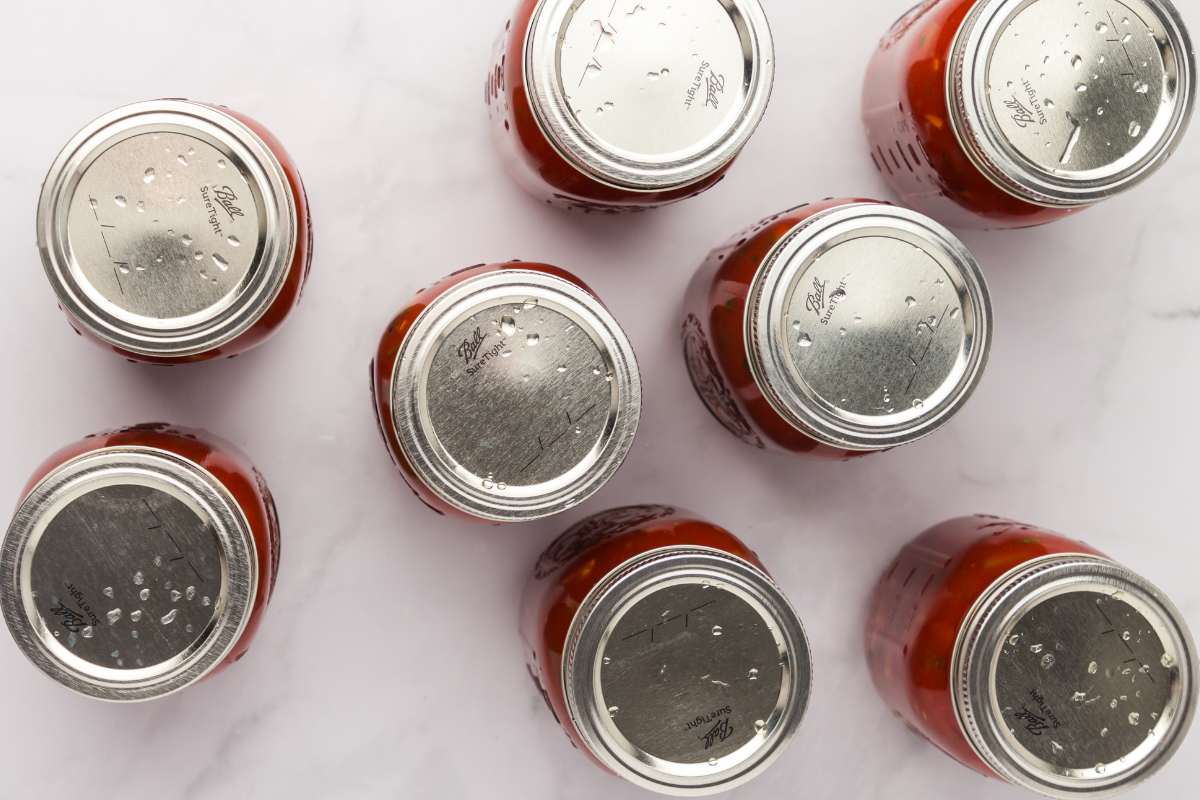
Step Five: Cool And Check Seals
Carefully remove the jars from the pot using the jar lifter and place them on a wooden board or a thick towel to cool. It’s important to let them cool in a draft-free spot. As they cool, you’ll likely hear a “pop” or “ping” sound – this is a sign that the jars are sealing. Once cooled, check the seals by pressing down on the center of each lid. If it doesn’t pop back, it’s sealed. If any jars haven’t sealed, refrigerate them and consume within a week.
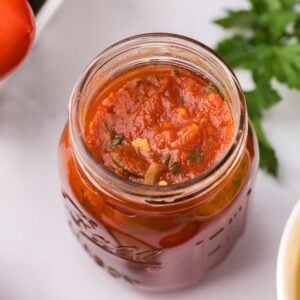
Step Six: Store
Store the sealed jars in a cool, dark place. Ideally, wait at least a week before opening to let the flavors meld, but if you can’t resist, go ahead and enjoy! The salsa should be consumed within a year for the best quality.
Storage Instructions
Store the sealed jars in a cool, dark place like a pantry or basement. This will help maintain the salsa’s flavor and preserve its shelf life.
After opening, you should refrigerate it. The salsa is best consumed within a week once opened. Always use a clean utensil to scoop out the salsa to prevent contamination.
What to Serve with Salsa
Serve tortilla chips and veggies for an easy party snack, or with these foods.
- Spread it on a quesadilla with cheese.
- Add it to some scrambled eggs and make breakfast burritos.
- Serve with a glass of strawberry peach sangria
More Salsa Recipes
- This green salsa verde can be eaten with chips or added to other dishes, like tacos.
- Spread some fresh pineapple mango salsa over tacos or chicken.
- Make some black bean and corn salsa with some tortilla chips for a game night.
Printable Recipe
Salsa for Canning
Equipment
- Waterbath canner
Ingredients
- 8 cups tomatoes diced and peeled
- 2½ cups onions finely chopped
- 1½ cups green bell peppers diced
- ¼ cup jalapeno peppers finely diced (adjust to taste for heat)*
- 6 garlic cloves pressed or minced*
- 2 teaspoon cumin seeds ground *
- 2 teaspoon freshly ground black pepper *
- 2 tablespoons sea salt or pickling salt
- ¼ cup fresh cilantro finely chopped*
- 1 cup apple cider vinegar with 5% acidity
- 2 cups tomato sauce choose a high-quality brand
- 2 cups tomato paste
- ⅓ cup granulated sugar
Save This Recipe
You'll join my email list which you will love. And if you don't, unsubscribe in one click. ❤️
Instructions
- Prep. Before you begin, make sure you have clean jars, lids, and bands. Sterilize the jars and lids in boiling water or in a dishwasher on the hottest setting. Make sure everything is chopped and ready to go before you put the salsa on the stove.
- Cook. Put all of your ingredients into a large stock pan and simmer for at least 30 minutes until the mixture thickens slightly, After simmering, do a taste test. If you prefer your salsa with a little more kick, consider adding an extra pinch of ground cumin or a few more finely chopped jalapenos. If it's too spicy, add a touch more sugar to balance the heat. As long as you do not reduce the sugar, the vinegar, or add more tomatoes, you are fine.
- Fill jars. Using a funnel, carefully ladle the hot salsa into the prepared jars, leaving about a ½-inch headspace from the top. This space allows the salsa to expand during processing. Using a clean, damp cloth or paper towel, wipe the rims of the jars to ensure they're free from any residue. Place the sterilized lids on the jars and screw on the bands until they are fingertip-tight.
- Process. Prepare a boiling water bath in a large canning pot. The water should be deep enough to cover the jars by at least an inch. Gently lower the filled jars into the boiling water using a jar lifter or a similar tool. Once all the jars are in the pot, put the lid on and let them process for 20 minutes.
- Cool and check seals. Carefully remove the jars from the pot using the jar lifter and place them on a wooden board or a thick towel to cool. It's important to let them cool in a draft-free spot. As they cool, you'll likely hear a "pop" or "ping" sound – this is a sign that the jars are sealing. Once cooled, check the seals by pressing down on the center of each lid. If it doesn't pop back, it's sealed. If any jars haven't sealed, refrigerate them and consume within a week.
- Store. Store the sealed jars in a cool, dark place. Ideally, wait at least a week before opening to let the flavors meld, but if you can't resist, go ahead and enjoy! The salsa should be consumed within a year for the best quality.
Notes
Nutrition


