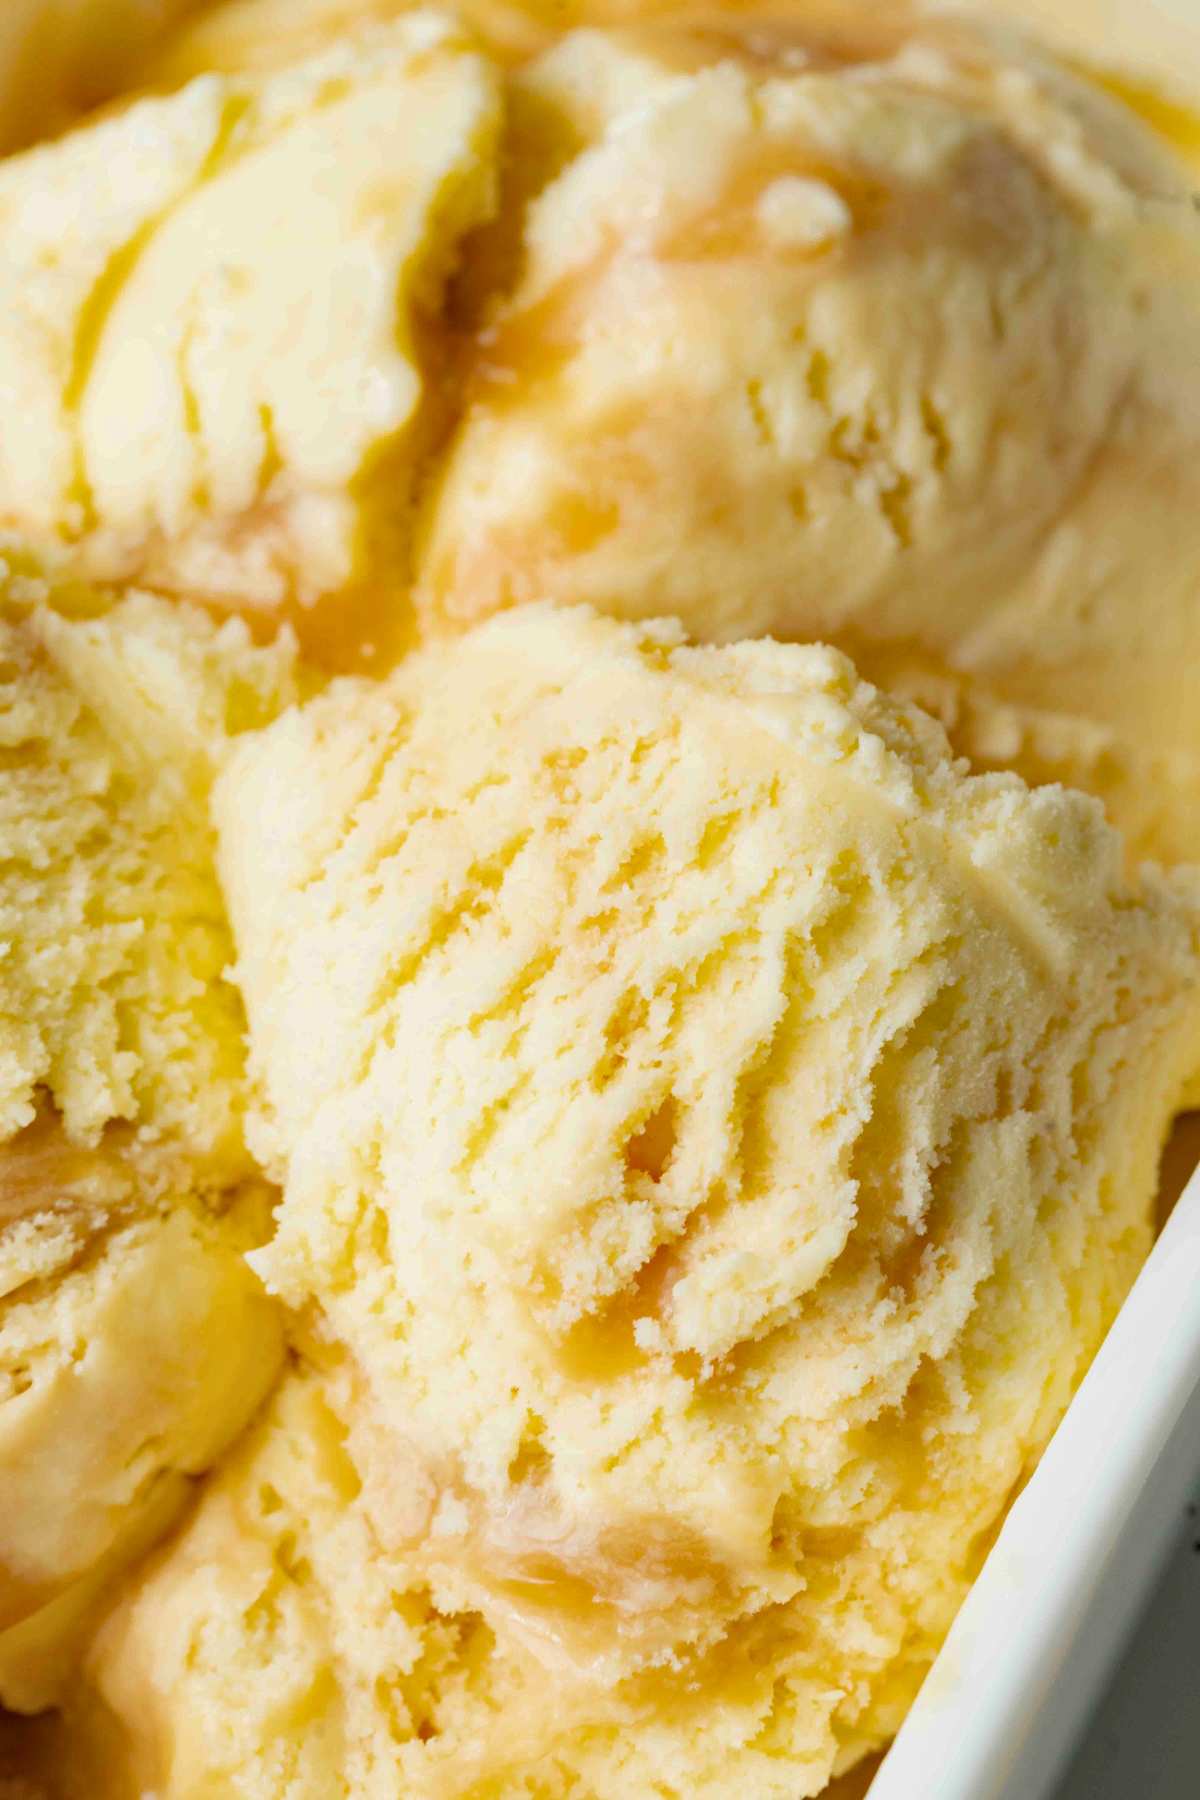
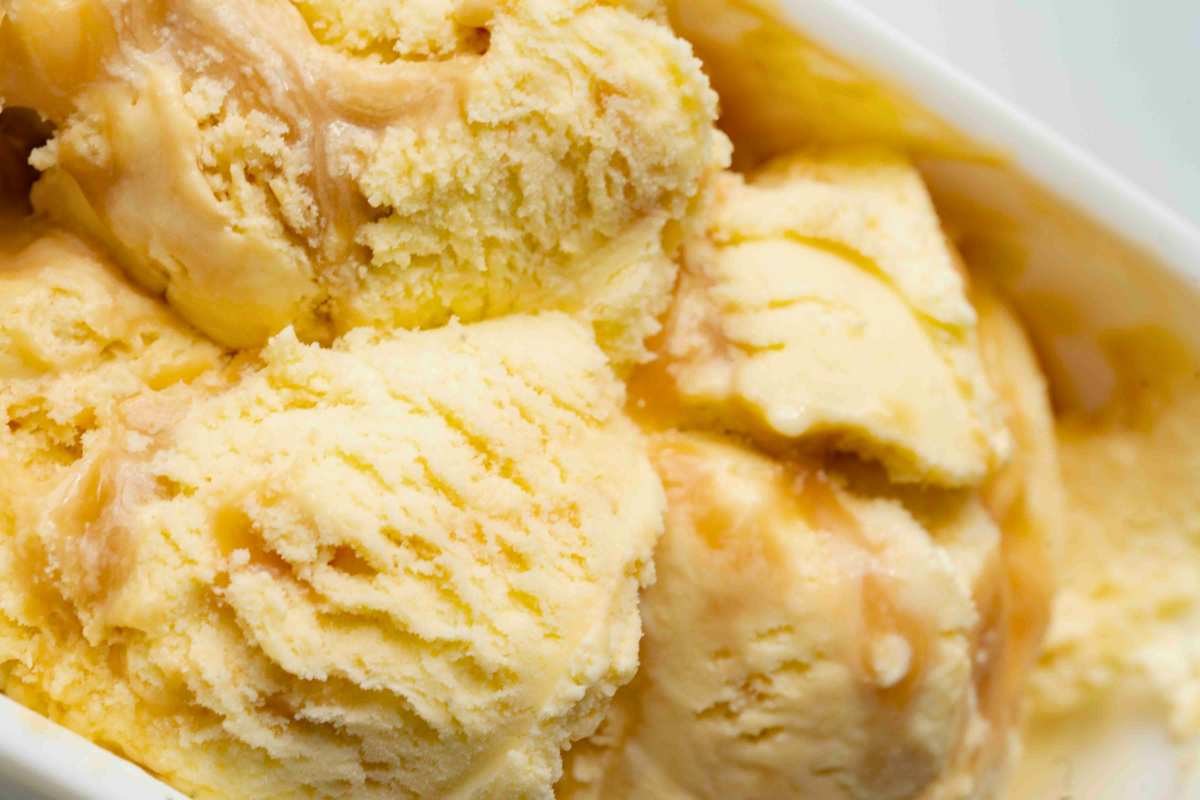
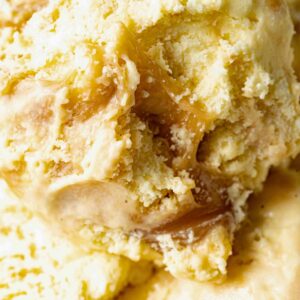
Salted Caramel Vanilla Ice Cream
There’s something about salted caramel that makes everyone go crazy for it. And putting it in homemade ice cream is even better. It’s one of my favorite ice cream recipes because it’s the perfect balance of sweet and salty.
This goes fast in my house, so I usually make a big batch. Trust me, you’ll want to make a double batch too!
Table of Contents
Ingredients and Tools You’ll Need
Having an ice cream maker is best and will make this easier. However, you can still make it without it – just be prepared to stir the mixture by hand a few times during freezing (see the FAQ section below). To get the best vanilla flavor, use real vanilla beans. But if you can’t find them, vanilla bean paste is fine. And use full-fat dairy here! And do not skip the sea salt!
This makes about eight servings or a loaf pan of ice cream. It doesn’t last as long as store-bought, but this particular recipe goes fast in my house. If you’d like to double or triple this recipe, you can make adjustments in the recipe card at the bottom of this post.
Equipment
- ice cream maker
- saucepan
- fine mesh strainer
- Loaf pan or reusable ice cream storage containers
Ingredients
For the Vanilla Custard
- 1½ cups whole milk
- 1½ cups heavy cream
- ¾ cup granulated sugar (divided)
- 2 vanilla beans (or 1 tablespoon vanilla bean paste)
- 1 tablespoon vanilla extract
- 4 egg yolks
- Pinch of salt
For the Salted Caramel
- 1 cup granulated sugar
- 6 tablespoons unsalted butter (cut into pieces)
- ½ cup heavy cream
- 1 teaspoon sea salt
How to Make Salted Caramel Vanilla Ice Cream
Step One: Heat the Milk and Cream
Put your milk, cream, half the sugar (that’s ⅜ cup), and vanilla beans in a saucepan. If you’re using vanilla beans, split them open and scrape out all those little black specks – that’s the good stuff. Heat it up until it’s steaming but NOT boiling. You want about 170°F if you’re checking.
Step Two: Beat the Egg Yolks
While that’s heating, beat your egg yolks with the leftover sugar until they’re pale yellow.

Step Three: Temper the Eggs
Now here’s the tricky part – you need to warm up those eggs slowly or they’ll scramble. Take about half of your hot milk mixture and pour it SLOWLY into the eggs while whisking like crazy. Then dump the whole thing back into the saucepan.

Step Four: Cook the Custard
Cook this over medium heat, stirring constantly, until it hits 185°F and coats the back of a spoon. Don’t let it boil or you’ll have sweet scrambled eggs. Stir in that pinch of salt and vanilla extract.

Step Five: Strain and Chill
Strain it through your fine mesh strainer to catch any bits, then stick it in the fridge for at least 4 hours. Overnight is even better.

Step Six: Melt the Sugar
This part makes people nervous, but it’s really not that bad. Put your cup of sugar in a saucepan over medium heat. Just let it melt – don’t add water or anything. Stir it around until it’s all melted and a nice amber color. Don’t walk away because sugar goes from perfect to burnt FAST.

Step Seven: Add Butter and Cream
Once it’s melted, add your butter pieces and whisk until combined.

Then slowly pour in the cream while whisking. It’s going to bubble up and be dramatic – that’s normal. Cook for another minute, add the salt, then let it cool down.

Step Eight: Churn the Ice Cream
Churn your chilled custard in the ice cream maker following whatever instructions came with yours.

When it looks like soft serve, gently fold in the caramel. Don’t mix it completely – you want those pretty swirls.

Step Nine: Freeze
Scoop it into your storage container, cover with plastic wrap (press it right onto the surface so it doesn’t get icy), and freeze for at least 4 hours.
Serving & Storing
Keep your ice cream in an airtight container with plastic wrap pressed directly on the surface to prevent freezer burn. Or you can use these reusable ice cream storage containers that come with lids.
The ice cream will last up to a week in the freezer. When you’re ready to enjoy the ice cream, let it sit at room temperature for a few minutes to soften slightly for easier scooping. Check out the IDFA’s tips on safe ice cream storage.
Questions and Troubleshooting
Don’t worry, it happens! If your caramel turned out a bit too hard, add a tablespoon or two of heavy cream and heat it gently over low heat, stirring until it reaches a smooth, pourable consistency.
Sea salt will give the best flavor, but if you use other kinds of salt, it’s not a big deal. But you may need to adjust the amount of salt you use.
More Ice Cream Recipes
Once you’ve made homemade ice cream once, you’ll be hooked! So try all of these ones next.
- If you love chocolate, you can swap out the vanilla beans for cocoa powder and make my old-fashioned chocolate ice cream.
- This vanilla honey ice cream is just different enough to be more interesting than plain vanilla. But vanilla lovers will still enjoy it.
- You can just use store-bought caramel for this vanilla caramel fudge ice cream.
- You must make this strawberry ice cream with fresh in-season strawberries (but frozen works too).
- More caramel, but add some nuts for old-fashioned caramel pecan ice cream (and yes, you can use store-bought caramel).
Printable Recipe
Salted Caramel Vanilla Ice Cream
Equipment
- saucepan
- fine mesh strainer
Ingredients
For the Vanilla Custard
- 1½ cups whole milk
- 1½ cups heavy cream
- ¾ cup granulated sugar (divided)
- 2 vanilla beans (or 1 tablespoon vanilla bean paste)
- 1 tablespoon vanilla extract
- 4 egg yolks
- Pinch of salt
For the Salted Caramel
- 1 cup granulated sugar
- 6 tablespoons unsalted butter (cut into pieces)
- ½ cup heavy cream
- 1 teaspoon sea salt
Save This Recipe
You'll join my email list which you will love. And if you don't, unsubscribe in one click. ❤️
Instructions
Make Custard
- Heat milk and cream. In a medium saucepan, combine the milk, cream, ½ cup of sugar, and the vanilla beans (split and seeds scraped out) over medium heat. Heat until warm and steaming, about 170°F (77°C). Do not let it boil.
- Beat egg yolks. While the milk mixture is heating, beat the egg yolks and remaining ¼ cup of sugar in a mixing bowl until light yellow and well combined.
- Temper the eggs. Gradually add half of the warm milk mixture to the egg yolks, whisking constantly to temper the eggs. Then pour the egg mixture back into the saucepan with the remaining milk and cream.
- Cook the custard. Cook the mixture over medium heat, stirring constantly, until it reaches 185°F (85°C) and thickens enough to coat the back of a spoon. Be careful not to boil the mixture. Remove from heat and stir in the pinch of salt and vanilla extract.
- Strain and chill. Strain the custard through a fine-mesh sieve into a clean bowl to remove the vanilla bean pods (if using) and any cooked egg bits. Cover and refrigerate for at least 4 hours, or overnight, until completely chilled.
Make Salted Caramel
- Cook sugar. In a medium saucepan, heat the salted caramel sugar (1 cup) over medium heat, stirring constantly, until it melts into a deep amber-colored liquid. Be careful not to burn the sugar. It is going to melt, not dissolve. Once it's liquid, it will be very hot, so be careful!
- Add butter. Once the sugar is fully melted, carefully add the butter, whisking until fully combined.
- Add cream and salt. Slowly drizzle in the heavy cream while whisking continuously (the mixture will bubble up). Continue to cook for another minute, then remove from the heat and stir in the sea salt. Let the caramel cool to room temperature.
Make Ice Cream
- Churn the custard. Pour the chilled vanilla custard into your ice cream maker and churn according to the manufacturer’s instructions.
- Swirl in the caramel. When the ice cream reaches the consistency of soft serve, gently fold in the salted caramel, creating swirls without fully mixing it in.
- Freeze. Transfer the ice cream to a loaf pan, cover with plastic wrap, and freeze for at least 4 hours or until firm. The ice cream will keep well, covered in the freezer, for up to one week.
Nutrition


