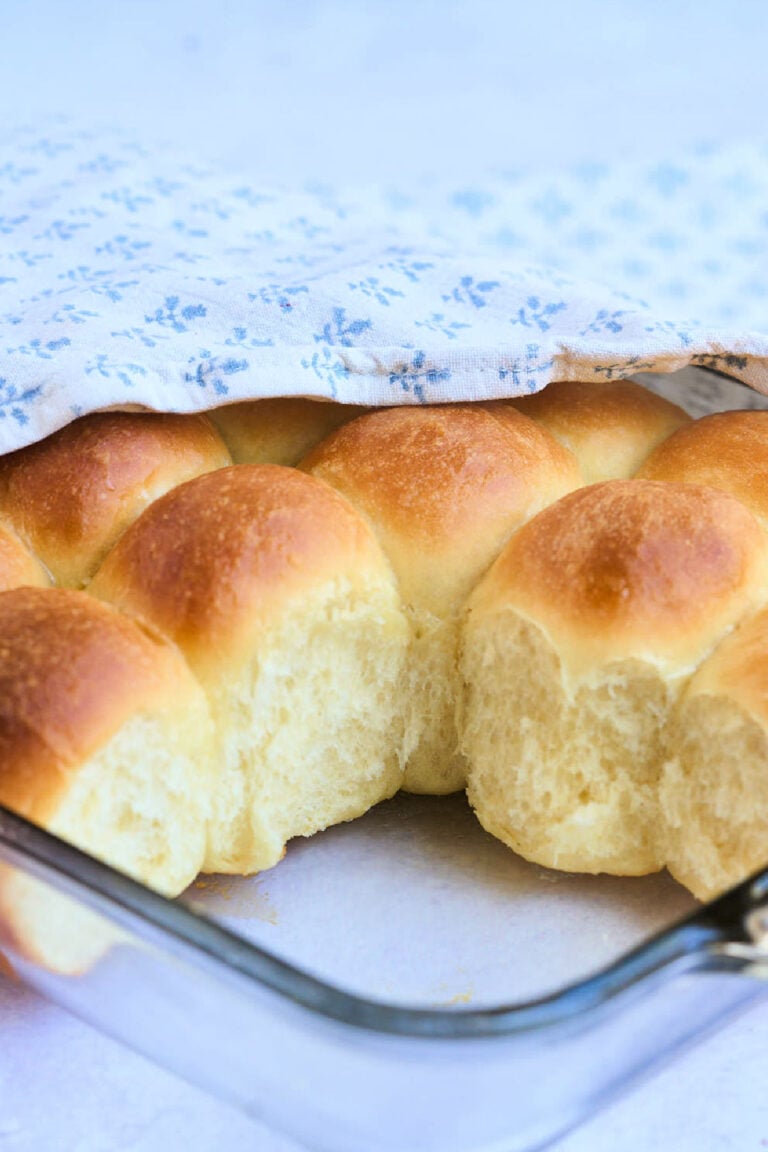
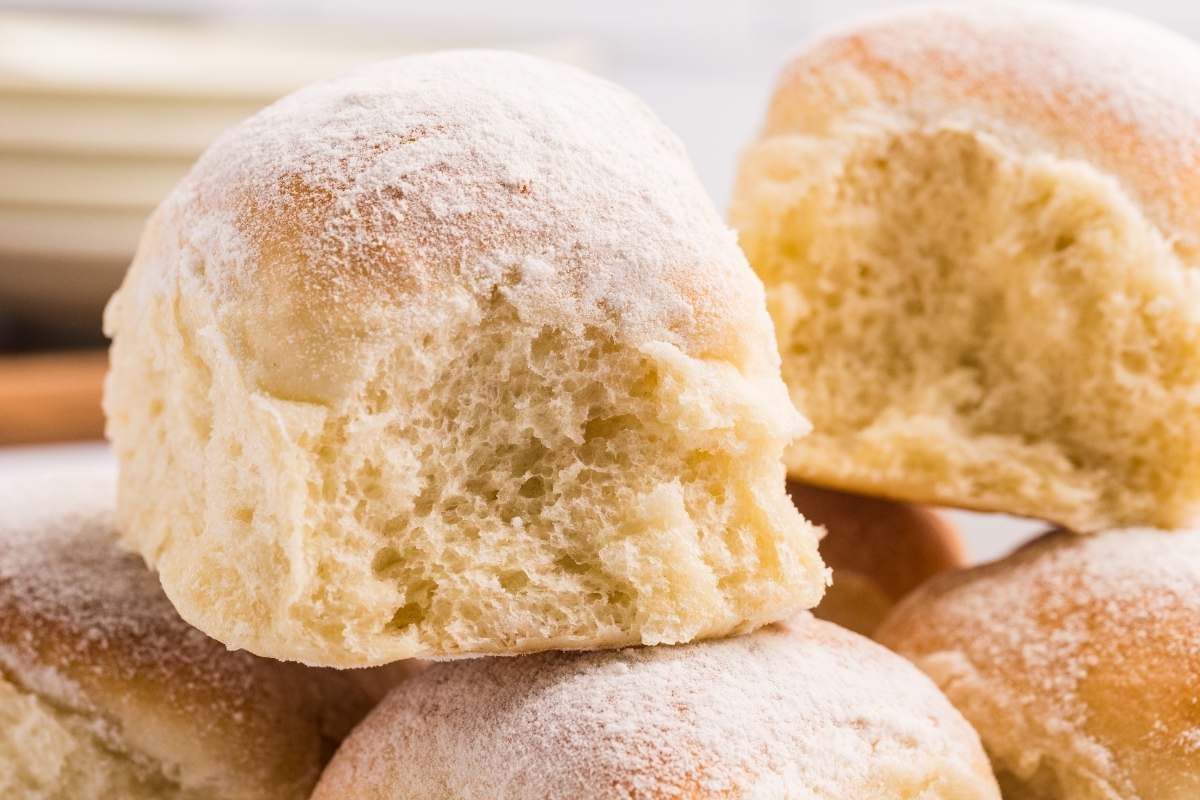
A classic dinner roll with that pillowy soft inside everyone loves. These are a lovely pull-apart recipe dusted with flour for a picture-perfect finish. You’ll succeed with these even if you’ve never made bread before. I’ll walk you through it.
When you’re looking for something pretty and crowd pleasing for a special dinner, this is the recipe you want.
What You’ll Need
You can knead by hand, but you’ll be much happier if you do it in a bread machine on the dough cycle or a stand mixer with the dough hook.

Scaling up: you can double this easily, just use 2 baking dishes and rotate halfway through baking.
- 1 cup milk: higher fat will give a richer, more tender roll but any kind is fine
- ¼ cup granulated sugar
- 2¼ teaspoons active dry or instant yeast
- ¼ cup unsalted butter, melted and cooled
- 1 teaspoon salt
- 3½–3¾ cups all-purpose flour, plus 1 teaspoon for dusting
Instructions
A note on yeast:
I’ve been making bread for years and I always add my yeast straight in with the rest of the ingredients, no proofing. proofing. That said, if you prefer to activate your yeast first by combining it with the warm milk and sugar and letting it sit for five minutes until foamy, that is completely fine too. Either method will get you there. 😉
Mix your dough
Add your milk, sugar, yeast, melted butter, and salt all together into the bowl of your stand mixer and stir to combine. Then mix in two cups of flour to get the dough started, and begin adding the remaining flour slowly, a little at a time. You’re looking for the moment the dough pulls cleanly away from the sides of the bowl. Stop there. The dough should feel soft and just slightly tacky, not sticky, not stiff.
Get Access to
All my Free planners, Printables, binders and more
Get a copy of this frugal recipe binder with lots of crockpot favorites, pasta dishes, casseroles, and more inside the subscriber library. Plus SO much more.

Humidity and your specific flour brand can both affect how much you need, so don’t feel like you have to use every last bit.
Knead until smooth
With the dough hook, knead for about five minutes until the dough is smooth and elastic. If you pull a small piece and stretch it gently, it should stretch thin without tearing right away. Ideally, you’ll be able to see through the dough in spots.
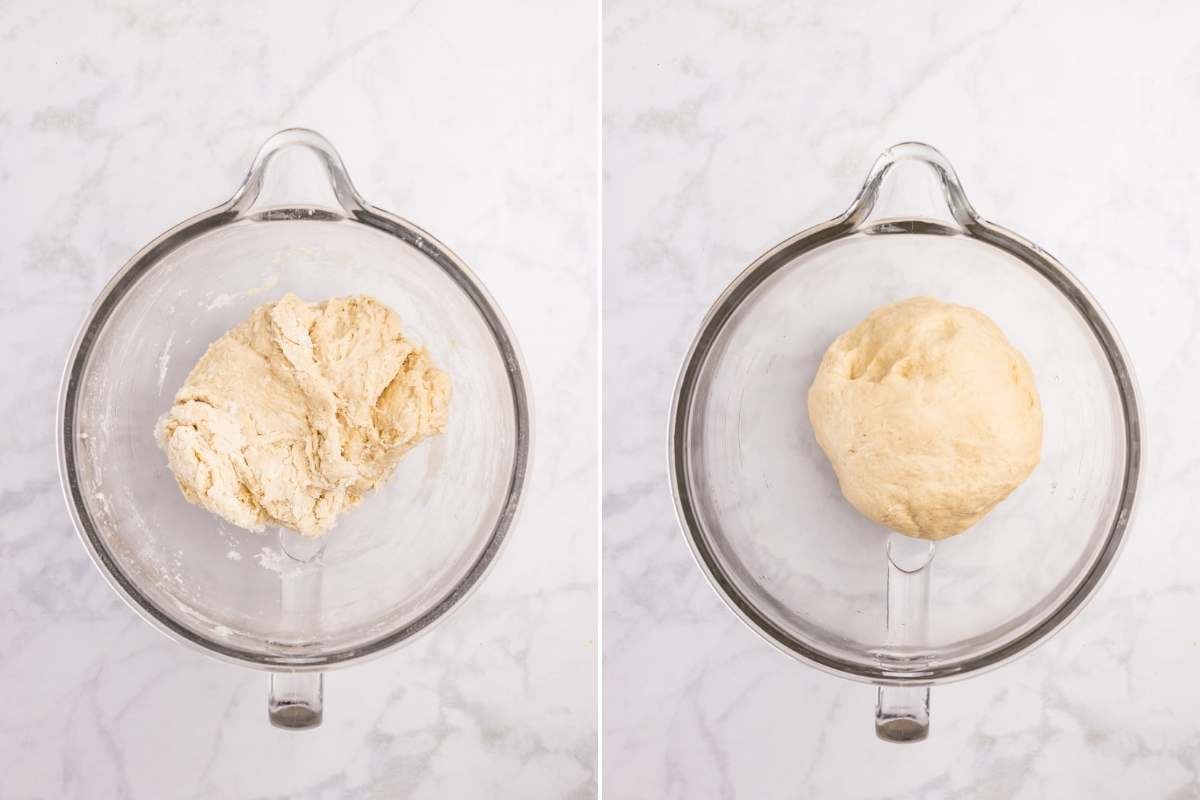
This means windows have formed and you are a master bread baker. Sometimes this takes five minutes, sometimes ten, sometimes more. Let the dough tell you when it’s ready and bread baking will come easily to you for the rest of your life.
First rise
Cover the bowl and set it somewhere warm for 90 minutes. The dough should double in size. If your kitchen runs cool, you can pop it in the oven with just the light.
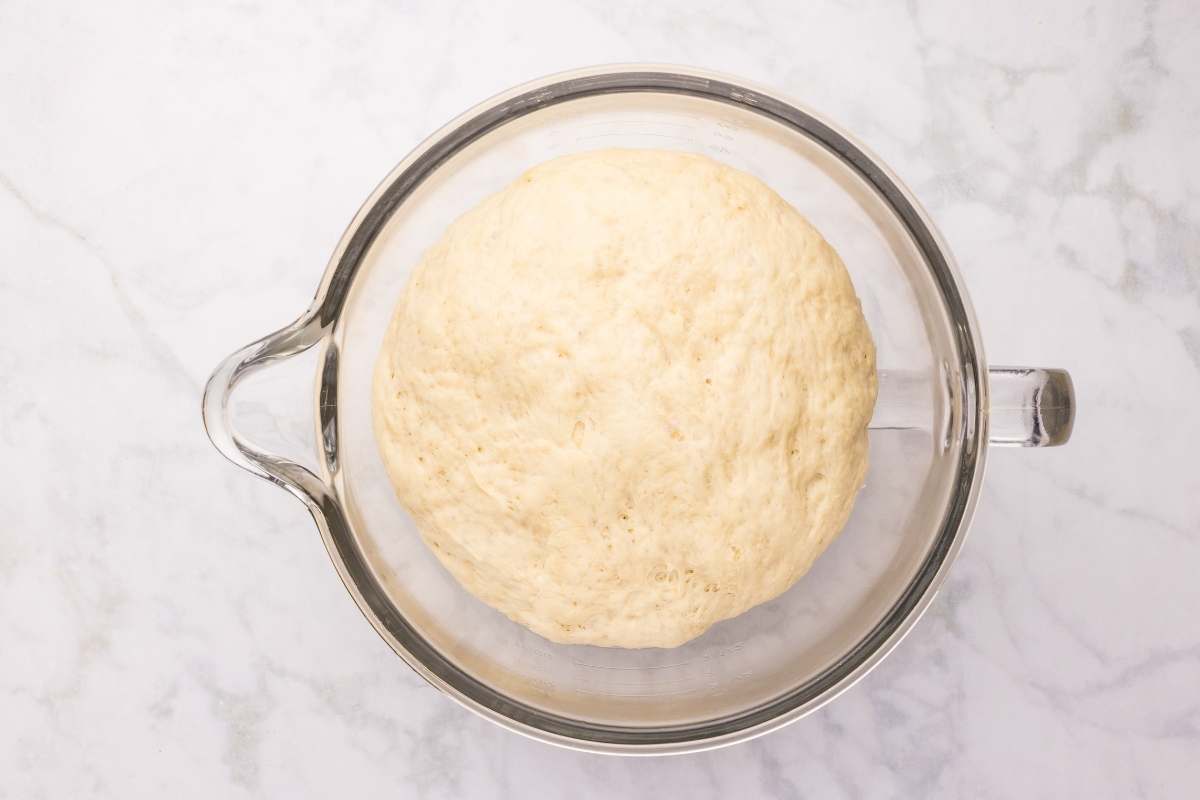
Make sure that you are going by what your dough looks like, not by the clock. If it hasn’t doubled in size, it needs more time.
Shape your rolls
Turn the dough out onto a clean, dry surface and divide it into 12 equal pieces. Take your time shaping each one into a smooth, tight ball. Tuck the edges under and roll it against the counter with a cupped hand until the top is perfectly smooth.
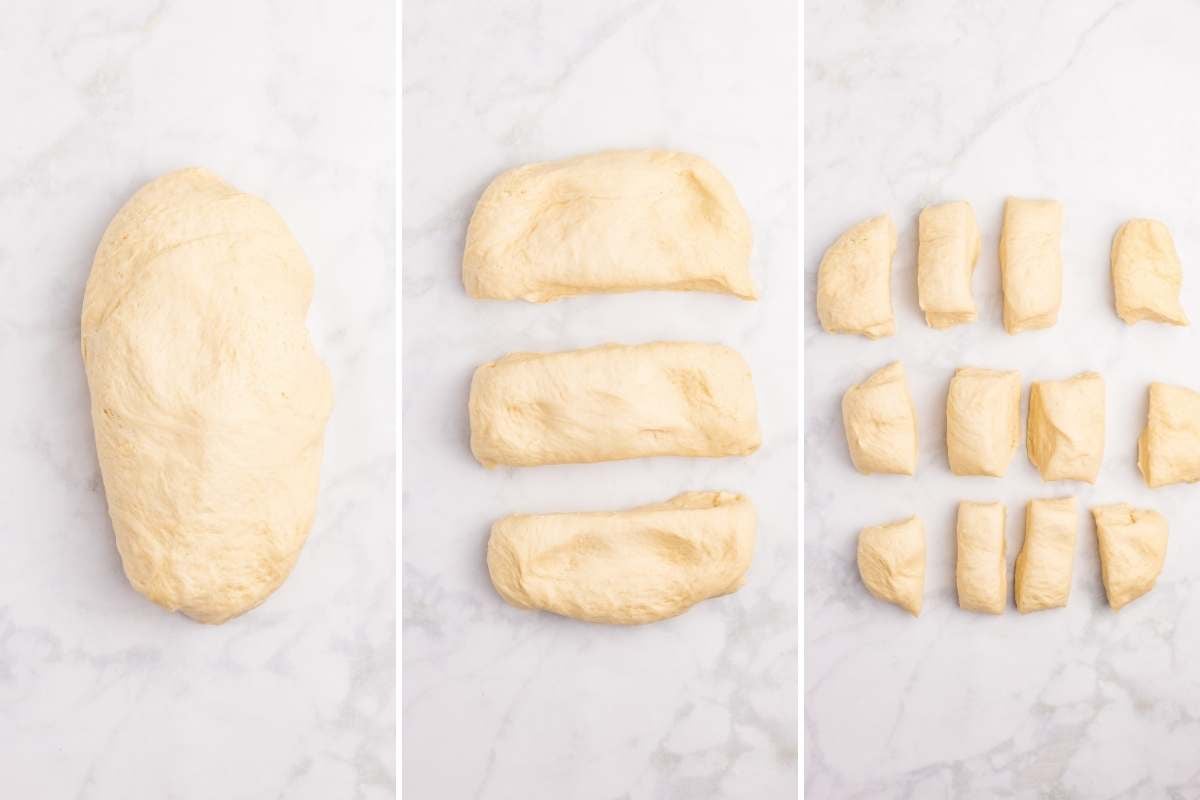
The smoother you shape them now, the prettier they’ll look coming out of the oven. Arrange them in your prepared 9×13 dish.
Second rise
Cover and let the rolls rest for another 30-45 minutes. They should puff up noticeably and look pillowy.
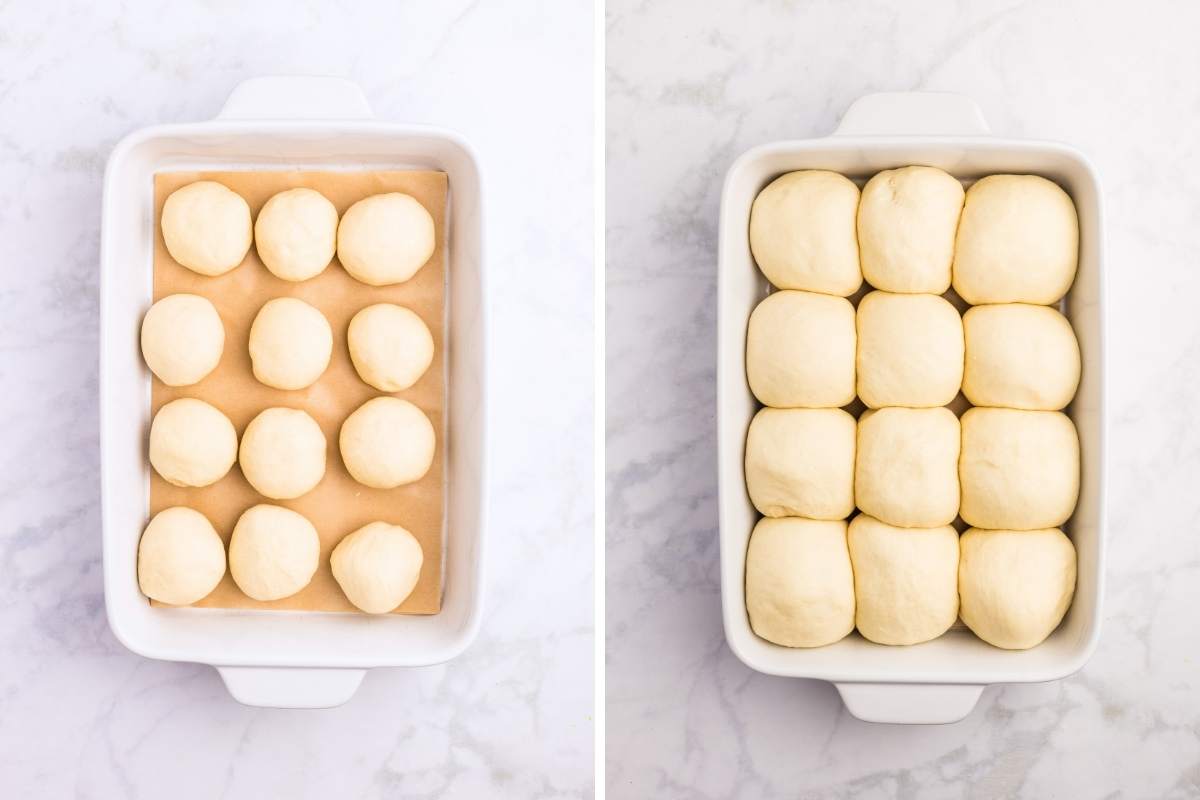
While they’re finishing their rise, go ahead and preheat your oven to 375°F.
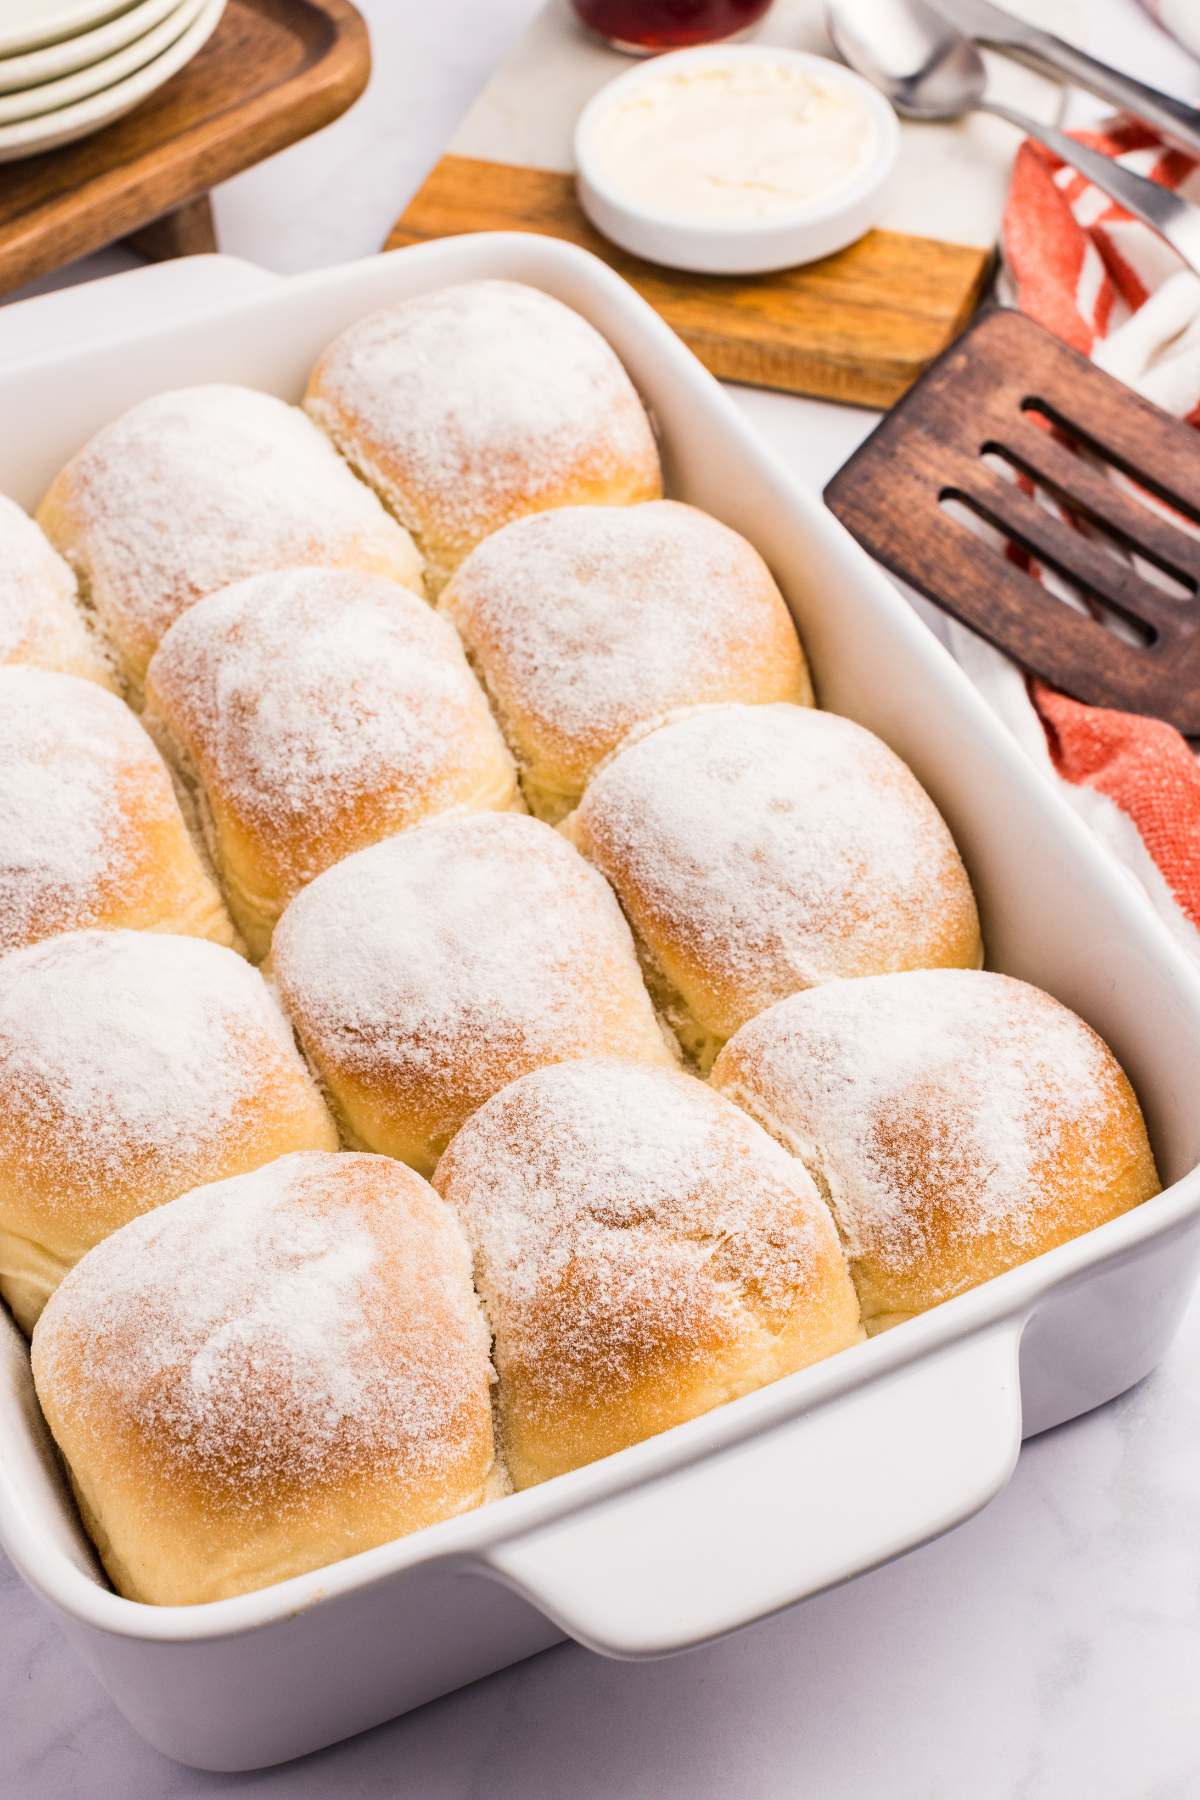
The snowflake finish and bake
Just before baking, use a fine mesh strainer to dust a light, even layer of all-purpose flour over the tops. A light hand is all you need.
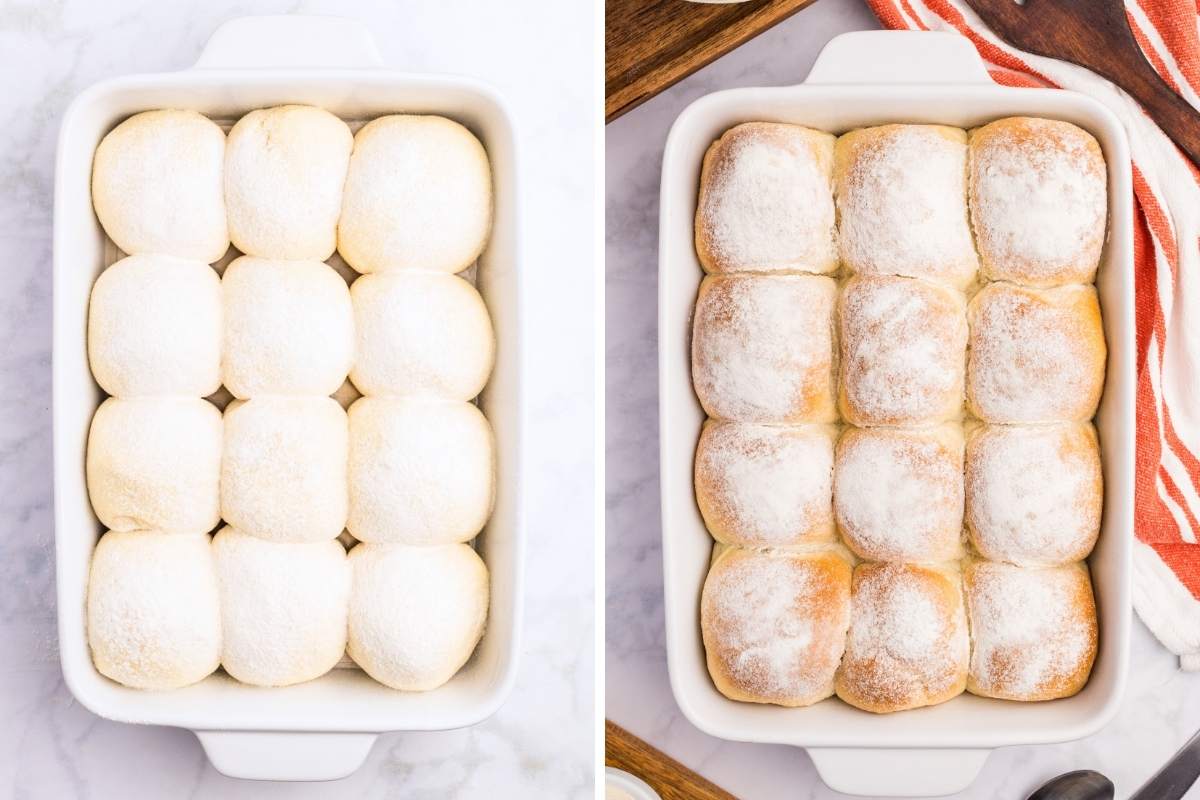
Bake for 20–25 minutes until the tops are golden and the rolls are cooked through. Let them cool in the pan for about 10 minutes before serving. They’ll finish setting up inside during that time and be easier to pull apart.
Storage Instructions
Store leftover rolls in an airtight container at room temperature for up to two days, or freeze once fully cooled and warm gently before serving.
To make ahead, shape the rolls, refrigerate overnight, then let them come to room temperature and finish their second rise before baking.
Serving IDeas
These are at home on a holiday table alongside turkey, glazed ham, or a pot roast, but they’re just as good on a weeknight next to a bowl of soup or chili.
If you have leftovers, they make great little sandwiches or can be eaten as a breakfast with a little butter and honey.
Troubleshooting
This is almost always one of two things…too much flour or not enough rise time. Make sure you’re adding flour gradually and stopping as soon as the dough pulls away from the bowl. And don’t rush the first rise; the dough really does need to double before you move on.
Every oven runs a little differently. If the tops are getting dark before the rolls are baked through, tent loosely with foil for the remainder of the bake time.
It’s possible that your yeast is bad, but this is unlikely unless it’s really old and has just been sitting in your pantry for years. More likely, it just needs more time. Try moving it to a warmish place, keep it tightly covered, and be patient. It will get there.
Printable Recipe

Snowflake Rolls
Equipment
- 1 stand mixer with dough hook
- 1 9×13-inch baking dish
- 1 fine mesh strainer
Ingredients
- 1 cup milk 2% or whole is best
- ¼ cup granulated sugar
- 2 ¼ teaspoons instant or active dry yeast
- ¼ cup unsalted butter, melted and cooled
- 1 teaspoon salt
- 3 ½-3 ¾ cups all-purpose flour, plus 1 teaspoon for dusting add gradually
Save This Recipe
You'll join my email list which you will love. And if you don't, unsubscribe in one click. ❤️
Instructions
- Start dough. Combine the milk, sugar, yeast, melted butter, and salt in the bowl of a stand mixer and stir to combine.
- Add flour. Mix in two cups of flour until combined, then add the remaining flour gradually until the dough pulls away from the sides of the bowl. It should be soft and slightly tacky.
- Knead. Knead with the dough hook for about 5-10 minutes, until smooth and elastic. The dough is finished kneading when a golf ball size piece has translucent areas when you try to stretch it out and hold it up to the light.
- First rise. Cover and let rise in a warm place for 90 minutes, or until doubled in size.
- Shape. Line a 9×13 inch baking dish with parchment paper or grease lightly. Turn dough out and divide into 12 equal pieces. Shape each into a smooth ball and place in the prepared dish.
- Second rise. Cover and let rise for another 30 minutes until puffy. Preheat oven to 375°F.
- Dust with flour and bake. Use a fine mesh strainer to dust the tops lightly with flour. Bake for 20-25 minutes, until golden brown.
- Cool. Cool in the pan for 10 minutes before serving.
Notes
Nutrition