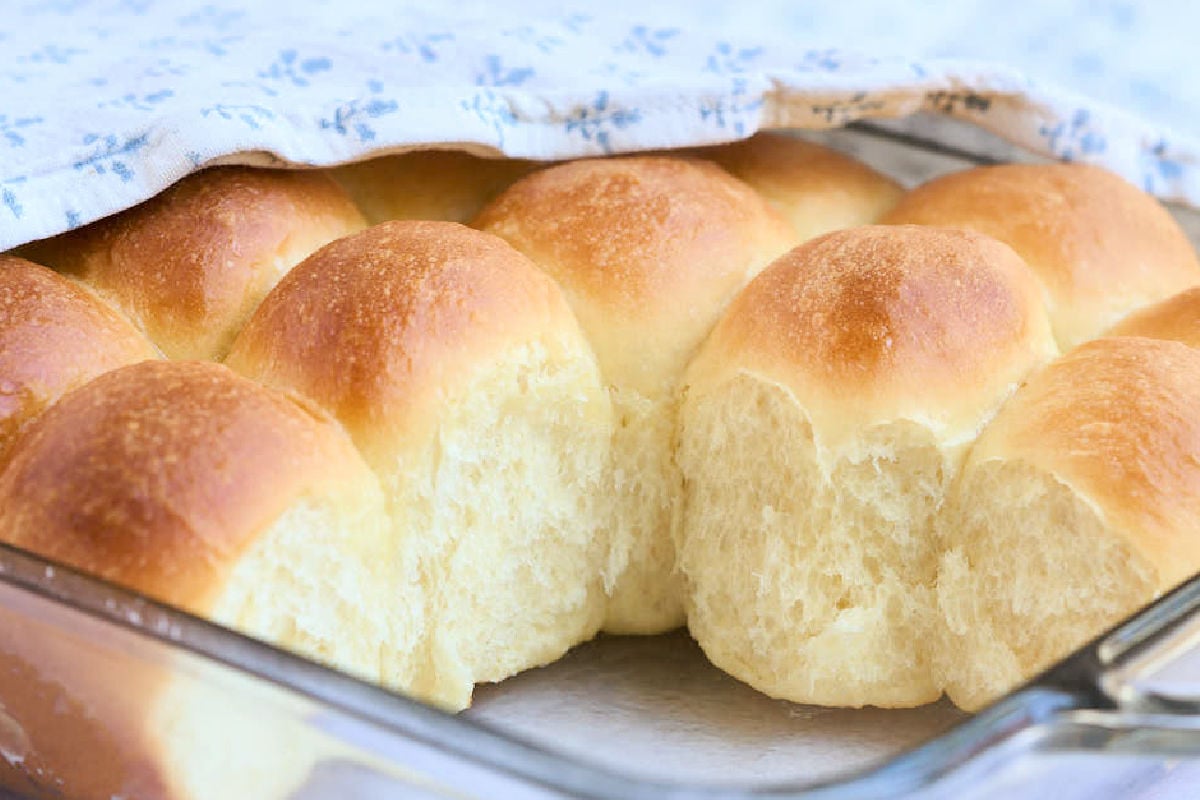
Old-Fashioned Yeast Rolls
The soft, buttery rolls you remember your grandma making at every holiday dinner. You can do it too.
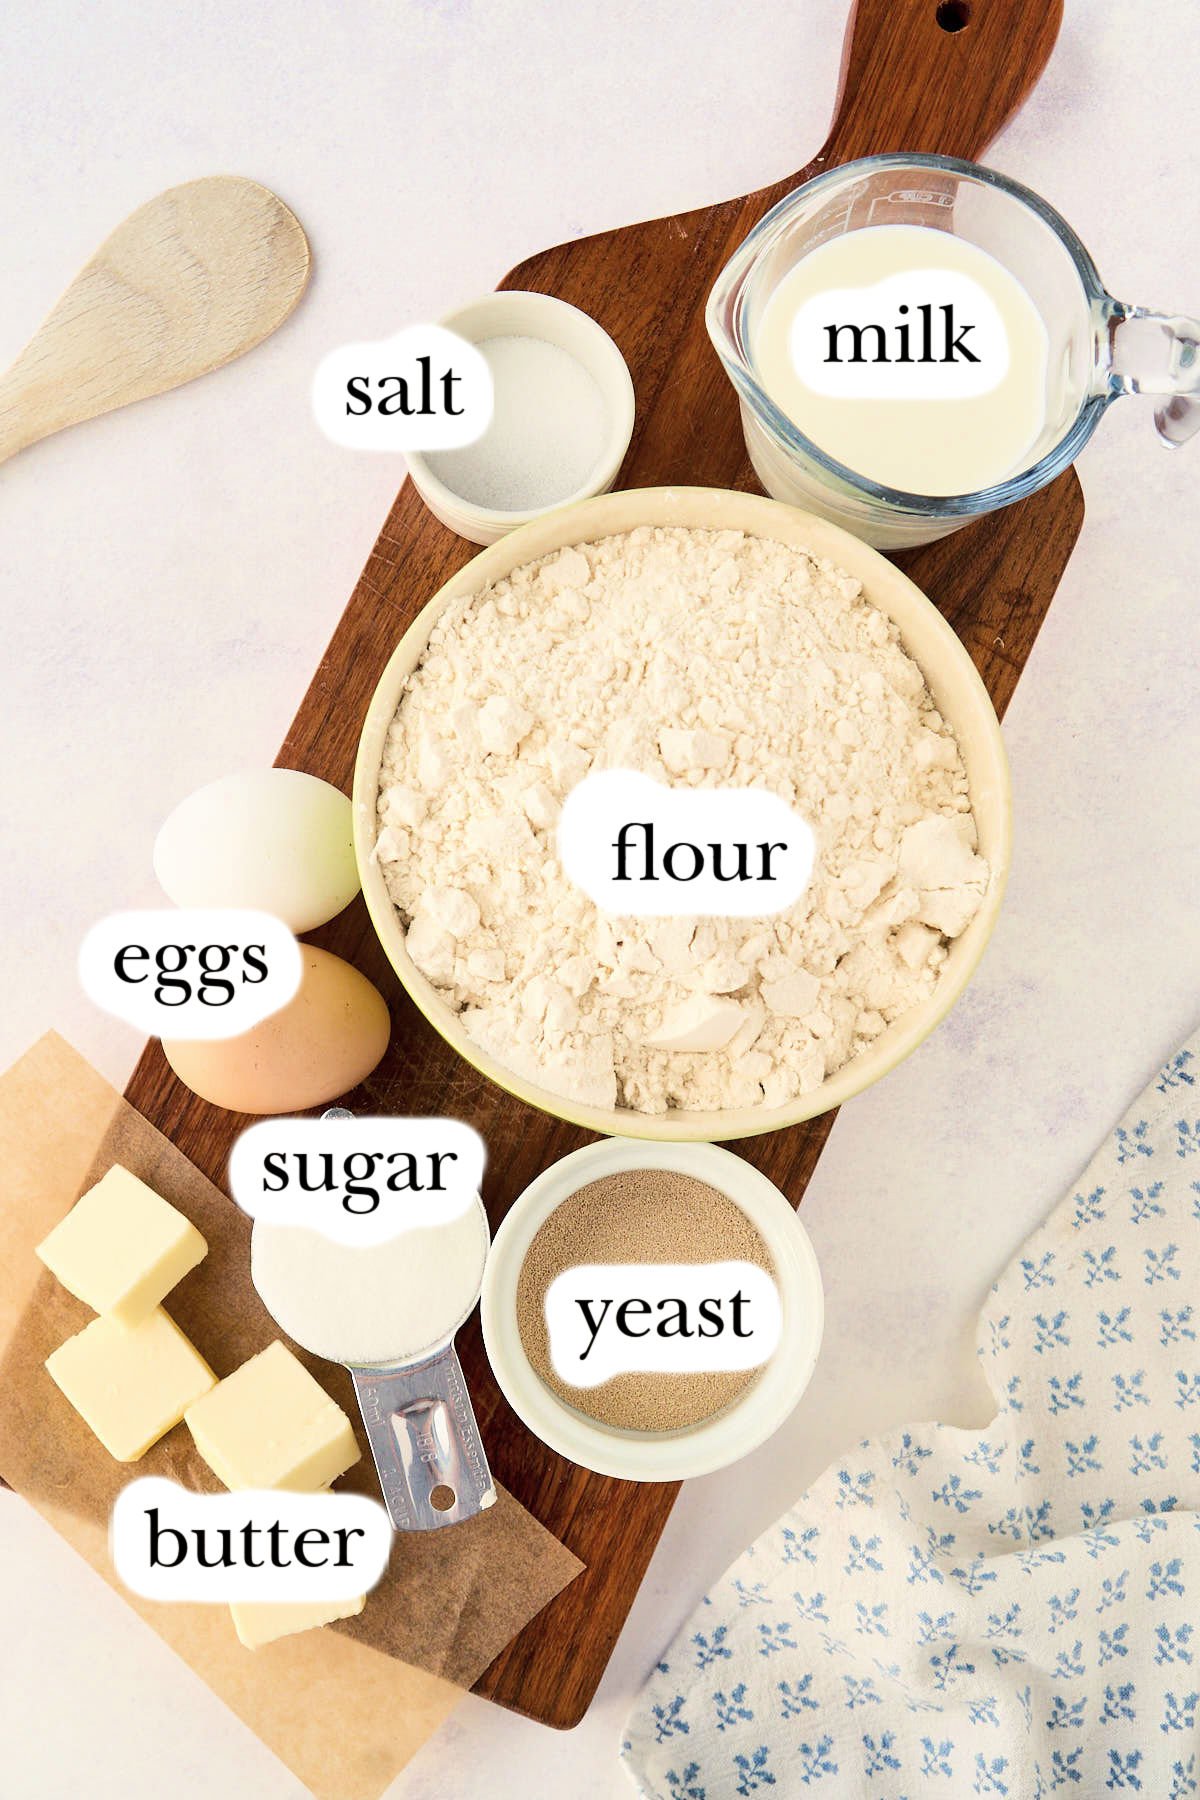
What You’ll Need
Instant yeast is quicker and less picky about temperatures than active dry yeast. If you aren’t happy with your bread results, buy a package of this and enjoy your life. And NO, you don’t have to proof your yeast first!
Dough
- 2 eggs (room temperature)
- ¾ cup milk
- ¼ cup water (room temperature)
- ¼ cup vegetable oil (or melted butter)
- ¼ cup sugar
- 1 ½ teaspoons salt
- 4 cups all-purpose flour (You don’t want bread flour here; all-purpose flour is perfect.)
- 1 tablespoon instant yeast
Topping the Rolls
- 3 tablespoons melted butter
Instant yeast is quicker and less picky about temperatures than active dry yeast. If you aren’t happy with your bread results, buy a package of this and enjoy your life. And NO, you don’t have to proof your yeast first!

Equipment
- Large mixing bowl or stand mixer
- 13×9 glass baking dish
Instructions
With bread baking, as with all things, use common sense! If your rolls look pale and need a few more minutes in the oven, give them a few more minutes! If the dough seems super dry and needs a tiny bit more water, add it. Let the pictures guide you.
Step One: Knead The Dough
Combine eggs, milk, water, vegetable oil (or melted butter), sugar, salt, flour, and instant yeast in a big bowl. Then knead the dough by hand, with a stand mixer using the dough hook attachment, or with a bread machine set to the “dough” cycle. If the dough seems dry or dense, add a bit more milk. The dough is kneaded enough when you can stretch a small piece thin enough to see light through it without tearing (windowpane test).

Step Two: The First Rise
Shape the dough into a ball and place it in a clean, lightly oiled bowl. Next, cover with plastic wrap or a damp tea towel. Allow to rise in a warm place for 1 hour or until doubled in size.

Step Three: Divide And Shape
Turn the dough out onto a clean surface. Then, divide it into 24 equal pieces using a sharp knife. Next, shape each piece into a ball by pinching the bottoms until the tops are smooth. Spray a 13 x 9 glass baking dish with nonstick spray and place the dough balls inside.

Step Four: The Second Rise
Cover the dish with greased plastic wrap and set it in a warm place to rise until they are very puffy, for about 45 minutes. Preheat the oven to 350°F (175°C) towards the end of the rising time.

Step Five: Bake
Remove the plastic wrap and brush the rolls with 2 tablespoons of melted butter. Bake for 18-20 minutes, until golden brown. Brush with the remaining 1 tablespoon of melted butter while still warm.

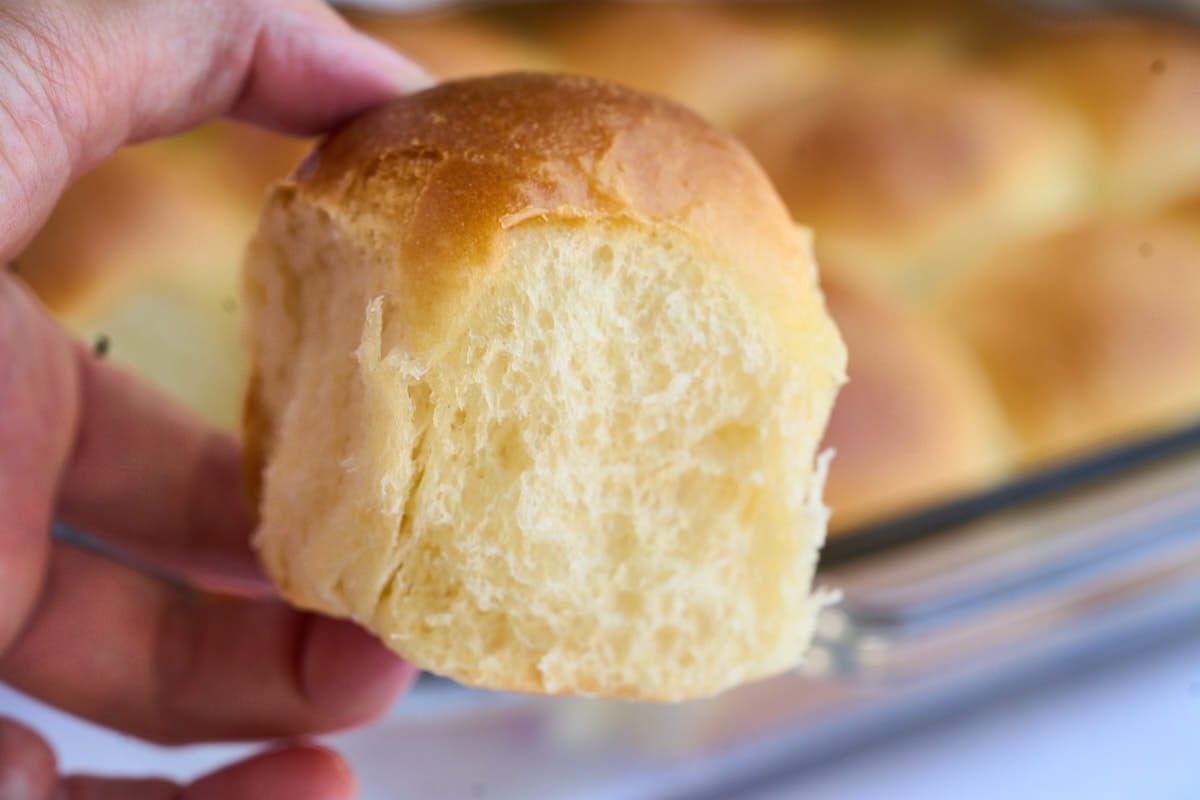
Step Six: Serve
Let the rolls cool for about 20 minutes. Serve directly from the pan or transfer to a serving dish.
Storage Instructions
Homemade rolls freeze quite well. Allow them to cool completely and freeze for up to 3 months. Warm in a 300-degree oven for 10 minutes before serving. A quick brush of melted butter on top before serving brings them right back.
Make It Your Own
- Add herbs like rosemary or thyme to the dough.
- Make them (partially) whole-wheat by replacing 1 cup of white flour with whole-wheat flour.
- Top with seeds or herbs before baking.
Questions and Troubleshooting
I prefer to use a mixer with a dough hook, but you can absolutely do it by hand. If you have a bread machine, using the dough cycle is a great and easy choice.
Yes, I am. I promise.
Probably not. The amount of flour a bread dough needs will always vary a little depending on humidity, your flour brand, and how you measured. Let the pictures guide you! If the dough is so sticky you can’t handle it, add flour a tablespoon at a time until it’s manageable. It should be soft and slightly tacky.
Couple things are possible- if your yeast was old (YEARS old), it’s likely dead. But what’s more likely is you’re being a little impatient and if you put your dough in a slightly warm place, it WILL rise.
Yes. After the first rise, punch the dough down, cover the bowl tightly, and refrigerate overnight. The next day, shape the rolls, let them do their second rise on the counter (it will take a bit longer since the dough is cold), and bake as directed.
More Dinner Roll Recipes
- For a more crusty texture, try my easy crusty sourdough rolls.
- These garlic parmesan dinner rolls add lots of extra flavor to a classic roll.
- Make bread machine dinner rolls for your next holiday…super easy!
- No-knead dinner rolls for the easiest method of all.
Printable Recipe
Old Fashioned Yeast Rolls
Equipment
- Large mixing bowl or stand mixer
- 13×9 glass baking dish
Ingredients
- 2 eggs (room temperature)
- ¾ cup milk
- ¼ cup water (room temperature)
- ¼ cup vegetable oil (or melted butter)
- ¼ cup sugar
- 1 ½ teaspoons salt
- 4 cups all-purpose flour
- 1 tablespoon instant yeast
For Topping The Rolls
- 3 tablespoons melted butter
Save This Recipe
You'll join my email list which you will love. And if you don't, unsubscribe in one click. ❤️
Instructions
- Knead the dough. Combine eggs, milk, water, vegetable oil (or melted butter), sugar, salt, flour, and instant yeast in a big bowl. Then knead the dough by hand, with a stand mixer using the dough hook attachment, or with a bread machine set to the "dough" cycle. If the dough seems dry or dense, add a bit more milk. The dough is kneaded enough when you can stretch a small piece thin enough to see light through it without tearing (windowpane test).
- The first rise. Shape the dough into a ball and place it in a clean, lightly oiled bowl. Next, cover with plastic wrap or a damp tea towel. Allow to rise in a warm place for 1 hour or until doubled in size.
- Divide and shape. Turn the dough out onto a clean surface. Then, divide it into 24 equal pieces using a sharp knife. Next, shape each piece into a ball by pinching the bottoms until the tops are smooth. Spray a 13 x 9 glass baking dish with nonstick spray and place the dough balls inside.
- The second rise. Cover the dish with greased plastic wrap and set it in a warm place to rise until they are very puffy, for about 45 minutes. Preheat the oven to 350°F (175°C) towards the end of the rising time.
- Bake. Remove the plastic wrap and brush the rolls with 2 tablespoons of melted butter. Bake for 18-20 minutes, until golden brown. Brush with the remaining 1 tablespoon of melted butter while still warm.
- Serve. Let the rolls cool for about 20 minutes. Serve directly from the pan or transfer to a serving dish.
Notes
Nutrition


Ca this be made with buckwheat flour and 1-1 gluten-free flour??
i have never tried it but its worth a shot.
I’m saving this recipe forever! I couldn’t believe it when I read just to dump it all together… but they turned out fabulously!
I was wondering if I could use this recipe with a loaf pan to make sandwich bread?
Hey Lindsey, it’s worth a try but honestly the dough is kind of rich for a sandwich bread. It’ll end up being almost like a brioche. If you want a super soft sandwich bread but that’s a little bit lighter in texture, start with my Italian sandwich bread. I really think you’ll like that one
made these last night they are amazing and so easy to
Thank you
Thank you, Carol. I’m so glad you liked them.
Love these rolls! Go to recipe for quick dinner rolls or fancy holiday meals. Even one day when I thought maybe my yeast was no good because they didn’t seem to rise right, but I baked anyway and then quickly made a second batch, both turned out great and leftovers were still amazing out of the freezer.
hey Kylie! I’m so glad to hear this! they are forgiving 🙂
My dough was very sticky.. I let it knead forever. Even added more flour. Don’t think it is going to rise. I made another recipe tonight at the same time. It was ok. Neither turned out that way I expected… 😕
Tammy with this recipe and any other, you need to let the pictures help you. if the dough is sticky and impossible to handle, then add more more flour until it’s manageable. the amount of flour and water needed in a bread recipe will ALWAYS vary because of humidity, flour brand, etc. I make the same core recipe son repeat and they always require a little adjusting.
I’m excited to try this recipe , I don’t have a mixer with a dough hook , I’ll be mixing with my hands, how long should I mix with my hands ?
longer than you think! at least 15 minutes. check for the windows in the dough, that’s what matters, more than the time.
Can you make it in a bread machine on the dough cycle?
yes I do this 99% of the time
Would bread flour work in this?
yes should be fine, might need a tad more liquid.
can I make the dough and bake the next day?
yes! 🙂
Do I refrigerate after the shaping/2nd rise? Do I need to add extra time to the baking, or bring dough to room temperature?
Can I make dough two days in advance?
Thank you
yes you can refrigerate at the point. then let come to room temp before you bake. make sure the rolls visibly rise. it will take awhile because first they’ll have to warm up a bit, then rise. go by what they look like, not the clock. 2 days in advance SHOULD be okay, but don’t shape them too days in advance.
I don’t usually leave a review, but had to this time. I’ve been baking for years. I have to say these are the Best and Easiest rolls I have ever made. They came out and tasted perfect!! I have always proofed my yeast (old school). I was so happy to skip that step. Will be making bread, as well. Thank you for sharing your recipe, tips and knowledge.
hey Angie! I’m so glad to hear this from you :).
I always make a yeast starter when I make bread but I read the article about that being unnecessary, and I followed the directions exactly! The dough did not rise. The rolls turned out super dense. Super bummed. I will proof it next time.
hi Brittany, you just need to give it more time. if your yeast is active, it WILL rise, no starter necessary. of course you are willing to use whatever method you want but it’s so much easier to skip that step. I’d recommend giving it another try, make sure it’s thoroughly kneaded (windowpane tesT), and let it rise in a warm place.
What about proofing in oven?
yes that works fine, I usually turn it on for a minute, then off. “proof” setting will run a tad too hot if you leave it on.
Be sure you use yeast that has NOT expired. Maybe that was the problem. I plan to make these rolls tomorrow. Haven’t made bread in a while.
yes and that’s something that happened a LOT during covid! people rummaged around and found yeast packet from a million years ago and were shocked when their dough didn’t rise!
What will happen if you use active dry yeast and not instant yeast?
it will be perfectly fine but will rise a bit slower. read this 🙂 https://heartscontentfarmhouse.com/activating-yeast/
this tecupe is great in your bread machine. I put the i gradients onto the machine just as she recommended if you were using a mixer. add the salt last. set on dough cycle. Were delicious and easy.
hey dee! that’s great 🙂 I love making these in the machine too!
This is my go-to recipe and they always turn out perfectly. They taste SO GOOD and buttery, just like my grandma used to make. The windowpane test has been a game changer in this and other recipes, too! 🙏🙏 Thank you!
hi amber! I’m so glad to hear this! yes the windowpane test is key! most people under-knead their dough and just think they are bad at baking
I’m fixing to make these rolls. wish me luck.
Hey Deborah, good luck! I hope they turn out soft and delicious. Let me know how they go!
These rolls were okay, nothing special but not bad either.
I might make them again but I’ll use a little more yeast. I like my bread to have a little more of a yeasty tang to them.
Thanks your recipes 😊 love ❤️ looks 👌 😍 deliciousos!
Hey Fannie, thank you so much! I’m happy you’re loving the recipes—it makes me so happy to hear that! These rolls really are a little slice of heaven. Happy baking, and I hope you enjoy every bite!
Just made this tonight…followed the recipe with butter and Platinum Red Star yeast…
and perfect, beautiful rolls! Oh, so good… husband and son loved them!!
Thank you so much! I’m so happy they turned out perfectly and that your family loved them!