Make Your Own Apple Cider Vinegar
There’s just something about making something out of nothing. That was a mouthful. But you get the idea. There’s magic in turning food scraps into something useful. And this is a staple you’ll use all the time in tons of recipes. All you need is time and apple peels.
I know watching a jar of apple scraps over weeks is not as exciting as pulling fresh cookies from the oven, but the end result is worth it to have this useful pantry staple.
Table of Contents
Ingredients and Tools You’ll Need
Every time you bake with apples, keep your apple scraps and cores in a freezer bag to have enough for this recipe. But you can still use cut-up apples if you don’t have enough or don’t want to wait. You can mix and match the apple varieties. It doesn’t matter.

This will make one gallon and will keep for years. If you’d like to double or triple this recipe, you can make adjustments in the recipe card at the bottom of this post. But you are going to need A LOT of apple scraps.

Equipment
- Large container (gallon-sized and preferably glass. This is essential! Metal will react with the acid, and plastic can leach chemicals.)
- Cheesecloth
- String or rubber band
- Wooden spoon
- Canning weight (or sandwich bag filled with water as a weight)
- fine mesh strainer
- Jar with a fermenting attachment
Ingredients
- 8 cups of apple cores and peels, or cut-up apples
- ½ cup granulated sugar
- 8 cups of filtered, warm water (chlorine from tap water will mess it up)
How to Make Apple Cider Vinegar
Watch for tiny bubbles rising to the surface. If you don’t see any after a week, you might need to put it in a warmer spot or give it more air.
Step One: Make The Apple Mixture
First, wash your jar really well with hot, soapy water. Then fill it about halfway with your apple scraps – cores, peels, even whole apples if that’s all you have, or you don’t have enough scraps. You’ll need about 8 cups worth.

Now pour in your filtered water (and yes, it HAS to be filtered – the chlorine in tap water will mess up the whole process). Fill it almost to the top, but leave about an inch and a half of space.

Add half a cup of sugar and give it a good stir.

Step Two: Sit Overnight
Cover the top with cheesecloth and secure it with a rubber band or string. Let it sit overnight on your counter.

Step Three: Add A Weight
The next day, give it another stir, and here’s the important part – you need to weigh down those apple pieces so they stay under the water. You can use a canning weight or a sandwich bag half-filled with water. Just plop it right on top.

Step Four: Store
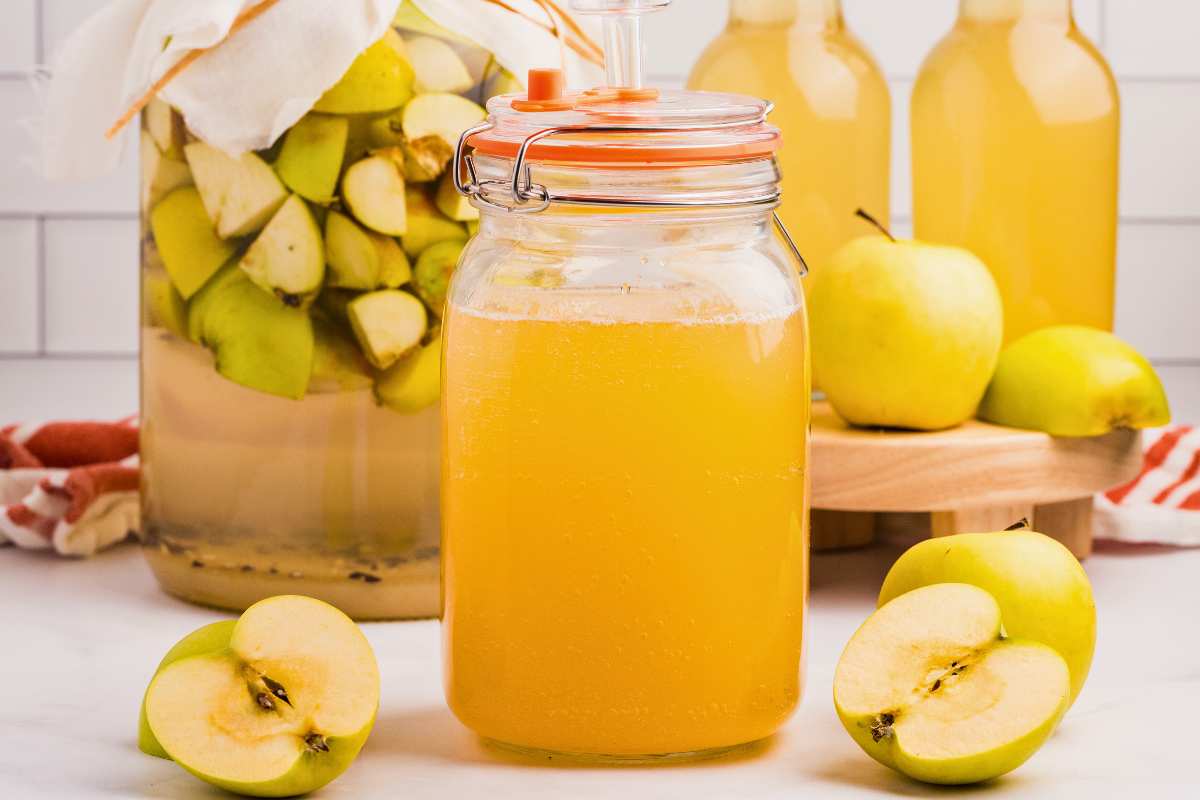
Now comes the waiting part. Keep this jar somewhere cool and dark, and stir it once or twice a day. After about 2-4 weeks, you’ll notice the apple pieces start sinking to the bottom. That’s your cue!

Step Five: Strain
Strain out all the apple bits with a fine mesh strainer. What you’ve got left is the good stuff – but it’s not quite vinegar yet.

Step Six: Ferment
Put that liquid in a jar with one of those fermenting lids (or just cover loosely with cheesecloth again). Every other day, “burp” it by loosening the lid to let gases escape, then tighten it back up quickly. You’ll see bubbles forming – that’s exactly what we want!

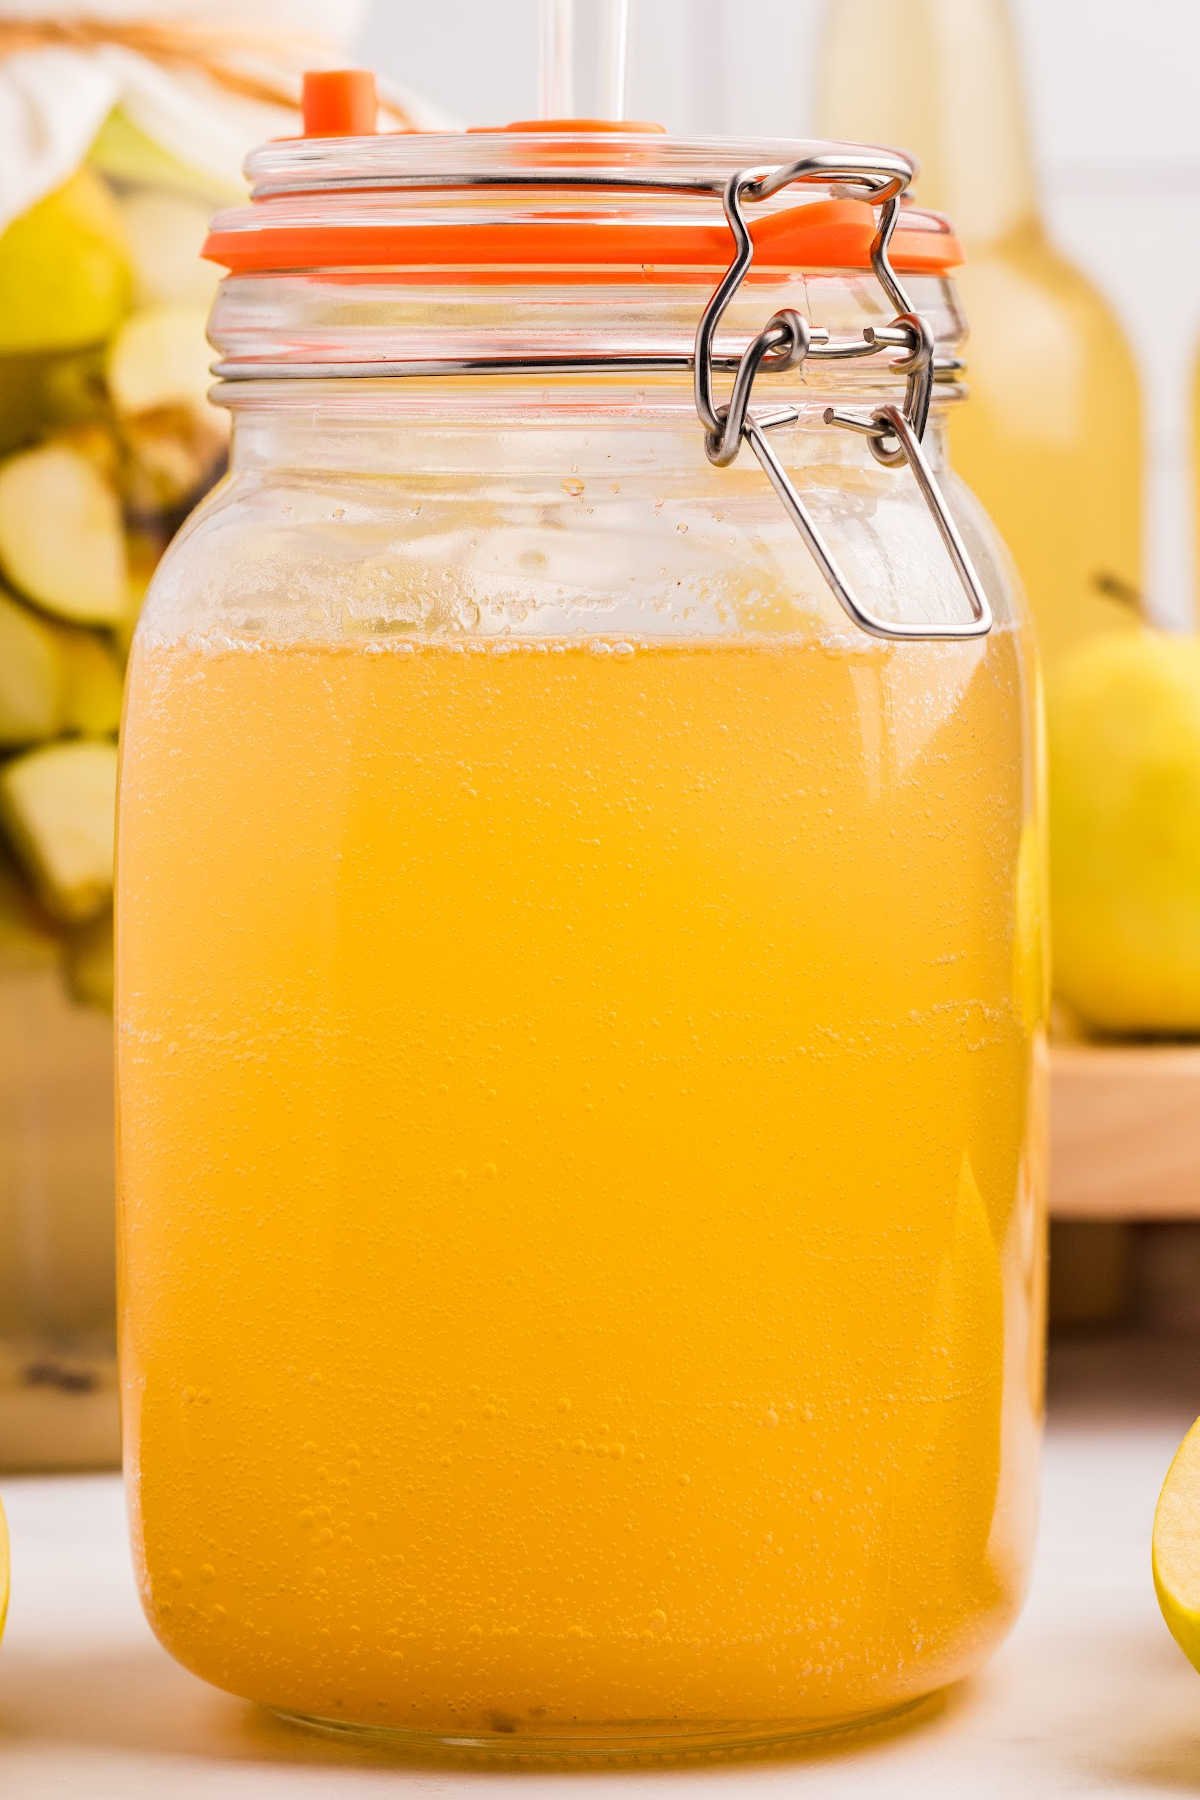
Once the bubbling stops and it smells like proper vinegar (you’ll know!), transfer it to a regular jar for storage.
Storing & Using
Your finished vinegar will stay good for years in a cool, dark place. If you see a cloudy substance (called “mother”), don’t worry…this is completely normall.
- Use it to make dressings or replace white vinegar in recipes, like in my cucumber and onion salad.
- Add to marinades
- Make quick pickles with it
Answering Your Questions
Move your jar to a warmer spot (around 70-75°F works best) or give it a good stir to introduce more air. Sometimes fermentation just needs a little nudge.
Nope, fermentation takes as long as it takes. You can try adding a splash of raw apple cider vinegar with “mother” to help jumpstart things, but you still need to wait for the full process.
When it stops bubbling completely and smells like proper vinegar. It will be sharp and tangy, not sweet or fruity. If it still smells like apples, give it more time.
A thin white film is usually just Kahm yeast and is harmless. Just skim it off. If it’s fuzzy or colorful, that’s mold and you need to start over. This is fairly unusual!
Weak vinegar usually means it needs more time to ferment, or your initial sugar-to-apple ratio was off. Let it sit longer until that sharp vinegar taste develops.
More Pantry Staples To Have On Hand
You’ll be so proud of yourself for having these in your pantry.
- If you have a bunch of whole apples (not scraps) to deal with, make some homemade apple juice.
- Pressure canning pinto beans means you can buy them cheaply as dried, but they are ready to go when you need them.
- SO many recipes use canned diced tomatoes, so you’ll definitely want a few jars.
- Use your fresh garden veggies to make this sweet cucumber relish that’s a perfect condiment for summer barbecues.
Printable Recipe
Apple Cider Vinegar
Equipment
- Large container (gallon-sized and preferably glass)
- Cheesecloth
- String or rubber band
- Wooden spoon
- Canning weight (or sandwich bag filled with water as a weight)
- fine mesh strainer
- Jar with a fermenting attachment
Ingredients
- 8 cups apple cores and peels or cut-up apples
- ½ cup granulated sugar
- 8 cups water filtered, warm
Save This Recipe
You'll join my email list which you will love. And if you don't, unsubscribe in one click. ❤️
Instructions
- Fill a jar with apples. Wash a large gallon-sized jar with hot, soapy water. Add enough apple scraps to fill the jar halfway (about 8 cups when using a gallon-sized container).
- Add water. Fill the jar with about 8 cups of warm (not hot) filtered water, leaving about 1 ½ inches of headspace.
- Add sugar. Add the sugar and stir well. You will ultimately want 1 tablespoon of sugar per cup of water. If it took the full 8 cups to fill the jar, ½ cup is perfect. But if you only used 7 cups, just use 7 tablespoons .
- Cover and sit overnight. Cover the mouth of the jar with a piece of cheesecloth and seal with a string or rubber band. Let the mixture sit overnight at room temperature.
- Add canning weight. The next day, stir the apple mixture. Place a canning/fermenting weight on top (this pushes down the apple scraps to keep them in the water and helps prevent mold from growing). If you don’t have a canning weight, you can use a sandwich bag filled halfway with water to use as a weight.
- Store. Store the mixture at room temperature in a cool, dark place, stirring 1-2 times daily. After 2-4 weeks, you should notice the apple scraps starting to sink to the bottom. This is when it is time to strain the mixture.
- Strain. Place a fine mesh strainer over a bowl and pour the mixture into the strainer, removing the apple scraps.
- Ferment and store. Transfer the liquid to a jar with a fermenting attachment and let the mixture sit until bubbles stop forming. You will want to “burp” the mixture every other day by loosening the lid, allowing the gases to escape, and quickly tightening again, limiting exposure to new oxygen. Once the bubbles are gone and the liquid has a distinct vinegar smell, you can transfer the liquid to a jar for long-term storage.
Notes
Nutrition


Can I use well water for this? ( no chlorine)
Thank you!
i always do 🙂
Home made vinegar isn’t to be used for pickling as the acidity level isn’t measured. Pickling vinegars are 5%. How do you measure home made acidity?
hi Dianna, I wouldn’t recommend using it for canning (although these is a very complicated process to measure it’s acidity) unless you want to test the ph of your final canned item using PH strips. HOWEVER, I do use this in refrigerator pickle recipes.
I live this! Thank you!
I use ACV every morning as a facial toner and am excited to make my own!
Hey Morticia, thank you so much! I’m so glad you enjoyed it. I hope you have fun making your own. Let me know how it turns out or if you have any questions along the way!