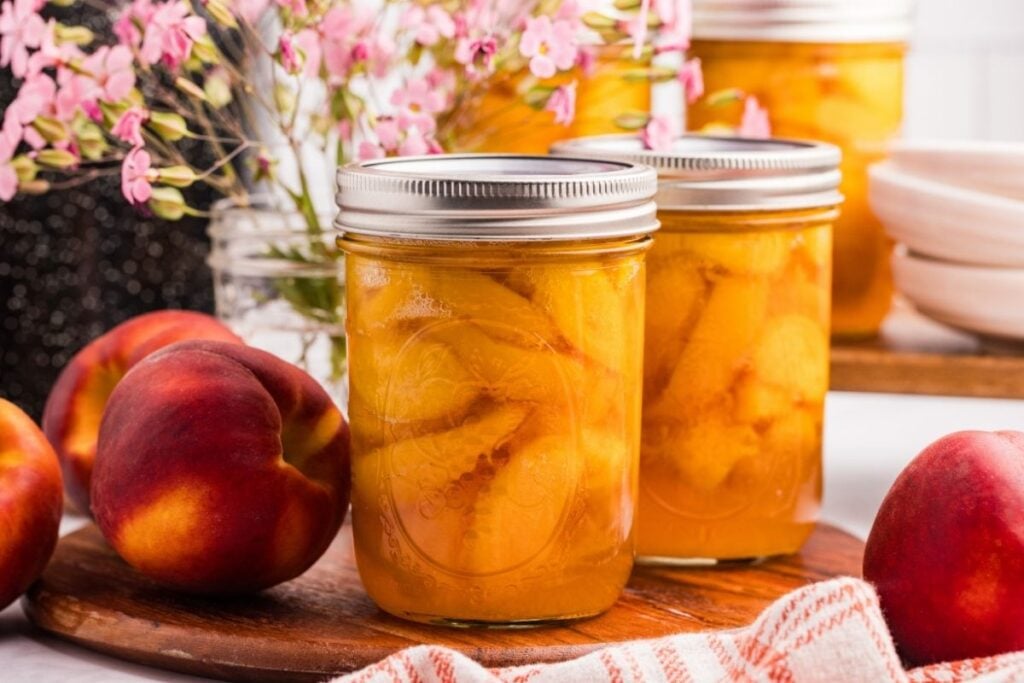
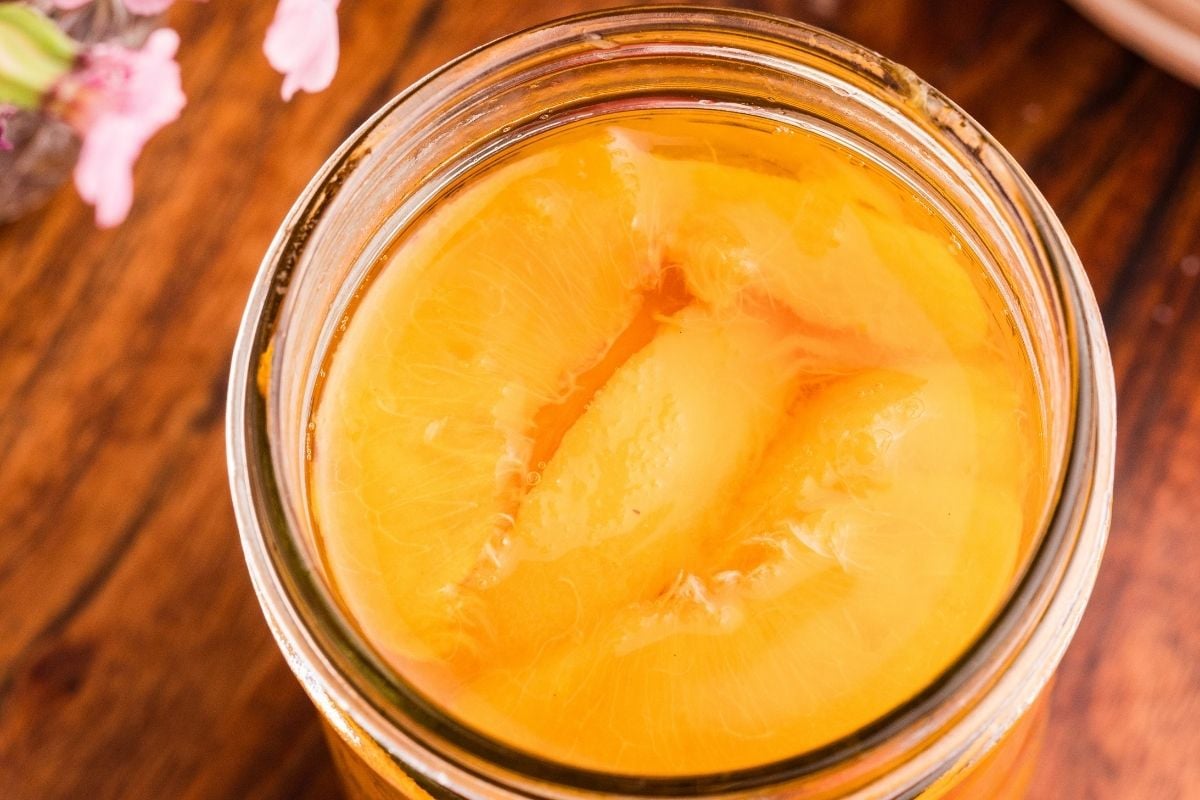
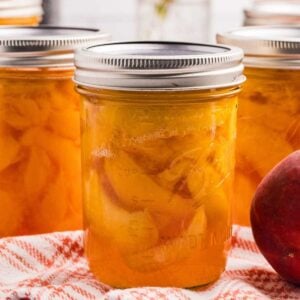
Canned Peaches in Light Syrup
Inside: A step-by-step guide to preserving one of summer’s best fruits.
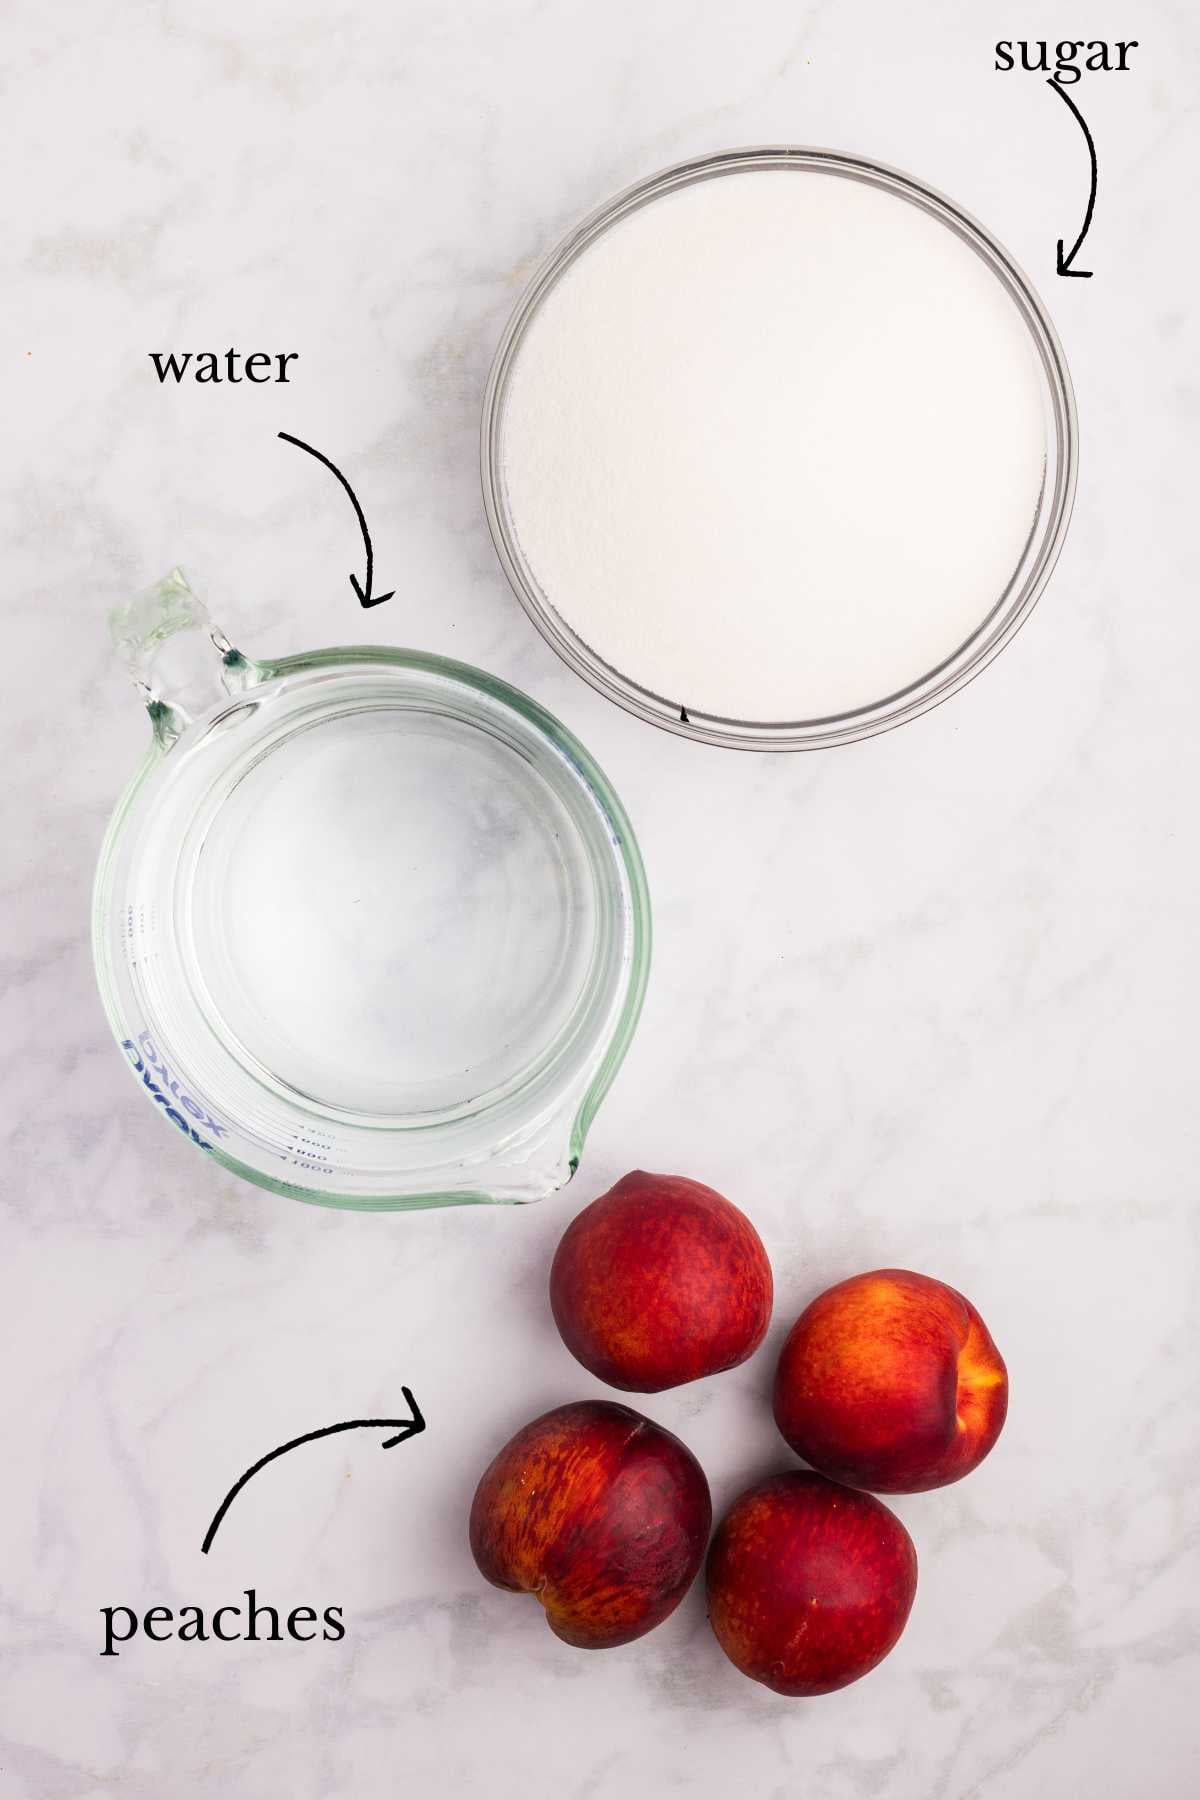
What You’ll Need
- 5 pounds yellow peaches. Yellow freestone is what you want — white peaches aren’t acidic enough to safely can with this method.
- 3 ¼ cups granulated sugar
- 5 cups water
Equipment You’ll Need
- Water bath canner with rack. A tall stockpot with a rack in the bottom works if you don’t have a dedicated canner. The jars just can’t sit directly on the pot.
- Pint or quart canning jars with new lids and rings. Lids have to be new every time. Rings can be reused if they’re not rusty.
- Jar lifter
- Canning funnel
- Bubble remover or chopstick. A chopstick is honestly just as good.
This recipe doubles and triples beautifully, which is exactly what you want when your tree dumps fifty pounds on you at once. The syrup scales linearly — just keep it warm on the back burner. The real bottleneck is your canner: most fit 7 pints or 4 quarts per batch, so plan on processing in waves and keep extra jars hot in the simmering water until their turn. Don’t try to cram more jars in than your canner holds, and don’t let prepped peaches sit around. Work in batches that match what you can process at once.
Instructions
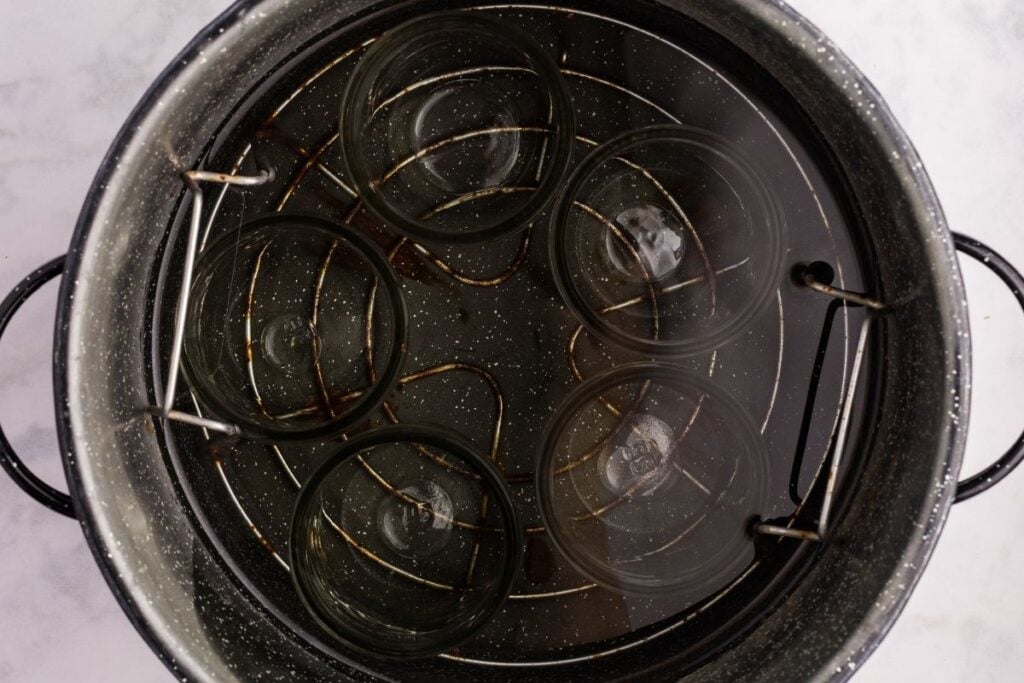
Get the canner and jars ready
Wash your jars in hot, soapy water, then load them into the water bath canner, cover them with water, and bring the water bath to a simmer over medium heat. Keep the jars hot in there until you’re ready to fill them. Cold jars and hot syrup is a recipe for cracked glass.
Wash the rings and lids in hot, soapy water, too, and set them aside. You don’t need to simmer the lids anymore (this used to be standard advice, but manufacturers have changed the seal material: clean and dry is enough).
Set up your blanching station
Bring a separate large pot of water to a rolling boil, and fill a big bowl with ice water right next to it. You want these ready before you start on the peaches, because the whole blanch-and-shock thing moves fast.

Make the syrup
In a third pot, combine the sugar and 5 cups of water and bring it to a slow boil over medium heat, stirring to dissolve the sugar. Drop it to a simmer, cover, and keep it warm.
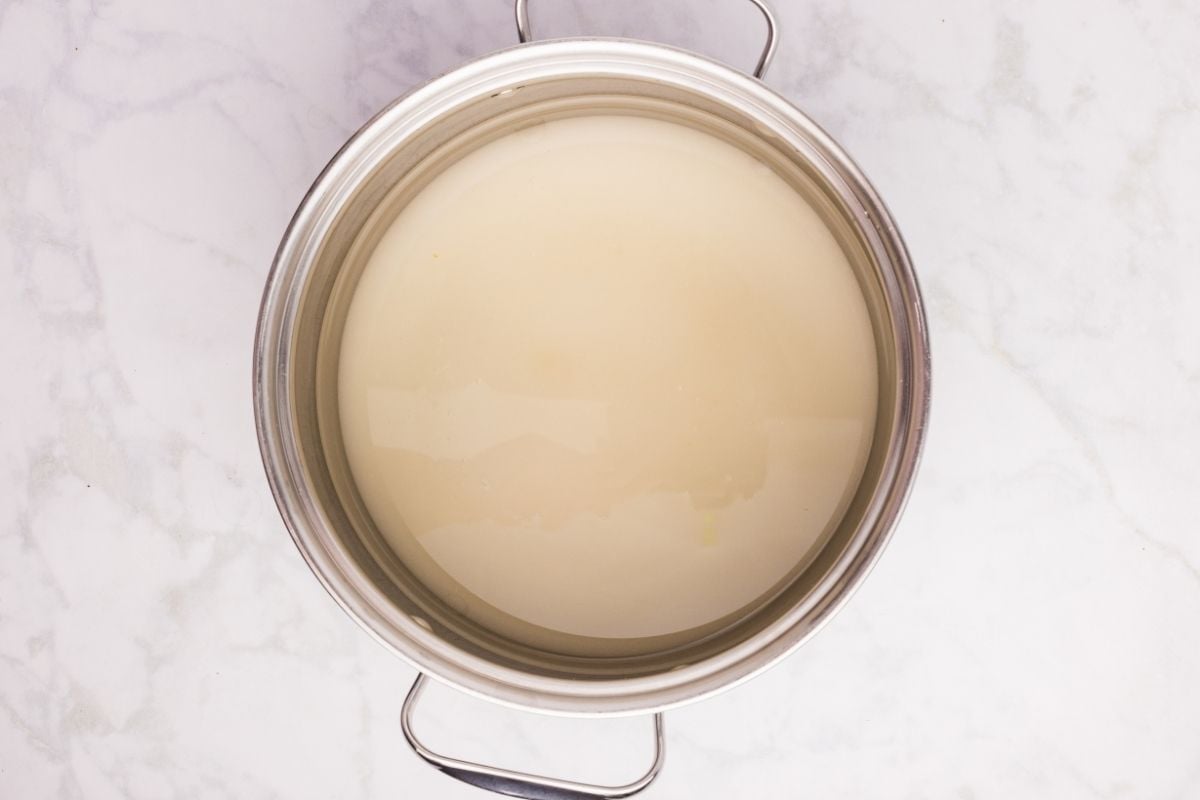
This is your syrup, and it needs to stay hot until the peaches go in.
Blanch and peel the peaches
Score a small X on the bottom of each peach with a sharp knife, just through the skin, not deep into the flesh.
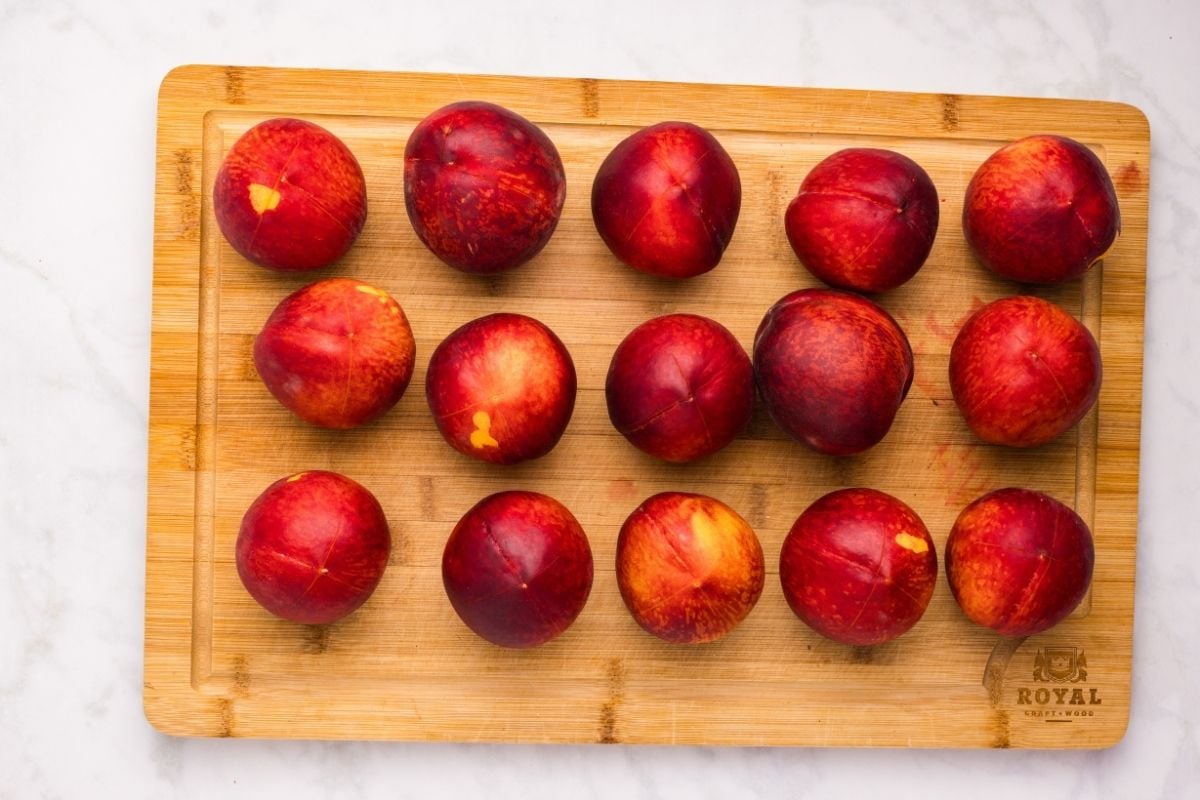
Working in batches of three or four, drop them into the boiling water for 1-3 minutes, until you can see the skins starting to loosen around your X.
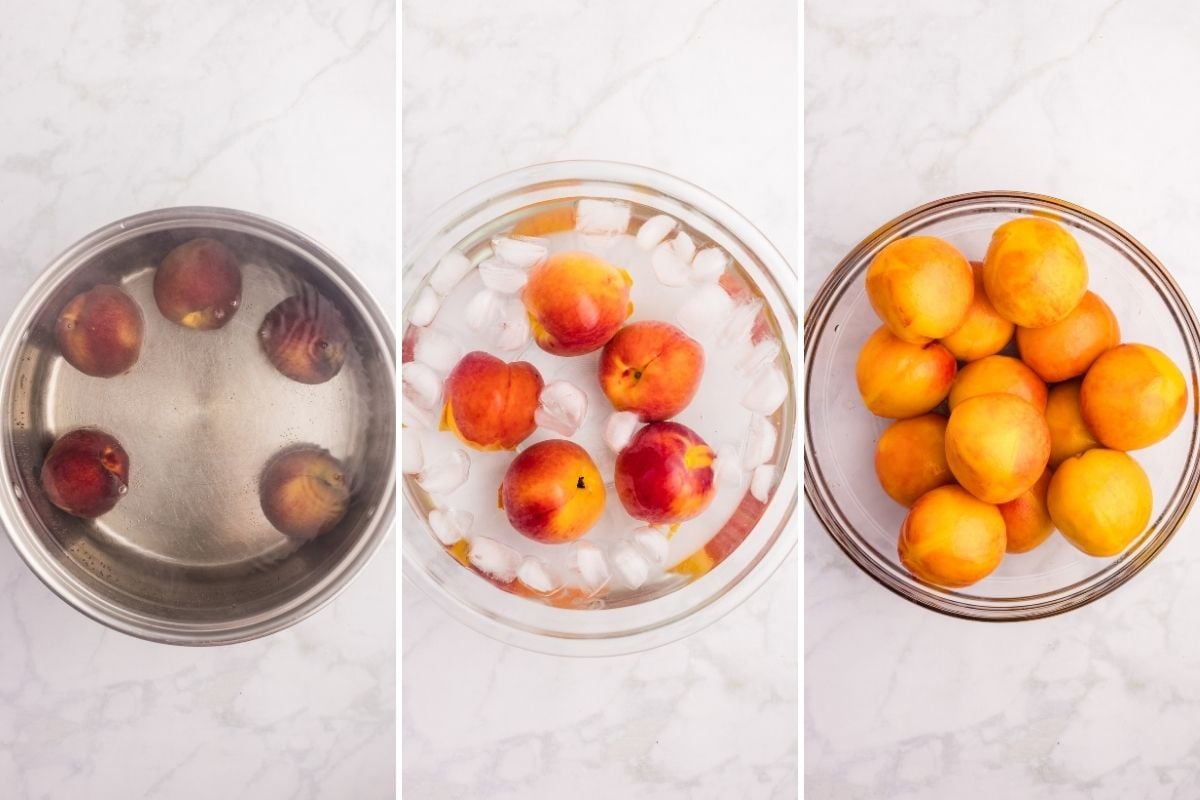
Move them straight into the ice bath with a slotted spoon. Once they’re cool enough to handle, the skins should slip right off in your hands. If a peach is fighting you, it wasn’t quite ripe enough or didn’t blanch long enough. Toss it back in the boiling water for another minute.
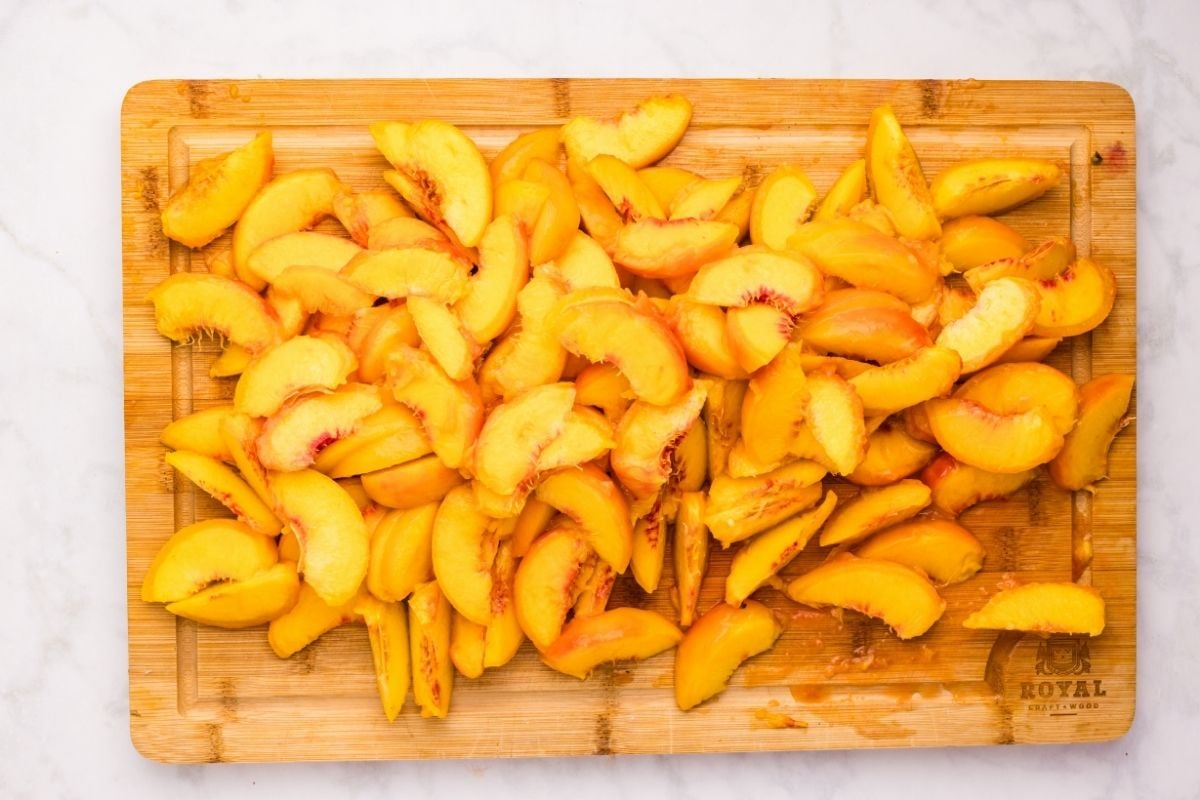
Halve them, pop out the pits, and slice them however you like.
Freestone peaches make this whole step about ten times easier than clingstones, so grab those at the orchard if you have the choice.
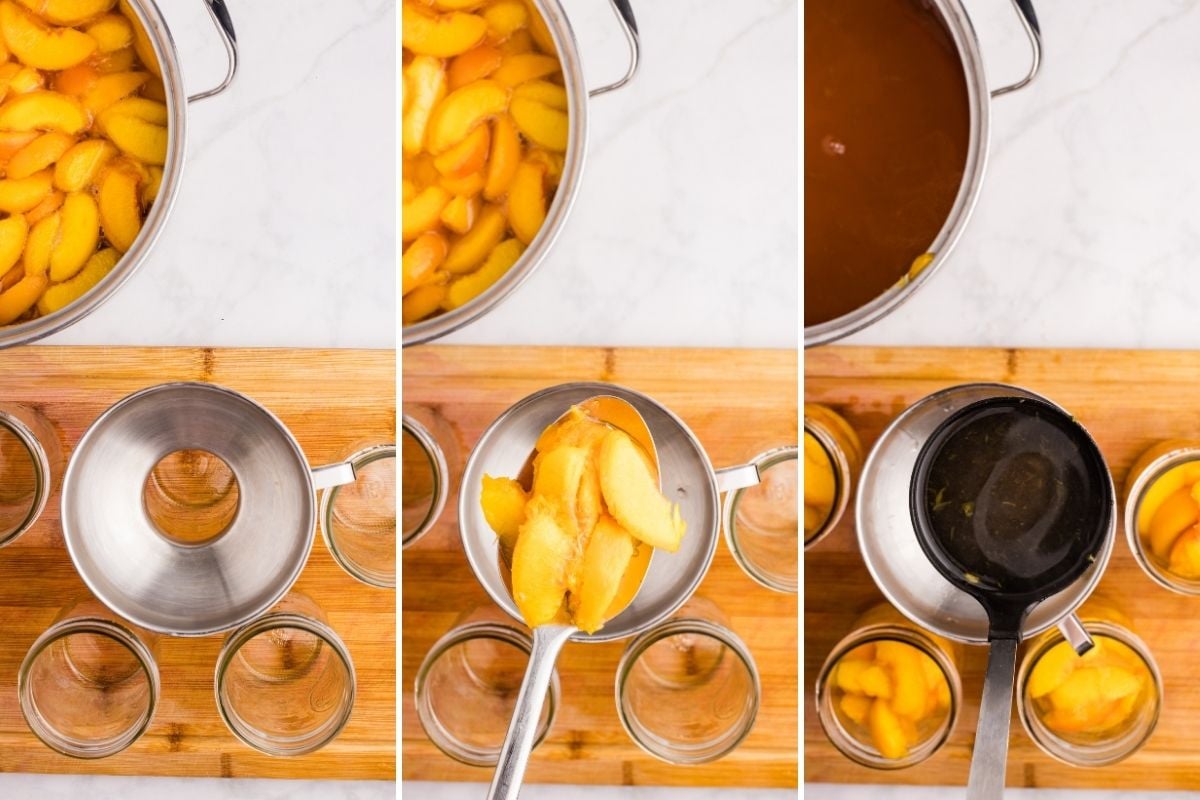
Simmer the peaches in syrup
Add your peach slices to the hot syrup and simmer for 5 minutes. This is sometimes called a hot pack, and it’s the step that keeps your peaches from floating to the top of the jar.
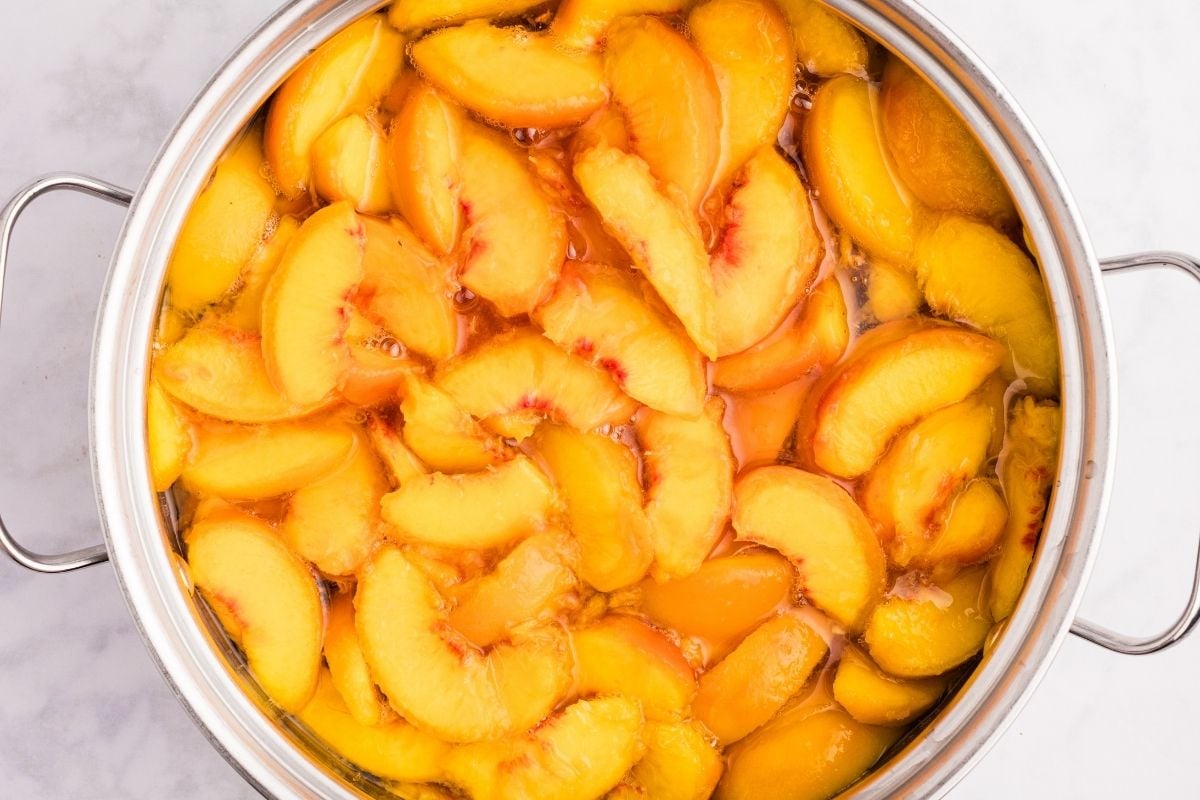
Don’t skip it or shortcut it, even though the peaches will look fine going into the jar either way. The float happens later, after they’ve cooled, and by then it’s too late to fix.
Pack the jars
Use a slotted spoon to fill your hot jars with peach slices, then ladle the warm syrup over them, leaving a ½ inch of headspace at the top. A canning funnel makes this easier.
Run a chopstick or bubble remover down the inside of each jar to release trapped air bubbles. Top off with more syrup if needed to get back to that ½ inch.
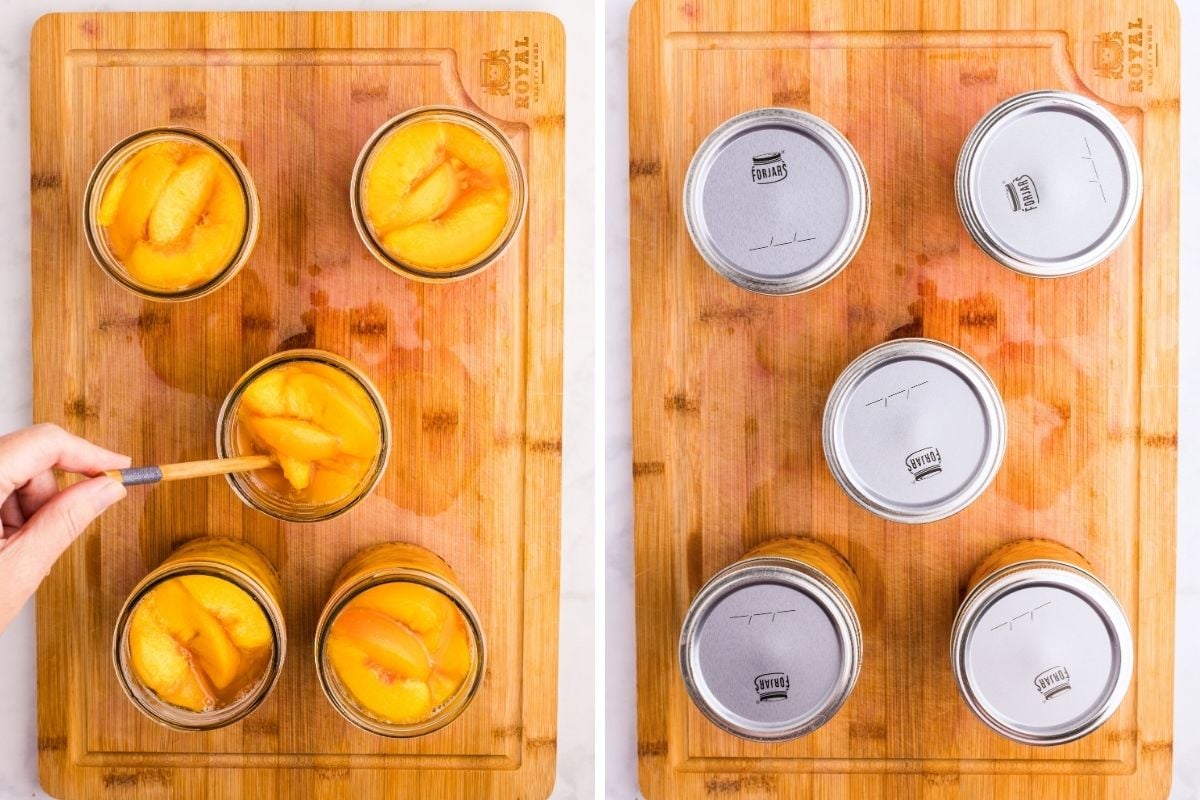
Wipe the rims clean with a damp towel (any stickiness here and your jar won’t seal), then put the lids on and screw the rings down to fingertip tight.
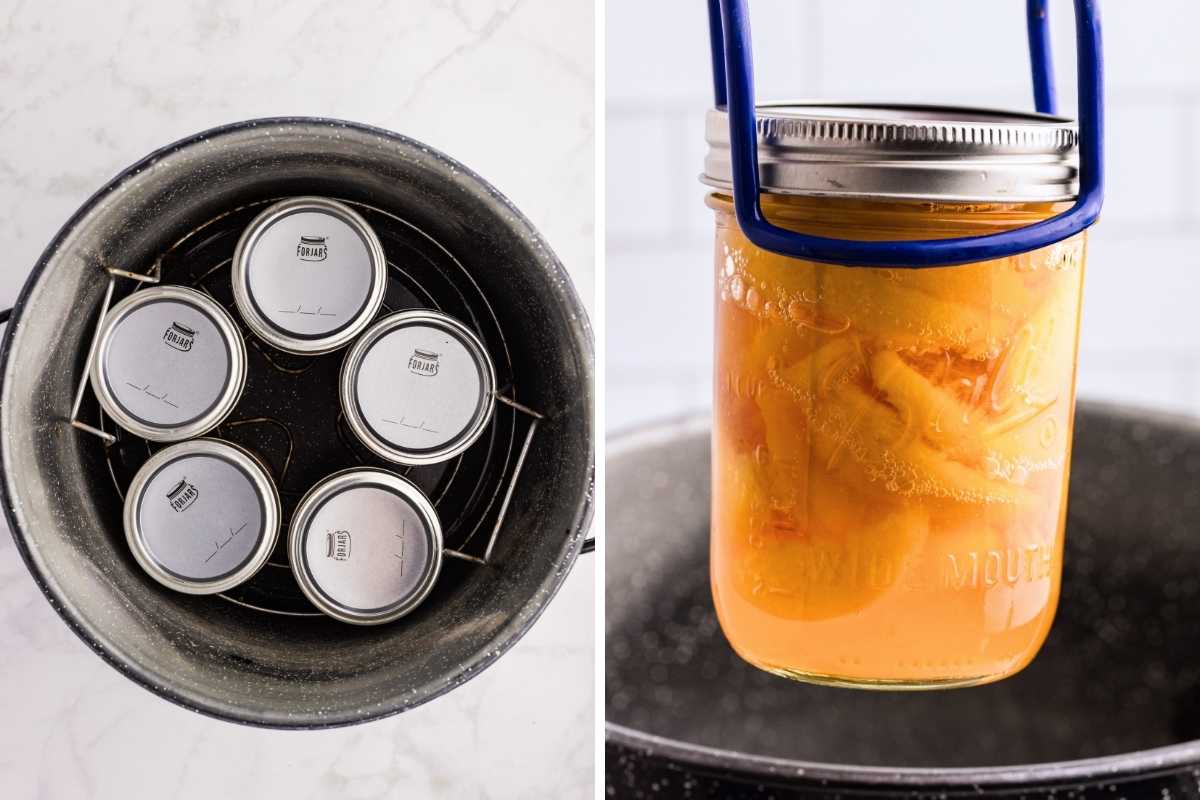
Process in the canner
Lower the jars into your hot canner with a jar lifter, making sure they’re covered by at least one inch of water. Put the lid on, crank the heat up, and bring it to a full rolling boil. Then start your timer: 20 minutes for pints, 25 for quarts.
If you’re above 1,000 feet of elevation, processing times need adjusting. Check current USDA guidelines for your altitude before you start — this is one place I won’t fudge, because it’s actually safety-critical, not just a texture thing.
When the timer goes off, kill the heat and take the lid off. Let the jars sit in the canner for 5 minutes before you move them. This reduces siphoning (the drawing of syrup from jars as they cool).
Cool and check the seals
Lift the jars out with the jar lifter and set them on a towel-lined countertop or cooling rack. Don’t put hot jars directly on a cold counter, and don’t tip or wiggle them while they cool. Let them sit undisturbed for 12 to 24 hours.
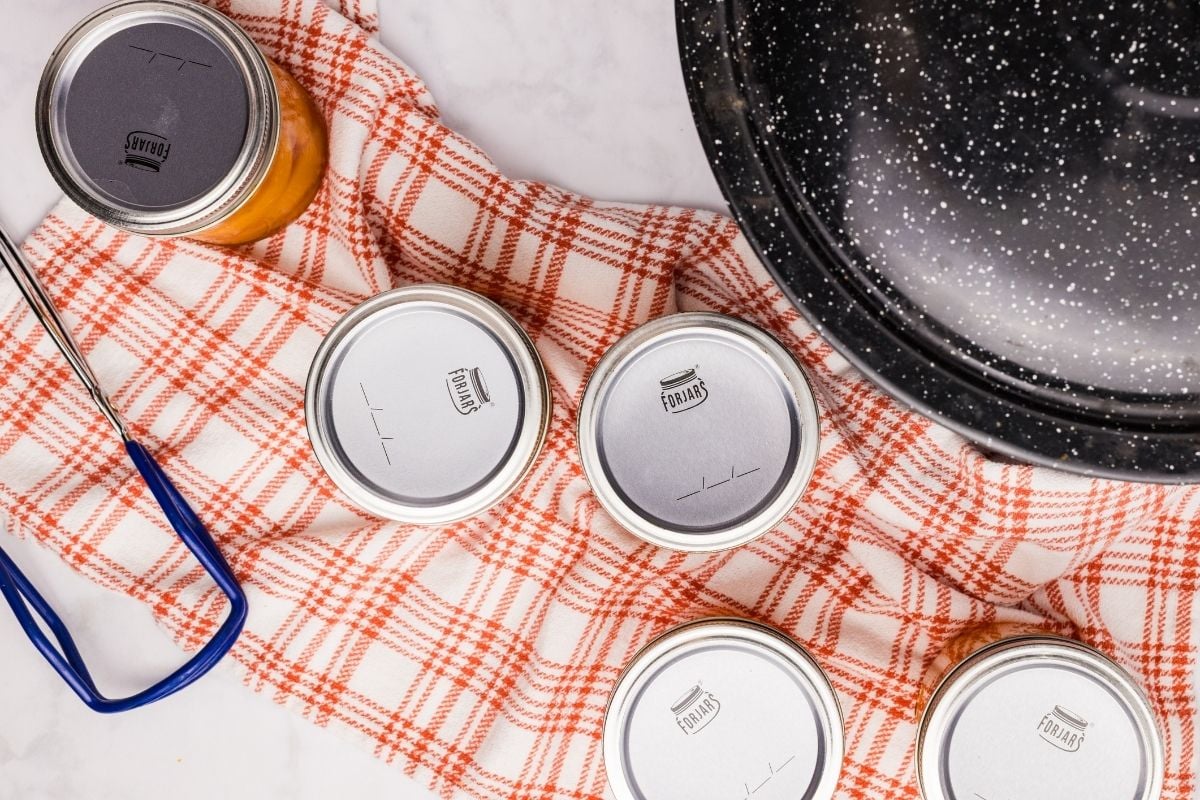
You’ll probably hear the lids ping as they seal. After they’re fully cool, take the rings off and press down on the center of each lid. If it doesn’t flex or pop, you’ve got a good seal. Wipe the jars down, label them with the date, and store them somewhere cool and dark.
Any jar that didn’t seal goes straight in the fridge and gets used up within a week.
Storage Instructions
Store sealed jars in a cool, dark spot. They’ll keep their best color and flavor for 12 to 18 months, though properly sealed jars stay safe longer than that. Label the lids with the canning date so you can rotate through your oldest jars first.
Once you open a jar, refrigerate it and use the peaches within 5 to 7 days.
If a jar didn’t seal (the lid flexes when you press the center), treat it like an opened jar and use it within a week.
How We Use Canned Peaches
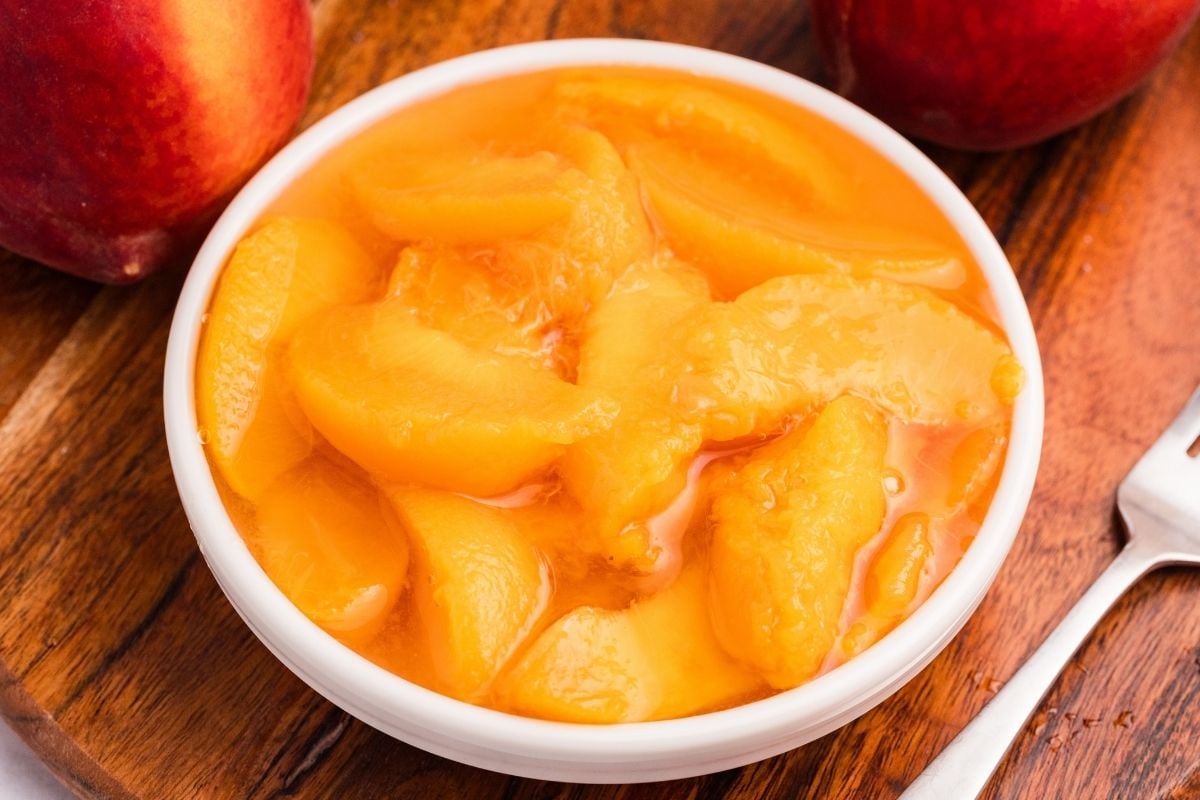
- Spoon over vanilla ice cream with a little of the syrup poured on top.
- Blend into smoothies.
- Chop and fold into muffin or quick bread batter.
- But our most common use is as a side dish for lunch, especially for a kid. They love them.
Questions and Troubleshooting
Do I have to peel the peaches?
Yes. The skins get tough and chewy during processing and tend to separate from the fruit in the jar. The blanching step makes peeling fast.
Can I leave the peaches in halves instead of slicing?
Yes! Just be really thorough about removing air bubbles, and use wide-mouth jars — they’re much easier to pack.
Why did my jars not seal?
Usually a dirty rim, wrong headspace, a reused or damaged lid, or rings tightened too loose or too tight. Refrigerate any unsealed jars and use them within a week.
Do I need to adjust for altitude?
Yes, if you’re above 1,000 feet. Check the current National Center for Home Food Preservation chart for your elevation before you start.
Why are my peaches floating in the jar?
Some float is normal and doesn’t affect safety. To minimize it, use ripe-but-firm peaches, keep them warm in the syrup before packing, and pack the jars snugly.
Canned Peaches
Equipment
- water bath canner with rack
- Pint or quart canning jars with new lids and rings
- large stockpot
- Jar lifter
- Canning funnel
- bubble remover or chopstick
- Ladle
Ingredients
- 5 pounds yellow peaches ripe but firm, freestone preferred
- 3¼ cups granulated sugar
- 5 cups water plus more for boiling and processing
Save This Recipe
You'll join my email list which you will love. And if you don't, unsubscribe in one click. ❤️
Instructions
- Prepare the jars. Wash the jars with hot, soapy water, then place them in a water bath canner filled with water and heat over medium heat until simmering. Keep the jars hot until ready to fill.
- Wash the lids and rings. Clean the rings and new lids with hot, soapy water and set aside.
- Set up your water stations. Bring a large pot of water to a boil and fill a large bowl with ice water. Set both within reach.
- Make the syrup. In another large pot, combine the sugar and 5 cups of water. Stir over medium heat and bring to a slow boil, then reduce to a simmer, cover, and keep warm.
- Score the peaches. Using a sharp knife, cut a small X on the bottom of each peach to make peeling easier.
- Blanch the peaches. Working in batches of 3 to 4, place the peaches in the boiling water for 1 to 3 minutes, until the skins begin to loosen.
- Shock in ice water. Immediately transfer the blanched peaches to the ice water bath to stop the cooking.
- Peel and slice. Once cool enough to handle, peel away the skins and discard them. Cut the peaches in half, remove the pits, and slice into your desired size.
- Simmer in syrup. Add the peach slices to the hot syrup and simmer for 5 minutes.
- Pack the jars. Using a slotted spoon, fill the hot jars with peach slices, leaving ½ inch headspace.
- Add the syrup. Ladle the warm syrup over the peaches, maintaining the ½ inch headspace.
- Remove air bubbles. Run a bubble remover or chopstick around the inside of each jar to release trapped air. Add more syrup if needed to keep the headspace at ½ inch.
- Seal the jars. Wipe the jar rims clean and apply the lids and rings until fingertip tight.
- Load the canner. Transfer the jars to the prepared water bath canner, making sure there is at least one inch of water above the jars.
- Process the jars. Cover the canner and bring the water to a full rolling boil. Once boiling, process pint jars for 20 minutes and quart jars for 25 minutes.
- Rest in the canner. Remove the canner from the heat, take off the lid, and let the jars settle in the water for 5 minutes.
- Cool the jars. Carefully lift the jars onto a cooling rack or a towel-covered countertop. Let them cool undisturbed for 12 to 24 hours.
- Check the seals. Once cool, remove the rings and check that each lid has sealed properly. Store sealed jars in a cool, dark place. Refrigerate any unsealed jars and use within 1 week.
Notes
Nutrition


