Christmas Jam (Cranberry, Orange & Spices)
Of all the jams we make, I probably love this one best of all. The strawberries and cranberries balance each other out just right and I love how the orange peel and spices make the kitchen smell. Christmas jam is a warm and cozy winter project that you’ll love giving to others (but also love to keep for yourself!)
If you’re comfortable with waterbath canning, making this is no big deal. And if you’ve never canned before, don’t worry. I’ll show you every step.
Christmas Jam for Canning
Equipment
- 8 half-pint canning jars (with lids and bands)
- Large pot (for water bath canning)
- Canning funnel
- Ladle
- Jar lifter
- Bubble remover/headspace tool
- Clean cloth
- Kitchen timer
Ingredients
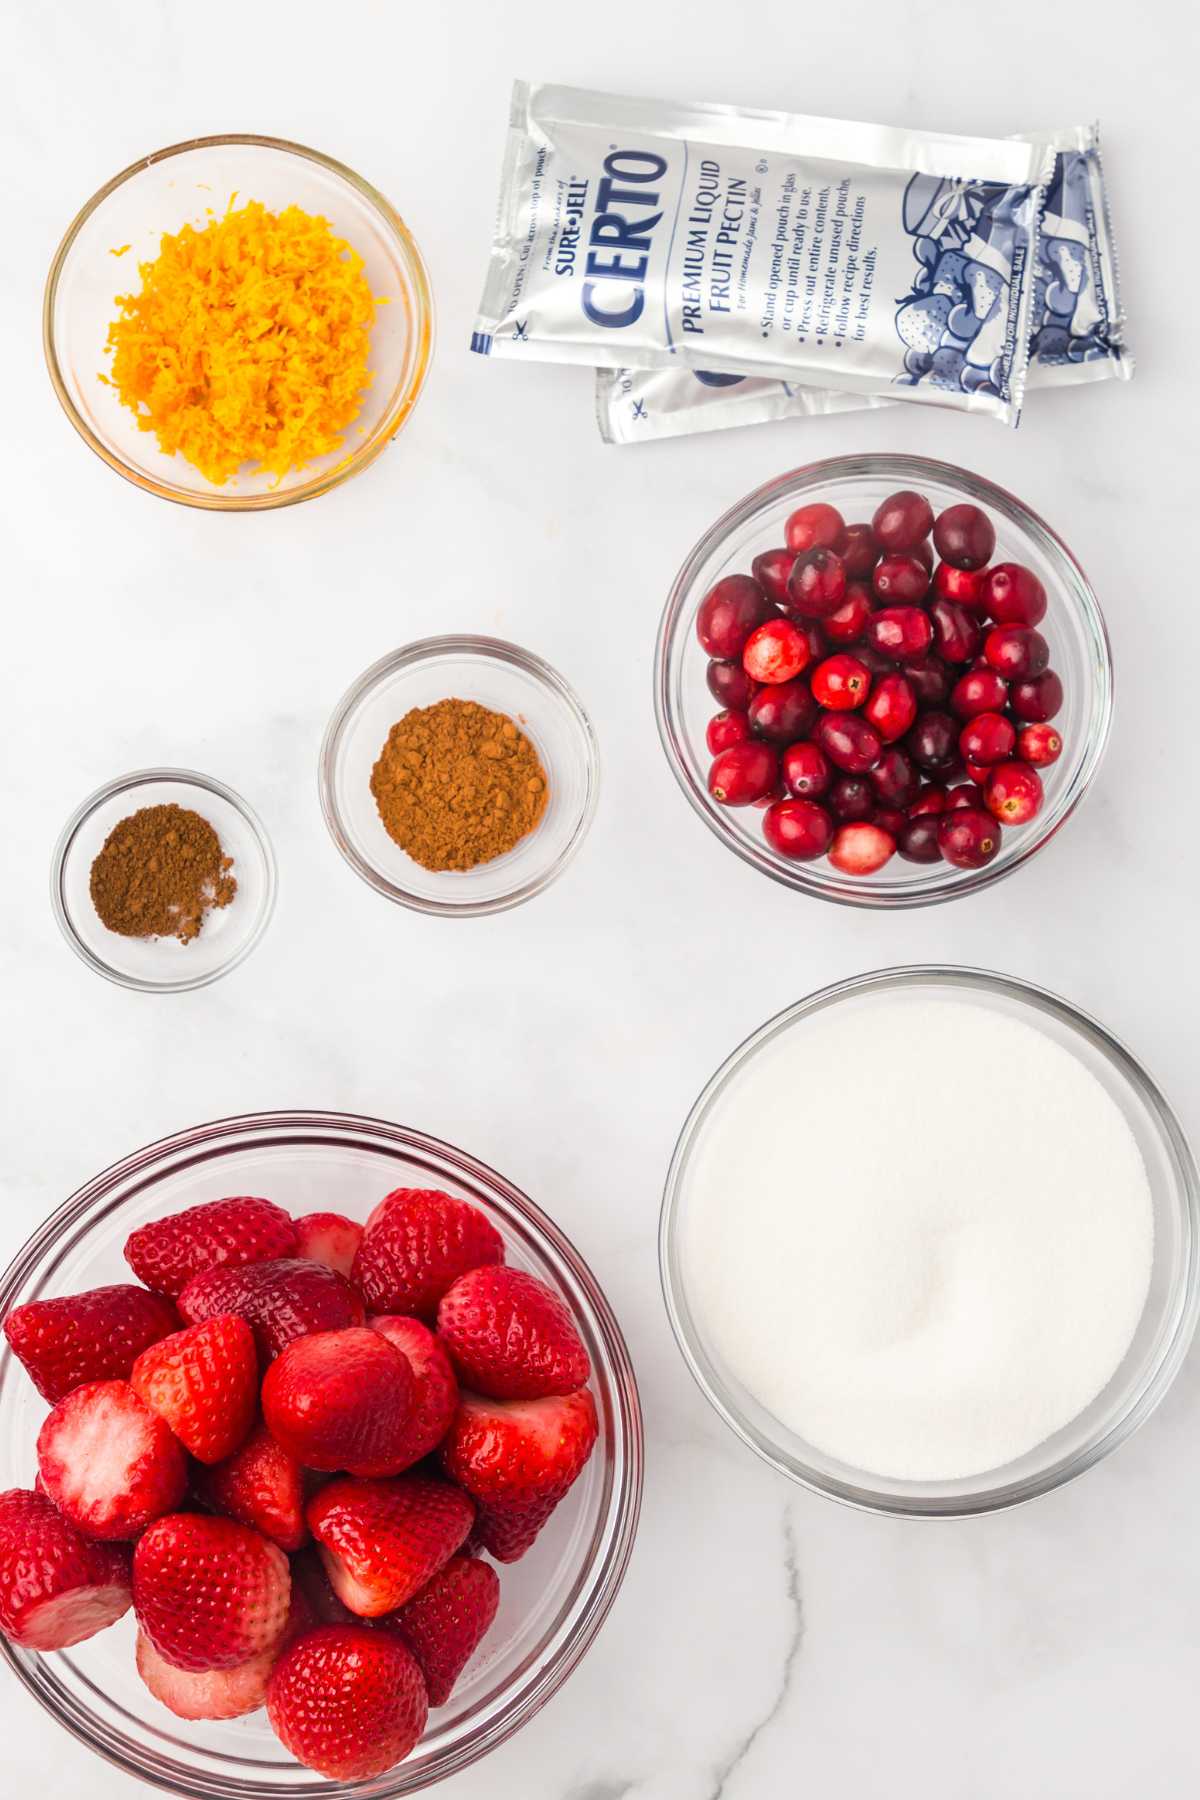
- 40 ounces frozen unsweetened strawberries, crushed (fresh is fine but usually more expensive)
- 1 pound fresh cranberries
- zest from 2 oranges (about 2 tablespoons)
- ¼ cup bottled lemon juice
- 1 teaspoon ground cinnamon
- ¼ teaspoon ground cloves
- 5 pounds granulated sugar
- 2 3 ounce pouches liquid fruit pectin
Save This Recipe
You'll join my email list which you will love. And if you don't, unsubscribe in one click. ❤️
Instructions
- Prepare the equipment. Wash the jars, lids, and bands in hot, soapy water. Then, rinse them thoroughly and keep the jars warm to prevent cracking with hot jam. To prepare your water bath canner, fill it halfway with water and bring it to a simmer. Set up your workspace with all the necessary tools for easy access.

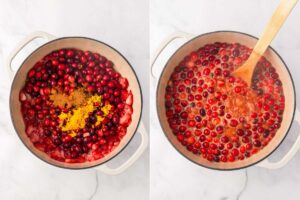
- Combine the fruits and juice. Combine the crushed strawberries, cranberries, and lemon juice in a large, deep stainless steel saucepan. Then, add the orange zest, cinnamon, and cloves, stirring until the mixture is well combined and evenly coated with spices.

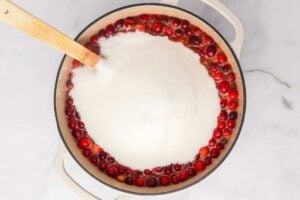
- Add the sugar and pectin. Add the sugar and both pouches of pectin all at once to the fruit mixture, stirring well to prevent clumping. Bring the mixture to a full rolling boil (bubbling vigorously across the surface) and boil hard for 1 minute, stirring constantly to prevent sticking.

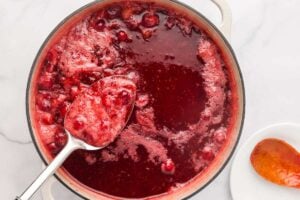
- Skim the foam. Remove the pan from heat and use a metal spoon to skim off any foam that has formed on the surface. Doing this will help make sure a smoother jam texture.

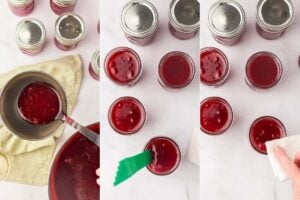
- Fill the jars. Carefully ladle the hot jam into prepared jars, leaving a 1/4-inch headspace at the top. Use a bubble remover tool to release any trapped air bubbles, then re-check the headspace, adjusting if necessary. Then, wipe the rims of the jars with a clean cloth to remove any residue, place the lids on the jars, and screw on the bands to fingertip-tight.

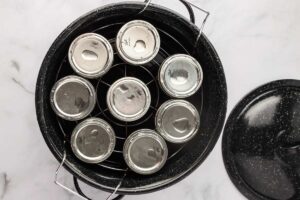
- Process the jars. Place the filled jars in the canner, making sure they are completely covered with water by at least 1 inch. Then, cover the canner and bring the water to a gentle, steady boil. Next, process the jars for 10 minutes, adjusting for altitude if necessary. Once done, turn off the heat, remove the canner lid, and let the jars sit in the hot water for 5 minutes.

- Cool down. Using a jar lifter, carefully remove the jars from the canner and place them on a kitchen towel, spaced slightly apart. Let the jars cool undisturbed for 12-24 hours to make sure proper sealing.

- Check seals. After 24 hours, check each jar’s seal by pressing down on the center of the lid. If the lid doesn’t pop back, the jar is properly sealed. Label your jars with the contents and the date, then store them in a cool, dark place.
Notes
Making jam isn’t difficult, but you do need to pay attention. Watch for that full rolling boil when the bubbles don’t stop even when you stir. That’s when you start your timer for the crucial one minute hard boil that makes everything set up.
A Newsletter you’ll love
Daily recipes from the farmhouse, Sunday meal plans, seasonal ideas, straight from my kitchen to your inbox.
I promise to keep your email address safe. Unsubscribe at any time
I always use frozen strawberries in this recipe. They’re cheaper than fresh, especially in winter, and work just fine. The cranberries can be fresh or frozen too but you can find fresh cranberries easily all the way through January.
Love the idea of homemade jam? Try my raspberry jam canning recipe for a fruity, year-round favorite!
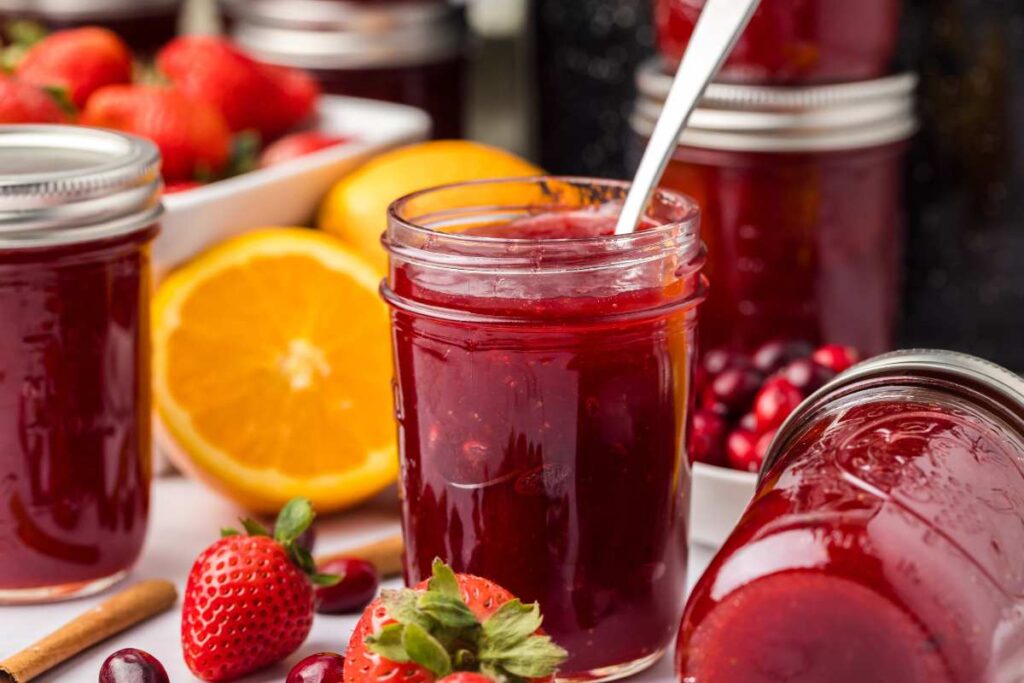
I hope this one becomes favorite for you!
Tips for Success
Use a large, deep pot . This recipe bubbles up a lot, and having extra space helps avoid any sticky mess on your stove.
To prevent scorching, you’ll want a pot with a heavy bottom so the heat spreads evenly. While many jam makers like copper pots, they can be quite expensive.
Pick a spot free from drafts to cool your jars. Sudden temperature changes can affect how well they seal.
To make sure the jam will set, try the cold plate test. Put a small spoonful on a plate and let it chill in the fridge for a few minutes. If it wrinkles slightly when you push it with your finger, it’s good to go!
Ingredients and Equipment
Fresh Cranberries: You can usually find them in the produce section from November to March.
Fresh Strawberries: If you like fresh strawberries over frozen, they work well in this recipe, though they can be pricier and need a bit more prep.
Bottled Lemon Juice: Bottled lemon juice gives a consistent level of acidity, which is important for safe canning. Technically you should not use fresh.
Liquid Fruit Pectin: This helps the jam set properly, giving it the right spreadable texture. Liquid pectin is best for this recipe, but if you only have powdered pectin, it will work.
Jar Lifter: A jar lifter makes handling hot jars much safer.
Canning Funnel: This tool helps you pour the hot jam into jars neatly, reducing spills and keeping the jar rims clean for a good seal. It’s simple but helps keep things tidy.
Canning Supplies Set of 8 – Canning Kit for Beginners – Complete Home Canners Equipment – Mason Jar Lifter, Funnel & Wrench, Tongs, Bubble Popper, Magnetic Lid Lifter, Canning Labels & LidsCackleberry Home Strawberry Patch Jacquard Border Terry Kitchen Towels 17 x 27 Inches, Set of 4Kerr Wide Mouth Half-Pint Glass Mason Jars with Lids and Bands, 8 oz, 12 Count (Pack of 2)
Make It Your Own
- Leave out the spices if you prefer pure fruit flavor
- Try cardamom instead of cinnamon
- Add vanilla at the end
Common Questions
I do not. Five pounds! Cranberries are super tart. And it’s a jam; it’s not like you’re eating all four pints of it. Get a five pound bag of sugar and pour it in there.
Let it cool completely, pour it into freezer-safe containers, leaving some space for expansion, and freeze. It should last up to 6 months in the freezer.
Pop them in the fridge and use them within a few weeks. Alternatively, you can reprocess the jars with new lids within 24 hours.
Nope, you need all that sugar to preserve it, and it’s not too sweet.
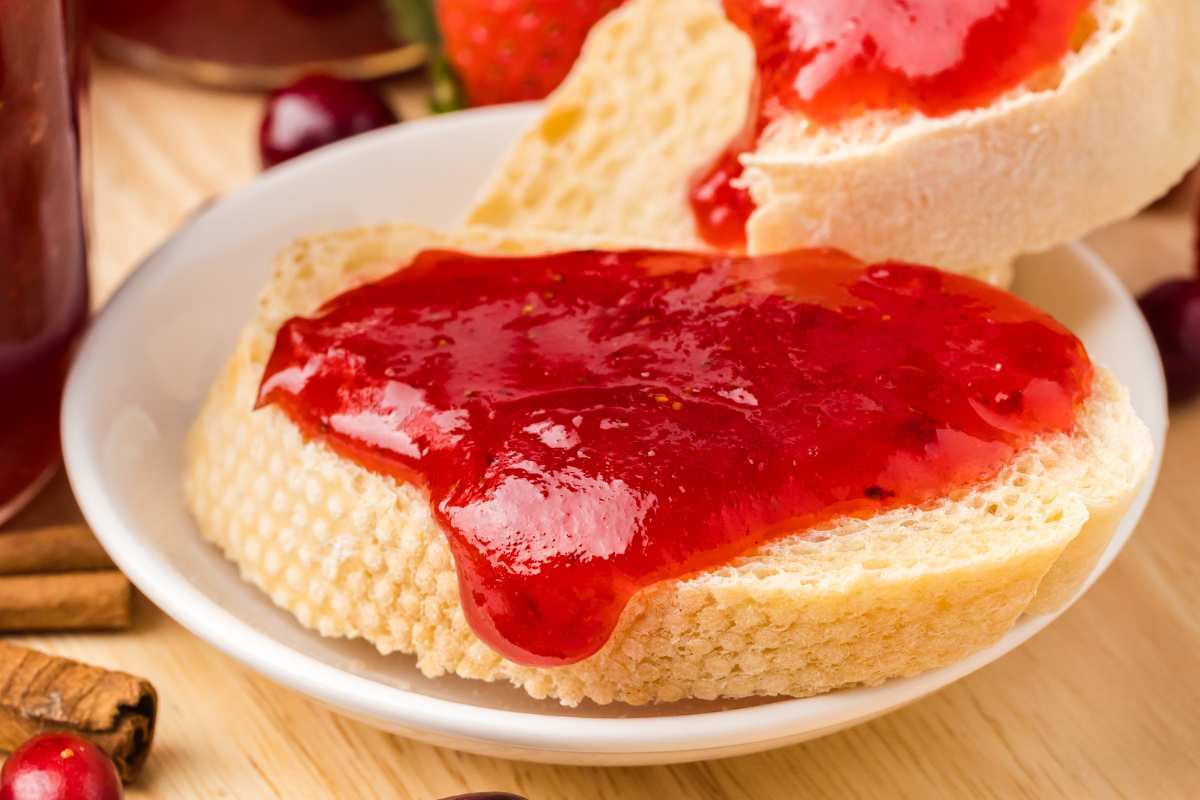
We make this every year and it’s something I actually look forward to making. Once you try it, I think you’ll want to make it part of your holiday tradition too.
Love,




I just made this, and it is DELICIOUS. It definitely tastes like Christmas! Everyone who gets this as a gift will be pleased! It was easy to make and it made 14 half pint jelly jars for me. My canner only hold 12 so I guess I get to keep some in the fridge to eat myself! Haha! I plan to make a second batch so I can give some to everyone on my Christmas list this year!
Hey Jana, I’m so glad you loved it! It really does taste like Christmas. How perfect that you get to keep a few jars for yourself—such a treat! Your friends and family are going to be so happy to get this as a gift.
Hi, I am so super excited to make this jam. This is gonna be my first time canning anything! Christmas Jam is my favorite jam of all! This recipe looks easy enough so let’s see how it turnes out🙏🙏🙏 or should I say how mine is going to turn out🤣😍
Hey Tammy,
I’m so excited for you! Christmas Jam is such a fun and festive recipe—perfect for your first canning project! Don’t worry, just take it step by step, and I’m sure yours will turn out amazing (and delicious). Let me know how it goes!
I am new to canning and am wondering what kind of liquid pectin you recommend? I would prefer not to use any with additional preservatives. Thanks!
Hey Mary,
For a liquid pectin without preservatives, Pomona’s Universal Pectin is a great choice—it’s preservative-free, sugar-free, and lets you control the sweetness. If you’re okay with some preservatives, Certo Premium Liquid Fruit Pectin is commonly used and easy to find.
For a completely natural option, you can even make your own pectin using apple scraps or citrus peels. This way, you can avoid any additives entirely. Just be sure to follow safe canning practices for the best results!
this made FIIFTEEN jars!
am I crushing both the strawberries and the cranberries? or just the strawberries?
Hi Jessica,
For this recipe, you’ll want to crush both the strawberries and the cranberries. Crushing the cranberries helps them blend better with the strawberries and gives the jam a smoother, more even texture. Just be sure not to overdo it—you still want a bit of texture in the jam. Happy canning, and enjoy that festive flavor!
Is it cloves or ground cloves?
Hi! For the Christmas Jam recipe, it’s ground cloves that you’ll want to use.
Can I use dry pectin?
Hey Denise,
Yes, you can use dry pectin instead of liquid pectin in this Christmas jam recipe! However, since dry pectin behaves a bit differently, you’ll want to add it earlier in the process, typically with the sugar, to ensure it dissolves well and sets properly. Keep in mind that dry pectin often requires a slight increase in liquid, so adjust as needed if the jam thickens too quickly.
Can I cut down on the sugar and use stevia.?
Hi Frances, yes, you can use stevia as a substitute for sugar in the Christmas jam recipe, but be mindful that sugar helps with the texture and setting of the jam. If you reduce the sugar too much, the consistency might not be the same. Consider using a low-sugar pectin to help the jam set properly, and remember to adjust the amount of stevia since it’s much sweeter than sugar.
I’m so excited to try this recipe!
Just curious about the sugar, it says 5 pounds. Is that correct or is it 5 cups?
5 pounds. I know I sounds crazy but cranberries are soooooo tart. 🙂
Could I use frozen cherries instead of strawberries?
hi I have never tried it! I think it might be a little tart. make sure to taste it and add more sugar if needed. let me know 🙂
On the frozen strawberries should the juice be strained and discarded? I have quite a bit of juice in the bag.
hi Rebecca no I’d throw it right in. not a big deal either way 🙂
Can you use dried cranberries instead of fresh cranberries?
no, you really need the juices in fresh and i think the sweetness would be way off.