Crispy Deep-Fried Onion Rings
If you, like me, almost want to order onion rings when you go out to eat but don’t want to pay the uncharge, this recipe is here to save you. You are now the homemade frying master. Pile these on burgers, dip them in ranch, or snack on them with other apps while you watch a. football game.
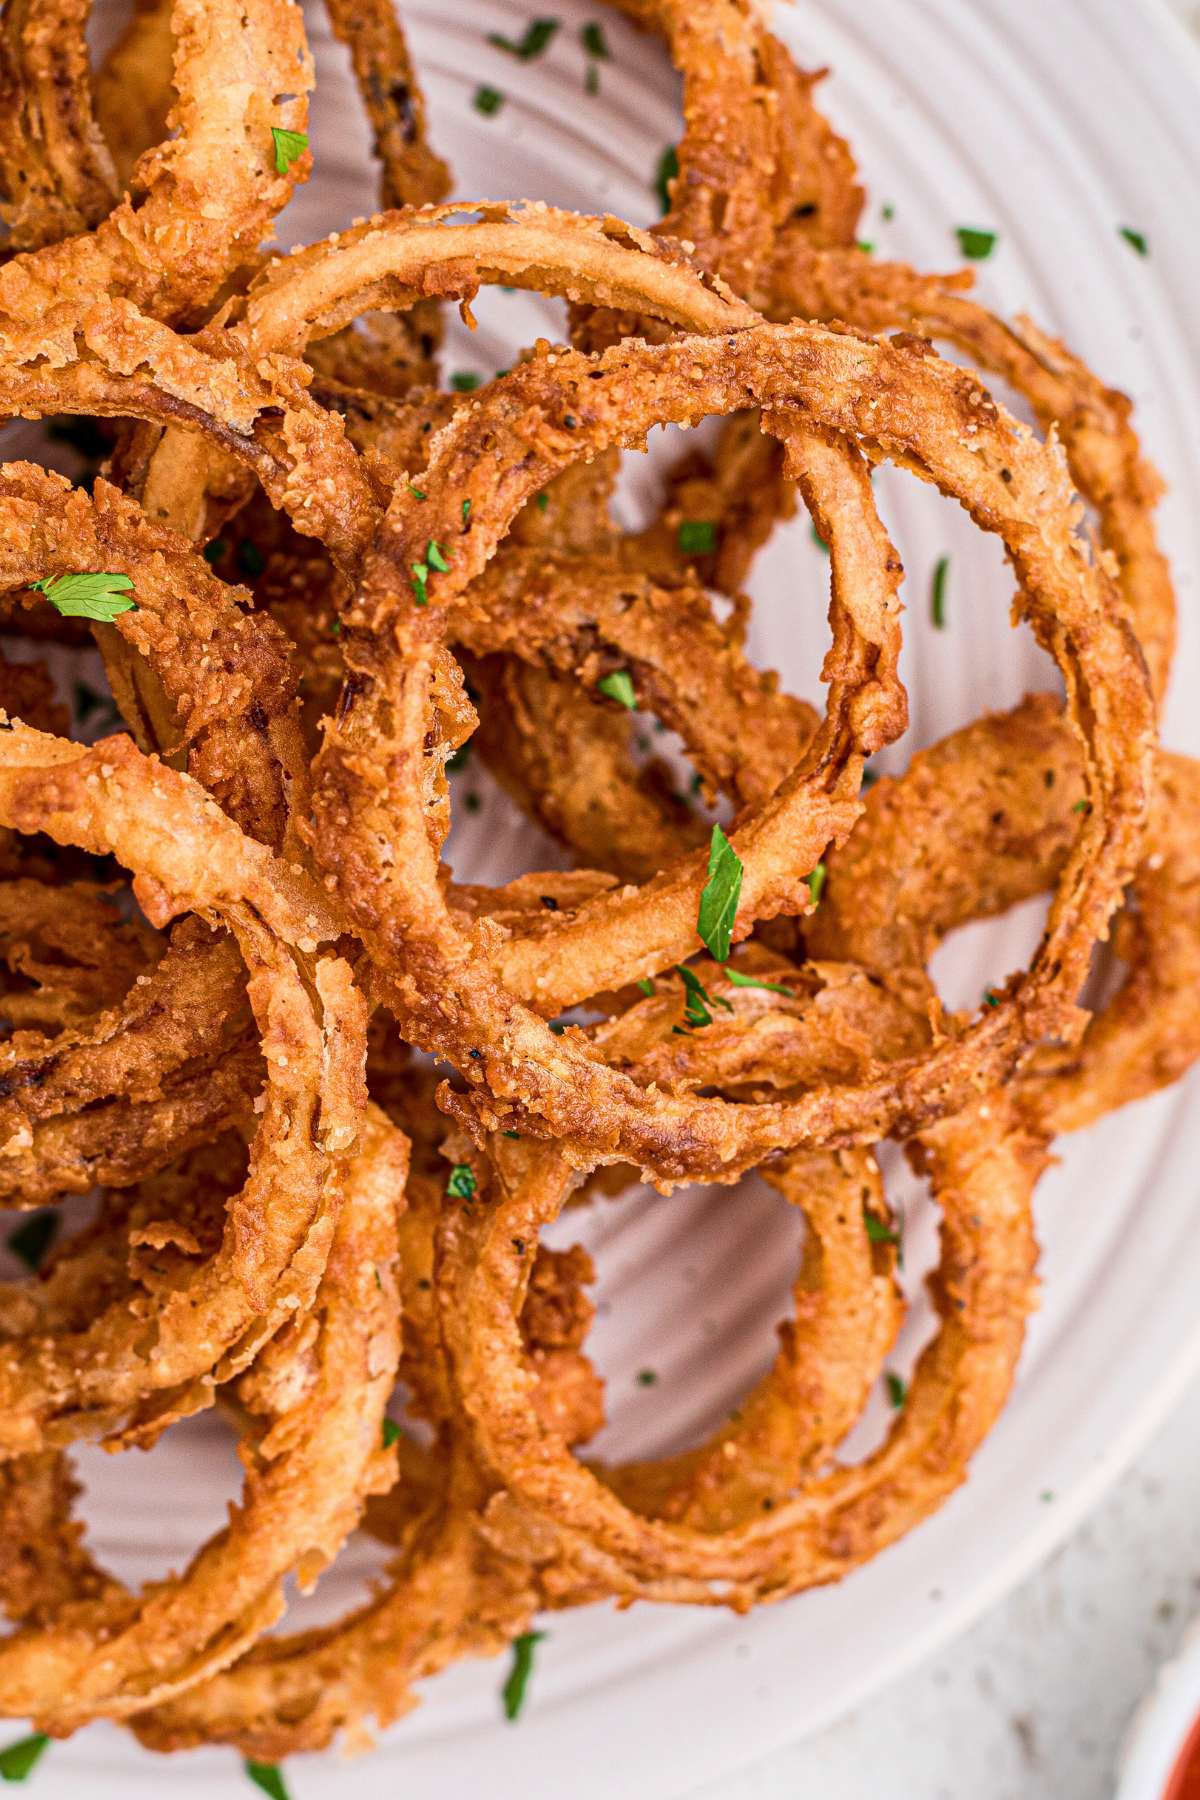
Whether you grow your onions or buy them, you can make your onion rings for just pennies a batch. Just simple ingredients – you don’t even need breadcrumbs. Don’t let the hot oil scare you. You can do this!
Table of Contents
What You’ll Need
Vidalia, or sweet, onions are the best for these because of their flavor. But if you can’t find them, just soak regular onion in water for an hour before slicing them. For extra crispy onion rings, keep your slices thin. Thick slices will be softer. The evaporated milk will make the batter rich and creamy, but you can substitute buttermilk or cream if you need to.

For deep frying, a deep fryer is easiest and safer, but if you don’t have one you can use a Dutch oven. Peanut oil is best for frying but you can use vegetable oil too.

This will make 4 servings and is best enjoyed fresh. If you’d like to double or triple this recipe, you can make adjustments in the recipe card at the bottom of this post.
Equipment
- Deep fryer or Dutch oven
- strainer or slotted spoon
- Candy thermometer
- Mixing Bowls
- paper towels or cooling rack
Ingredients
- 1 large white sweet onion (a Vidalia onion is perfect!)
- 2 large eggs
- ½ cup evaporated milk (can substitute buttermilk or cream)
- 1 cup all-purpose flour
- ½ teaspoon salt
- ¼ teaspoon pepper
- 1 ½ quarts cooking oil (I prefer peanut, but vegetable oil will work)
How to Make Deep Fried Onion Rings
Step One: Slice the Onions
Cut your onion into thick slices – about ¼ inch. Don’t go thinner or they’ll fall apart.

Step Two: Make Your Batter and Breading
Set up two bowls. In one, whisk together the eggs and evaporated milk. In the other, mix your flour with a good pinch of salt and pepper.

Step Three: Bread the Rings
Now here’s the thing – dip each onion ring in the wet stuff first, then coat it REALLY well in the flour. Like, press it in there. Don’t be shy about it.

Step Four: Heat the Oil
Heat your oil to 350°F. Use a thermometer – guessing doesn’t work here. While it’s heating, turn your oven to 200°F so you can keep the first batch warm.

Step Five: Fry Those Rings
Drop a few rings in at a time. Don’t crowd them or they’ll steam instead of fry. Cook for 3-5 minutes, flipping them once, until they’re golden brown.

Step Six: Keep Them Warm and Serve
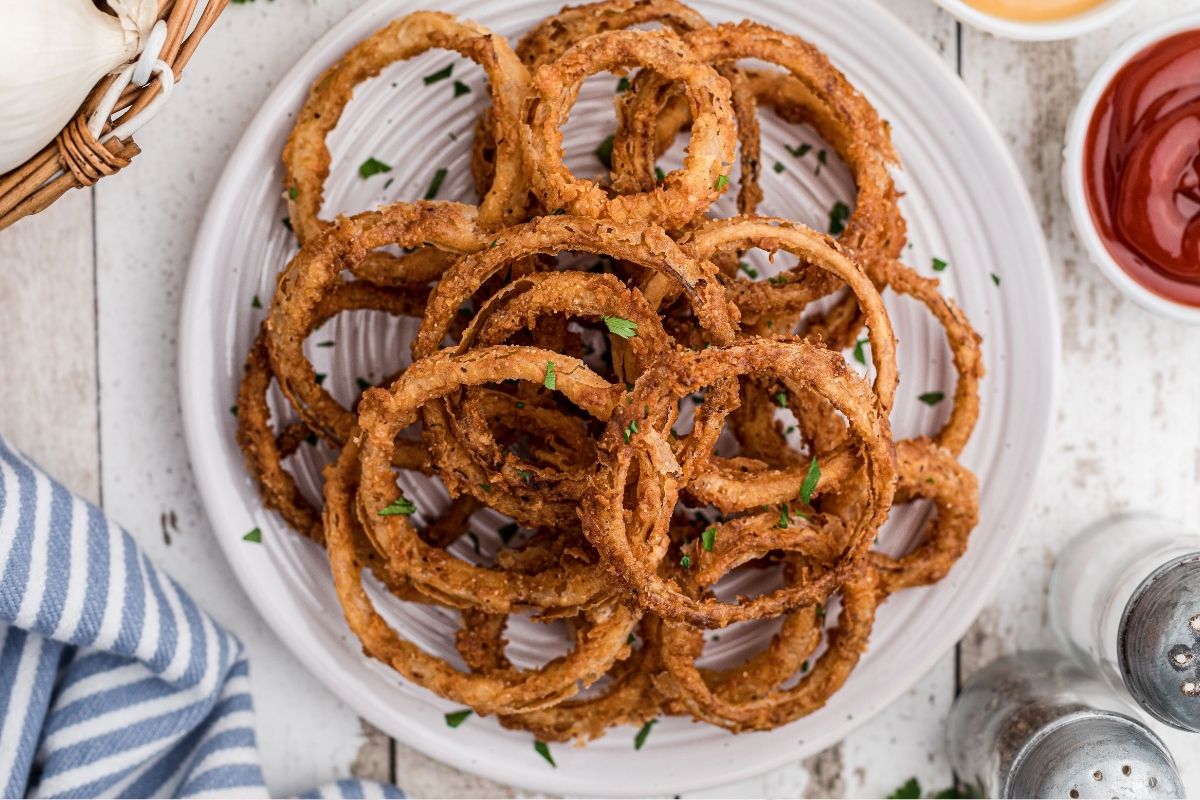
Pull them out with a slotted spoon and drain on paper towels. Pop them in that warm oven while you fry the rest. Serve them HOT. Cold onion rings are just sad.

Storage Instructions
Once cooled completely, store your leftovers in an airtight container lined with paper towels in the fridge for up to four days.
For best results, reheat the cooked onion rings in an air fryer, or in the oven. It will crisp them up nicely again.
Questions and Troubleshooting
Nope! These are super crispy with just a classic breading. Flour is all you need.
You can, but they won’t be the same.
Yes, absolutely! Just be careful because it’s more likely to spill and splatter.
Place the onion rings on a wire rack over a baking sheet lined with paper towels. This allows air to circulate and prevents them from getting soggy. Keeping them in a warm oven at 200 degrees F until ready to serve also helps maintain their crispiness.
More Deep Fried Favorites
- Golden brown homemade French fries are just potatoes, salt, and oil.
- Deep-fried pickle chips are another restaurant-style appetizer that’s so easy to make at home.
- If you love golden, crispy foods, try deep-fried Oreos. You’ll never buy them at the state fair again.
Printable Recipe
Deep Fried Onion Rings
Equipment
- Deep fryer or Dutch oven
- strainer or slotted spoon
- Candy thermometer
- Mixing Bowls
- paper towels or cooling rack
Ingredients
- 1 large white sweet onion (a Vidalia onion is perfect!)
- 2 large eggs
- ½ cup evaporated milk (can substitute buttermilk or cream)
- 1 cup all-purpose flour
- ½ teaspoon salt
- ¼ teaspoon pepper
- 1 ½ quarts cooking oil (I prefer peanut, but vegetable oil will work)
Save This Recipe
You'll join my email list which you will love. And if you don't, unsubscribe in one click. ❤️
Instructions
- Slice the onion. Carefully slice the onion into ¼-inch slices.
- Make the batter and breading. Add the eggs and evaporated milk to a medium bowl and mix well. Add the flour to another medium bowl and season well with salt and pepper.
- Bread the onion rings. Soak onion rings in the batter, then dredge in the flour until coated well. Repeat with a handful of the rings.
- Heat the oil. Add the oil to a heavy-bottomed Dutch oven or deep skillet and heat to 350°F. Check the oil temperature with a candy or instant-read thermometer. Preheat oven to 200℉ to keep onion rings warm after frying.
- Fry. Carefully drop a few onion rings into the hot oil. Fry for 3-5 minutes, turning as needed, until golden brown. Remove with a slotted spoon and place on a paper towel-lined plate to drain. You'll need to fry in 4-5 batches.
- Keep warm and serve. Keep warm in a 200℉ oven while you continue cooking the rest of the onion rings. Serve immediately.
Notes
Nutrition


What is the secret ingredient? This seems no different than any other batter I’ve seen.
evaporated milk, better coating
Thank you so much for sharing this amazing recipe! Will surely have this again! It’s really easy to make and it tasted so delicious! Highly recommended!
So much yummier homemade than going out to grab some!