How To Can Sweet Potatoes
Sweet potatoes from the grocery store are treated to last long in your pantry. But if you are growing your own or buying from a local farmer, canning them is the best way to preserve them. This recipe will save you time and money throughout the year, and having them pre-cut and partly cooked makes a side dish or soup easy to do.

The initial prep takes only 15 minutes. While the actual processing time is long, you can handle other tasks while it’s going. Just keep an eye on the pressure gauge.
Table of Contents
Ingredients and Tools You’ll Need
White or orange sweet potatoes both work great. Make sure they are firm with no soft spots. I use Morton’s canning salt because it dissolves easily and won’t cloud your brine. You’ll need a pressure canner here (no don’t use a water bath canner instead).

This makes 4 quarts. If you’d like to double or triple this recipe, you can make adjustments in the recipe card at the bottom of this post.

Equipment
- Pressure canner
- Large pot with steaming attachment (a large pot with a colander inside will also work)
- Mason jars
- Funnel
- Debubbler
- Jar lifter
Ingredients
- 8 pounds sweet potatoes white or orange
- Water for steaming, adding to jars, and canning
- 4 teaspoons canning salt
How to Pressure Can Sweet Potatoes
I know it seems annoying, but you really do need to steam first and cut your cubes the same ¾-inch size. The steaming releases starches and gives you clearer jars and having cubes of the same size lets the heat distribute evenly, which is essential for safety.
If you live at a high altitude, read here for how to adjust the pressure.
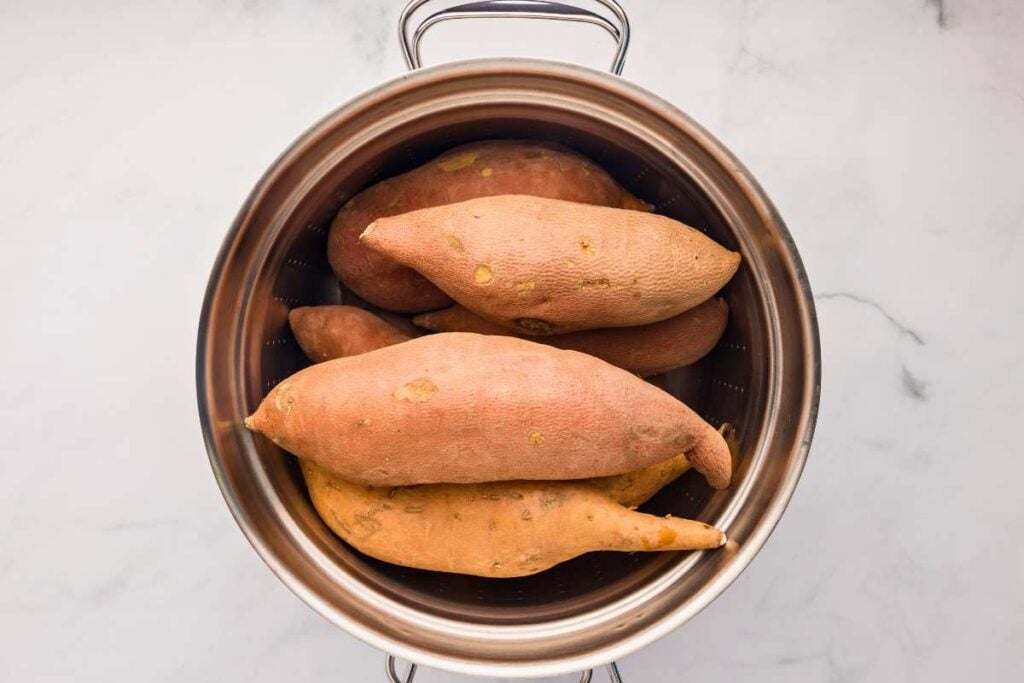
Step One: Steam the Potatoes
Wash your sweet potatoes really well – get all that dirt off. Put water in your steaming pot, add the basket, throw in the potatoes. Cover it up and get it going on medium-high heat. Once you see steam, set your timer for 20 minutes.
Step Two: Get Your Jars Ready
While those potatoes are steaming, wash your jars with hot soapy water. Put them in your pressure canner, fill them halfway with water, and fill the canner to where it needs to be. Set it on the stove on medium heat with the lid on (but don’t lock it yet).

Step Three: Let the Potatoes Cool Down
When the timer goes off, move the potatoes somewhere safe and let them cool for about 5 minutes. You want to be able to handle them without burning yourself.
While you’re waiting, get some water boiling. You’ll need hot water to fill the jars.
Step Four: Peel and Cut
Here’s the fun part – the skins should slip right off after steaming. Cut them into ¾ inch pieces. Not too big, not too small.

Step Five: Fill your Jars
Take the jars out of the canner (they’ll be hot, so use that jar lifter). Use your funnel and pack the sweet potatoes in, leaving 1 inch at the top. Pour in that hot water, then use your debubbler to get the air bubbles out. Add more water if you need to, but keep that 1-inch space at the top.

Step Six: Add Salt
1 teaspoon of canning salt per quart jar. If you’re using pint jars, use ½ teaspoon.

Step Seven: Get Ready to Process
Wipe the jar rims with a clean, damp towel. Put your lids and rings on – just finger tight, don’t crank them down. Put the jars back in the canner, add water to the line (I add ¼ cup white vinegar to keep the jars from getting that white film on them). Lock that lid in place.

Step Eight: Process
Place the canner over medium-high heat until you see steam coming out. Let it steam for 10 minutes, then put your weight on (or set your dial to 10 pounds). Let it come up to pressure – that’s 10 pounds for weighted gauges or 11 for dial gauges (check your altitude adjustments). Once you hit that pressure, set your timer for 90 minutes for quarts (65 for pints).
Important: If that pressure drops, stop the timer, get it back up to pressure, and start over. Safety first.
Step Nine: Cool down
When processing is done, turn off the heat and move the canner off the burner. Let it cool down naturally – don’t rush this. When the gauge hits zero, remove the weight and let it vent steam. Then wait 10 more minutes.
Lift that lid away from your face (hot steam, remember?). Let the jars sit in the canner for 5 minutes, then move them somewhere safe to cool for 12-24 hours.

Step Ten: Check and Store
After 24 hours, check that the lids sealed properly. Take off the rings, label your jars, and store them in a cool, dark spot. They’ll be good for 12-18 months.
Storage Instructions
Remove the rings for storing – this helps you spot broken seals. And don’t stack on top of one another – this can break the seals.
Store your jars in a cool, dark place for 12-18 months and always check the seals before storing and using them. Once they are opened, use within 3-4 days and store in the fridge.
Ways to Use
Here are a few ideas on how to use your canned sweet potatoes.
- Serve with butternut squash to make a mixed soup.
- Drain and mash with butter and warming spices and serve with chicken fried steak.
- Cube and add to a breakfast hash brown casserole.
- Use in place of pumpkin in baking recipes.

More Pressure Canning Pantry Staples
- Pressure can regular potatoes to have more variety in your pantry.
- This pressure canned beef stew is ready to go right out of the jar. Perfect for a last minute dinner.
- Homemade bone broth is a staple for every pantry. I use this constantly!
Printable Recipe

Pressure Canning Sweet Potatoes
Equipment
- Large pot with steaming attachment (a large pot with a colander inside will also work)
- Mason jars
- Funnel
- Debubbler
- Jar lifter
Ingredients
- 8 pounds sweet potatoes white or orange
- Water for steaming, adding to jars, and canning
- 4 teaspoons canning salt
Save This Recipe
You'll join my email list which you will love. And if you don't, unsubscribe in one click. ❤️
Instructions
- Steam. Wash the sweet potatoes, removing any dirt or debris from them. Add water to a steaming pot up to the recommended line. Place the steaming basket inside, and place the potatoes in the basket. Set over medium-high heat, covered. Once it starts to release steam, set a timer for 20 minutes.
- Prep jars. Prepare your jars by washing them with hot, soapy water. Put them in your pressure canner, fill the jars halfway with water, and fill the canner to the recommended fill line. Place on the stovetop over medium heat with the cover set on top (not in the lock position).
- Cool potatoes. Once the potatoes are steamed, move them to a heat-safe area to cool for 5 minutes (or until they aren’t too hot to handle).
- Boil water. Bring a pot of water to a boil to fill the jars.
- Deskin and cut. Remove the skins from the sweet potatoes and cut them into ¾ inch cubes.
- Fill jars. Remove the jars from the canner and place a canning funnel over a jar. Fill each jar with sweet potatoes so there is a 1-inch headspace. Ladle in the hot water to each jar. Using a debubbler, remove any air bubbles, and then fill the jars with more water, maintaining a 1” headspace. Repeat this process until all jars are filled.
- Add canning salt. Add 1 teaspoon of canning salt to each quart jar (if using pint jars, reduce the salt to ½ teaspoon).
- Prep for canning. Wipe each jar with a clean, moist towel. Place the lids and rings on each jar, tightening them until they are fingertip-tight. Place jars in the pressure canner. Fill with water to the recommended line (optional: add ¼ cup of white vinegar to prevent residue buildup on the jars). Place the lid on and lock it in place.
- Process. Set over medium-high heat and allow it to steam. Once the canner is venting steam, set the timer for 10 minutes. After the timer, set the dial to 10 pounds or add weight to 10 pounds. Allow the canner to come up to 10 pounds for weighted or 11 pounds for gauge (adjusting for altitude). Once the canner is at 10 pounds, set the timer for 90 minutes for quart-sized jars (65 minutes for pint jars). (If the gauge drops below the recommended pressure, stop the timer, bring the canner back up to the desired pressure, and start the timer over. For safety, the jars must be processed at the desired pressure the entire time.)
- Depressurize. After the jars have fully processed, turn off the heat and remove the canner from the heat. Allow the canner to depressurize naturally by venting steam. Once the gauge reads 0 pounds of pressure, remove the weight (or set the dial to 0) and allow it to vent steam. Once the steam has vented, let it sit for 10 minutes undisturbed.
- Cool. After 10 minutes, remove the lid by tilting it away from your face. Let the jars sit in the canner for 5 minutes. Move the jars to a heat-safe area and allow the jars to cool for 12-24 hours.
- Check seals and store. After 24 hours, check the jars for a proper seal. Remove the rings, label the jars, and store them in a cool, dark place for 12-18 months (per your lid manufacturer’s recommendations).
Notes
Nutrition