Small Batch Strawberry Jam
Even if you’ve never canned before, this Small Batch Strawberry Jam Recipe is the perfect starting point. And if you’re an experienced canner, you’ll still love the simple beauty of this strawberry jam.
It’s easy to make and delicious, perfect for spreading over toast or adding to your morning yogurt.
Homemade Small Batch Strawberry Jam

Equipment
- Five (half pint) mason jars with lids and bands
- A large deep skillet or saucepan
Ingredients
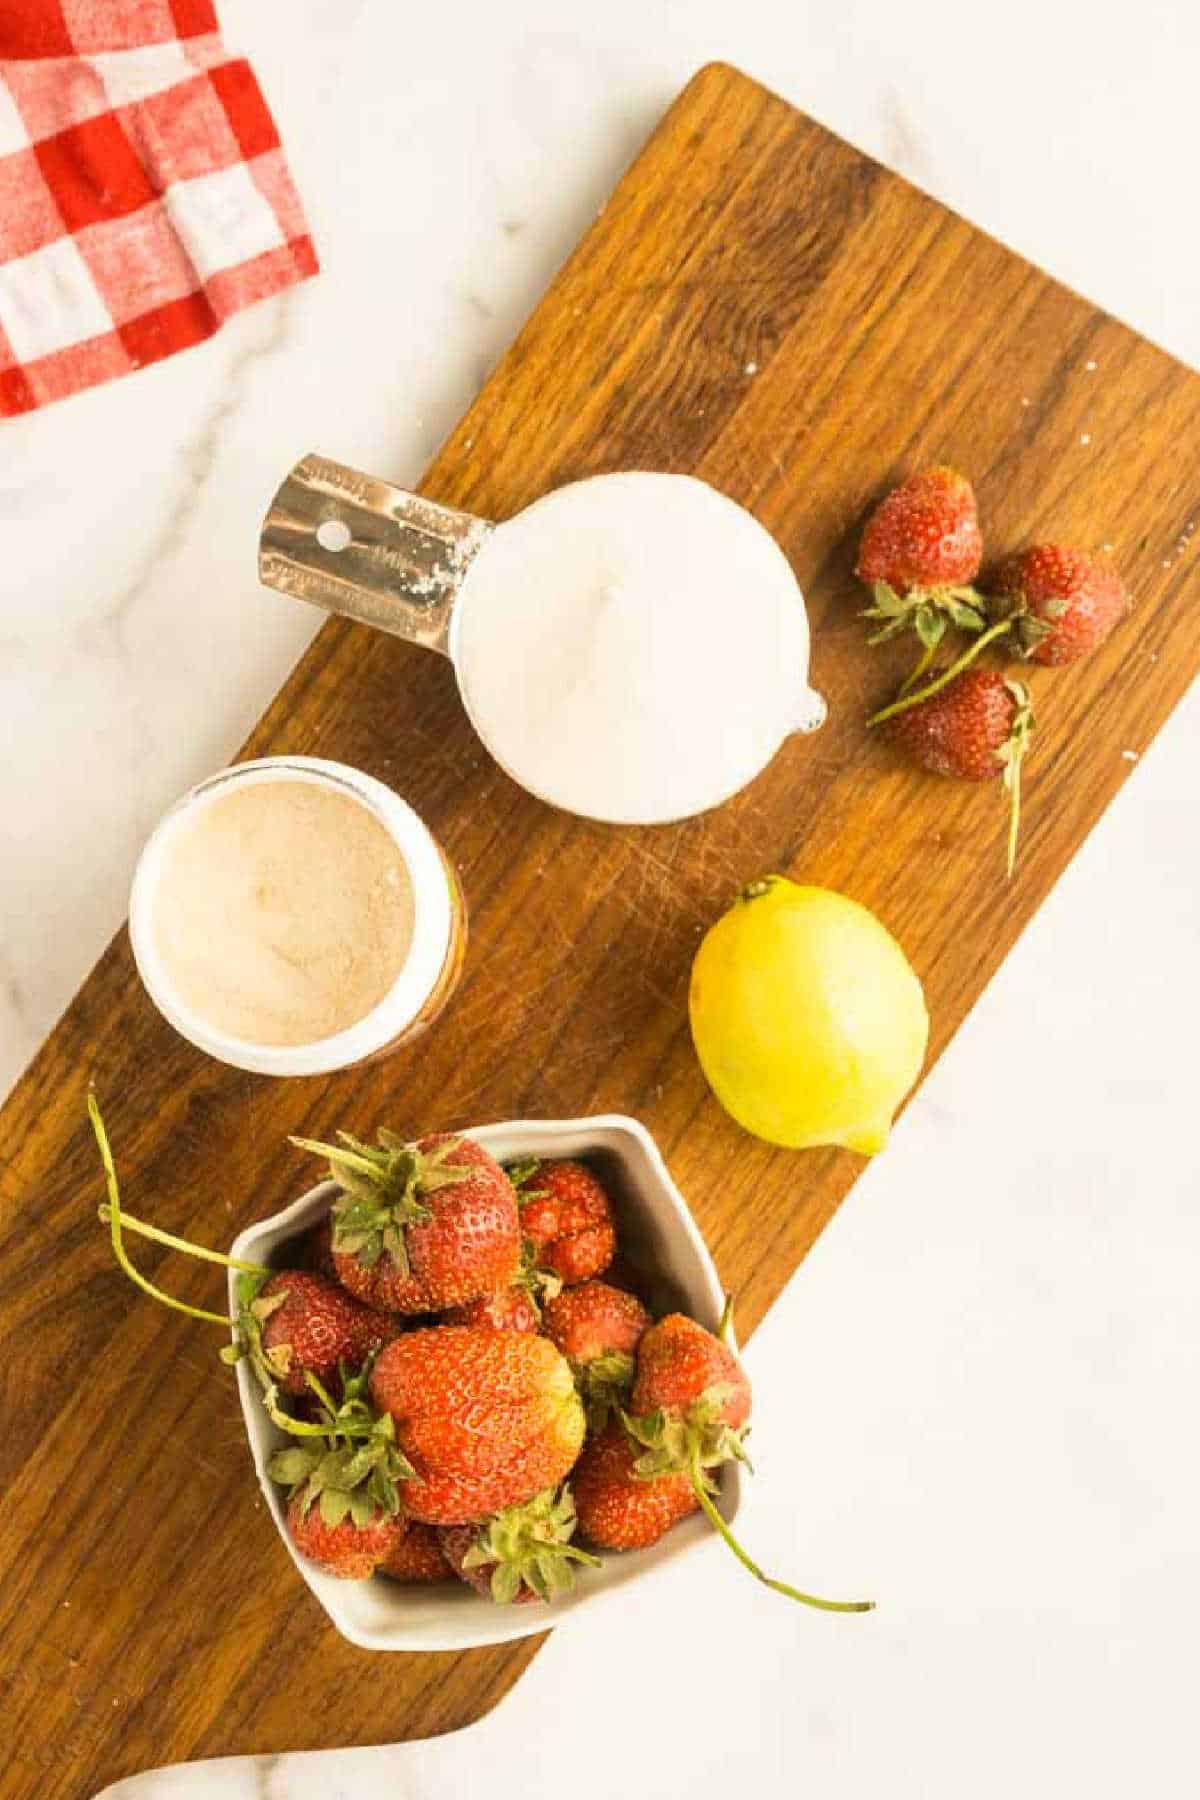
- 5 cups halved strawberries about 2 1/2 pounds
- 2 tablespoons lemon juice bottled
- 3 tablespoons pectin
- 3 cups granulated sugar
Save This Recipe
You'll join my email list which you will love. And if you don't, unsubscribe in one click. ❤️
Instructions
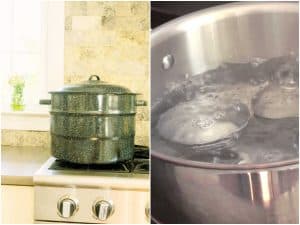
- Prepare the jars and canner. If canning, fill the water bath canner with water and place it on the stove to bring it to a boil. Then, place the rings and lids in a small saucepan filled with water and bring them to a simmer. Keep the clean jars warm in the oven set to 200 degrees Fahrenheit or hot water.
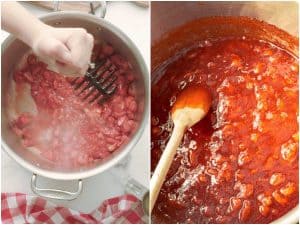
- Make the jam. Combine the halved strawberries and lemon juice in a large saucepan, mashing the berries slightly. Gradually sprinkle the pectin over the berries, stirring well after each tablespoon to prevent clumping. Bring the mixture to a full boil over high heat. Once boiling, stir in the granulated sugar. Return to a hard boil and maintain the boil for 1 minute, stirring constantly to make sure the mixture does not scorch.

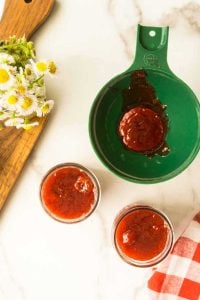
- Assemble jars. Remove the jam from the heat. Skim off any foam with a spoon. Then, ladle the jam into the prepared jars, leaving about 1/4 inch of headspace at the top. If any jam remains that does not fill a jar, transfer it to a smaller jar or container and refrigerate to use first. Wipe the rims of the jars with a damp cloth to remove any residue. Securely place the lids and screw on the bands until they are fingertip tight.

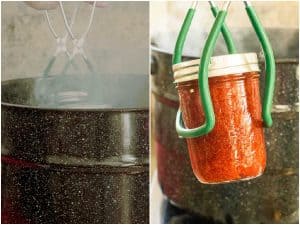
- Process the jam. Carefully lower the filled jars into the canner's boiling water, making sure they are completely submerged. Then, cover the canner and process the jars for 10 minutes. After processing, remove the jars using jar lifters and place them on a clean tea towel on the counter to cool. Leave the jars undisturbed for 24 hours. Check seals; the lid should not flex when the center is pressed.

- Store or Serve. Store sealed jars in a cool, dark place for up to one year. Any jars that do not seal properly should be refrigerated and used first.
Video
Notes
Did You Make This?
I would love it if you would leave a review!More Tips
You do need pectin for this recipe, and it’s an excellent option for those who are new to making jam. It will make sure that your jam sets perfectly.
A Newsletter you’ll love
Daily recipes from the farmhouse, Sunday meal plans, seasonal ideas, straight from my kitchen to your inbox.
I promise to keep your email address safe. Unsubscribe at any time
To avoid burning the jam, use a pot with a thick bottom that can distribute heat evenly, reducing the risk of the sugar sticking to the bottom of the pot.
Place a small plate in the freezer before cooking to check if the jam has been set properly. Then, drop some jam on the cold plate and put it back in the freezer for a minute. Push the jam with your finger; if it wrinkles, it’s ready. If it’s still runny, continue cooking and check again in a few minutes.
Foam can accumulate on the surface of the jam during boiling, which is common but can make the jam look cloudy if not removed. Use a spoon to skim it off as it forms, just before you pour the jam into jars.

About the Ingredients
Here are some simple substitutions for your strawberry jam recipe:
- Strawberries: Use an equal amount of raspberries, blackberries, or a combination of berries.
- Lemon Juice: Use lime juice instead of lemon juice to add a bit of tanginess.
- Granulated Sugar: Replace with honey or maple syrup for natural sweetness (use 3/4 cup for every cup of sugar as they are sweeter).
Remember that these substitutions will affect the flavor and texture of your jam, so it’s best to experiment to see which version you like the most!

You only need a few things to make your very own small batch of strawberry jam right at home. It’s super easy, and with these simple steps and tips, you can enjoy your very own homemade jam any time of the year!
Love,




This was my first attempt at making jam. I followed the directions but when I took the jars out of the canner they had separated. It looks like jam in the top half and clear jelly in the bottom! What happened?
hi Marcia, email me a picture and I’ll take a look. seems impossible because the jam becomes one substance as it looks down, it won’t separate when heated.
Hello
I am back a year later , as it is strawberry season again. Last year I loved the small (x1) batch. Well this year I want to double or triple it, and I see that when I change the batch size it still says 2.5 lbs.
Should it be 5 lb and 7,5 lbs?
Going picking this week!
hi ellen, that function will only double the number in front, it is a bit annoying. so it is double the cups but not the note after showing you how many pounds. so yes if you are doubling it, double everything.
Came out perfect! Thanks
Hi, I’m planning ahead for this summer and am looking forward to getting back into canning after a few years. I used to heat up my jars directly in the water bath canner – is that a decent method? When you heat them in an oven, do you need to have them in a shallow water bath, or are they ok on their own? Our family goes through quite a lot of jam though haha, so I might make this more than once when it’s strawberry PYO season. Great way to take advantage of fresh produce!
hey yes heating them in the canner is fine! in the oven they are fine dry, no need to have them in water 🙂
I went with the weight instead of the amount of cups as suggested in an earlier comment and unfortunately it did not set at all. It was way more than 5 cups but I measured the weight exactly, followed the rest of the recipe to a T. Tasty, but unfortunate 🙁
Definitely remove the foam-it also impacts the texture if you leave it in.
My berries weren’t very sweet so some will like it, some won’t. If I make it again I’ll definitely use riper berries.
This was the perfect recipe for me to find today. A kind friend went strawberry picking and brought us some of her bounty.
Thank you, I now have five jars of tasty jam!
Thank you Ellen! It’s so satisfying to make isn’t it?
I am new to canning so I don’t know if pectin measurement is for liquid or powder🤷♀️
Is this recipe made with regular pectin or low-sugar pectin?
regular 🙂
I think something is wrong with this recipe. It says 2.5 lbs approximately 3 cups of strawberries. I bought 2 lbs of strawberries and after hulling and halving, I have 4.5 cups.
hi Melody, you’re right! It’s 5 cups (the weight measurement is correct.) I’ve fixed it. Thanks!
Quick question- my 2 1/2 pounds of strawberries is a lot more than 3 cups. Which should I go with? I know that accurate measuring of the fruit affects how the jam sets. Thanks for the recipe!
go with 2.5 pounds! i hate even writing in ucps b/cc it varies so much but I know some people don’t have a scale. weight it always better 🙂