Soft and Fluffy Old-Fashioned Yeast Rolls
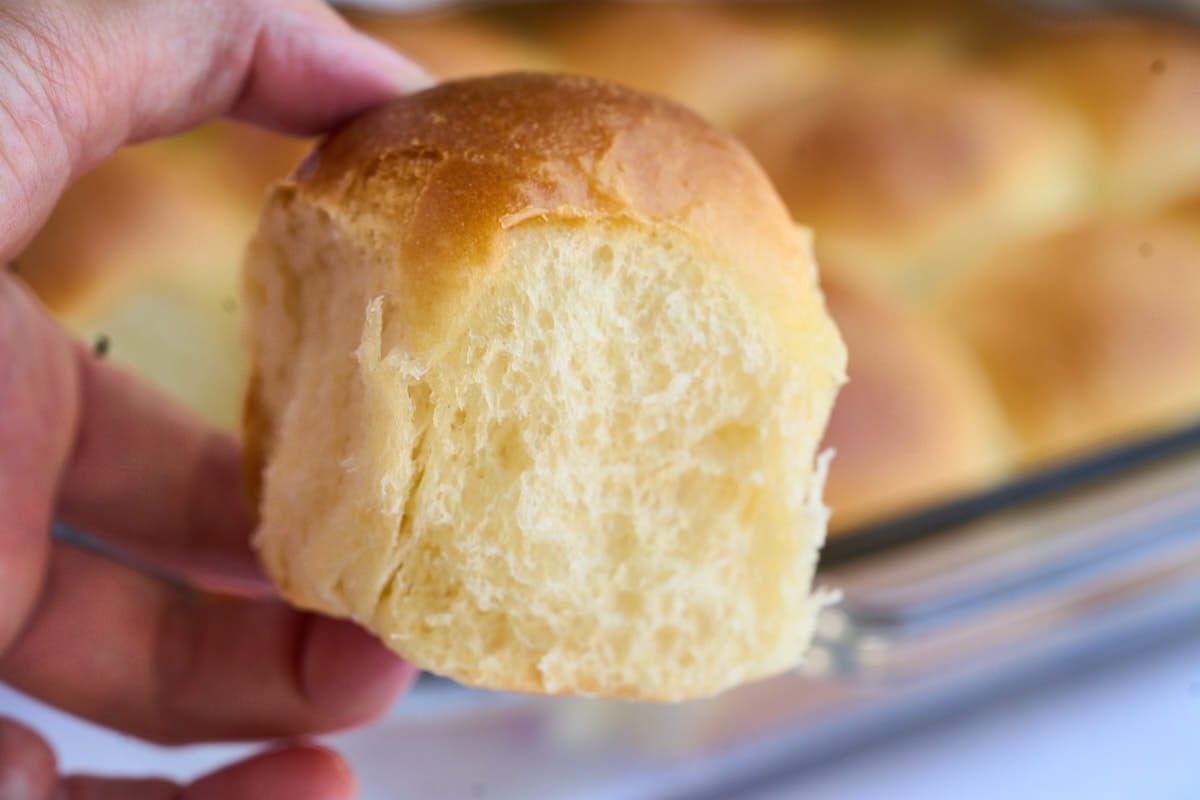
You won’t be disappointed with these old-fashioned soft yeast rolls. They’re fluffy and buttery, rise beautifully, and melt in your mouth. We make this yeast bread recipe for Thanksgiving and Christmas every single year, but also on random weeknights just because we love ’em.

Plenty of yeast makes these relatively foolproof. If you don’t rush them and follow the instructions, you’ll be just fine. When you’re baking them, use your common sense, not the timer. If they aren’t golden brown, put them in for a few more minutes. You can do this!
Ingredients and Tools You’ll Need
Instant yeast is quicker and less picky about temperatures than active dry yeast. If you aren’t happy with your bread results, buy a package of this and enjoy your life. And NO, you don’t have to proof your yeast first!
Heart’s Content Farmhouse is a participant in the Amazon Services LLC Associates Program, an affiliate advertising program designed to provide a means for sites to earn advertising fees by advertising and linking to Amazon.com. This means that when you click on certain links on this site and make a purchase, I may earn a small commission at no additional cost to you. I only recommend products I genuinely believe in and would use in my own kitchen. As an Amazon Associate, I earn from qualifying purchases.
A Newsletter you’ll love
Daily recipes from the farmhouse, Sunday meal plans, seasonal ideas, straight from my kitchen to your inbox.
I promise to keep your email address safe. Unsubscribe at any time
Equipment
- Large mixing bowl or stand mixer
- 13×9 glass baking dish
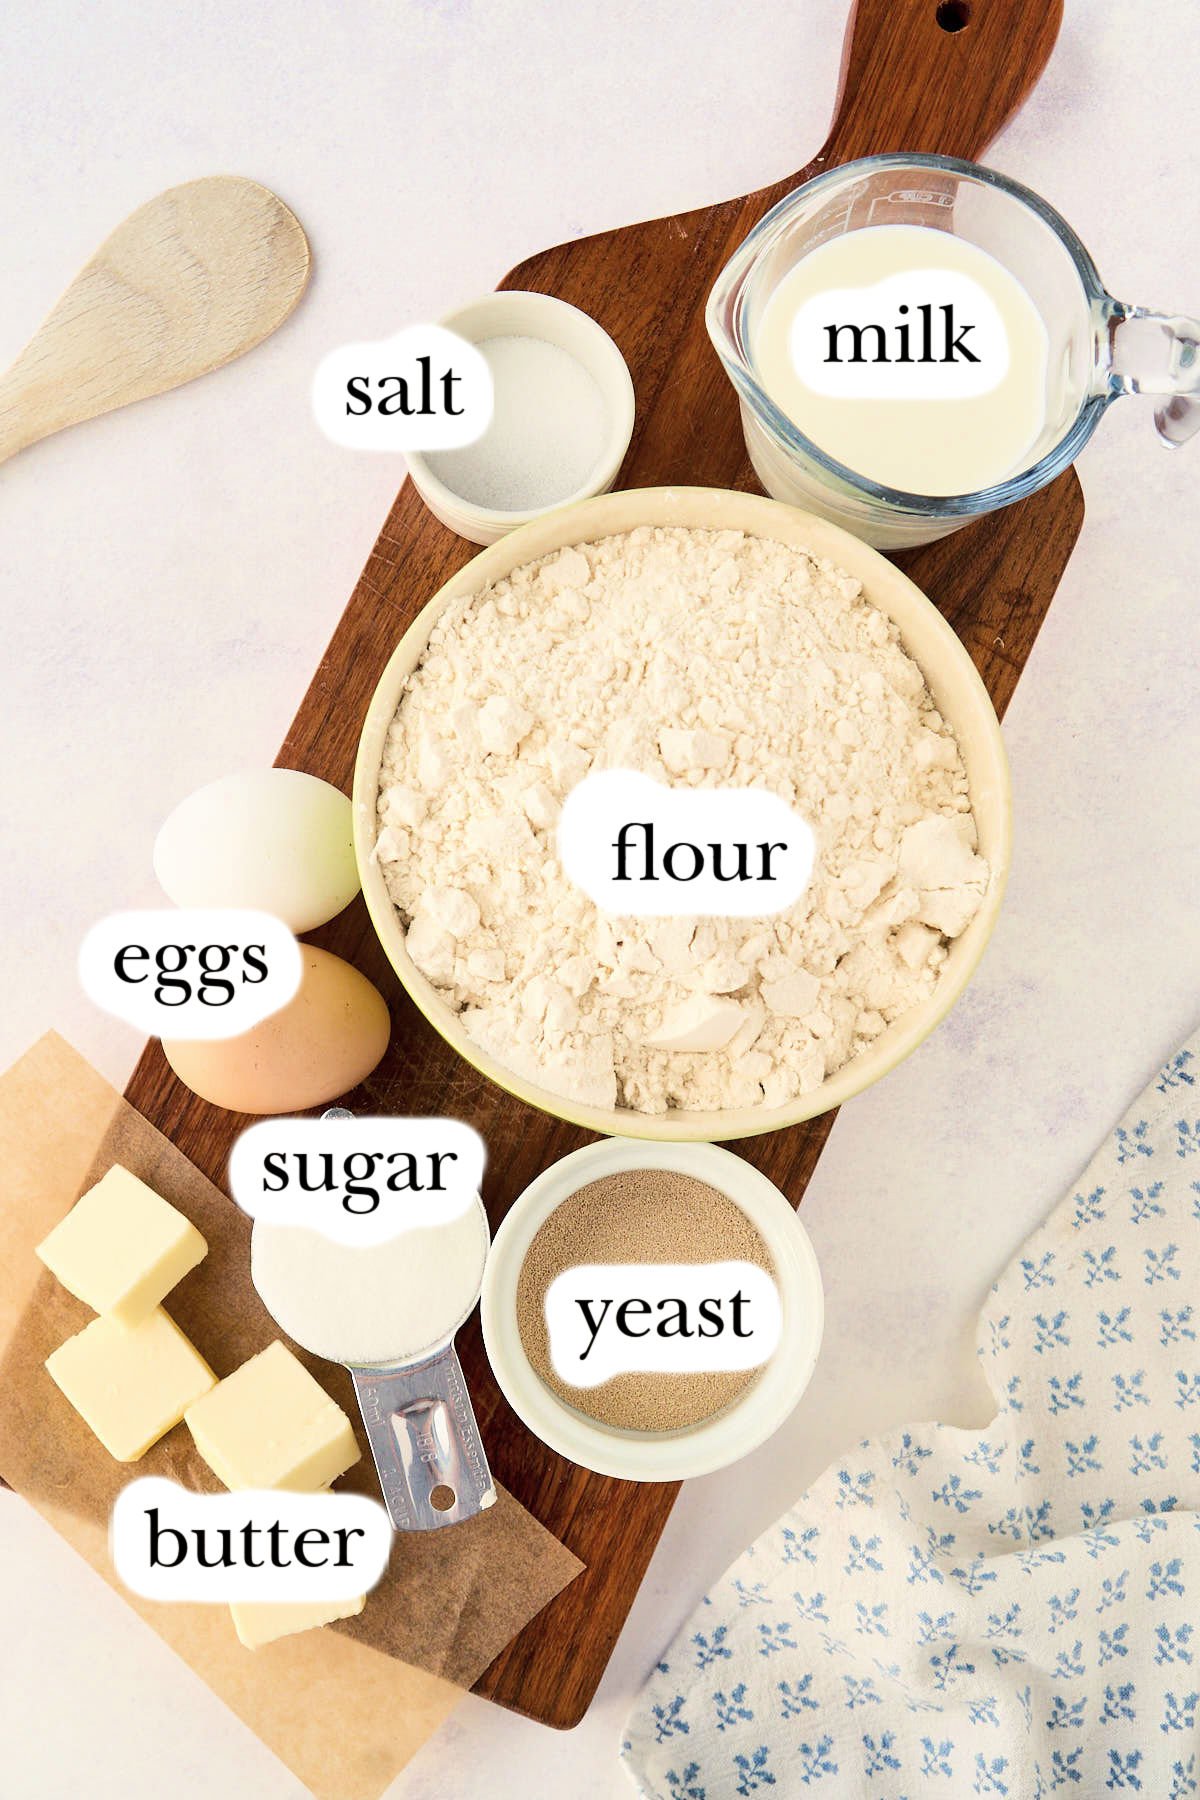
Ingredients
- 2 eggs (room temperature)
- ¾ cup milk
- ¼ cup water (room temperature)
- ¼ cup vegetable oil (or melted butter)
- ¼ cup sugar
- 1 ½ teaspoons salt
- 4 cups all-purpose flour (You don’t want bread flour here; all-purpose flour is perfect.)
- 1 tablespoon instant yeast
- 3 tablespoons melted butter (for topping the rolls)
How to Make Old-Fashioned Yeast Rolls
Step One: Knead The Dough
Combine eggs, milk, water, vegetable oil (or melted butter), sugar, salt, flour, and instant yeast in a big bowl. Then knead the dough by hand, with a stand mixer using the dough hook attachment, or with a bread machine set to the “dough” cycle. If the dough seems dry or dense, add a bit more milk. The dough is kneaded enough when you can stretch a small piece thin enough to see light through it without tearing (windowpane test).

Step Two: The First Rise
Shape the dough into a ball and place it in a clean, lightly oiled bowl. Next, cover with plastic wrap or a damp tea towel. Allow to rise in a warm place for 1 hour or until doubled in size.

Step Three: Divide And Shape
Turn the dough out onto a clean surface. Then, divide it into 24 equal pieces using a sharp knife. Next, shape each piece into a ball by pinching the bottoms until the tops are smooth. Spray a 13 x 9 glass baking dish with nonstick spray and place the dough balls inside.

Step Four: The Second Rise
Cover the dish with greased plastic wrap and set it in a warm place to rise until they are very puffy, for about 45 minutes. Preheat the oven to 350°F (175°C) towards the end of the rising time.

Step Five: Bake
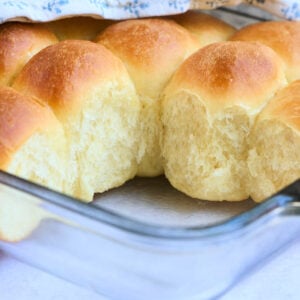
Remove the plastic wrap and brush the rolls with 2 tablespoons of melted butter. Bake for 18-20 minutes, until golden brown. Brush with the remaining 1 tablespoon of melted butter while still warm.

Step Six: Serve
Let the rolls cool for about 20 minutes. Serve directly from the pan or transfer to a serving dish.
Storage Instructions
Leftover rolls will stay fresh at room temperature, tightly covered, for 2-3 days.
Homemade rolls freeze quite well. Allow them to cool completely and freeze for up to 1 month. Warm in a 200-degree oven for 10 minutes before serving.
What to Serve with Old-Fashioned Yeast Rolls
These work for everyday or a holiday dinner.
- Serve these at Christmas with deep-fried turkey and mashed potatoes.
- Homemade creamy chicken noodle soup and a roll on the side for a cozy everyday meal.
Make It Your Own
- Add herbs like rosemary or thyme to the dough.
- Make them (partially) whole wheat by replacing 1 cup of white flour with wheat flour.
- Top with seeds or herbs before baking.
Questions and Troubleshooting
I prefer to use a mixer with a dough hook, but you can absolutely do it by hand. If you have a bread machine, using the dough cycle is a great and easy choice.
Yes, I am. I promise.
More Dinner Roll Recipes
- For a more crusty texture, try my easy crusty sourdough rolls.
- These garlic parmesan dinner rolls add lots of extra flavor to a classic roll.
- Make bread machine dinner rolls for your next holiday – super easy!
Printable Recipe
Old Fashioned Soft Yeast Rolls
Equipment
- Large mixing bowl or stand mixer
- 13×9 glass baking dish
Ingredients
- 2 eggs (room temperature)
- ¾ cup milk
- ¼ cup water (room temperature)
- ¼ cup vegetable oil (or melted butter)
- ¼ cup sugar
- 1 ½ teaspoons salt
- 4 cups all-purpose flour
- 1 tablespoon instant yeast
For Topping The Rolls
- 3 tablespoons melted butter
Save This Recipe
You'll join my email list which you will love. And if you don't, unsubscribe in one click. ❤️
Instructions
- Knead the dough. Combine eggs, milk, water, vegetable oil (or melted butter), sugar, salt, flour, and instant yeast in a big bowl. Then knead the dough by hand, with a stand mixer using the dough hook attachment, or with a bread machine set to the "dough" cycle. If the dough seems dry or dense, add a bit more milk. The dough is kneaded enough when you can stretch a small piece thin enough to see light through it without tearing (windowpane test).
- The first rise. Shape the dough into a ball and place it in a clean, lightly oiled bowl. Next, cover with plastic wrap or a damp tea towel. Allow to rise in a warm place for 1 hour or until doubled in size.
- Divide and shape. Turn the dough out onto a clean surface. Then, divide it into 24 equal pieces using a sharp knife. Next, shape each piece into a ball by pinching the bottoms until the tops are smooth. Spray a 13 x 9 glass baking dish with nonstick spray and place the dough balls inside.
- The second rise. Cover the dish with greased plastic wrap and set it in a warm place to rise until they are very puffy, for about 45 minutes. Preheat the oven to 350°F (175°C) towards the end of the rising time.
- Bake. Remove the plastic wrap and brush the rolls with 2 tablespoons of melted butter. Bake for 18-20 minutes, until golden brown. Brush with the remaining 1 tablespoon of melted butter while still warm.
- Serve. Let the rolls cool for about 20 minutes. Serve directly from the pan or transfer to a serving dish.
this tecupe is great in your bread machine. I put the i gradients onto the machine just as she recommended if you were using a mixer. add the salt last. set on dough cycle. Were delicious and easy.
hey dee! that’s great 🙂 I love making these in the machine too!
This is my go-to recipe and they always turn out perfectly. They taste SO GOOD and buttery, just like my grandma used to make. The windowpane test has been a game changer in this and other recipes, too! 🙏🙏 Thank you!
hi amber! I’m so glad to hear this! yes the windowpane test is key! most people under-knead their dough and just think they are bad at baking
I’m fixing to make these rolls. wish me luck.
Hey Deborah, good luck! I hope they turn out soft and delicious. Let me know how they go!
These rolls were okay, nothing special but not bad either.
I might make them again but I’ll use a little more yeast. I like my bread to have a little more of a yeasty tang to them.
Thanks your recipes 😊 love ❤️ looks 👌 😍 deliciousos!
Hey Fannie, thank you so much! I’m happy you’re loving the recipes—it makes me so happy to hear that! These rolls really are a little slice of heaven. Happy baking, and I hope you enjoy every bite!
Just made this tonight…followed the recipe with butter and Platinum Red Star yeast…
and perfect, beautiful rolls! Oh, so good… husband and son loved them!!
Thank you so much! I’m so happy they turned out perfectly and that your family loved them!