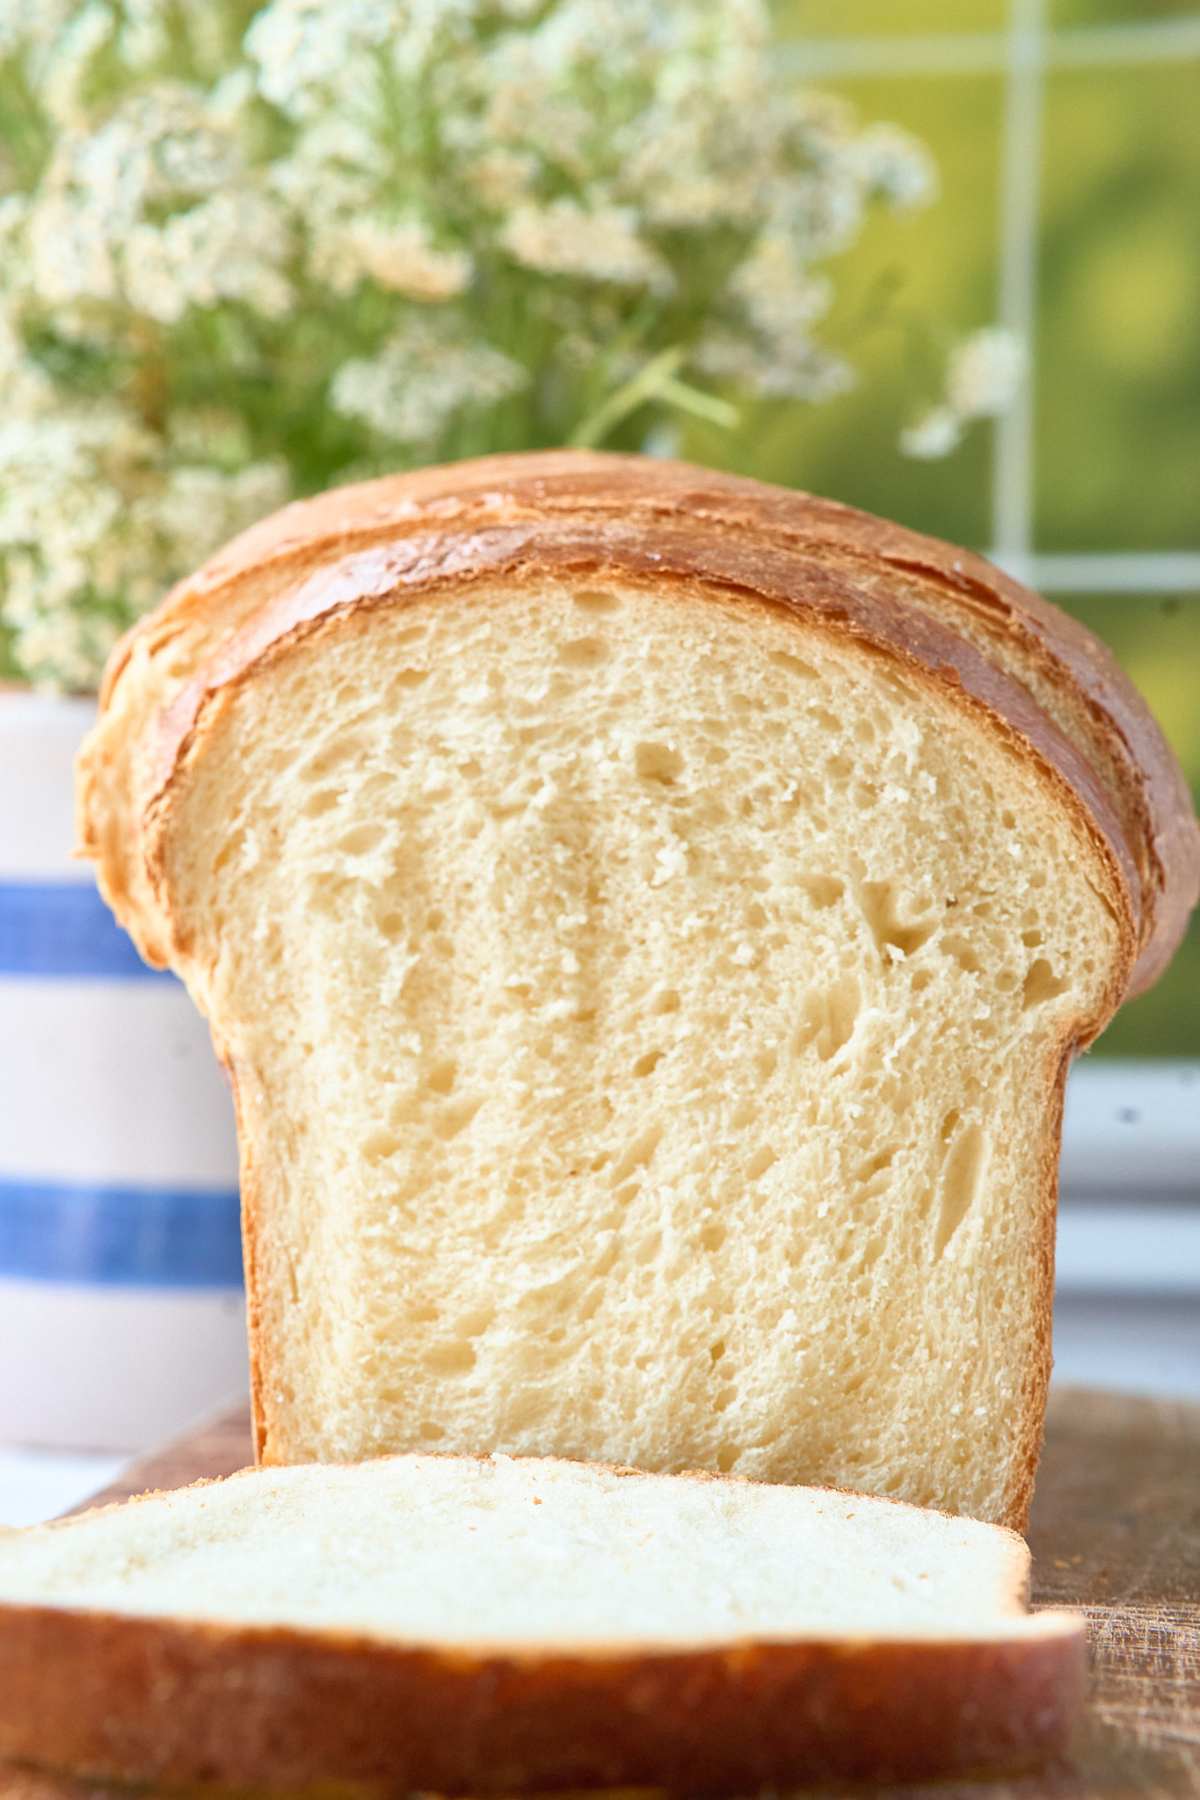
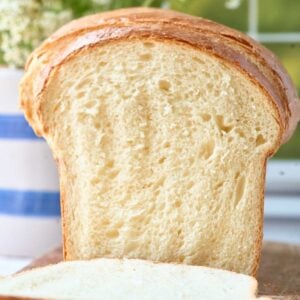
Soft Buttermilk Bread
There are a lot of simple white bread recipes in the world, but this buttermilk sandwich bread is one of the very best. Super (super!) soft crumb, nice shiny top, and a classic homemade bread flavor make this a favorite in my kitchen. I make a loaf every single week.
I would love to tell you that my favorite sandwich bread is some sort of ancient grain creation, but alas, it is this one. White flour, buttermilk, and sugar. What can I say?
Ingredients and Tools You’ll Need
You wouldn’t think that buttermilk in a bread recipe would make such a difference, but it really does! Try it just this once and you’ll always have one of those little containers in your fridge. (Don’t worry, buttermilk also makes the best chicken tenders!)

This recipe makes 1 standard-sized loaf. If you’d like to double or triple it, you absolutely can. Use the recipe card at the bottom to calculate 2x and 3x measurements. But make sure your stand mixer can hold it all!
For the Dough
- 2¾ cups all-purpose flour (you might need 1-2 more tablespoons)
- ⅔ cup buttermilk, room temperature
- ¼ cup water, room temperature
- 1½ tablespoons vegetable oil (or melted butter or olive oil)
- 2½ tablespoons sugar
- 1 large egg, room temperature
- 1⅓ teaspoons salt
- 2 teaspoons instant yeast (or active dry yeast)
For Brushing
- 1½ tablespoons melted butter
How to Make Buttermilk Bread
Remember, you don’t need to activate yeast! Just throw it in there and thank me later.
Mix the Dough
Add the flour, buttermilk, water, oil, sugar, egg, salt and yeast to your mixer or a large bowl. Stir until the dough forms and begins to pull away from the sides.
If it feels dry add a teaspoon of water, if too sticky dust with a little flour. You want a slightly tacky but workable dough. When I’m making this in the summer or on a humid day I often add 1-2 more tablespoons of flour.
Knead Until Smooth and Elastic
Knead for about ten minutes on medium speed or by hand on a floured surface. The dough should feel smooth and elastic.

Gently stretch a small piece: when it stretches thin and you can almost see light before it tears it is ready. This is the windowpane test and the best wya to tell if your dough is kneaded enough.
First Rise
Shape the dough into a smooth ball and place it in a lightly oiled bowl. Cover it lightly and leave it in a warm spot until it doubles, about an hour.

I like to briefly turn my oven on to warm it slightly, then turn it off.
Shape into a Loaf
Grease a 9×5 inch loaf pan. On a floured surface press the dough into a rough 9×18 inch rectangle. Fold the top and bottom toward the center then roll it up from one short side. Always remember: shoulders in, head down!

Pinch the seam closed, tuck the ends under and place seam side down in the pan to build structure.
Second Rise (Proof in the Pan)
Cover the loaf and let it rise until it sits about one inch above the pan rim, about 45 to 60 minutes. Begin preheating your oven to 350 degrees Fahrenheit as it rises. If you’ve been letting it rise in your oven, be sure to take it out first!

If it needs more time to reach the top do not rush this step.
Bake
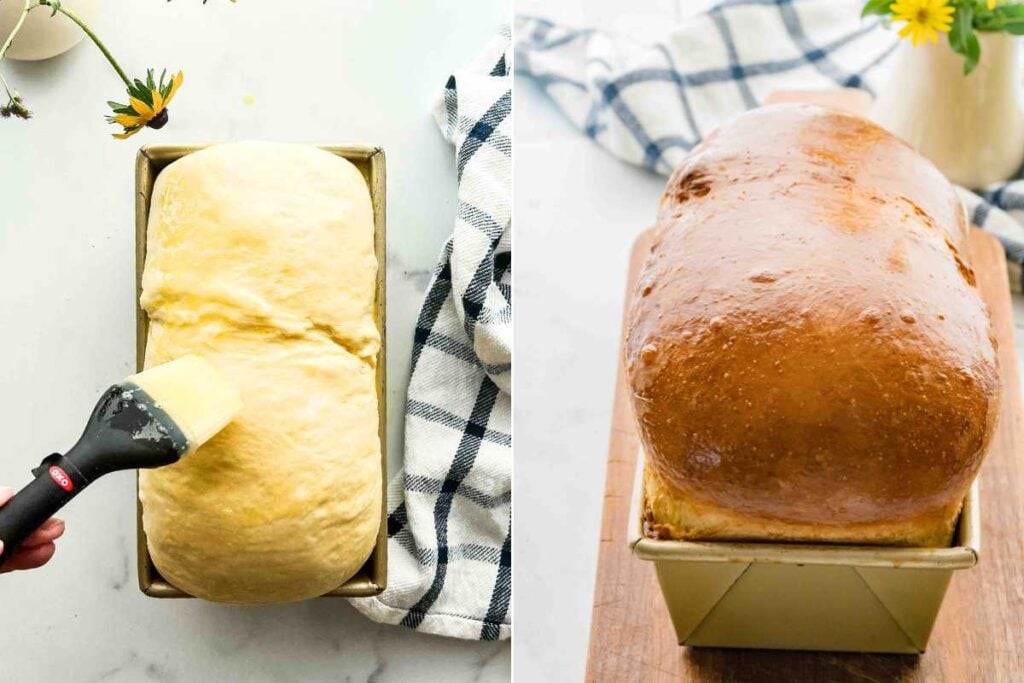
Brush the top with melted butter or egg wash for a glossy crust. Bake for 35 to 40 minutes until golden and it sounds hollow when tapped.
An instant read thermometer should read 195 to 200 degrees Fahrenheit in the center. If the top darkens too quickly cover it loosely with foil around minute twenty.
Cool Completely Before Slicing
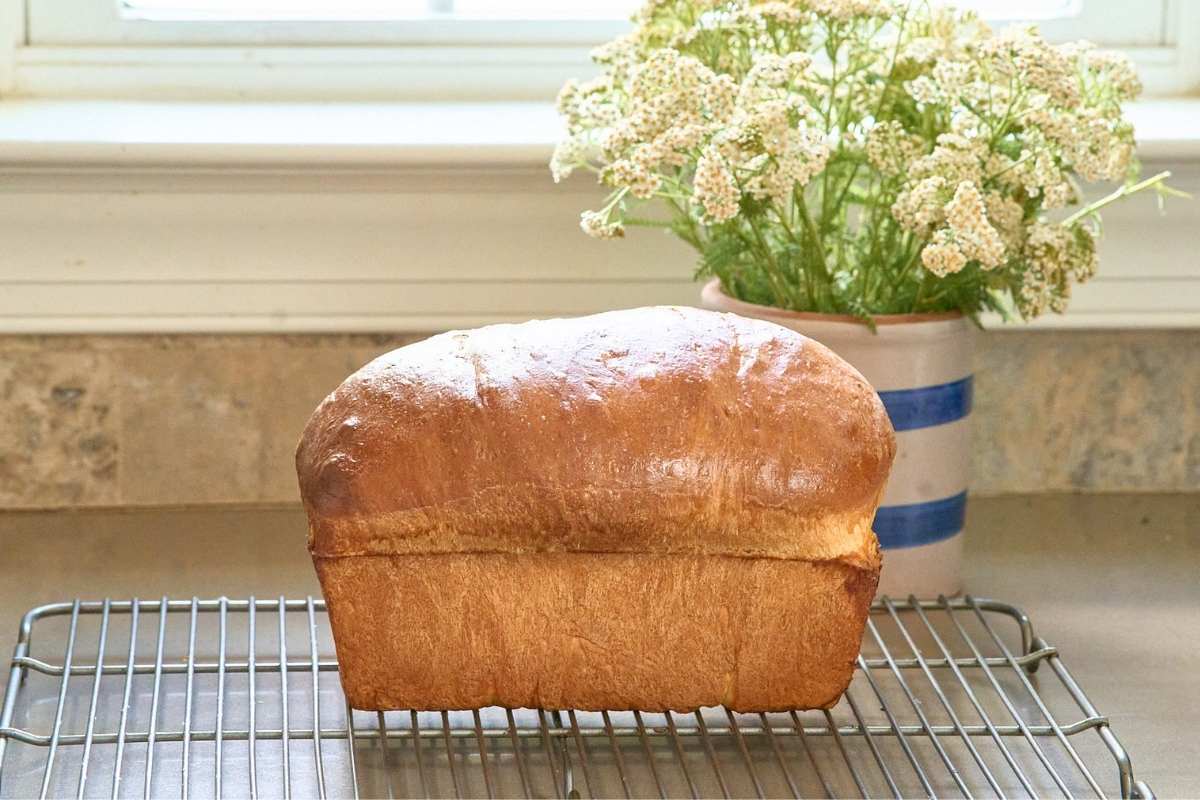
Remove the loaf from the pan and transfer it to a wire rack. Let it cool completely before slicing so the crumb sets and you get neat and clean slices.
Storing homemade sandwich bread
To store your bread, let it cool completely before placing it in an airtight container or a plastic bag. It will stay fresh at room temperature for up to 3 days.
If you’d like to freeze the bread, allow it to cool fully, then wrap it tightly in plastic wrap and cover it with aluminum foil. You can freeze it for up to 3 months. I prefer to slice then freeze so I can pull out what I need for toast.
Troubleshooting
Just knead by hand on a floured surface for about 15 minutes until it passes the windowpane test (stretch a small piece thin enough to see light through without tearing). This takes a long time.
Usually it’s because the dough didn’t rise long enough or wasn’t kneaded enough – make sure that dough DOUBLES before you shape it, and don’t skip the windowpane test during kneading.
First, let it cool completely. You can buy knives with a guide to make sure your slices are equal widths, but I don’t have one.
Printable Recipe
Buttermilk Sandwich Bread
Equipment
- 9×5 inch loaf pan
- Stand mixer with a dough hook attachment
- Plastic wrap or a clean towel
- Measuring cups and spoons
- Pastry brush
- Instant-read thermometer
- Wire cooling rack
- Nonstick cooking spray or oil (for greasing)
- Clean, damp tea towel
Ingredients
- 2¾ cups all-purpose flour (might need 1-2 additional tablespoons)
- ⅔ cup buttermilk (room temperature)
- ¼ cup water
- 1½ tablespoons vegetable oil
- 2½ tablespoons sugar
- 1 egg
- 1½ teaspoons salt
- 2 teaspoons instant or active dry yeast
For brushing the loaf
- 2 tablespoons melted butter
Save This Recipe
You'll join my email list which you will love. And if you don't, unsubscribe in one click. ❤️
Instructions
- Mix the ingredients. Add the flour, buttermilk, water, vegetable oil, sugar, egg, salt, and yeast in the stand mixer bowl fitted with a dough hook or a large mixing bowl. Mix at low speed (or stir by hand) for 2-3 minutes until dough forms. The dough should come together and not stick to the sides or bottom of the bowl.
- Knead the dough. Knead the dough on medium speed in the mixer (or knead by hand on a lightly floured surface) for 10-15 minutes until the dough is smooth, soft, and elastic. The dough is ready when it passes the “windowpane test”—if you stretch a piece of dough between your fingers, it should become thin and translucent without tearing. If the dough feels dry, add a teaspoon of water until moist but not sticky. If it’s too sticky, sprinkle in a little flour.
- The first rise. Shape the dough into a smooth ball and place it in a clean, lightly oiled bowl. Then, cover the bowl with a clean, damp tea towel or plastic wrap and place it in a warm spot. Let the dough rise for about 60 minutes until it has doubled and looks puffy.
- Shape into a loaf. Lightly grease a 9×5-inch loaf pan with nonstick spray. Turn the risen dough out onto a lightly floured surface. Then, gently stretch the dough into a rectangle, making the shorter side the same length as the longer side of the loaf pan (about 9×18 inches). Next, fold the top edges and start rolling the dough down, keeping it tight. Tuck the ends under and pinch the seam closed. Place the loaf, seam-side down, into the prepared loaf pan.
- The second rise. Cover the loaf with heavily greased plastic wrap or a clean towel. Let it rise in a warm place for 45-60 minutes or until the dough has risen about 1 inch above the edge of the pan. Towards the end of the rising time, preheat your oven to 350°F
- Bake. Brush the top of the loaf with melted butter. Bake the loaf in the preheated oven for 35-40 minutes, or until the top is golden brown and the bread sounds hollow when tapped. If you have an instant-read thermometer, the internal temperature should reach 195-200°F
- Cool. Remove the bread from the oven and carefully turn it from the pan onto a wire rack. Let it cool completely before slicing.
Video
Notes
Nutrition


Thank you .I the recipe my grandmother made I lost my recipe card I haven’t made this in years so thank you very much I have been looking for this recipe for years I’m so grateful I found you
hi cynthia! i am glad to hear this. ❤️
Hi, can we make this in bread machine? And for how long
Yes, this does great in the bread machine. Just do it on the regular or white cycle, medium crust. If you’re picky about the shape of your loaf, just knead it and hit the dough cycle, and then shape and bake in a loaf pan.
Can I use bread flour instead of all purpose flour?
yes! you might need a tad more liquid.
Hi Katie,
I love your recipes, and that you included the flowers in the pictures with each steps of. It adds a nice delightful visual and touch when you include the beauty of nature. Thanks for all you do to help us make delicious food and dishes, and for recomendations of products to buy!
Karen🌞❤️
Can you use something other than vegetable oil, like coconut or olive oil?
olive oil or melted butter are both fine, I’d lean towards light olive oil if you’d got that. 🙂
I’m excited to try this recipe. I saw that the buttermilk should be at room temperature, but do any of the other liquids need to be warmed to help the yeast bloom? Thanks.
no the others should be fine! I recommend instant yeast if you can get some, it’s much less finicky about temp!
loved! easy, quick and family loved it too
Can you substitute the sugar for Honey in this recipe? I love baking bread but find it hard to find recipes with honey instead of sugar.
hi kristie, honey would be perfect in this recipe! same amount as the sugar but hold back just a tad of the buttermilk at first 🙂