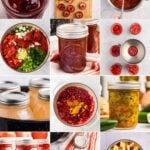
Inside: A non-boring and non-overwhelming introduction to canning food at home. You can (and should!) learn how to do this and I’m here to help.
When you first read a canning recipe, it’s… a lot.
- Why are there so many pots?
- Am I going to poison my family?
- Shouldn’t I just buy the darn jam?
But the truth is, once you understand the process, it’s way less intimidating than it seems. Here’s the basic idea:
- You make a recipe (jam, relish, whatever.)
- You put it in jars.
- You boil the jars to seal them. (If you’re pressure canning, you seal them using super hot water and steam that’s under pressure but it’s actually the same idea.)
Simple, right? Let’s do this.

FREE FOR SUBSCRIBERS
Canning Binder
Subscribe (free!) to my newsletter to receive this PDF + dozens of others in my printable library. You’ll also get emails you’ll truly love, with a weekly meal and so much more.
Why Bother Canning?
A fair question. Jam is, after all, not all that expensive.
- It’s affordable to get started. You don’t need any fancy equipment, just some jars, lids, and a big pot to submerge them in.
- It saves you money over time. You can buy in bulk when things are on sale or in season. If you garden, you’ll save even more.
- You’ll build a life long skill.
- Most home-canned goods are far superior to store-bought versions: think spiced apple jam, fresh pie fillings, and homemade basics like tomato paste from you own garden.
But really, my favorite reason is this: at the end of a day of canning, you’ll feel like you’ve really done something productive. There’s a magic in lining up those jars in your pantrythat you’ll just have to see for yourself.
What You’ll Need
A lot of times, you already have the stuff you need in your kitchen. It might take some ingenuity, but you can make it work. But if you can afford it, I highly recommend a Graniteware canning pot and an accessory kit. Graniteware is lightweight which means you can store it above your fridge easily and still pick it up when it’s filled with hot water.
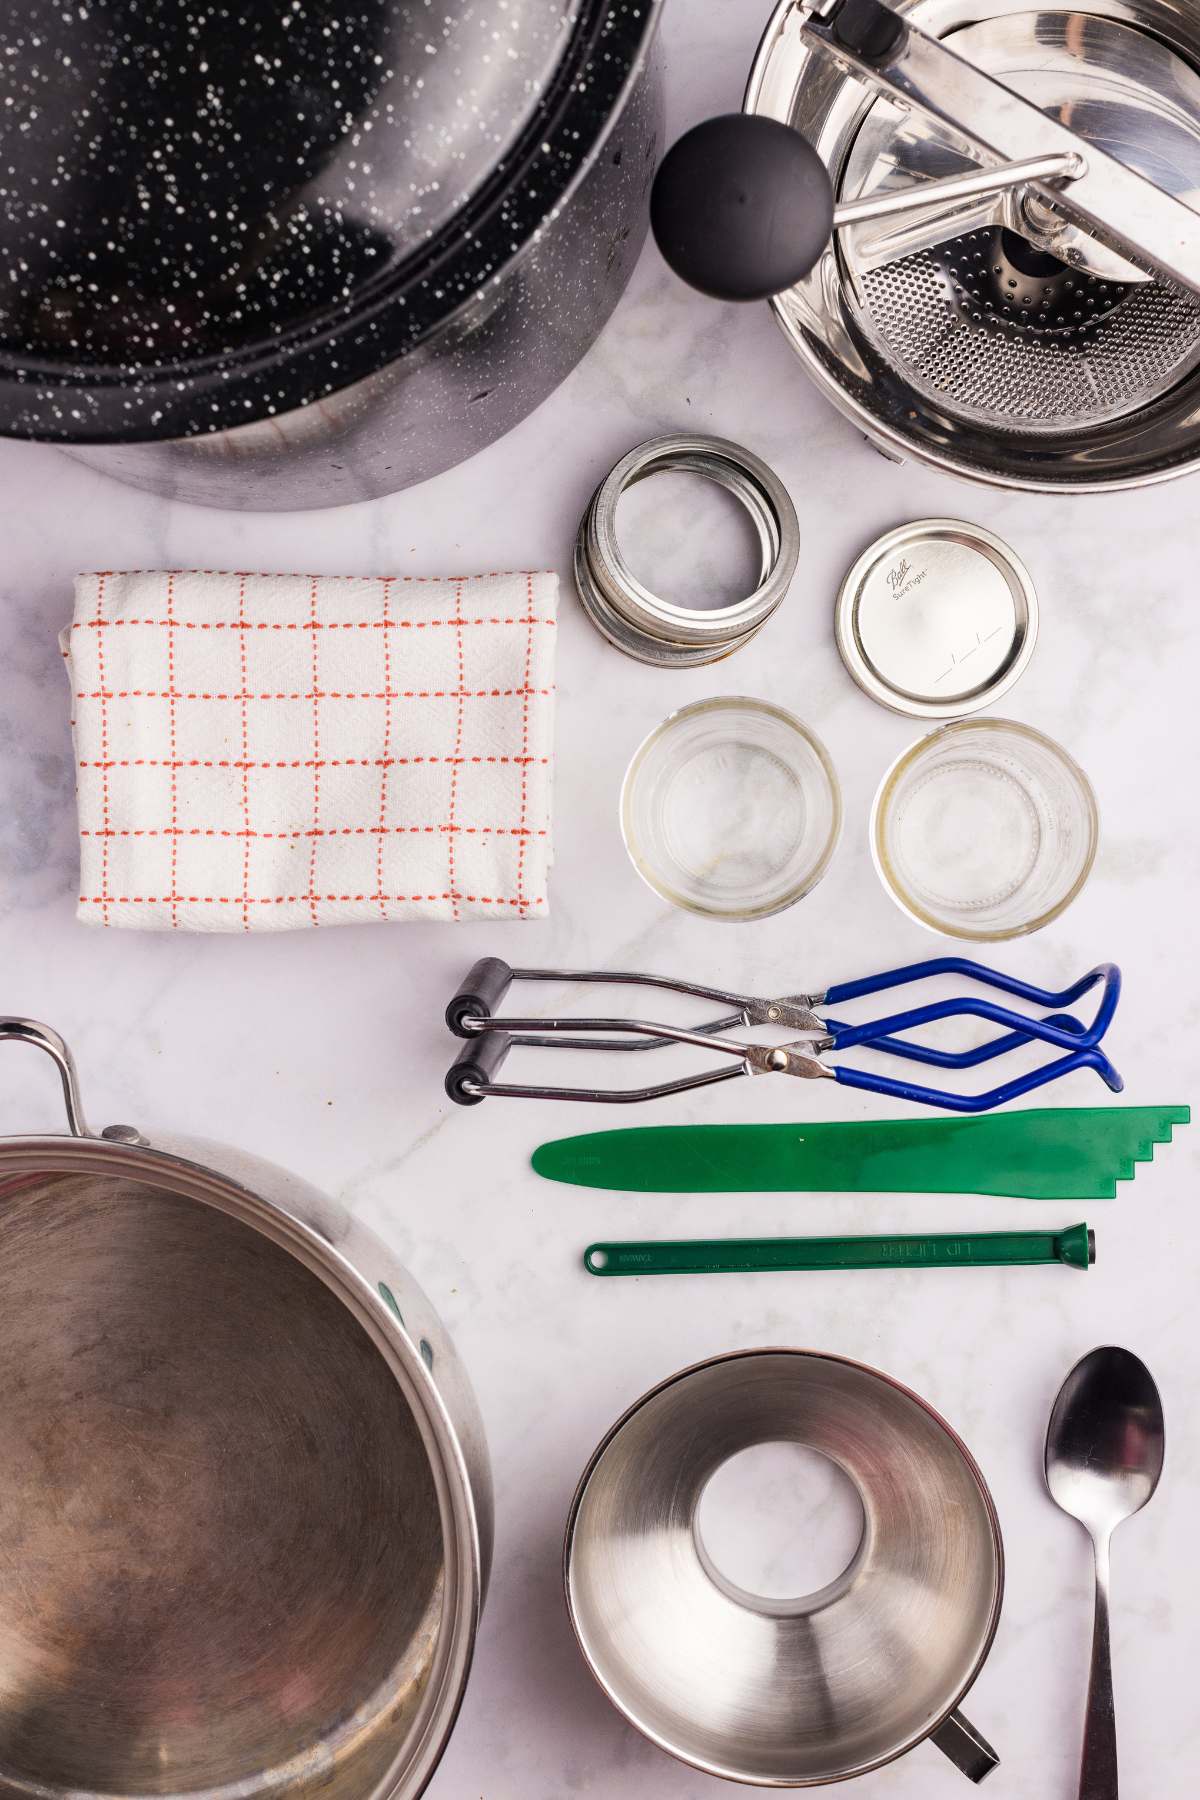
- Canning jars and new lids. Always use new lids, they’re designed to seal once. Reused lids can fail, which risks spoilage or unsafe food. Rings, however, can be reused.
- A large pot with a lid: A water bath canner is ideal, but any big pot will work as long as it’s deep enough to cover the jars by 1–2 inches of boiling water. You’ll also want a rack at the bottom to prevent jars from rattling and cracking.
- Basic canning tools: A beginner tool set is usually under $20 and includes:
- A jar lifter
- A wide-mouth funnel
- A debubbler
- A magnetic lid lifter
- Clean towels or dishcloths: You’ll use these to wipe rims and set hot jars down safely.
The Canning Process
Remember what we discussed? Make a recipe, put it in jars, seal the jars with heat? It was true.
Step one: prepare jars and lids
Your jars, lids, and rings, need to be clean and hot, but not sterilized. Remember your lids are new, but you should still wash them and heat them up.
Not anymore! According to Ball®, sterilizing jars isn’t required if you’re processing them for at least 10 minutes in a boiling water bath. Instead, your jars just need to be clean and hot before filling — so they don’t crack when you add hot food.
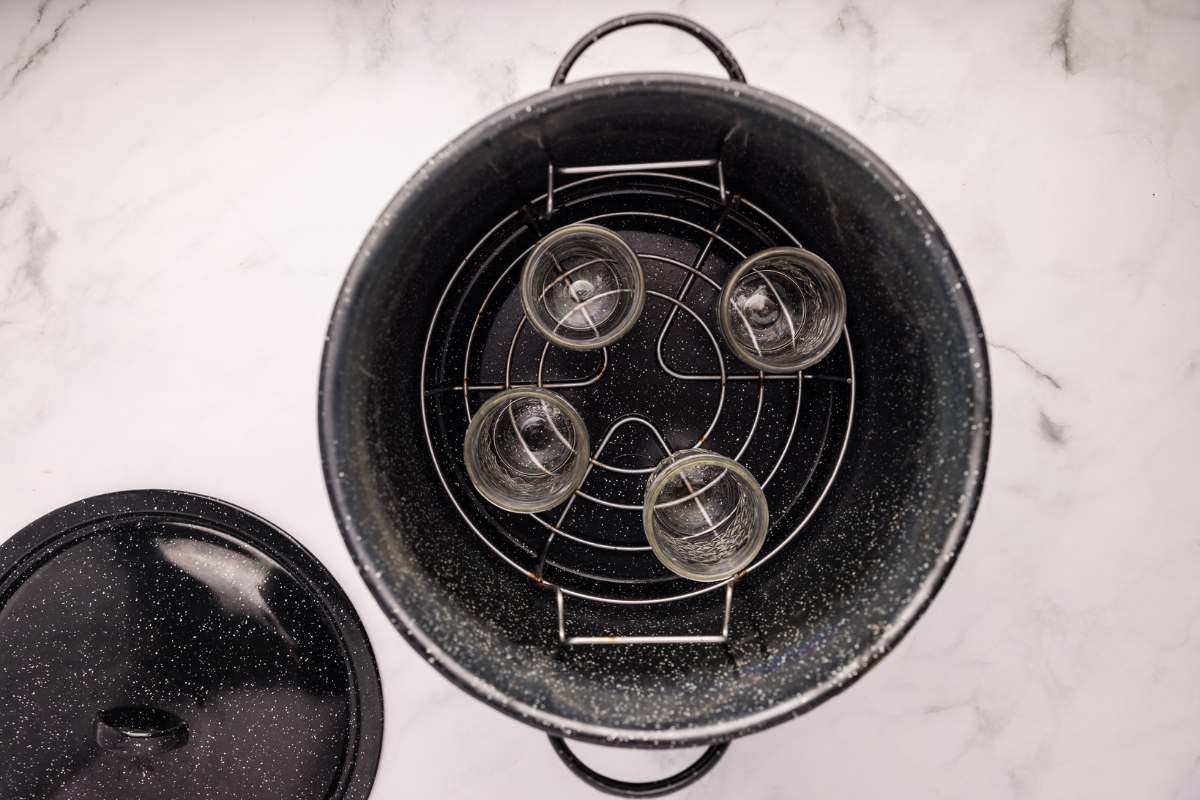
You can warm jars by:
- Running them through the dishwasher and keeping them warm
- Heating them in a 200°F oven
- Placing them in hot (not boiling) water
As for the lids and rings:
- Don’t endlessly boil them, high heat can damage the rubber seal
- Instead, simmer in hot water for 5–10 minutes while you prep
Always check the box for your brand’s specific recommendations. Most now follow this same guidance, but it never hurts to double-check.
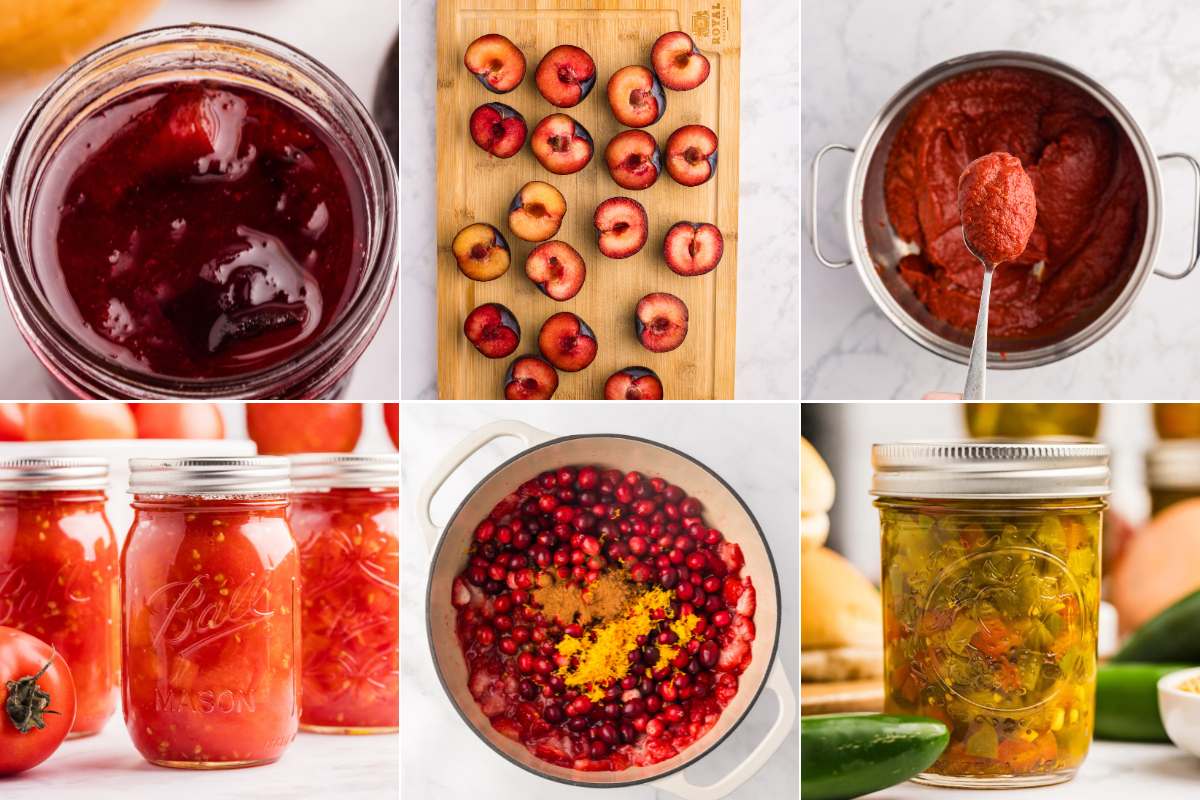
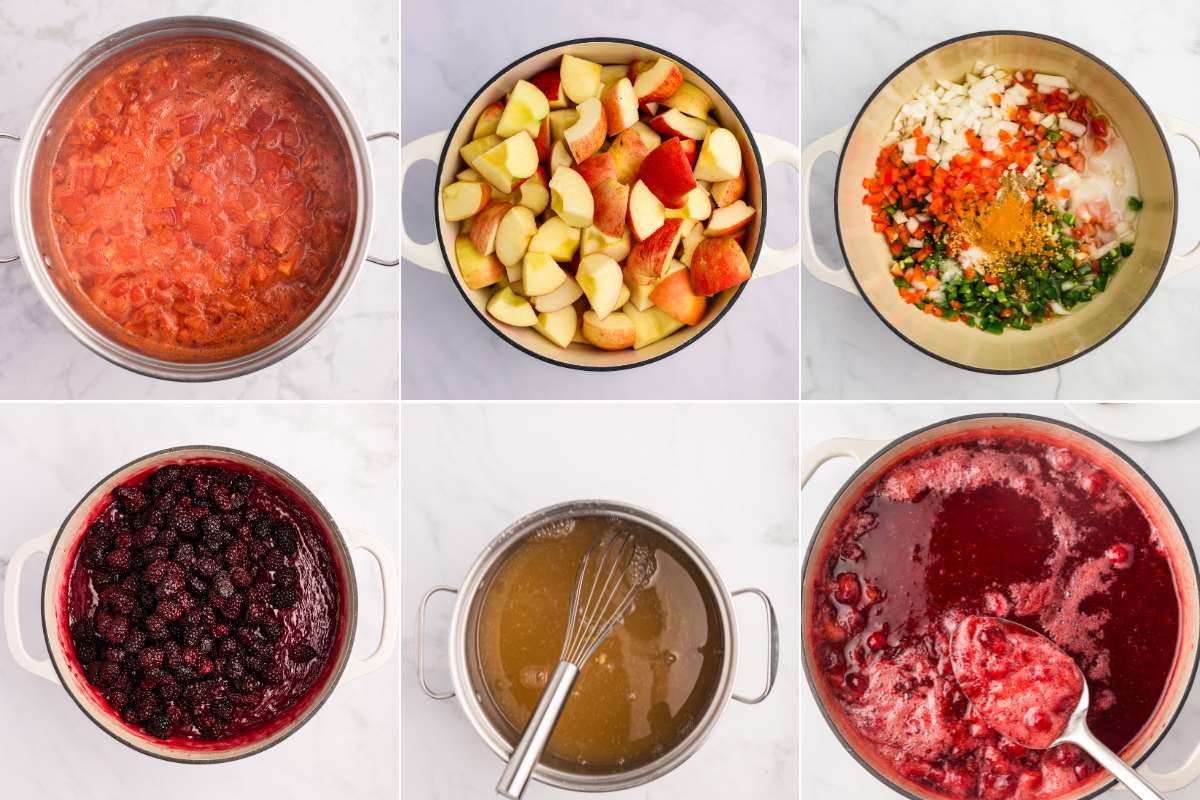
Step two: prepare your recipe
This part will look different depending on what you’re making: jam, salsa, relish, tomatoes, each recipe has its own steps, ingredients, and timing.
But here’s what stays the same: you must follow the recipe exactly.
Canning recipes are tested for safety, especially when it comes to acidity and processing time. Swapping ingredients or adjusting quantities can throw off the pH level or texture, which could make the finished product unsafe to eat.
It might feel a little rigid at first, but once you’ve canned a few recipes as written, you’ll start to understand where there’s wiggle room (and where there’s not). Usually spices can be tweaked but not much else.
So pick one solid, tested recipe and stick to it the first time through.
Step three: fill the jars
Fill the hot jars with your preserves to within 1/2 inch of the top of the jars. The amount of empty space you leave is called headspace and the recipe will let you know how much.
Next, gently place a rubber spatula in the jar and run it along the sides of the jar to release any trapped air bubbles. If you have a specific debubbling tool, use that.
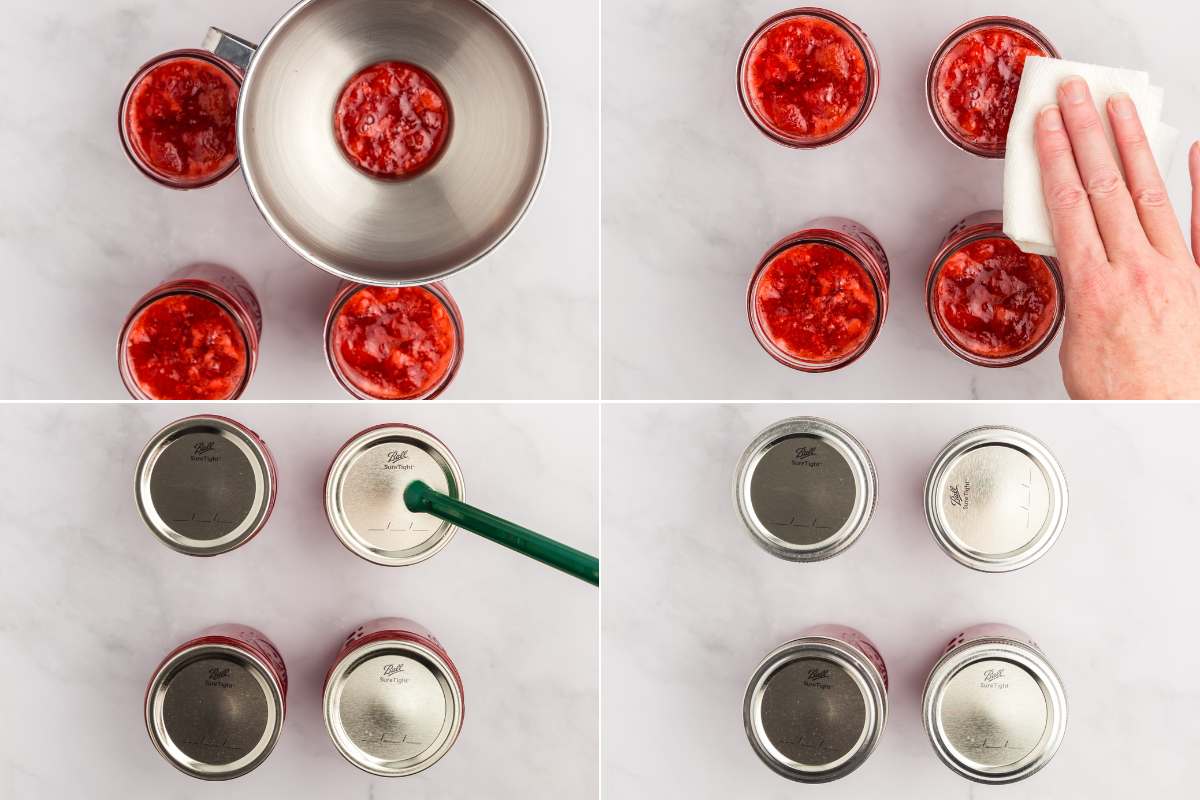
Wipe the jar rim well with a clean dishcloth to create a proper seal.
Place the lids and rims on the jars. Try not to over-tighten; turn the lids just until you feel resistance. This is known as fingertip tight, meaning that you could open the jar with just the strength of your fingertips.
Step four: process to seal
Fill your water bath canner or large stockpot halfway with water. Bring the water to a simmer and then place the jars in the pot. It’s important that the jars don’t touch the bottom of the pot directly, so you’ll need a rack of some kind.
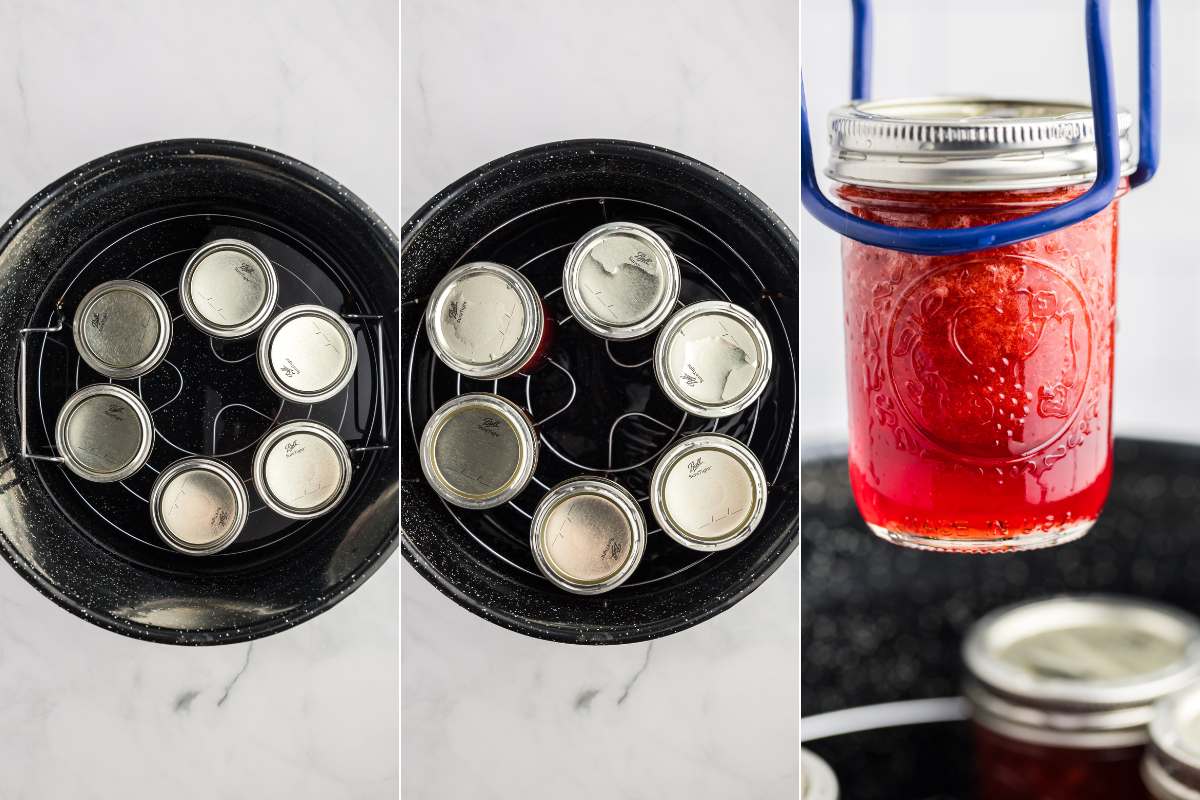
You can place each jar in the water individually with your jar lifter or lower all of them with a metal rack.
The water should cover the top of the jars by at least 1 to 2 inches.
Bring the pot with your jars to a boil and cover the top of the pot. Always start timing your recipe once the pot returns to a full rolling boil.
A note about processing times: most pint jars will process for 15 minutes, half-pint around 10, and quarts at least 20. But check your recipe to be sure.
Step five: let the jars rest
Once processing is done, use your jar lifter to carefully remove the jars and place them on a clean towel or cutting board. Give each one a little space so they can cool evenly without bumping into each other.
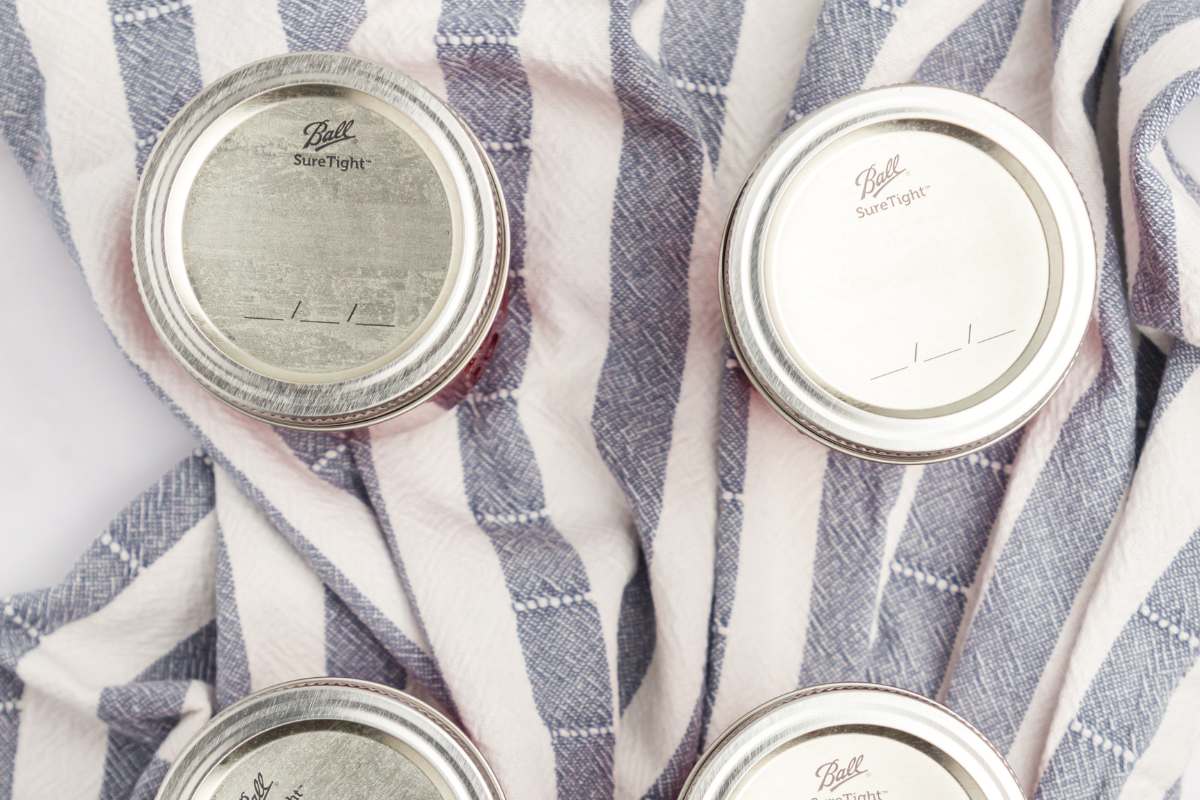
As they cool, you’ll start to hear soft little “pops” or sucking sounds. That’s the lids sealing, and it’s a sound you’ll learn to love. You’ll know a jar is sealed when the center of the lid is firm and no longer flexes when pressed.
Let the jars rest at room temperature for 12 to 24 hours before moving or storing them.
Step six: take the rings off and store your jars.
Once your jars are fully cooled and sealed, you can remove the rings and store them in a cool, dark place, like your pantry or basement.
Properly canned food is best used within a year, according to USDA guidelines, but I am personally fine with 2 years.
Safety Tips
Canning is safe when you follow a few basic rules. If you’re using tested recipes, handling jars properly, and processing them as directed, you’re already doing it right.
- Stick to tested recipes.
- Watch the acidity. The issue here is the danger of botulism. It’s deadly, has no taste or smell, but (good news), can’t grow in high-acid environments. That’s why jams, fruits, pickles, and tomato products (with added lemon juice) are all great for beginners. Never skip the acid in a recipe.
- Use bottled lemon juice when called for. It’s more reliable than fresh, with a consistent pH that ensures safety.
- Adjust for altitude. If you live more than 1,000 feet above sea level, you’ll need to adjust processing times or temperatures.
- Start counting time after a full boil. For water bath canning, always wait until the pot is at a rolling boil before you start the timer. If it stops boiling when you lower the jars in, you start counting the processing time when the water comes back to a boil.
- Don’t reuse old lids. Rings are reusable, but the flat sealing lids are not. Always use new ones to ensure a good seal.
- Store without rings. Once sealed, remove the rings before storing. This helps you easily check the seal and if it ever comes loose, you’ll know right away.
What’s Next? Choose Your First Project
The best way to learn is to start. These are some of my easiest and most popular recipes for beginners:
Water Bath Canning Recipes:
- strawberry preserves
- dill pickle relish
- old-fashioned apple butter
Pressure Canning Recipes
- chicken stock
- simple canned potatoes
- canned green beans
You will be a little overwhelmed at first, but everyone started as a beginner. Confidence comes with time and I’ll be right here when you’re ready.


I just wanted to thank you. I haven’t done this for over 50 years and literally forgot all about it Thanks to you this wintry year I’m going to start making my favorite jams w chopatli and lots of good lip smacking edible delicious ! We love ya over here !! Nancy ✍️😄
Hi Nancy, thank you so much! I’m so happy to hear this post brought you back to something you loved. It’s amazing how those favorite recipes and traditions can bring warmth, especially on those chilly days. Sending big hugs and lots of love right back to you all!:)