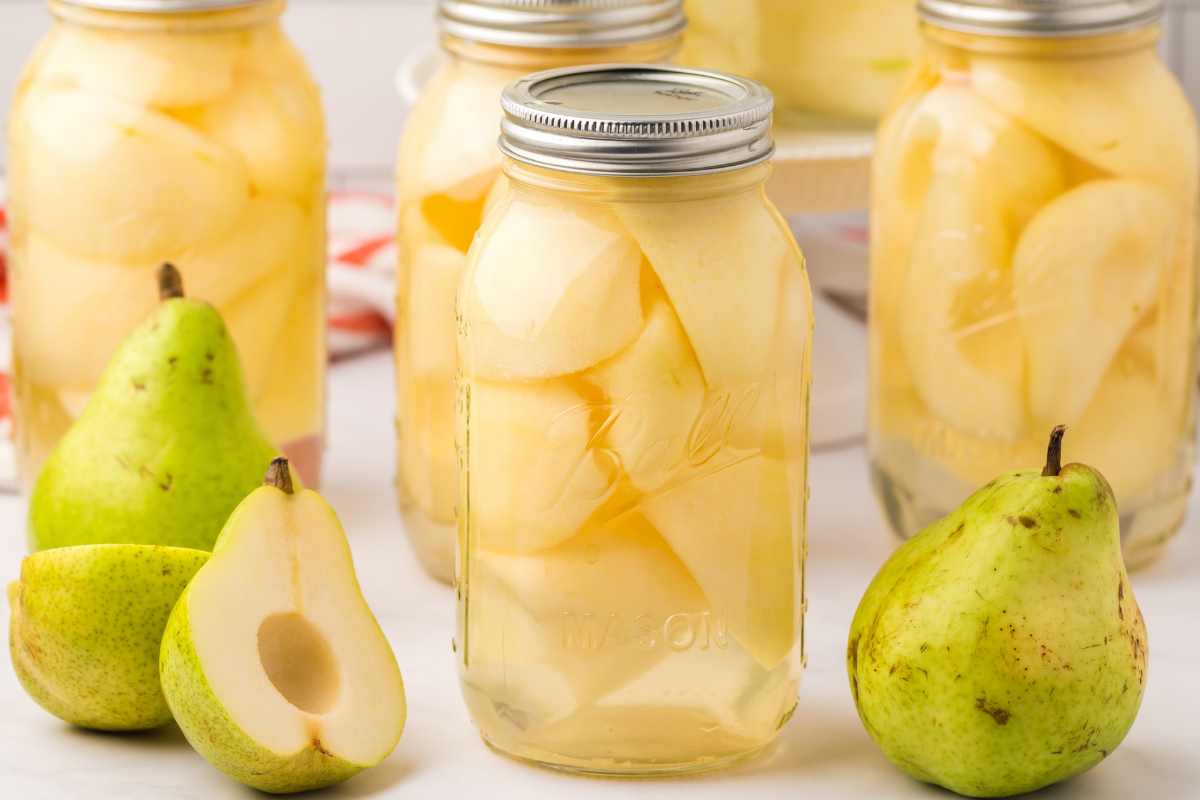
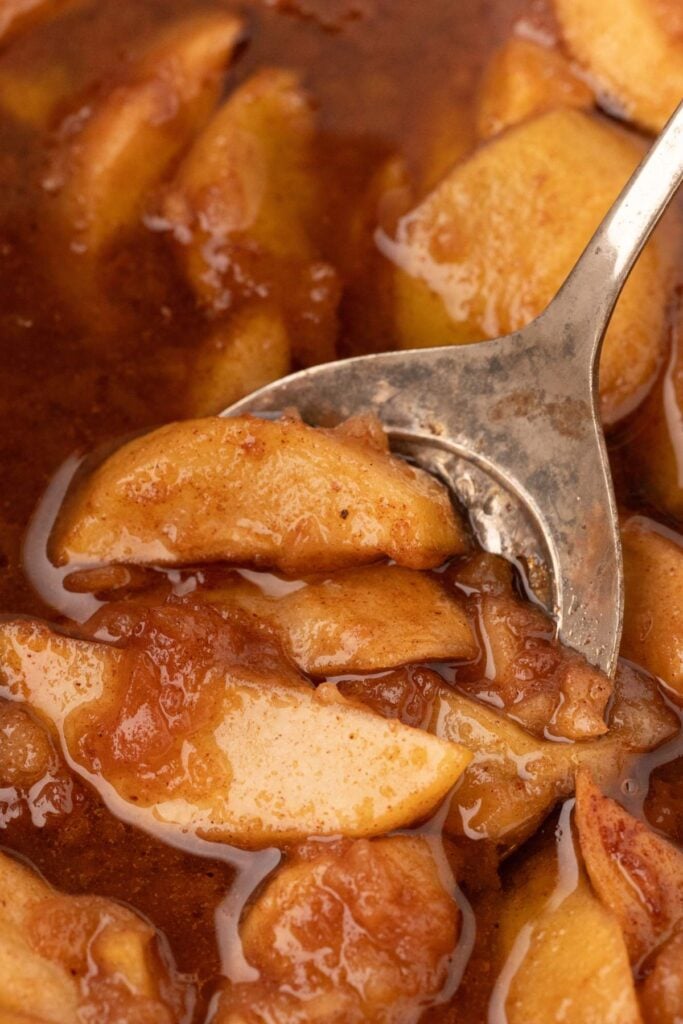
This is the simplest and most versatile way to preserve fresh pears, and these are surprisingly good eaten plain out of the jar. This is a cold pack method, storing the fresh pears in a sweet syrup. I’ve included notes below if you want to adjust the sweetness or try a hot pack method instead.

This technique is quite flexible and useful. You can preserve just about any fruit this way.
Table of Contents
Ingredients and Tools You’ll Need
Canning requires a few special tools, although there are workarounds. Any large pot will technically work if you don’t have an official water bath canning pot! However, special canning supplies are affordable and very helpful. Quart jars are big enough to make storing easy, but you can use pint jars too.
The pears must be ripe and fresh, or honestly, what’s the point?! A few bruises here and there are okay (and inevitable), just cut them out as you’re prepping the fruit. Bartlett pears are the best, but any pear will work. The lemon juice can be fresh or bottled. It doesn’t matter since it’s not affecting the finished product.

FREE FOR SUBSCRIBERS
Canning Binder
Subscribe (free!) to my newsletter to receive this PDF + dozens of others in my printable library. You’ll also get emails you’ll truly love, with a weekly meal and so much more.
Heart’s Content Farmhouse is a participant in the Amazon Services LLC Associates Program, an affiliate advertising program designed to provide a means for sites to earn advertising fees by advertising and linking to Amazon.com. This means that when you click on certain links on this site and make a purchase, I may earn a small commission at no additional cost to you. I only recommend products I genuinely believe in and would use in my own kitchen. As an Amazon Associate, I earn from qualifying purchases.
This will make 4 quarts from 10-12 pounds of pears. If you have A LOT of pears, you can double or triple this recipe, by making adjustments in the recipe card at the bottom of this post.
Equipment
- Water Bath Canner or large pot with a rack
- Canning Accessories funnel, jar lifter, magnetic lid lifter
- 4 quart jars or 8 pint jars
- New canning lids and rings rings can be reused
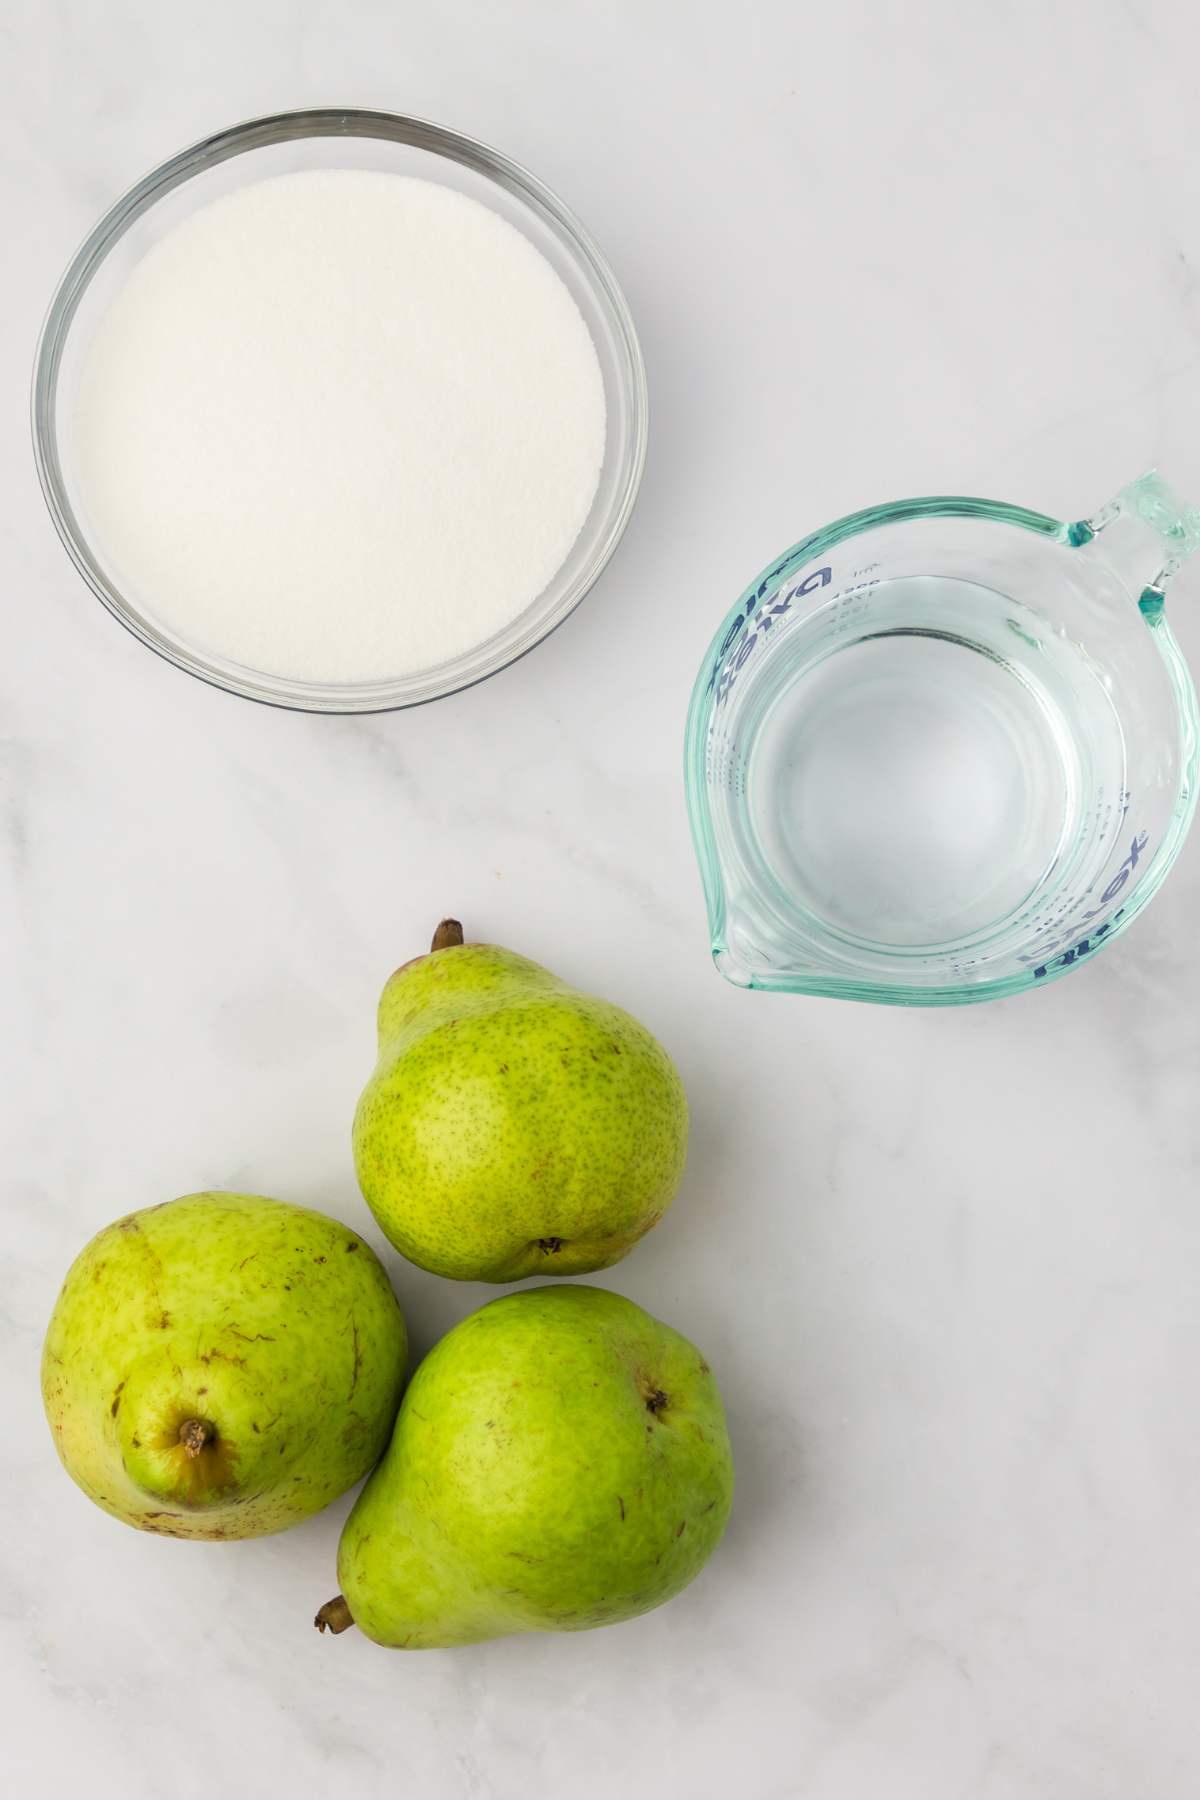
Ingredients
- 10-12 pounds ripe pears any variety
For soaking pears after slicing
- 1 gallon water
- ½ cup lemon juice
For the syrup
- 2 cups white sugar
- 8 cups water
How to Can Pears
Step One: Wash Jars
Wash everything. Jars, lids, rings – give them all a good scrub with hot soapy water. Keep the jars hot in your canner or oven while you work. They don’t need to be sterile, just hot and clean.

Step Two: Prep the Pears
Fill a big bowl with water and splash in some lemon juice – this keeps them from turning brown while you work. Wash your pears, then peel, core, and slice them into halves or quarters. Toss them in that lemon water as you go.

Step Three: Make the Syrup
Mix 1 cup sugar with 4 cups water in a large pot. Bring it to a boil and stir until the sugar disappears.

Step Four: Pack the Jars
Drain those pears from the lemon water. Grab a hot jar with your jar lifter and set it on a towel. Use your funnel to pack the pears in there – don’t be shy about it. Pour the hot syrup over them, leaving about ½ inch at the top.

Step Five: Seal Them Up
Wipe the jar rim clean (this MATTERS for sealing), pop on a new lid, and screw the ring on fingertip-tight. Not gorilla-tight, just snug.

Step Six: Process in the Water Bath
Back into the boiling water they go. Make sure there’s at least an inch of water covering the jars. Boil for 25 minutes for quarts, 20 for pints. Pull them out and set on a towel.

Step Seven: Cool and Check
Now comes the best part, listening for that pop as they seal. Once they’re cool, press the center of each lid. It should not flex in any way. Store them somewhere cool and dark, and they’ll be good for a year.

Choosing the Right Syrup
Sugar is the main preservative in this recipe, so you can’t leave it out. However, if you prefer a less-sweet final product, you can reduce it.
I’ve written this recipe for a medium-light syrup, which we love. But you can make your syrup sweeter or lighter! There is no real benefit, per se, to a heavier syrup, just that it will be sweeter and some people prefer that.
| Syrup Sweeteness | Water | Sugar | Sugar Percentage |
| Very Light | 7 cups | 1 cup | 12.5% |
| Light | 6 cups | 2 cups | 25% |
| Medium | 5 cups | 3 cups | 37.5% |
| Heavy | 4 cups | 4 cups | 50% |
Hot Pack vs. Cold (Raw) Pack
This recipe is raw pack (also known as cold pack), meaning the pears are put in uncooked at room temperature. We always can our fruit this way because it’s easier and you can get through it much faster. However, hot pack (you heat the fruit and syrup up before canning), does have its advantages.
Hot Pack Method
- Reduced Floating: It typically results in less floating of the fruit in the jar, as air is driven out and the fruit is shrunk before packing
- Time-Consuming: It is more time-consuming as it involves extra cooking steps.
- Heat Sensitivity: The extra heat can potentially affect the texture and taste of certain delicate fruits.
Cold Pack (or Raw Pack) Method
- Simplicity: Cold packing is simpler and quicker. The fruit is packed into the jars without pre-heating.
- Texture Preservation: It may preserve the fruit’s original texture and shape better since it’s not exposed to extra heat beforehand.
- Possible Floating: Fruit may float in the jars, leading to uneven distribution and potential spoilage.
In short, if floating fruit doesn’t bother you, just do raw pack!
More Simple Canning Recipes
We spend countless hours every summer processing fruits and veggies. Here are some of our favorite ways to preserve the harvest. Don’t forget to choose canning recipes you’l actually eat. 😊
- Canned apple pie filling will give you enough filling for four pies.
- Pear butter is sweet and spicy. And you can freeze it if you don’t feel like canning.
- Everyone loves apple butter.
- If you’ve got a garden full of jalapenos, these crisp pickled jalapenos are great for keeping your peppers firm for months.
Printable Recipe
Simple Canned Pears
Equipment
- Water Bath Canner or large pot with a rack
- Canning Accessories funnel, jar lifter, magnetic lid lifter
- 4 quart jars or 8 pint jars
- New canning lids and rings rings can be reused
Ingredients
- 10-12 pounds ripe pears any variety
For soaking pears after slicing
- 1 gallon water
- ½ cup lemon juice
For the syrup
- 2 cups white sugar
- 8 cups water
Save This Recipe
You'll join my email list which you will love. And if you don't, unsubscribe in one click. ❤️
Instructions
- Prep jars and lids. Wash jars, lids, and rings in hot, soapy water. Rinse well. Place jars in water bath canner or a large pot of hot water or in the oven while you prep the fruit. The jars do not need to be sterilized, but they need to be hot and clean. Keep everything hot until you're ready to use.
- Prep pears. Fill a large bowl with water and a bit of lemon juice to prevent browning. Wash pears well. Peel, core, and slice pears into halves or quarters. Place cut pears into the bowl with lemon water to keep them from browning while you work.
- Make syrup. In a large pot, mix 2 cups of sugar with 8 cups of water. Bring to a boil, stirring until sugar is dissolved.
- Pack jars. Drain pears from the lemon water. Use a jar lifter to take a jar out of the hot water. Place on a towel. Use a canning funnel and ladle to pack pears into jars. Pour the hot syrup over the pears, leaving ½-inch space at the top.
- Put on lids. Wipe the rim of the jar with a clean towel. Place a new lid on the jar. Screw on the ring until fingertip-tight.
- Process. Put the filled jars back into the water bath canner (or large pot of boiling water), making sure they are covered by at least 1 inch of water. Boil for 25 minutes for quart jars, or 20 minutes for pint jars. Use a jar lifter to remove jars from water. Place on a towel.
- Cool and store. Let the jars cool. You may hear a popping sound as the lids seal. Once the jars are cool, check to make sure the lids have sealed by pressing down in the center of each lid. If it doesn't pop back, it's sealed. Store jars in a cool, dark place for up to a year.
Notes
Nutrition

Can you use this for peaches?
yes, same idea with syrup and everything
can splenda be used instead of sugar?
no, you need the pears to be in a syrup to preserve them and splenda won’t be the same. in this recipe the sugar is preservative, so a swap won’t work. HOWEVER, in general, if you are just adding sugar for sweetness (like, say, a pickle recipe), splenda is fine.
pot not tall enough to boil jars, did I read they can be put in stove (oven) to prepare for use?
yes, to preheat them, the oven is fine, put them in at 200. but you’ll need to fully submerge them for the canning step.
Hi. I know you said sugar is the preservative. This may be a silly question but…. Can I use maple syrup? Or does it have to be white sugar?
maple syrup is fine safety-wise, but your pears will be softer and darker. also figuring out the right amount can be tricky: https://ask2.extension.org/kb/faq.php?id=331404#:~:text=Expert%20Response,apple%2C%20orange%20or%20other%20flavors.