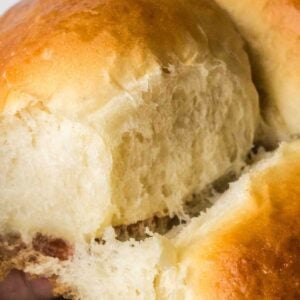
Super Soft Hawaiian Rolls
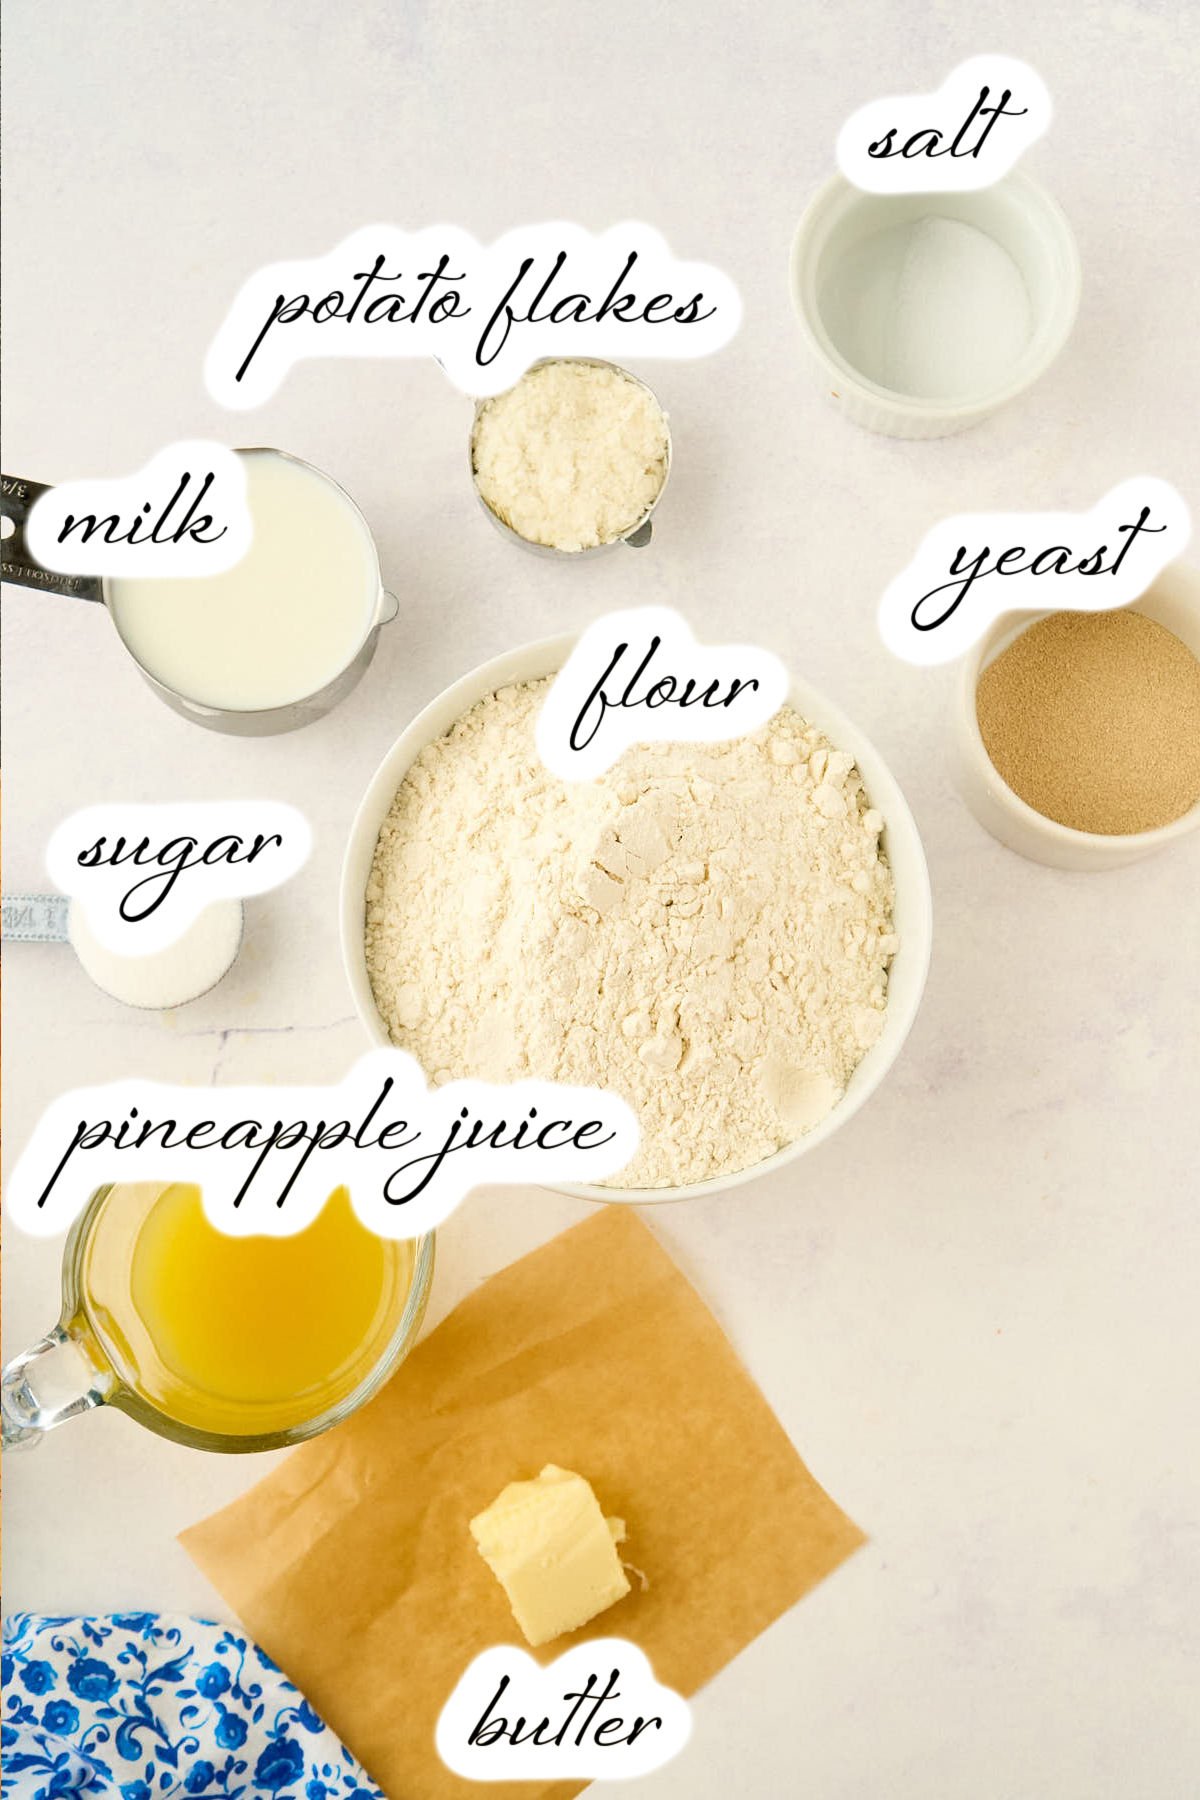
Soft, fluffy, and slightly sweet, these Hawaiian rolls will be your favorite way to make a sandwich from now on. I know you want to ask if you really need the pineapple juice and the potato flakes. You do. You do! If you don’t have them, just make some normal rolls. For this recipe, they’re a must.

These rise faster than a typical sandwich loaf. So, be watchful during the rising phase. Overproofing can make the rolls deflate when you bake them.
Table of Contents
Ingredients and Tools You’ll Need
As I said, you do need the potato flakes and pineapple juice. The flakes give the rolls their soft and fluffy texture, and the juice gives them that unique sweet flavor. If you think it’s a waste to buy these two ingredients just for this, you can also use them to make Hawaiian sandwich bread!
You do really want to use a stand mixer or bread machine for the kneading to get the right texture.
This makes 16 rolls, which is usually enough. But if you have a heavy-duty mixer like the Bosch, you can easily double this. If you’d like to double or triple this recipe, you can make adjustments in the recipe card at the bottom of this post.
Equipment
- Stand mixer
- Large mixing bowl
- Baking Sheet
- Wire cooling rack
Ingredients
- ¼ cup instant potato flakes
- ¾ cup milk
- ½ cup pineapple juice
- 2 tablespoons vegetable oil
- 3 tablespoons sugar
- 1 teaspoon salt
- 3 cups all-purpose flour
- 2½ teaspoons instant yeast
- 1 egg for brushing the top of the loaf
Instructions
I personally prefer to knead my dough in my bread machine on the dough cycle. If you have one, throw everything in the bucket, hit the DOUGH cycle, and come back to shape the rolls when the cycle ends. Just be sure to check on it a few minutes into mixing. You might need to add a bit more flour or water for the right consistency.
Step One: Mix The Dough
Put everything in your stand mixer bowl and mix for a few minutes. The dough should be soft and smooth but not sticky. If it’s too wet, add a bit more flour. If it is too dry, add a splash of milk. Knead for 10 minutes until it’s smooth and elastic.

Step Two: First Rise
Shape into a ball and put in a lightly oiled bowl. Cover with greased plastic wrap and let it rise in a warm spot until doubled – about an hour.

Step Three: Shape The Rolls
Turn the dough out and divide into 16 pieces. The easiest way is to keep cutting in half until you get 16. Roll each piece into a ball by pulling the dough from underneath and tucking it under. Don’t press down on top.

Step Four: Second Rise
Put the rolls on a baking sheet, cover with greased plastic wrap, and let them rise for 45 minutes. They should nearly double. Start heating your oven to 375°F about 15 minutes before they’re done rising.

Step Five: Bake
Beat the egg and brush it over the tops. Bake for 20-25 minutes until golden brown. They’re done when the internal temperature hits 195-200°F.

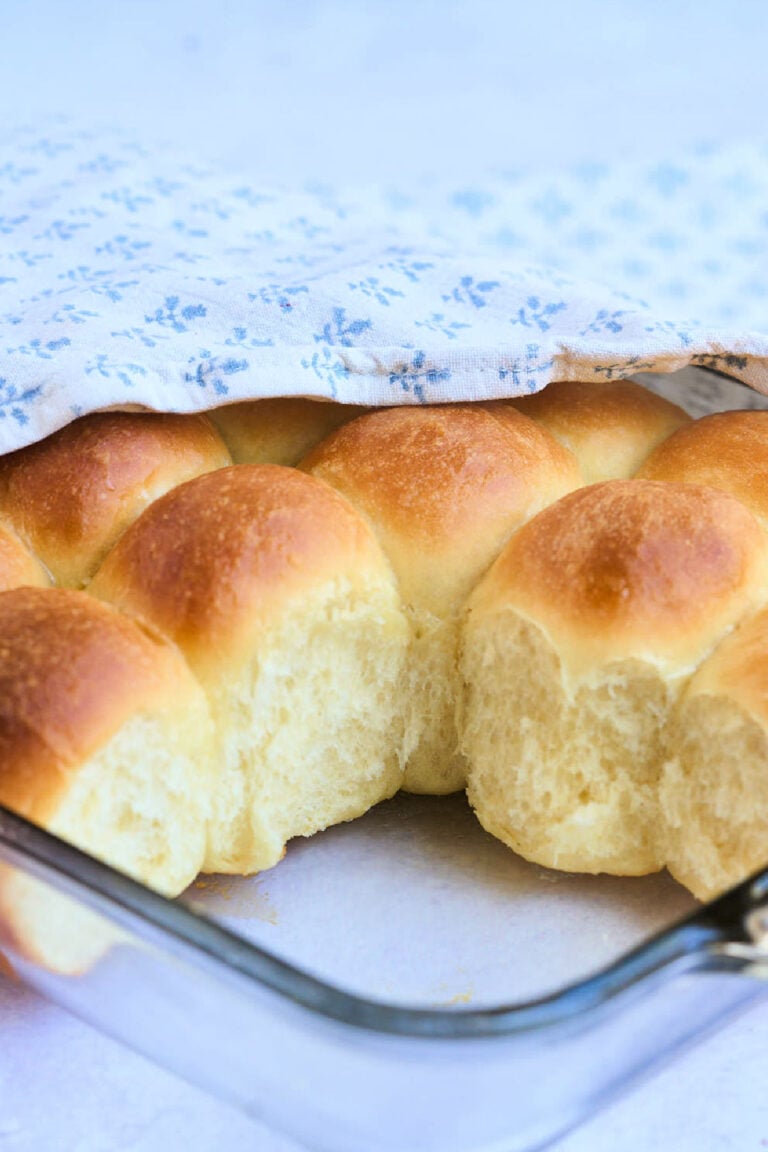
Let them cool on a wire rack, then serve warm or at room temperature.
Serving & Storing
These are perfect for sliders, like our favorite chicken artichoke sliders, or as a side to any recipe with leftover smoked chicken.
Store your leftover rolls in an airtight container or bag on the counter for 3-4 days. If you put them in the fridge, they’ll go stale faster and get this weird rubbery texture.
But you can freeze them wrapped up in a freezer bag for 3 months.

Answering Your Questions
You can knead by hand, but it’ll take about 15 minutes of good kneading to get that smooth, elastic texture these rolls need.
Usually it’s because the dough was over-floured or under-kneaded. The dough should feel soft and slightly tacky, not dry.
Yep! After shaping, you can stick them in the fridge overnight for the second rise, then bring to room temp and bake the next day.
They probably over-proofed during the second rise. Rolls rise faster than a sandwich loaf, so watch them closely after about 30 minutes.
More Soft Rolls You’ll Love
There’s nothing like pulling a fluffy roll off a baking sheet. There are so many more you can make!
- These potato rolls are also super soft and have a sweet honey glaze.
- Make these classic old-fashioned yeast rolls for your next holiday meal.
- Italian sub rolls will make your sandwiches that much better. Trust me. I’ve been making them for 5 years.
Printable Recipe
Homemade Hawaiian Rolls
Equipment
- Stand mixer
- Large mixing bowl
- Baking Sheet
- Wire cooling rack
Ingredients
- ¼ cup instant potato flakes
- ¾ cup milk
- ½ cup pineapple juice
- 2 tablespoons vegetable oil
- 3 tablespoons sugar
- 1 teaspoon salt
- 3 cups all-purpose flour
- 2½ teaspoons instant yeast
- 1 egg for brushing the top of the loaf
Save This Recipe
You'll join my email list which you will love. And if you don't, unsubscribe in one click. ❤️
Instructions
- Knead. Combine all ingredients in a bread machine, a stand mixer, or a large bowl. Mix for a few minutes and check to make sure that the dough is not too dry or too wet. It should be soft and smooth but still clear the sides of the bowl. Knead for at least 10 minutes until the dough is smooth and elastic. (If using bread machine, simply select the "dough" cycle and skip to step 4).
- First rise. Shape dough into a ball and place in a clean, lightly oiled bowl. Cover with greased plastic wrap or a damp tea towel and let it rise in a warm place until doubled.
- Shape. Remove dough from bowl and place on counter or cutting board. Divide into 16 equal pieces (it is easiest to divide in half, then quarters, etc.) and shape into rolls. Do not smash the top down, but pull from the bottom.
- Second rise. Cover the rolls with greased plastic wrap and place in a warm place to rise for 45 minutes. The rolls should nearly double in size. Towards the end of the rising time, preheat the oven to 375℉ degrees with a rack in the center.
- Bake. Bake for 20-25 minutes, until the rolls are very golden brown and the internal temperature is 195-200℉. Let them cool on a wire rack. Serve warm or at room temperature.
Notes
Nutrition


Hi Katie:
I’m going to make these rolls tonight,and I have a couple of questions.
First, I don’t know what you mean by “don’t smash the top, but pull from the bottom.”
Second, Do you bake on a baking sheet, or a 9 x 13?
Thanks for your help,
Elaine
I do a baking sheet, 9×13 will work too. I just mean… hmmm… pinch the bottoms and let that be how to shape the rolls. they will smooth out and you pull. do try to force them to be smooth from the top down. I have a video I just published to show the shaping step. you can hopefully slide the bar on the bottom to find the right step. https://youtu.be/cb_LJWEgN84?si=SVNAVbPodYQGR5L_
Thanks!