Soap with Beeswax and Honey (Cold Process Tutorial)
If you are looking to add natural and local ingredients to your soap, beeswax and honey are perfect. This DIY recipe yields a sweetly scented bar that makes a charming gift… or something special for yourself.

Why add beeswax to soap?
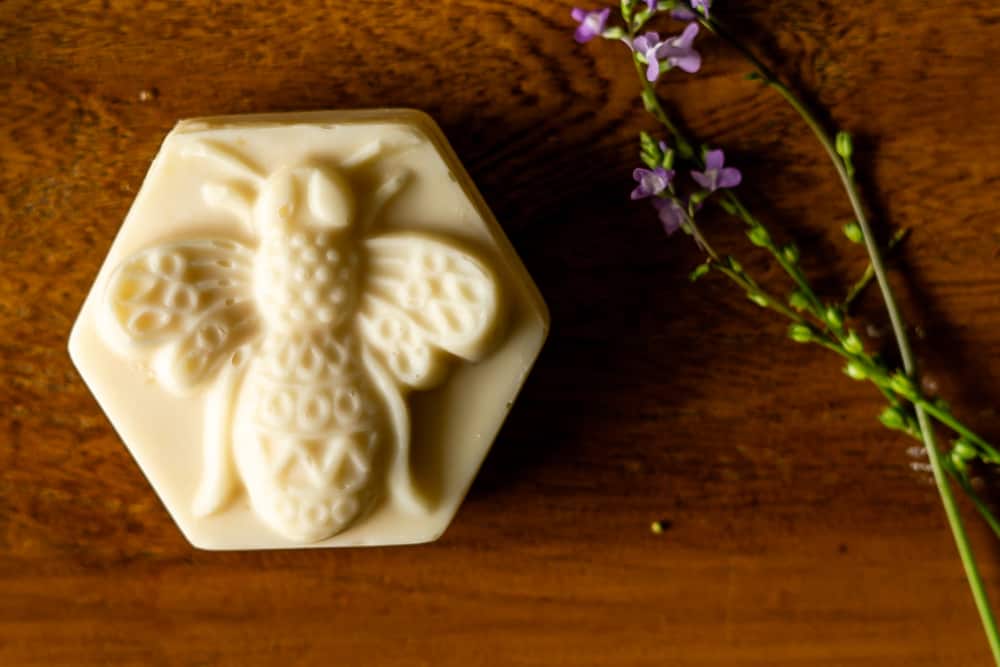
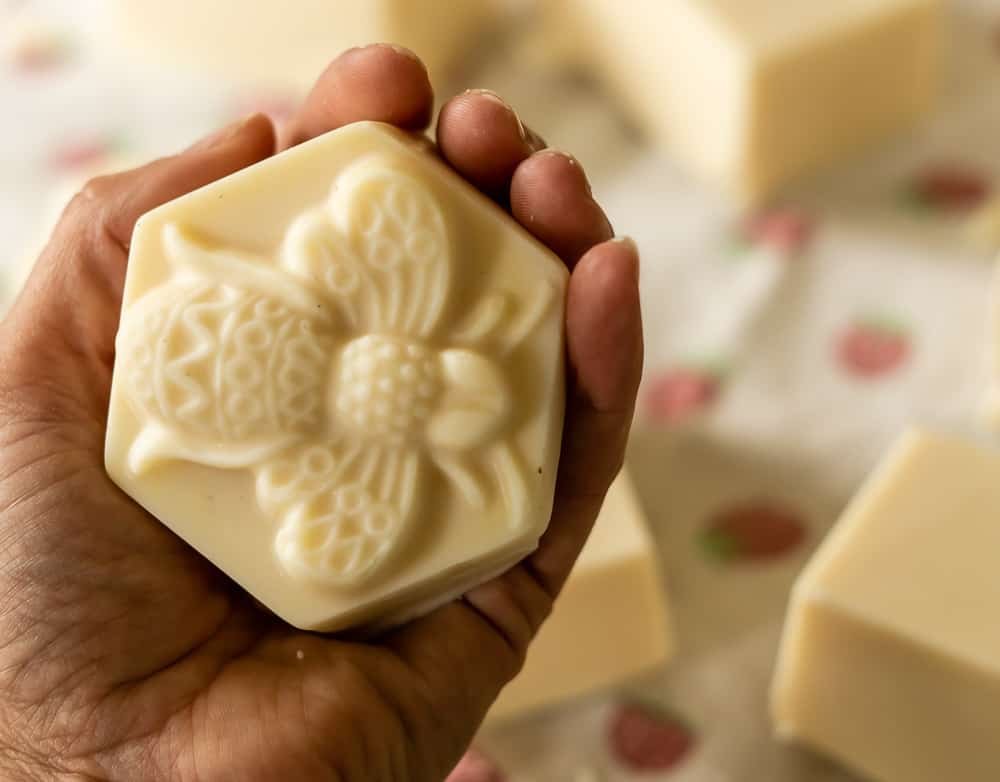
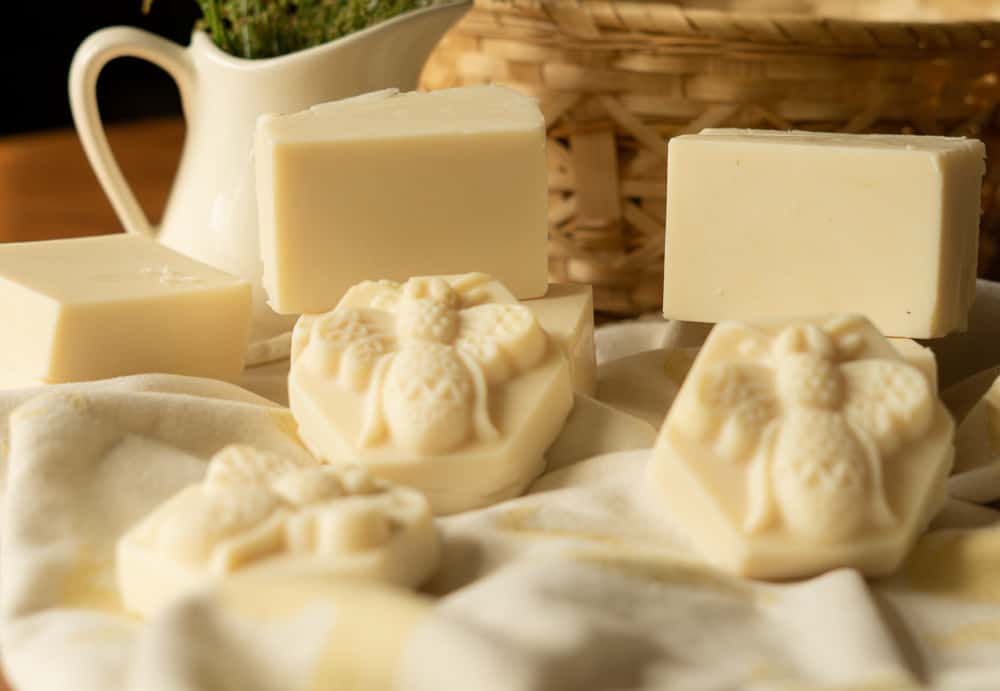
Beeswax has a few effects on soap. They are similar to the effects of shea butter or mango butter, but more pronounced. First, since it has a high melting point and returns to a solid form quickly, it makes the soap harder. This means that while you are soaping it will start solidifying right away, which is a negative. But in your finished bar, it will keep its shape well and will show the details of the mold you use. Any recipe containing beeswax is best made in individual bar molds, because it will be very hard to cut after curing.
Also, like any oil, butter, or wax added to soap, beeswax moisturizes the skin. It does an especially good job this because so much of it can’t be saponified, or turned into soap why adding lye. There is a lot of leftover beeswax in the finished bar that stays in its natural state and moisturizes the skin.
Beeswax will also reduce the lather of your soap. Well… more like make the bubbles smaller. You won’t get big, dramatic lather like you do with my shower soap recipe. I typically use this recipe for hand soap because it is so cute and also because the lather is not as great.
If you are using local beeswax that comes in a bar form, you will want to break it into smaller pieces to help it melt down. If you are buying it, pellet form is the easiest to work with.

Why add honey to soap?
Honey adds moisture to the skin and the natural sugar increases lather. (This somewhat counteracts the lather decreasing properties of the beeswax.). It also colors the soap a tiny bit. (This post has more information if you are interested.)
Its main effect on soap is heating it. For whatever reason, any sugar added to a soap batter cause it to heat up tremendously. All soap batter heats up, occasionally enough that it “gels”, or gets extra hot and translucent, altering the colors. But any soap recipe with honey will almost always gel. DO NOT put it in the oven to force gel phase, or it will go crazy and blow up.
Also, making this recipe in a loaf mold will cause all the heat to build and increase the chances of a soap overflow from too much heat. That is another reason that this recipe is best made in Individual molds. I place them in the freezer for 3-4 hours immediately after pouring and have not had any trouble.
If the honey gets very hot, like during a gel phase, it will discolor your soap slightly. The word “discolor” does not mean that anything has gone wrong! It just means that the honey will change the soap batter to a pretty honey color. It doesn’t always happen, because it depends on the temperature of the soap. But it’s pretty when it does. For a more predictable color, you could add colorant, but I like this soap in its natural state.
❤️ Why you’ll love this recipe
🧂 Ingredients
This is an overview of the ingredients. You’ll find the full measurements and instructions in the printable recipe at the bottom of the page.
You’ll need the following
🥣 Equipment
🍴Instructions
Step One
Step Two
Step three
Step Four
🥫 Storage instructions
🔍 FAQs
👩🏻🍳 Expert tips
📘 Related Recipes
🍽 Serve it with
🍅 make it along with me
Follow along step by step. The slides will turn every 7 seconds, or you can click ahead.
📖 Here’s the recipe
So… why exactly are we adding honey to this recipe? Well, to be honest, it is mostly for fun. There is some evidence that honey is naturally anti-microbial, which I like. But if you want leave it out, the final result will not be much different. It doesn’t add any fragrance, and only a little color.
So do the beeswax and honey add fragrance to the soap?
Not really. You can smell the honey right after you add it, but after the soap cures, any honey fragrance will fade. That is why this recipe calls for a fragrance oil, Pure Honey from Brambleberry. It is soft, sweet, and one of my absolute favorites. I am comfortable with the research they do about the safety of their fragrance oils. But of course, it is completely optional.
To make almost any homemade soap smell good, you will need a fragrance oil of some kind. Since this recipe is quick to come to trace, don’t use a floral one which will just accelerate trace even more. Use one that behaves well.

Is this recipe suitable for beginners?
I wouldn’t recommend it for a beginner. Beeswax is weird to work with because it solidifies much faster than any typical soap-making oil. The honey makes things overflow. When you blend this recipe, it comes to trace very quickly and can get lumpy on you if you aren’t careful. Soap making is fun and easy, but this recipe is a bit abnormal and is not great for your first time. A good beginner recipe would be my mango butter hand soap.
Ready for the recipe?
The Recipe:
Soap with Beeswax and Honey (Cold Process Tutorial)

Equipment
- Safety equipment
Ingredients
- 2 ounces sweet almond oil
- 2 ounces avocado oil
- 11 ounces coconut oil
- 9 ounces olive oil
- 9 ounces palm oil
- 2 ounces beeswax
- 1 tablespoon honey
- 2.5 tablespoons Pure Honey fragrance oil optional
- 4.94 ounces of lye
- 9-13 ounces of water
Save This Recipe
You'll join my email list which you will love. And if you don't, unsubscribe in one click. ❤️
Instructions
- Measure out your lye and water in separate containers, using the digital scale. Add the lye to the water (snow floats on the lake), stir to dissolve. Set aside in a safe place to cool.
- Measure out the oils and beeswax and heat to 160 degrees, until fully melted. Allow to cool.
- Wait until the lye and oils have cooled down to around 110. At this temperature, some of the beeswax may have hardened slightly. If that is the case, melt again briefly for a minute, but don’t fully heat the oils up.
- Prepare your molds and have your fragrance and honey measured out and ready to go. This recipe will come to trace very quickly and start setting up right away.
- Pour the lye water into the melted oils and blend with your stick blender. Be careful of false trace, as the beeswax cooling can trick you. Stir with the blend for a minute, then by hand, then with the blender again. Once thin trace is reached, add the honey. Then add the fragrance oil one tablespoon at a time and mix in by hand.
- Immediately pour the soap batter into a mold. Place the mold, uncovered, in the freezer for about 4 hours to prevent a soap overflow.
- After 4 hours, remove the soap from the freezer and allow to cure and harden overnight at room temperature. Unmold in the morning. Continue to let the soap dry and harden in a well ventilated area for 3-4 weeks before using.
Video
Notes
Did You Make This?
I would love it if you would leave a review!Love,


Hi!!! I am a relatively medium soap maker- ie have enough experience but apparently I’ve never used these ingredients in my recipes- why freezer? Is it an ingredient in here? Usually my soaps have to stay nice and warm to go to gel phase. What am I not understanding :)! I will take your advice and put my loaf mold straight in the freezer though but I’m more curious — haha XD!!
hi brit! it’s the honey! it will make your soap go crazy if it’s warm at all. any time you’re working with a sugary ingredient, this can happen. 🙂
Nice content sir keep growing 🤩🤩🤩🤩 loved it
Thank you for this. Your tutorials are the best I’ve found. I’m a beekeeper with plenty of wax and honey and would love to try this. The only avocado oil I can find here in the UK is extra virgin Avocado oil. Is thi ok to use?
hi jen! yes that will work fine. you could also substitute a bit more olive oil and just run it through a lye calculator to see if the lye value changes.
Will it be ok to skip the freezer process? I dont have room in my freezer for this. Any alternatives? Thanks.
if you are pouring into individual molds they should be okay. in a loaf style mold, the soap gets very very hot and may crack. the fridge would be fine, or even outside if it’s cool.
I made this recipe as my first time making any soap. I had a wonderful experience, this soap is amazing! HOWEVER IF, you are using a loaf mold as I did…put this directly and immediately in the freezer… not the fridge. Soap volcano is real, but thank goodness I did a lot of reading prior to attempting this kind of recipe (with beeswax). One soaper suggested that if your soap begins to rise (volcano…as mine did) tap the mold on a hard surface to make the batter fall back down. This is exactly what I did and it honestly worked and helped keep my soap from overflowing. You must keep and eye on this soap! I did add a few changes. The Pure Honey fragrance is devine. Also, I kept my loaf in the freezer overnight and still had full gel phase throughout (that’s how hot it gets)! The full gel phase makes this bar even more beautiful and pairs well with the beeswax/honey theme. It set up hard but was still easy enough to cut. Oh and my lather is incredible, makes a wonderful shower bar not just hand soap. This has been my experience. I’m going to try the recipe in individual molds. As with any soap recipe, be smart use precautions and common sense!
Could one use any other oil alternative to palm oil or does one have to be specific?
there are some palm oil alternatives, such as babbasou. any time you change a soap recipe you’ll need to run it through a lye calculator and it becomes your own recipes. 🙂
9 – 13 oz of water??? Which ome 9 OR 13???
It is a range. The recipe is correct. You can use 11 if you want something right in the middle.
I have ???? wax and will definitely try out this recipe thanks for sharing
I used light olive oil instead of avacado as I didn’t have any and shea butter instead of palm oil as I wont use the stuff. Worked out very well
I am somewhat new to soap making. I failed to get my batter completely down into some of the molds. Can I melt down and remold this soap? I was happy with the soap otherwise. Any suggestions?
Could I use goat milk for half of the water in this receipe?
yes!
So, how much water should you use?? 9, 10, 11, 12 OR 13, seems pretty vague for how precise soap making ingredients need to be!
sue- I always the middle range, so around 11. but anything within that range is correct. water does not need to be precise. less water and the soap will trace faster, more water it will trace slower and have a longer cure time. it’s just personal preference.
Love this recipe although I swapped the palm for babassu oil as I don’t soap with palm. Great recipe and the honey turned it a gorgeous rich colour x
thank you Katrina! I’m moving away from palm myself so I’m glad to hear it turned out with babassu! I love the honey color too 🙂
how about if i skip the beeswax, so i just add the honey for addition. do i need to change the oils quantity? thank you!
hi Mei! if you skip the beeswax it’s a whole new recipe. it might be too soft and you’d have to adjust the amount of lye because you are working with less volume of oils. you can use a lye calculator and try tweaking this recipe. there are vegan alternatives to beeswax if that’s a concern. 🙂
The fragrance oil that you provide a link for specifically says not for CP soap on the bramble berry website.
They say that because it accelerates trace. I use it all the time for cold process.
Where did you get the awesome bee mold that you used for your soap? LOVE it.
Soap making us so fascinating. And these are are gorgeous!
gorgeous product! Thank you for sharing the tips to make it!
These are GORGEOUS!! I’m curious about feeling the difference between soap with and without beeswax in it.
So beautiful! My daughters and I have got to make time for soap this summer!
awsome
These are beautiful. I have always wanted to learn soap making. Can’t wait to learn how! Great Video!
I am so excited to try this recipe. We were litterally looking for a good soap recipe to try when this popped up! It was meant to be????
You make the prettiest things!! Love it! And your term “blow up” made me laugh and shudder all at the same time!!