Soft & Sweet Strawberry Whoopie Pies
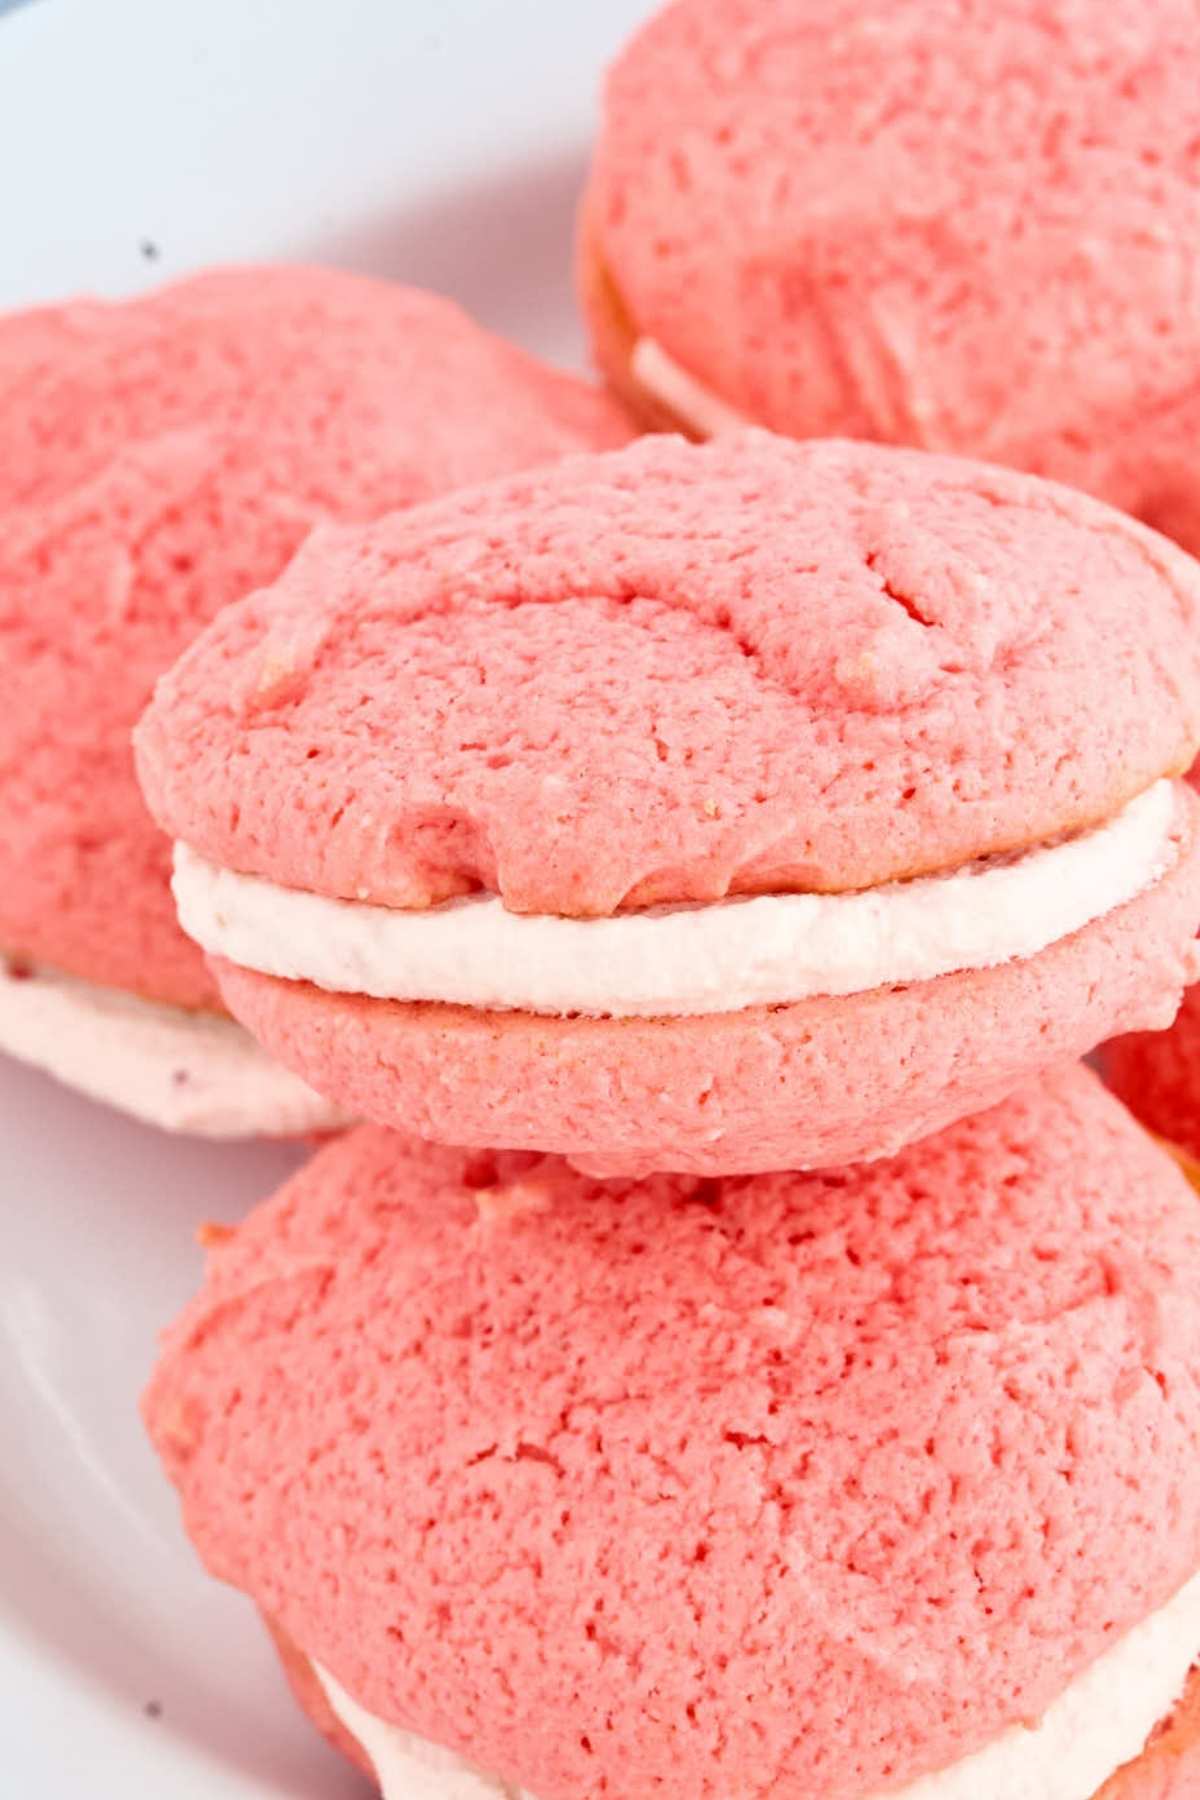
These strawberry whoopie pies are a delicious treat that combines soft strawberry cakes with a smooth marshmallow filling. They’re great for any special event or a fun cooking activity with your kids.
Believe us, these tasty pies are worth it and are one of the best from-scratch desserts for spring, especially when nothing is quite in season yet. Their bright pink color and full strawberry flavor make them both pretty and tasty, making them a hit at any get-together.
If you love strawberries as much as we do, don’t forget to check out all my Strawberry Recipes for more delicious ideas.
A Newsletter you’ll love
Daily recipes from the farmhouse, Sunday meal plans, seasonal ideas, straight from my kitchen to your inbox.
I promise to keep your email address safe. Unsubscribe at any time
Sweet Strawberry Whoopie Pies

Equipment
Ingredients
Cakes
- 3 tablespoons strawberry jello powder (1 packet or 85g)
- ½ cup unsalted butter softened (1 stick)
- 1 cup granulated sugar
- 1 egg
- 2 teaspoons vanilla
- 2¼ cups all purpose flour
- 1½ teaspoons baking soda
- ½ teaspoon salt
- ¾ cup whole milk
Filling
- 8 tablespoons unsalted butter softened (1 stick)
- ¼ cup strawberries (chopped fine)
- 1 cup powdered sugar
- 1 teaspoon vanilla
- ¼ teaspoon salt
- 1 cups marshmallow cream (such as Marshmallow fluff brand)
Save This Recipe
You'll join my email list which you will love. And if you don't, unsubscribe in one click. ❤️
Instructions
Make the Cakes
- Prep the oven and baking sheets. Preheat your oven to 350°F (175°C). Then, arrange two oven racks in the upper and lower thirds of the oven. Line two baking sheets with parchment paper.
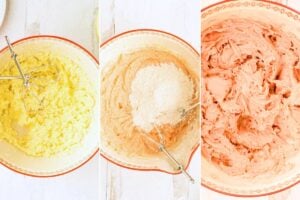
- Prepare the batter. In a large mixing bowl, beat the butter, sugar, egg, and vanilla extract using an electric mixer on medium speed for 3 to 5 minutes until the mixture is fluffy and lighter in color. Mix the flour, salt, and baking soda in a different bowl. Gradually add the dry ingredients to the butter mixture, alternating with the milk, beginning and ending with the dry ingredients. Finally, fold in the strawberry gelatin powder until fully combined. The batter will be thick, somewhere between a cake batter and cookie dough.

- Scoop and bake. Using a ¼ cup measuring scoop, portion the batter onto the prepared baking sheets, spacing each scoop three inches apart to allow for spreading. You should have 12 scoops in total. Bake for about 18 minutes, rotating the baking sheets halfway through. The cakes should be set, with edges slightly golden brown, and a cake tester should come out clean when inserted into the center.

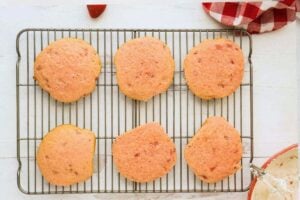
- Cool the cakes. Let the cakes cool on the baking sheets for 1-2 minutes to firm up slightly, making them easier to handle. Then, transfer them to wire racks to cool completely.

Make filling
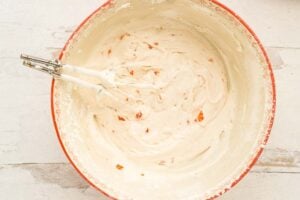
- Prepare the filling. In a mixing bowl, use an electric mixer to beat the softened butter, powdered sugar, vanilla extract, and salt until light and fluffy. Add the marshmallow cream and finely chopped strawberries (making sure they are patted dry) and beat until well combined. If the filling is too soft, refrigerate it for about 30 minutes to firm up.

- Assemble the whoopie pies. Spread a generous dollop of filling onto the flat side of half the cakes. Top with the remaining cakes, placing them flat side down to create sandwiches. If the filling spreads too much, refrigerate the assembled whoopie pies for a few minutes to set.

Notes
Nutrition
More Tips:
When you mix the wet and dry ingredients, do it until they’re mixed well. If you mix too much, your cakes might end up too heavy.
Use a cookie scoop to divide the batter evenly. This step helps make sure all your cakes are the same size, which is especially helpful when putting together whoopie pies.
Remember, these cakes will spread out when baking. Place them at least three inches apart on your baking sheet to avoid them sticking together into a giant cake.
Start by preheating your oven and lining your baking sheets with parchment paper to prevent sticking, and make sure your cakes bake evenly.
For the best results, try to bake one sheet at a time in the middle of the oven. If you must bake more than one sheet, switch their places halfway through to bake everything evenly.
You might want to use a piping bag for a cleaner and easier way to add the filling. It gives you better control and helps you evenly distribute the filling.
To check if your cakes are done, poke one with a cake tester or toothpick. If it comes out clean, they’re ready.
If you want to explore more whoopie pie flavors, you might also enjoy my Vanilla Whoopie Pies—a classic and versatile option that pairs perfectly with various fillings.
Key Ingredients and Tools
To make sure your whoopie pies come out just right, it’s good to have these tools and ingredients ready:

- Strawberry-flavored gelatin: This gives the cakes their bright color and berry taste. You can find it in the baking section where jello and puddings are. If you’re out of strawberry-flavored gelatin, use raspberry gelatin for a similar berry taste.
- Whole milk: This makes the cake nice and rich. If you don’t have whole milk, you can use 2% milk, almond milk, or oat milk, but the cake’s texture might be slightly different.
- Unsalted butter: Using unsalted butter lets you control how salty your cakes are. If you’ve only got salted butter, use less salt in the rest of the recipe.
- Marshmallow cream: This makes the middle of the pies fluffy. You can usually find it in the baking aisle next to the marshmallows. Marshmallow fluff is a common brand, but similar things will do the job. If you only have salted butter, it’s fine to use; just cut back on any added salt in the recipe.
- Parchment paper: Putting this on your baking sheets stops the cakes from sticking and helps them cook evenly. You’ll find it in the store near the foil and cling wrap.
Having these items on hand will help you make sure your whoopie pies taste amazing and turn out just as expected.
Nordic Ware Naturals Big Sheet, SilverComfylife 120 x Parchment Paper Sheets – No Curl, No Tear, No Burn Baking Paper (16 x 12 inch) – No Chemical Unbleached – Cookie Paper Precut Baking Sheets For BakingSUNNORN Large Cookie Scoop, 3 Tbsp Cookie Scoop for Baking, Cookie Dough Scooper, Melon Baller Scoop, Good Soft Grips, Comfortable Trigger Release
Troubleshooting and Help
If your filling seems too soft, pop it in the fridge for about 30 minutes to firm up. That should make it much easier to spread and keep everything in place when you assemble the pies.
Definitely! You can bake the cakes a day ahead and store them in an airtight container at room temperature. Just make sure they’re completely cooled before storing them so they don’t get soggy.
If you’re out of parchment paper, you can grease your baking sheets lightly with butter or non-stick spray. Just be aware that the cakes might spread more and have a slightly crispier edge.
Flat cakes can happen if the batter is overmixed or if your baking soda isn’t fresh. Make sure to mix just until everything is combined, and check that your baking soda is still active (a quick test is to drop a bit in vinegar—if it bubbles, you’re good to go).
Using a cookie scoop or an ice cream scoop will help you get uniform cakes that are round and even. If you notice any peaks on top of the batter, you can gently smooth them with the back of a spoon before baking.
Absolutely! Just use a smaller scoop, like a tablespoon, and adjust the baking time accordingly—start checking them around 10 minutes to see if they’re done. If you love experimenting with different flavors, don’t miss out on my Oatmeal Whoopie Pies for a comforting, old-fashioned twist that’s just as delicious.
The cakes are made when they’re slightly golden at the edges, and a toothpick inserted into the center comes out clean. They should also spring back lightly when touched.
I hope you love making these as much as you’ll enjoy eating them. Think of them as a little treat that adds sweetness to your day, whether baking for friends or yourself at home.
If you’re a fan of whoopie pies, check out my Chocolate Chip Whoopie Pies recipe for another delicious twist on this classic treat.
Feel free to share these goodies with people you care about or keep them all to yourself – you’ve earned it! These tasty pies are great for any time, and I bet they’ll quickly become one of your top picks for recipes.

Love,






is it baking powder or baking soda? it’s listed differently in ingredients than in directions.
I’m still trying to figure out where I went wrong. The batter mixed up beautifully and was a pretty pink color when it went in the oven. However, the “cakes” came out as hard cookies and the color was gross. It was not the pretty pink in the picture. Should the batter be chilled for at least 30 minutes prior to baking? Should the baking soda actually be baking powder? The ingredients list baking soda but the instructions reference baking powder. I may try this recipe again and play with it a bit to see if I can get the texture and color correct.
hi christy, i’m so sorry about that. i am going to test this recipe this weekend again and see! mine will flatten out a TAD if my butter is too soft, but i have never noticed a changing color. I’ll email you back! 🙂
IT needs baking powder,did not rise,too flat and tough.
hey mary, replace your baking soda 🙂 it should fine just fine with it
Do we use baking soda or powder. Ingredients reads soda but instructions reads powder??
These were really tasty. However, they didn’t rise well at all so didn’t have the classic woopie pie cakey texture. Even though they were flat with some crunch to the edges they tasted divine. I will try again, it could be my altitude that impacted the rise.
I haven’t tried it yet. What do you mean by switching the sheets half way through?
Very interesting recipes.i am anxious to try my hands .thank you for sharing.