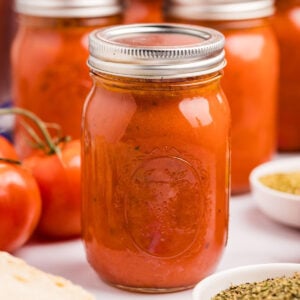
How to Can Tomato Soup (Pressure Canning Recipe)
Note from my kitchen: a lot of modern sources tell you that canning flour and butter is not safe. This is my grandmother’s recipe that I have chosen to share here. I encourage you to decide for yourself whether to make it.

I’ll walk you through step-by-step to make one of my favorite pressure canning recipes , one that I use every year.
Table of Contents
Ingredients and Tools You’ll Need
A pressure canner is necessary here to safely preserve the low acidic tomatoes. If you can’t get fresh tomatoes, you can use tomato juice.
This will make 14 pints. If you have a lot of tomatoes, you can double or triple the recipe by making adjustments in the recipe card below.

FREE FOR SUBSCRIBERS
Canning Binder
Subscribe (free!) to my newsletter to receive this PDF + dozens of others in my printable library. You’ll also get emails you’ll truly love, with a weekly meal and so much more.
Equipment
- Pressure canner
- Large pot
- fine mesh strainer
- Mixing bowl
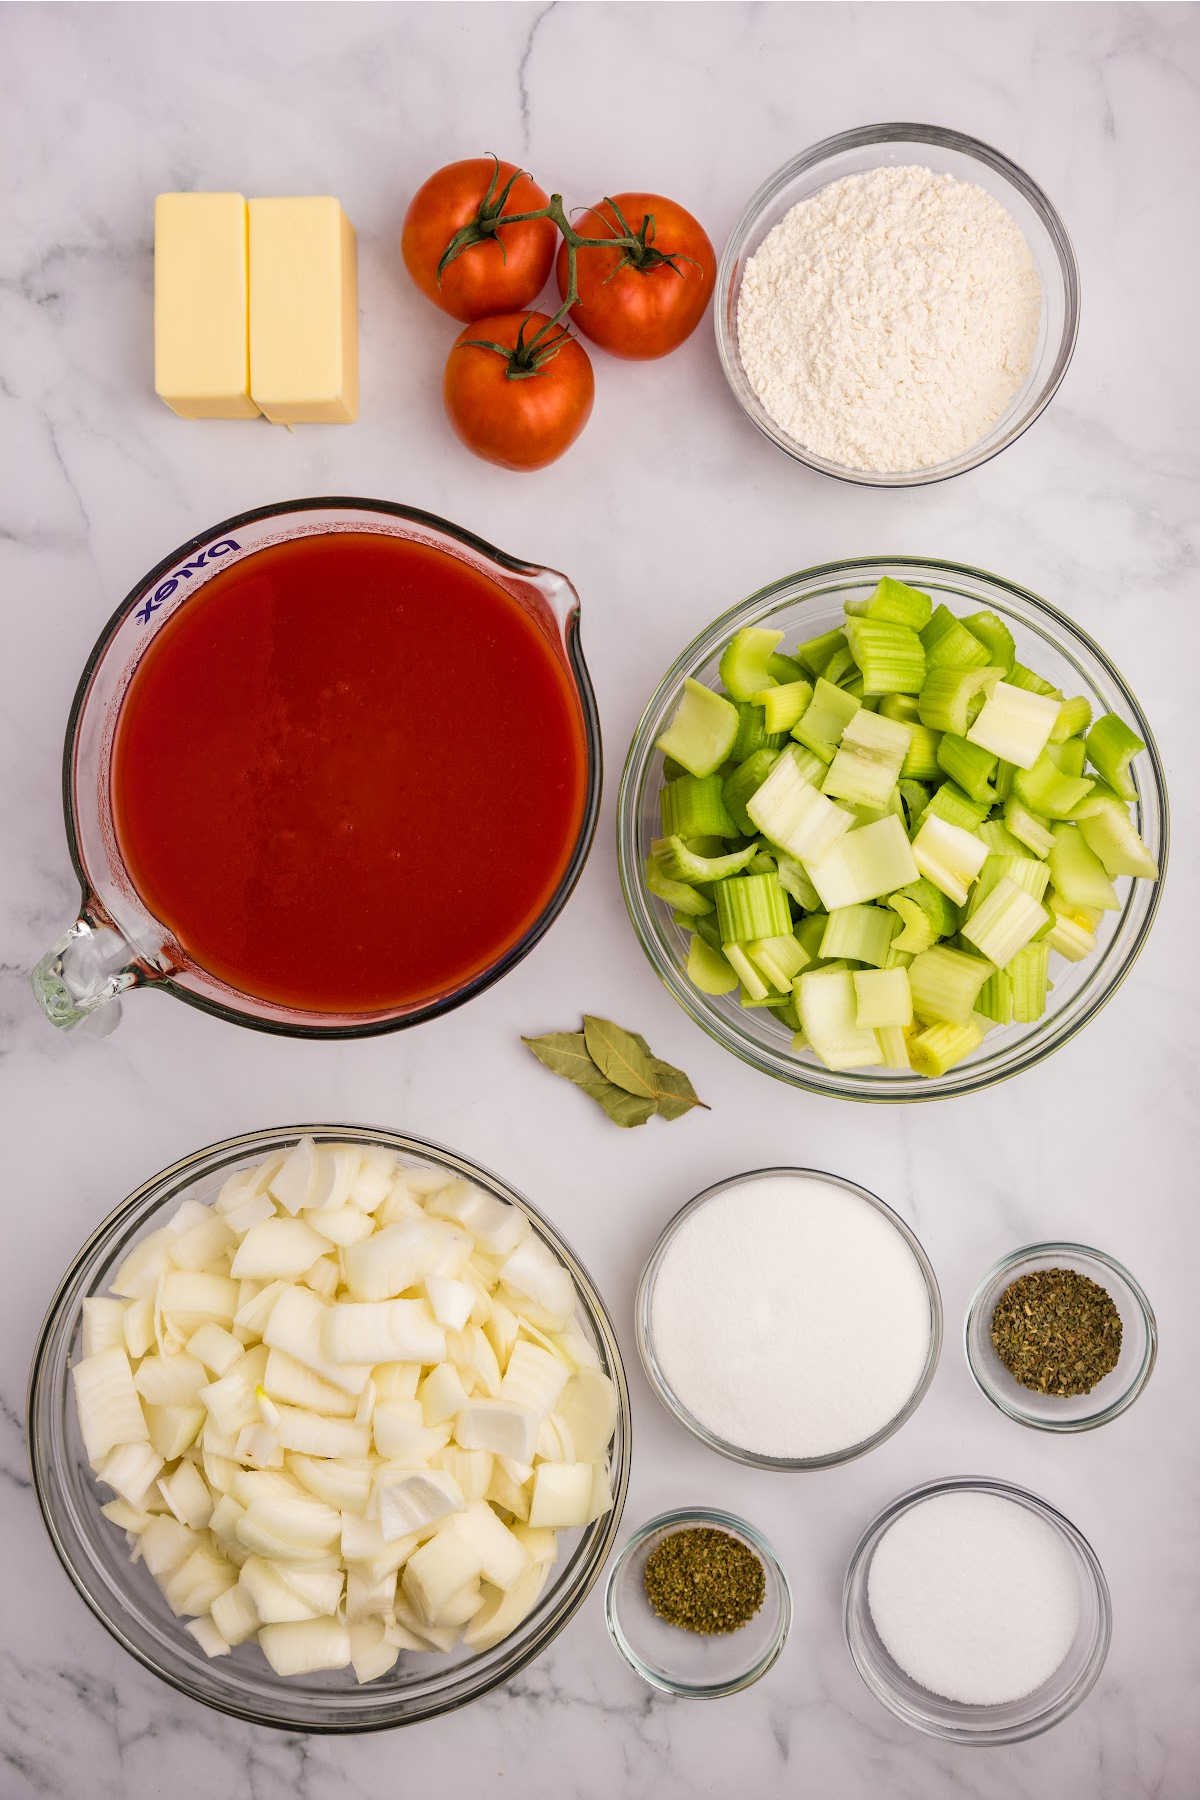
Ingredients
- 6 onions chopped
- 1 bunch of celery chopped
- 8 quarts fresh tomatoes or 5-6 quarts of tomato juice
- 1 cup sugar
- ¼ cup salt
- 1 cup butter
- 1 cup flour
Optional Herbs:
- 1 tablespoon dried basil or to taste
- 1 tablespoon dried oregano or to taste
- 2 bay leaves remove before canning
How to Make
If you live above sea level, check your canner manual or this chart to adjust the pressure.
Step One: Get Your Jars Ready
Wash them in hot soapy water, then stick them in your pressure canner with water halfway up. Fill the canner to the line and set it on medium heat to keep everything warm. Wash your lids and rings too.
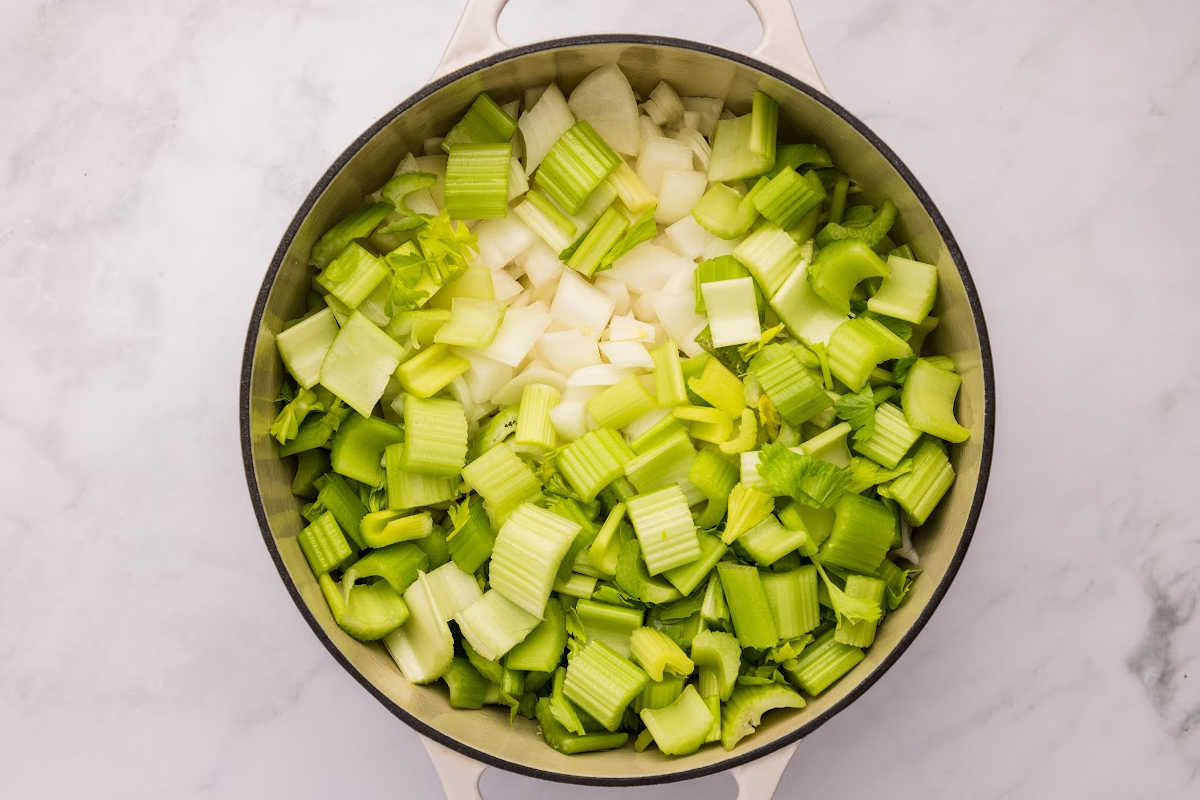
Step Two: Chop Your Veggies
Get those onions and celery chopped up. Toss them in a large pot with just a splash of water – you don’t want them to burn, but you don’t need much. Simmer gently.
Step Three: Deal with the Tomatoes
While everything’s simmering, cut up your tomatoes. If you’re feeling fancy, remove the skins and seeds now. If not, the strainer will catch them later. Add them to the pot and cook until they’re soft.
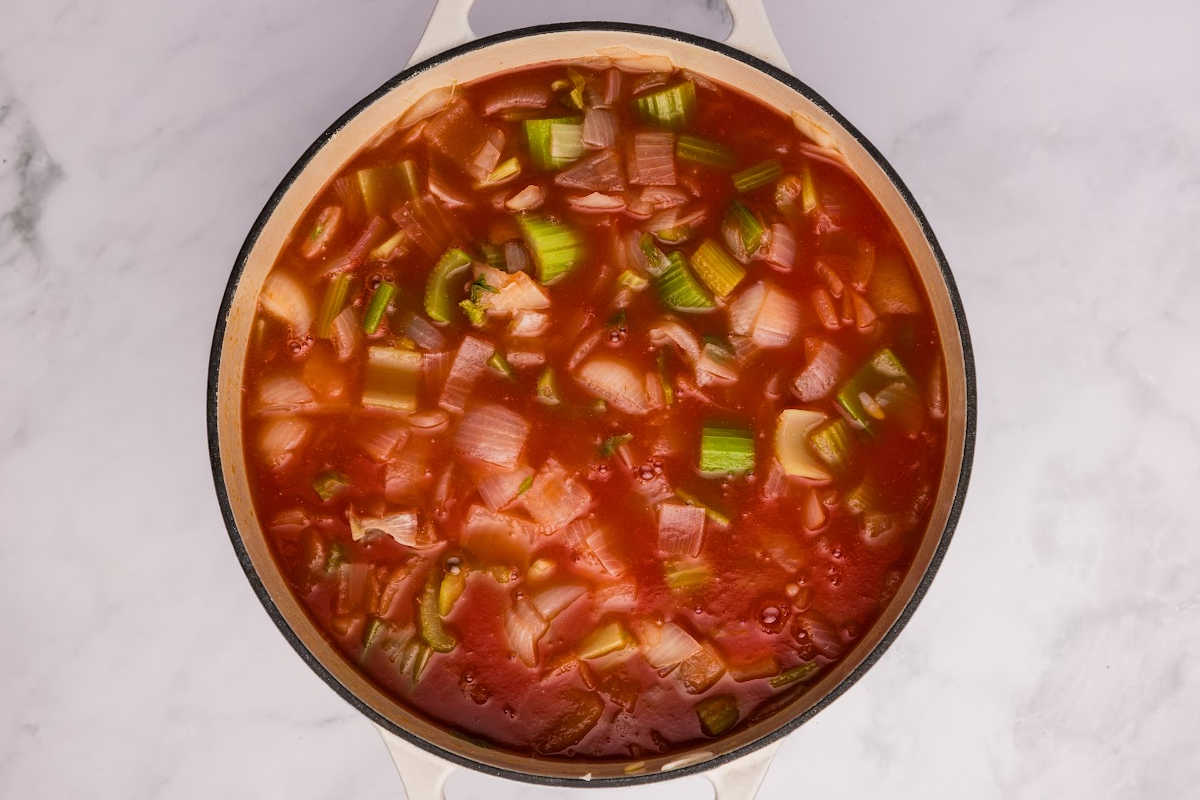
Step Four: Strain Everything
Pour everything through your fine mesh strainer into a bowl. This gets rid of skins and seeds. Put the strained mixture back in your pot.
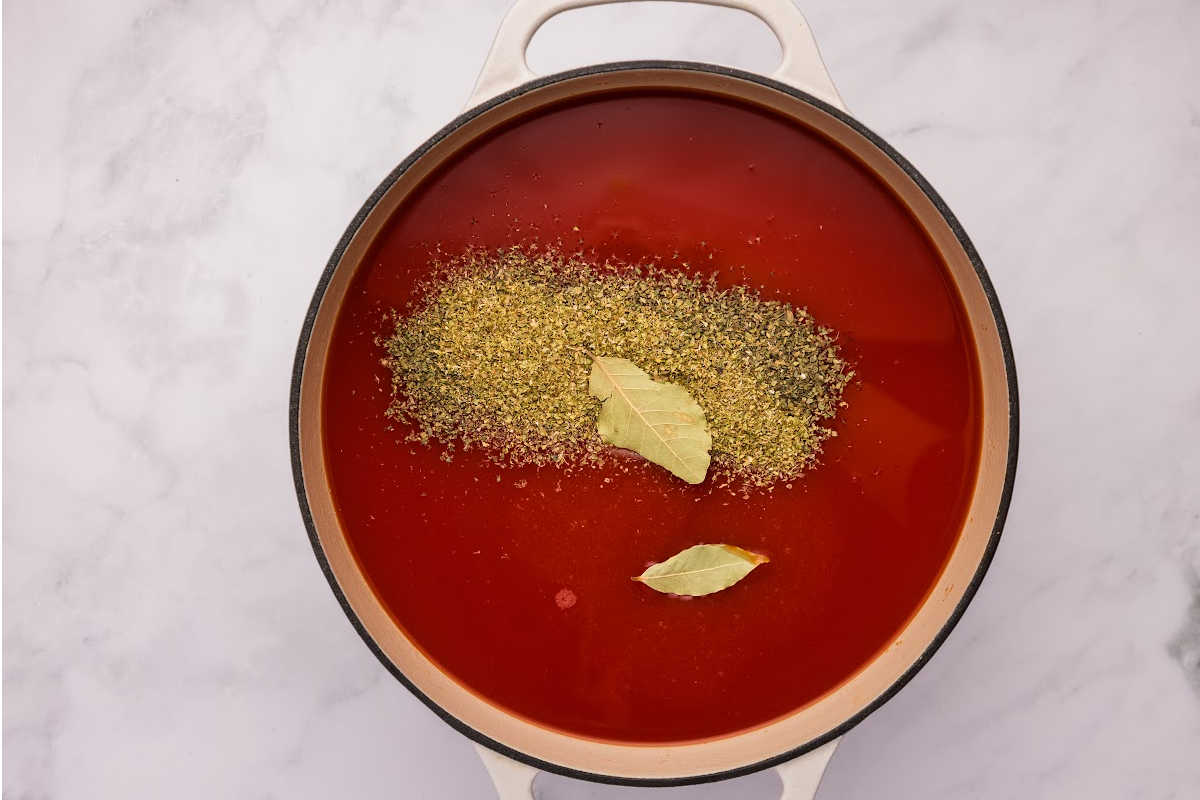
Step Five: Add your Seasonings
Stir in the sugar, salt, and whatever herbs you’re using. Don’t forget to pull out those bay leaves before you start filling jars.
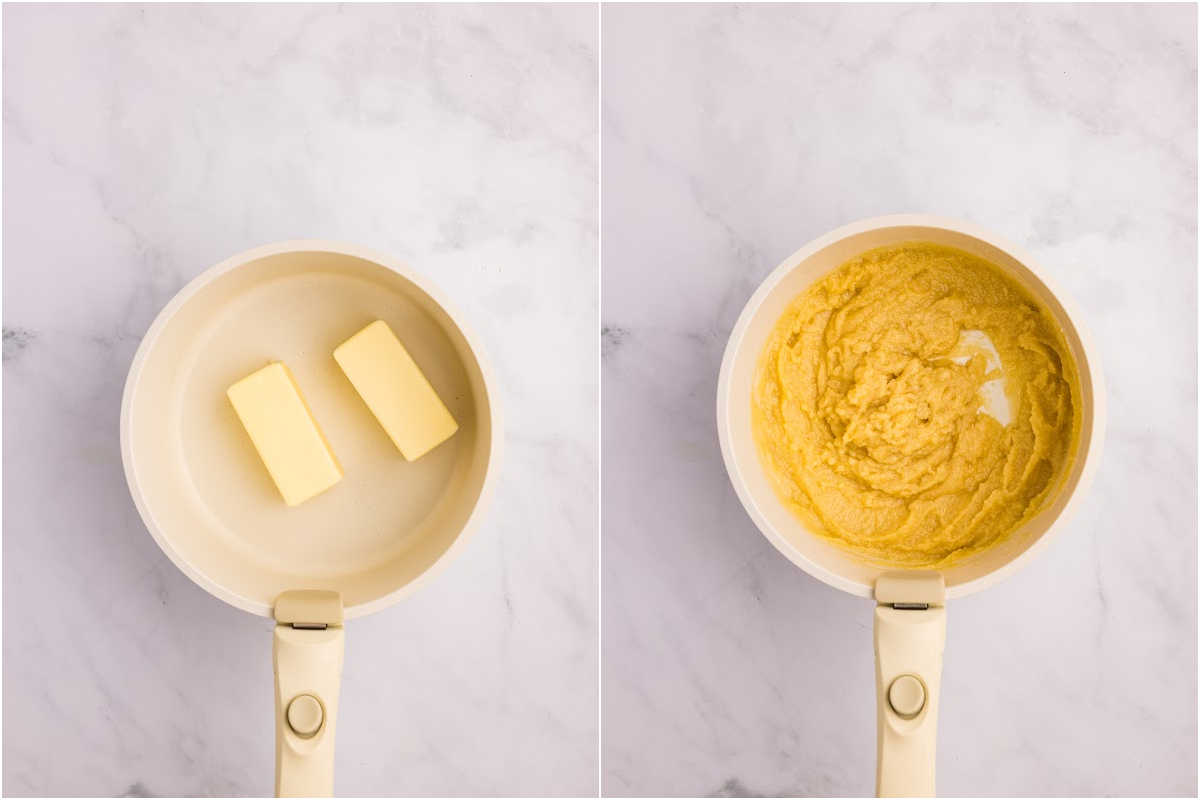
Step Six: Make the Roux
Here’s the trick – cream that butter and flour together in a separate bowl first. Then mix it with two cups of COLD juice until it’s smooth. This keeps you from getting lumps. Add this to your tomato mixture before it gets too hot.
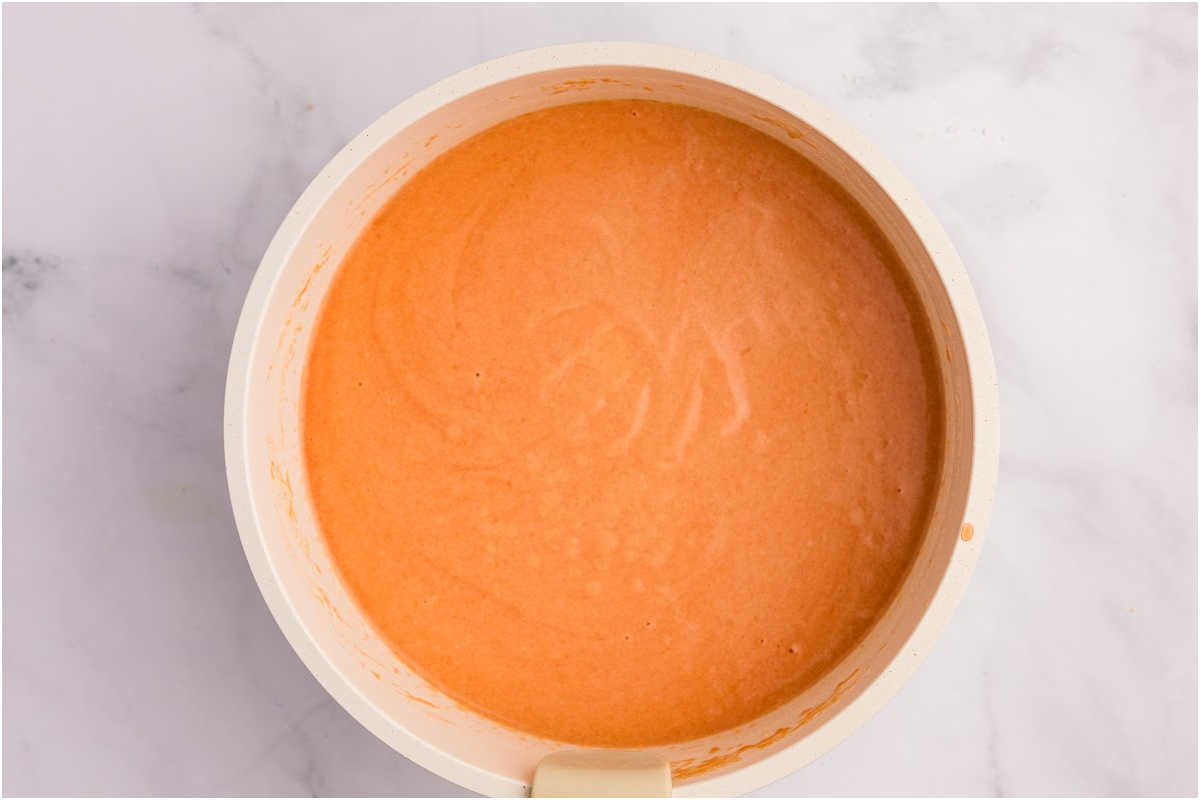
Step Seven: Heat It Up Carefully
Warm everything just until it’s hot – don’t let it boil or you’ll get lumpy flour bits. It’ll keep thickening as it cools anyway.
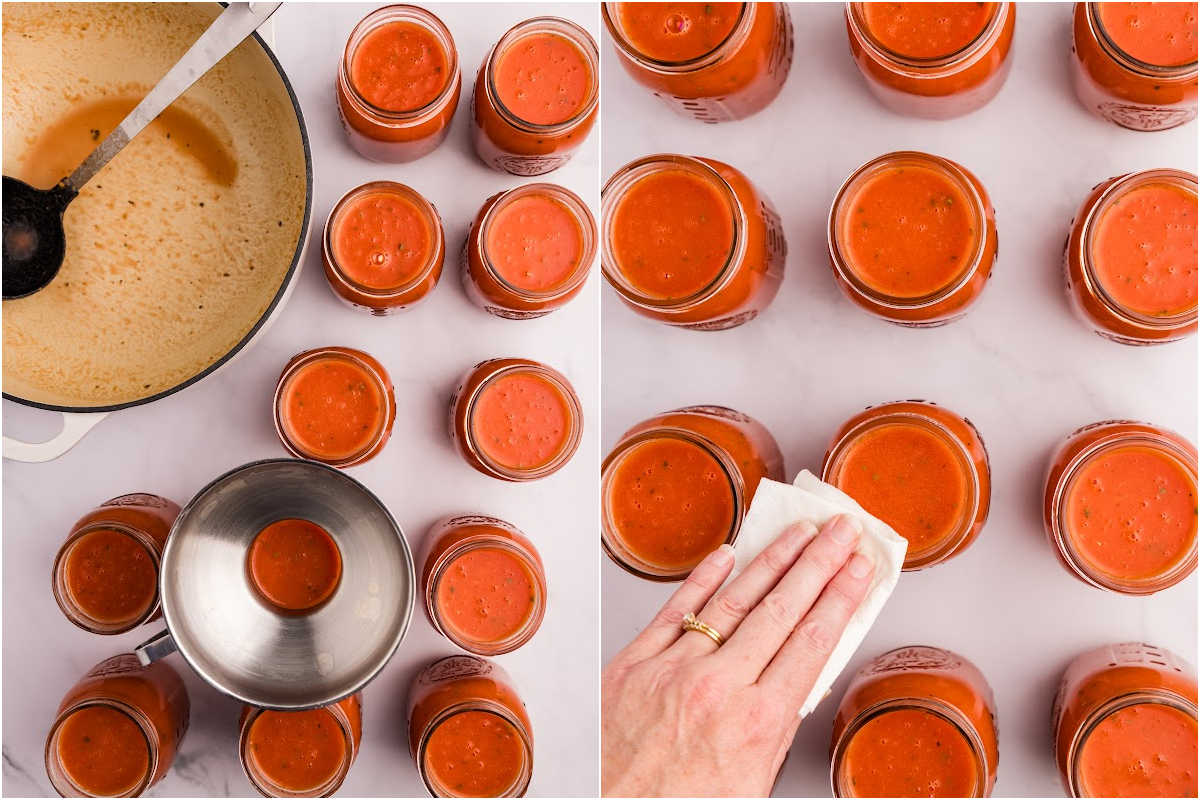
Step Eight: Fill Your Jars
Ladle the hot soup into your hot jars, leaving about an inch at the top. Get the air bubbles out, wipe the rims clean, and put your lids on.
Step Nine: Pressure Can Them
Put your filled jars in the canner and crank up the heat to medium-high. Let it steam for 10 full minutes, then set your weight to 10 pounds of pressure. Once it hits that pressure, start your timer for 15 minutes. (Check your canner’s manual if you’re doing quart jars or live at high altitude.)

Step Ten: Let It Cool Down
Turn off the heat and let the pressure drop on its own. When it hits zero, take off the weight and let the steam out. Wait another 10 minutes, then lift that lid AWAY from your face – trust me on this one. Let the jars sit in there for 5 more minutes, then take them out and leave them alone for 12-24 hours. Check that they sealed properly before storing them somewhere cool and dark.

Serving & Storing
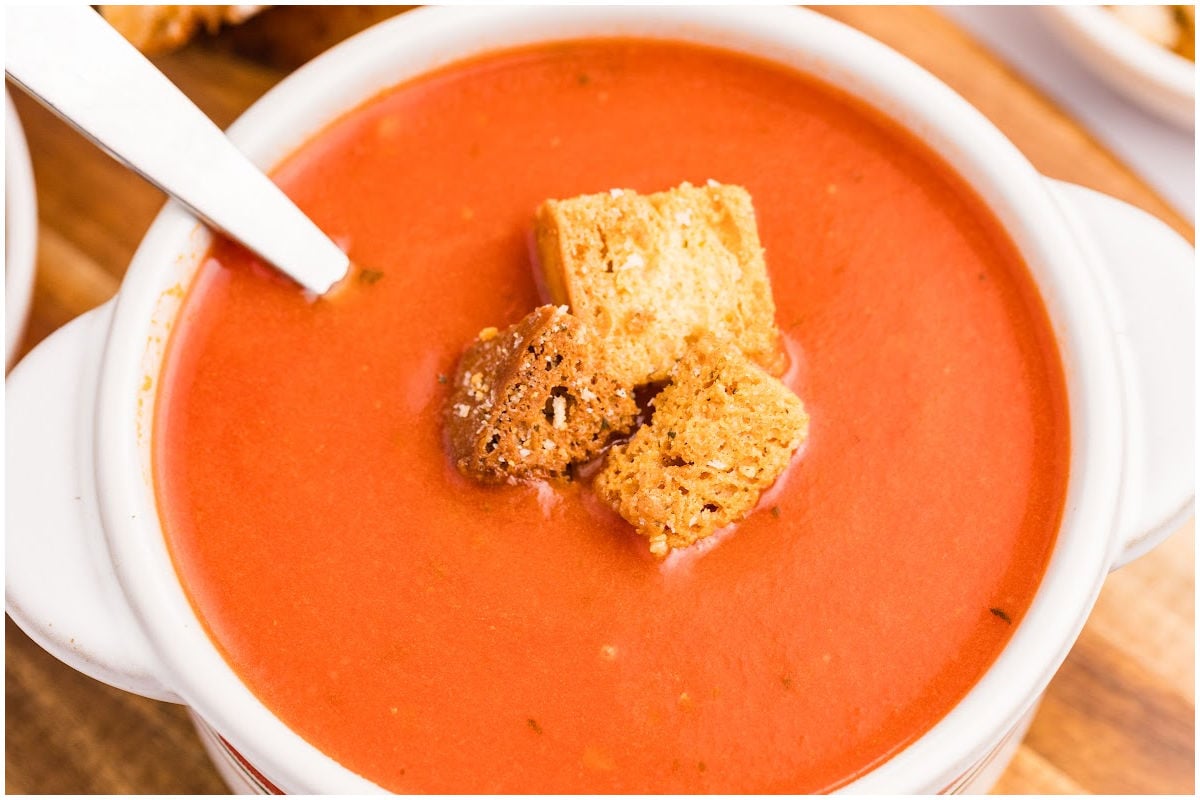
Serve with a grilled cheese sandwich on crusty bread, and Caesar salad.
Once your jars are sealed and cooled, store them in a cool, dark place like a pantry or a basement shelf. The jars will last up to a year. Always check the seal before using and look for any signs of spoilage like off smells or visible mold.
If you don’t want to can, you can freeze it. Freeze it in smaller portions so it’s easier to grab and heat. Pour into freezer-safe containers or bags, leaving about an inch of headspace to allow for expansion as it freezes. Store them in the freezer for up to 6 months. To use, thaw in the fridge overnight or reheat directly in a saucepan over low heat, stirring occasionally.
More Ways To Preserve Your Tomatoes
- This creamy tomato soup recipe is perfect for when you want soup right away instead of storing it for later.
- Home canned crushed tomatoes is easy with only 3 ingredients and a water bath canner.
- Canned whole tomatoes are a basic pantry staple that can be used for everything.
- Diced tomatoes are great to throw in winter soups and stews.
Printable Recipe
Tomato Soup Canning Recipe
Equipment
- Large pot
- fine mesh strainer
- Mixing bowl
Ingredients
- 6 onions chopped
- 1 bunch of celery chopped
- 8 quarts fresh tomatoes or 5-6 quarts of tomato juice
- 1 cup sugar
- ¼ cup salt
- 1 cup butter
- 1 cup flour
Optional Herbs:
- 1 tablespoon dried basil or to taste
- 1 tablespoon dried oregano or to taste
- 2 bay leaves remove before canning
Save This Recipe
You'll join my email list which you will love. And if you don't, unsubscribe in one click. ❤️
Instructions
- Prep jars. Wash your jars in hot soapy water. Place them in the pressure canner filled halfway with water, and fill the canner with water up to the fill line. Set it over medium heat to keep the jars warm. Wash your lids and rings and set them aside.
- Chop veggies. Chop the onions and celery. Place them in a large pot with just enough water to prevent burning. Simmer gently.
- Prep tomatoes. While the vegetables are simmering, cut the tomatoes, removing the skins, stems, and seeds if not using a strainer. Add them to the pot and cook until tender.
- Strain. Pour the cooked vegetables and tomatoes through a fine mesh strainer into a bowl, to remove skins and seeds. Return the strained mixture to the pot.
- Add seasonings. Stir in the sugar, salt, and optional herbs (basil, oregano, bay leaves) into the mixture.
- Make roux. In a separate bowl, cream the butter and flour together. Mix thoroughly with two cups of COLD juice until dissolved (to avoid lumps). Add this roux to the warmed tomato mixture before it gets hot, stirring well.
- Heat. Warm the mixture just until hot, avoiding a boil to prevent flour lumps. The mixture will continue to thicken as it cools.
- Fill jars. Ladle the hot soup concentrate into the hot canning jars, leaving 1 inch headspace. Remove air bubbles, wipe rims, and secure lids and bands.
- Pressure can. Place your filled and secured pint jars in the canner and place the canner over medium-high heat. Let it steam for a full 10 minutes then set your weight (or dial) to 10 pounds of pressure. Once it hits that pressure, set the timer for 15 minutes. Check your pressure canner's manual for quart jars and for adjustments based on your location.
- Cool. After processing, turn off the heat and let the canner depressurize naturally. When it hits zero, remove the weight and let the steam vent. Wait 10 more minutes, then lift the lid AWAY from your face. Let the jars sit in the canner for 5 more minutes. Remove them and let them cool undisturbed for 12-24 hours. Check the seals before storing in a cool, dark place.
Notes
Nutrition


I really like the look of this recipe! I was under the impression that you can’t pressure can flour or butter. You haven’t had any problems?
hey Jenny, yes see my note at the top! I haven’t had problems but this one is up to you 🙂
That’s probably the only part I missed 😆 but I made a same batch to see if we liked the flavor and my family is begging for more! I’ll be canning it today!
haha, it DOES have great flavor. you can always freeze it if you’re more comfortable too 🙂
I think the roux needs to be cooked in butter or it will taste like uncooked flour. All the experts say this. I like you recipe but will cook the roux. I have made soup with uncooked roux and there is a difference in the taste.
Hi Katie,
Your presentation to everything you offer on your website is so easy to understand and quality.
Do you have a course on how to pressure cook by utube or whatever means?
I see other vloggers offer courses, like sourdough making…, but would like to take an online course to see all the nuances of pressure canning. I have not ever attempted because of the fear factor of possible “explosion.”
Hi Karen, this summer I’m going to make some youtube videos on pressure canning. I just need my green beans to come in. Soon!!!