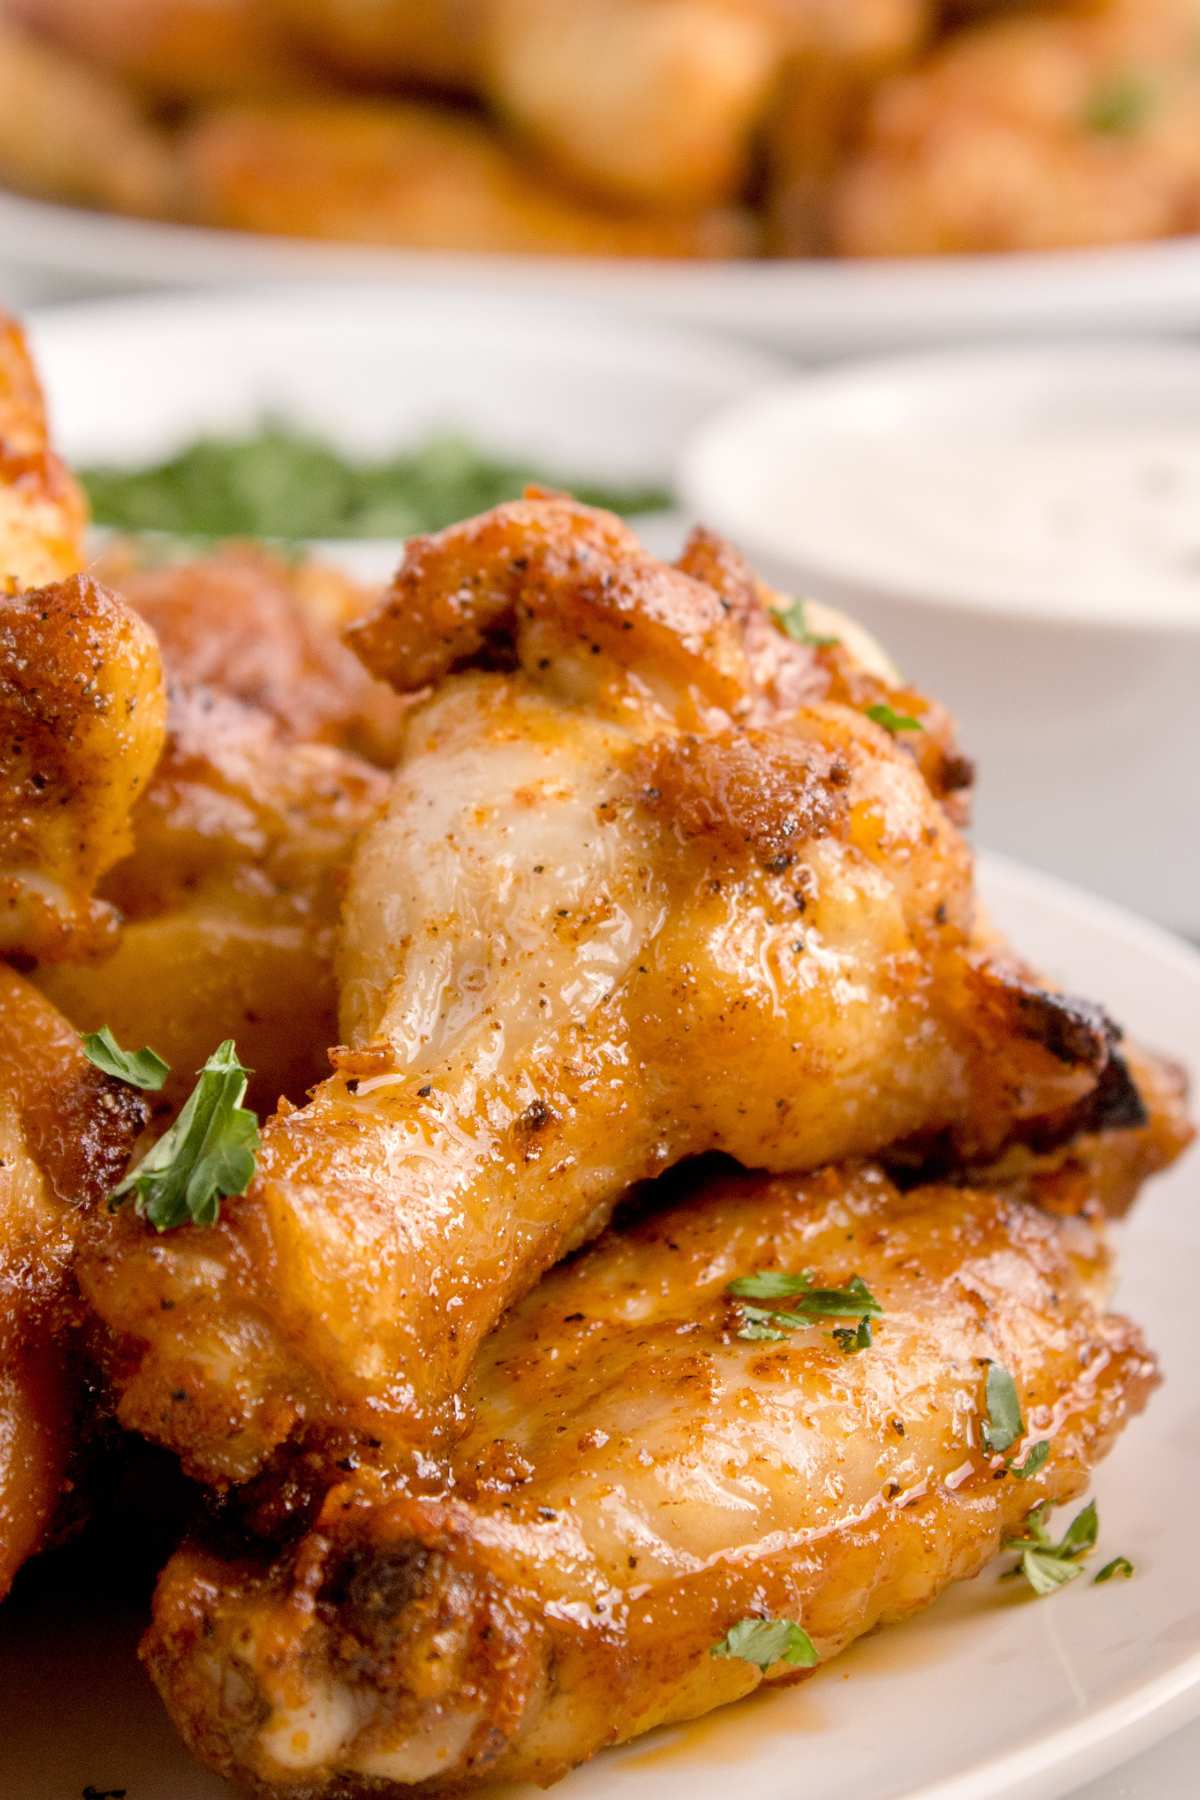
Extra Crispy Oven-Baked Chicken Wings
These wings come out perfectly crispy without the mess of deep-frying: no fancy techniques or ingredients required. Whether you’re feeding a crowd on game day or just want a dinner no one will complain about, this recipe delivers flavor and crunch in under an hour. I’ll show you exactly how to get that golden, crispy skin using your oven.

I love my classic deep-fried buffalo wings, but let’s face it, frying can be a bit of a pain. I appreciate that I can just throw these in the oven.
Table of Contents
Ingredients and Tools You’ll Need
Cooking the wings on a wire rack above a tray lets air flow all around them, which means they get crispy without you having to flip them repeatedly. These aren’t spicy, but if you want them to be, add some cayenne pepper, chili powder, or crushed red pepper flakes to the seasoning mix.
A Newsletter you’ll love
Daily recipes from the farmhouse, Sunday meal plans, seasonal ideas, straight from my kitchen to your inbox.
I promise to keep your email address safe. Unsubscribe at any time

Heart’s Content Farmhouse is a participant in the Amazon Services LLC Associates Program, an affiliate advertising program designed to provide a means for sites to earn advertising fees by advertising and linking to Amazon.com. This means that when you click on certain links on this site and make a purchase, I may earn a small commission at no additional cost to you. I only recommend products I genuinely believe in and would use in my own kitchen. As an Amazon Associate, I earn from qualifying purchases.
If you’d like to double or triple this recipe, you can make adjustments in the recipe card at the bottom of this post.
Equipment
- Mixing Bowls
- Baking Sheet
- Aluminum foil
- Wire rack
Ingredients
- 4 pounds chicken wings (frozen is fine, just thaw and dry them completely)
- 1 teaspoon garlic powder
- 1 teaspoon onion powder
- 1 teaspoon paprika
- 1 ½ teaspoons salt
- 1 teaspoon black pepper
- 2 tablespoons olive oil
- 2 teaspoons baking powder
How to Make Oven-Baked Chicken Wings
Step One: Prepare The Chicken Wings
Pat the wings dry with paper towels and place them in a big bowl.

Step Two: Season The Wings
In a small bowl, mix together the garlic powder, onion powder, paprika, salt, and black pepper. Pour this mix over the chicken wings. Then, add olive oil and baking powder. Mix well and place in the fridge for at least 30 minutes.

Step Three: Prep for baking
Preheat your oven to 425°F (220°C). Line a baking sheet with foil and place a wire rack on top. Place the chicken wings on the rack.

Step Four: Bake
Bake the wings for 20 minutes. Then, carefully flip each wing and continue baking for another 20 minutes until golden brown. They should have an internal temperature of 165°F (74°C).

Step Five: Serve
Let the wings rest for 5-10 minutes. Serve with your favorite sauce, and enjoy!

Storage Instructions
These are better enjoyed fresh. For any leftovers, let them cool completely before storing. Place them in an airtight container and refrigerate for 3-4 days.
When you’re ready to reheat, preheat your oven to 400°F. Place the wings on a baking sheet and heat them for 10-15 minutes or until they’re hot and crispy again.
What to Serve with Oven-Baked Chicken Wings
Whether you serve these as dinner or an appetizer, here are some sides to go with them.
- Veggie tray of celery sticks, carrot sticks, and ranch dressing.
- Creamy coleslaw that goes with everything.
- Potato wedges are another easy finger food.
- German potato salad and corn on the cob for an outdoor dinner.
Questions and Troubleshooting
Yes! Just preheat your grill to medium-high and cook the wings for about 20 minutes, flipping halfway through, until they reach the proper internal temperature.
Try placing them under the broiler for a few minutes at the end of the cooking time. Keep an eye on them so they don’t burn, but this should give them a nice golden color and extra crispiness.

Make It Your Own
- For a smokier flavor, try my smoked chicken wings recipe.
- If you’re craving something with a bit more spice and a crispy fried texture, you should definitely check out my deep-fried Cajun wings recipe.
Printable Recipe
Oven Baked Chicken Wings

Equipment
- Mixing Bowls
- Baking Sheet
- Aluminum foil
- Wire rack
Ingredients
- 4 pounds chicken wings
- 1 teaspoon garlic powder
- 1 teaspoon onion powder
- 1 teaspoon paprika
- 1 ½ teaspoons salt
- 1 teaspoon black pepper
- 2 tablespoons olive oil
- 2 teaspoons baking powder
Save This Recipe
You'll join my email list which you will love. And if you don't, unsubscribe in one click. ❤️
Instructions
- Prepare the chicken wings. Pat the wings dry with paper towels and place in a big bowl.
- Season the wings. In a small bowl, mix together the garlic powder, onion powder, paprika, salt, and black pepper. Pour this mix over the chicken wings. Then, add olive oil and baking powder. Mix well and place in the fridge for at least 30 minutes.
- Prep for baking. Preheat your oven to 425°F (220°C). Line a baking sheet with foil and place a wire rack on top. Place the chicken wings on the rack.
- Bake. Bake the wings for 20 minutes. Then, carefully flip each wing and continue baking for another 20 minutes until golden brown. They should have an internal temperature of 165°F (74°C).
- Serve. Let the wings rest for 5-10 minutes. Serve with your favorite sauce, and enjoy!
Notes
Nutrition
Did You Make This?
I would love it if you would leave a review!Love,


These wings are delicious! I love that they are mild, yet so flavorful. Thank you so much for the recipe.
hi sheila! so happy you liked them! it’s funny because i made them yesterday for lunch!