Easy Crusty Sourdough Rolls
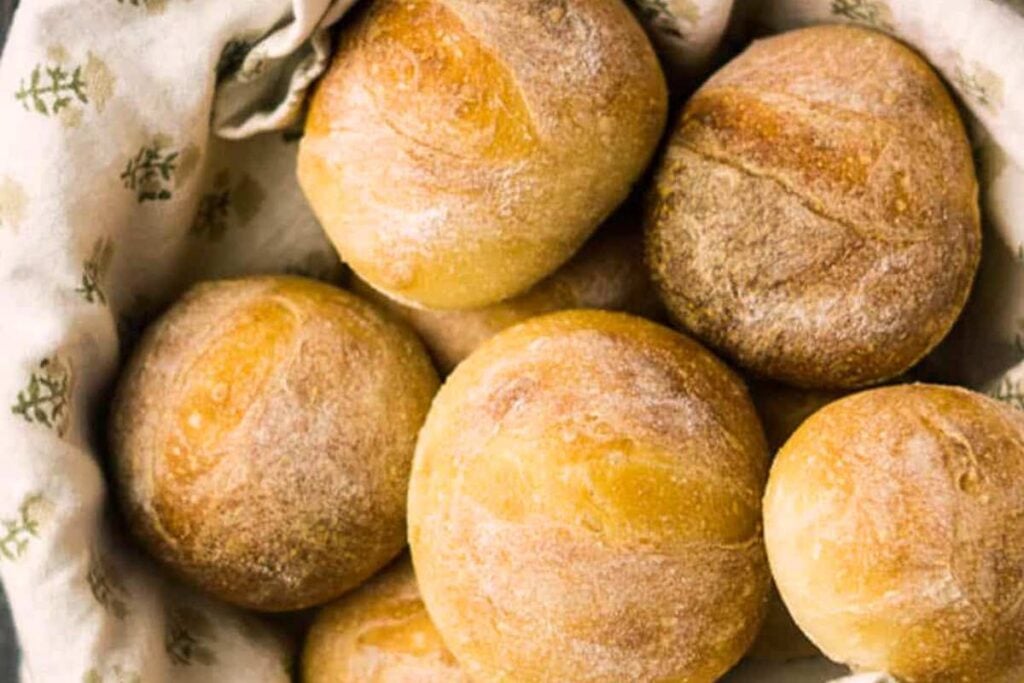
Learn how to make these reader-favorite chewy and crusty sourdough rolls using a small amount of yeast and a special steam technique in your oven. Easy to make, with a great crust and soft interior.
This is the most popular of all my sourdough bread recipes. You’ll love how flexible this recipe is: make them for dinner tonight, sandwiches for lunch, or freeze them for later.
Crusty Sourdough Rolls

Ingredients
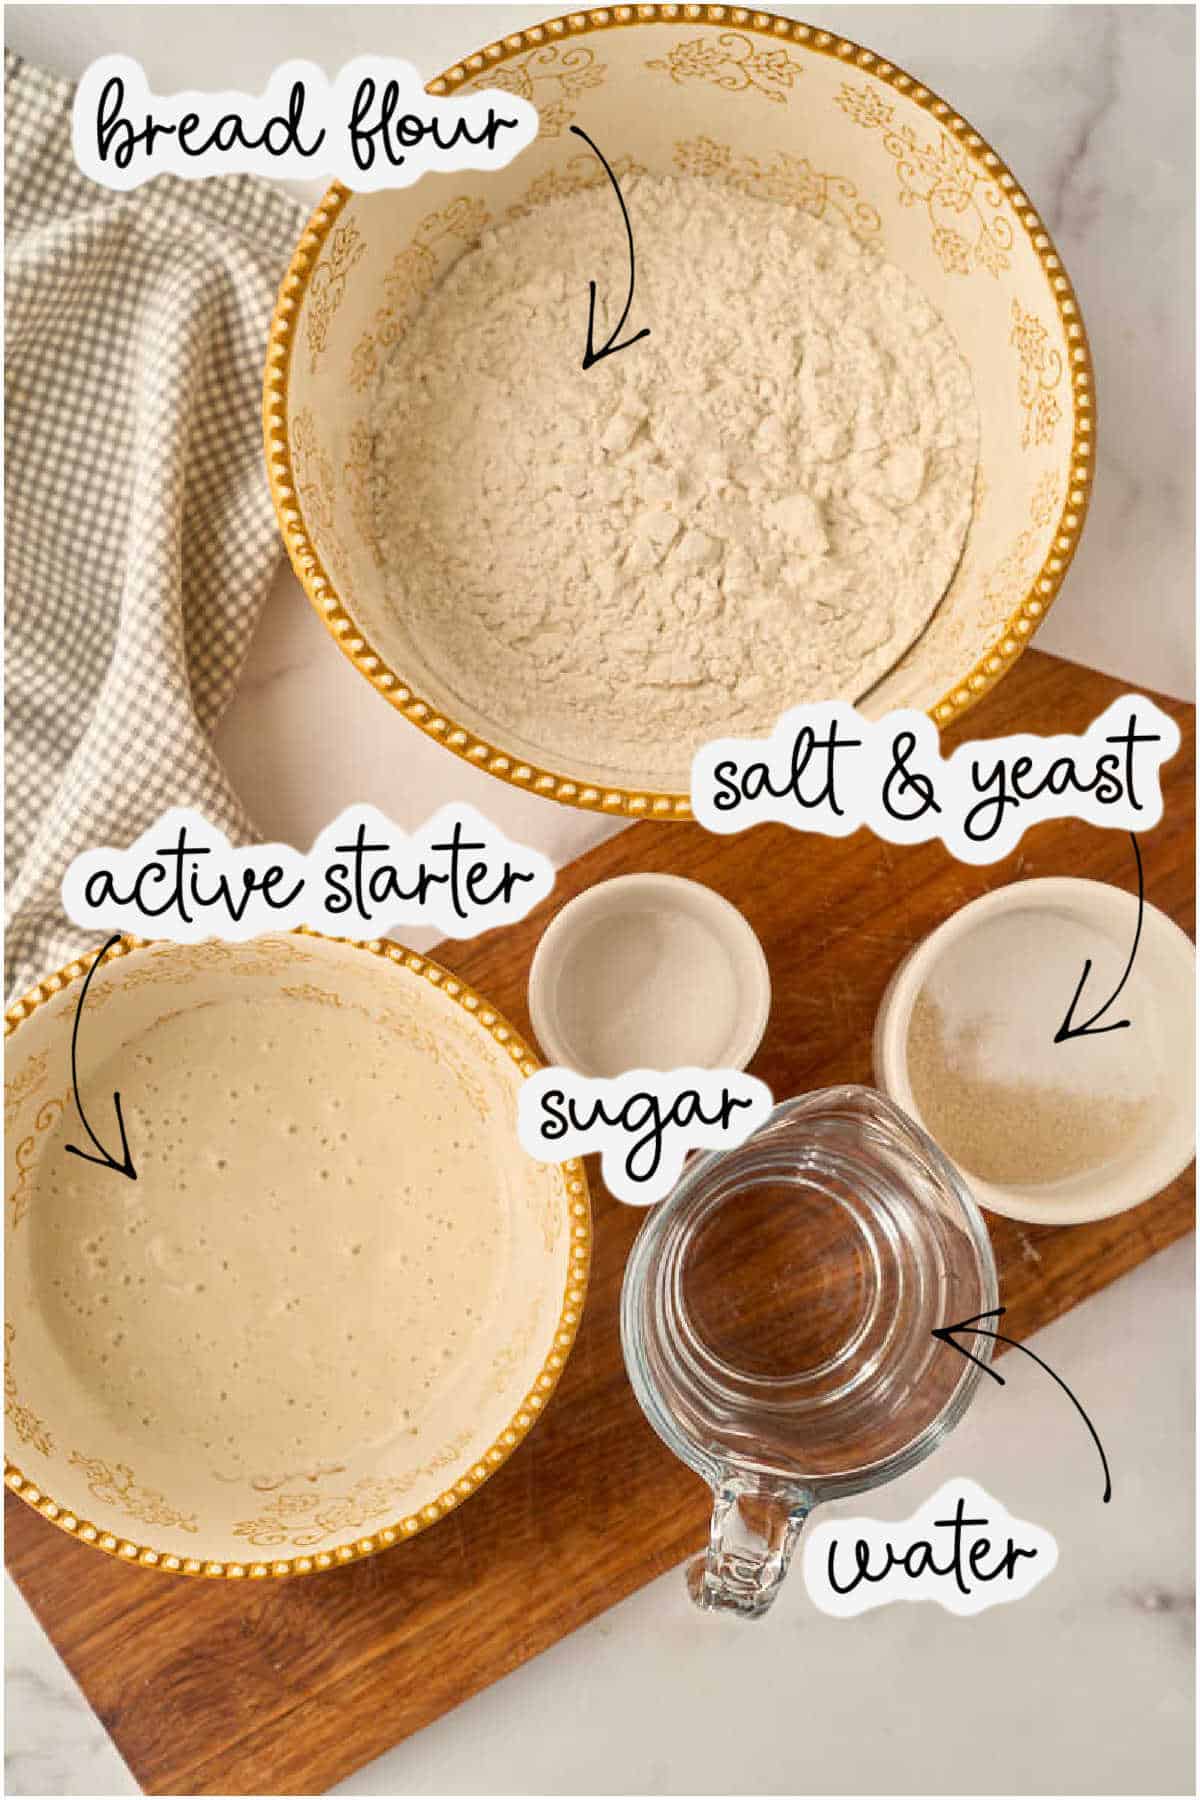
- 7 ounces active sourdough starter 1 ¼ cups / 200 grams
- 13 ounces bread flour 2 ½ cups to 3 cups / 370 grams
- 6.5 oz water ¾ cup plus 1 tablespoon / 185 grams
- ½ teaspoon sugar
- 1 ½ teaspoons salt
- ½ teaspoon yeast
Save This Recipe
You'll join my email list which you will love. And if you don't, unsubscribe in one click. ❤️
Instructions
- Mix all ingredients except salt and yeast. Combine the starter, flour, water, and sugar in a large bowl. Stir well, using your hands if needed to incorporate all ingredients. The mixture may look dry but will feel slightly sticky to the touch. Cover and allow to rest at room temperature for thirty minutes.
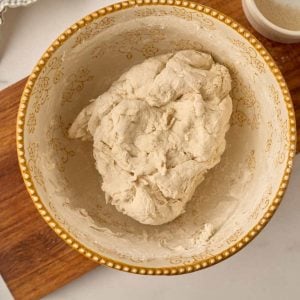
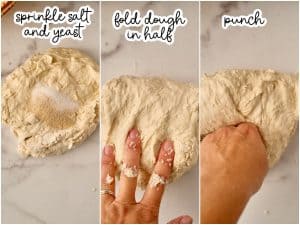
- Knead in the salt and yeast. Add the salt and yeast on top of the dough, and knead until smooth, stretchy, and elastic. (If using a bread machine, set it on the dough cycle. For a stand mixer, set it on low about 5 minutes. If kneading by hand, knead for about 10 minutes.) Check the consistency of the dough after a few minutes of kneading. It may seem sticky, but should clear the sides of the bowl and should not be too difficult to work with. If it seems very wet, add more flour a few tablespoons at a time.

- The first rise. When the dough is kneaded, cover it and put in in a warm place to rise between 60-90 minutes, until nearly doubled in size.

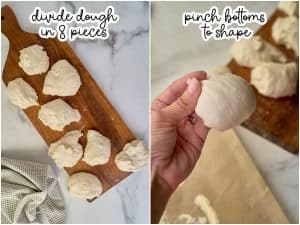
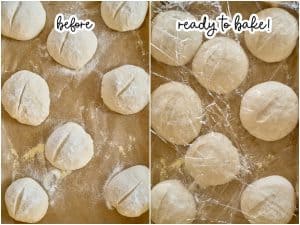
- Shape the rolls. Turn the dough out onto a clean counter or a cutting board. Prepare a baking sheet with parchment paper or oil and flour. Dust the top of the parchment with cornmeal. Divide the dough into 8 equal pieces, either by dividing into half, then quarters, then eighths, or by. using a kitchen scale. Shape the pieces into rolls by pinching the bottoms. Place on the cornmeal dusted parchment. Rub the tops with flour. Slash, if desired, using a lame or sharp knife.

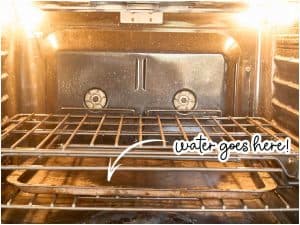
- The second rise. Cover the rolls with heavily greased plastic wrap and let rise in a warm place for 45-60 minutes, until puffy. Towards the end of the rising time, preheat your oven to 450 degrees. Place one rack in the center, and one in the lower middle area. Place an empty baking sheet on the lower rack to get hot while the oven preheats.

- Bake with steam. When the oven has heated and the rolls have risen, pour one cup of water on the hot baking sheet to create steam. (It may buckle, this is ok.). Place the rolls inside and bake for 17-21 minutes, until browned outside. Cool rolls on wire rack for at least 30 minutes before serving.

Video
Notes
Nutrition
It only took me a million different tries to get this recipe right. I really hope you like them.
Sourdough Sundays Newsletter
Every Sunday evening I’ll send you a sourdough recipe to make that week, straight from my kitchen to your inbox.
And as a thank you for signing up, I’ll send you this e-book with beautiful printable recipes right away. Simple!
You will not be added to any other email lists or my daily newsletter. But if you’re already on my newsletter, you’re welcome to join and receive both.
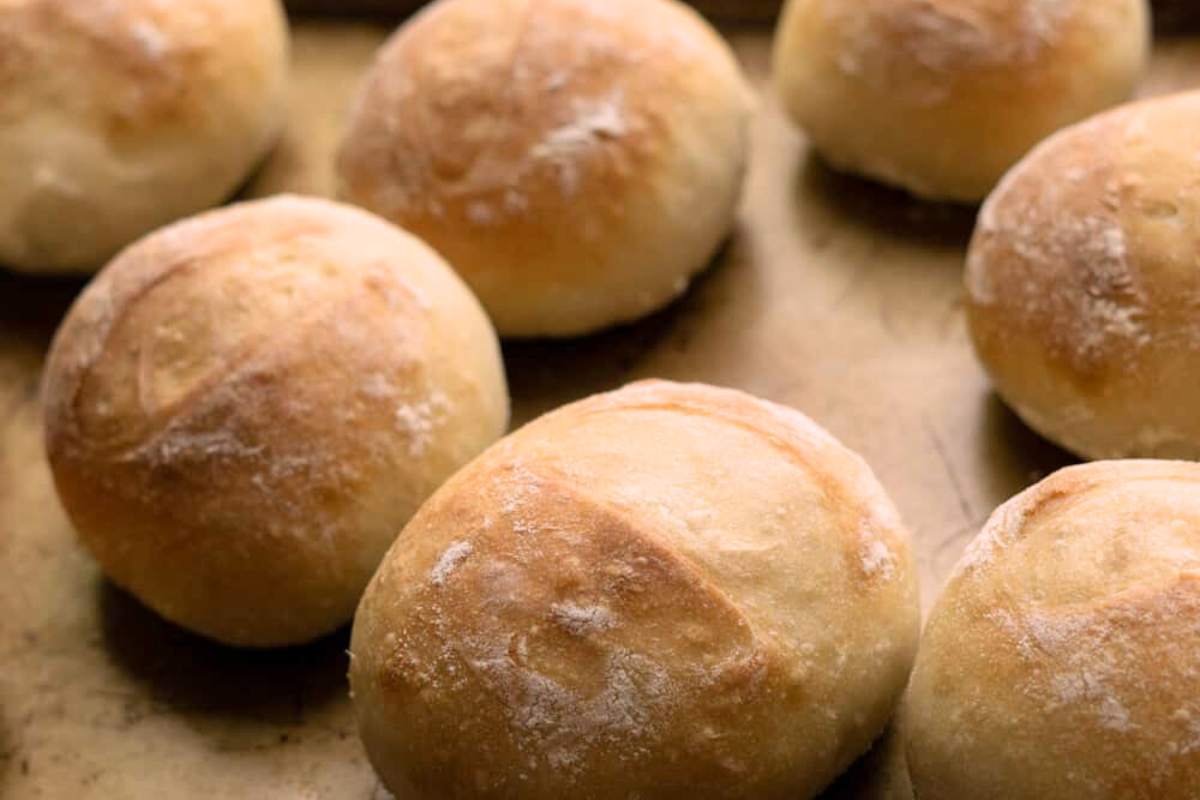
Adding steam is the secret method that gives them the artisan look and nice high rise. We’re doing it the cheap way without a profession steam oven. Just pour some water onto a hot pan as your putting the rolls in to bake. Now they’ll have a steamy environment that lets them rise higher and faster.
Getting the dough right is super important too. You want it slightly sticky but not so sticky that it’s hard to handle.
Tips for Success
Let them cool for at least 30 minutes; they’ll finish baking as they cool
You need to eyeball your dough. If it’s super wet, add flour. If it’s dry and crumbly add water. Just a little of each will make a difference.
The dough should clear the sides of the bowl but still feel slightly tacky.
Pinch the bottom of each roll to shape them, don’t squish down from the top.
This is one of the keys to a great oven spring. Don’t be afraid of this process.
Set up your oven like this, with a metal-rimmed baking sheet on a lower rack. (Do not use glass, or it will shatter!)
Ingredients and Equipment
Sourdough Starter: Should be active and bubbly, about the consistency of pancake batter
Bread Flour: Gives you chewier rolls with better structure
Digital Scale: Not required but really helps with consistency
Baking Sheet: You’ll need two – one for the rolls and one for creating steam
Parchment Paper: Prevents sticking and makes cleanup easier
Most sourdough starter is a thick, pourable liquid with the consistency of pancake batter. If yours is thicker or thinner, you will need to adjust the amount of water, so start with a lesser amount and add more slowly if needed.
Make It Your Own
- Try substituting up to 25% whole wheat flour
- Add a tablespoon of olive oil for softer rolls
- Divide into 12 pieces instead of 8 for dinner roll size
- No bread flour? All-purpose works too – just use a bit less water
Kneading Options
To knead by hand
Fold the dough in half, then punch it down. Stretch it out again, fold, and punch. Repeat this process for at least five minutes, until the dough is stretchy and smooth. You should be able to pull it flat without tearing it.
Kneading with a stand mixer
Place the dough in your mixer bowl with the dough hook and let it run on low for five to ten minutes.
Bread machine method
Simply add everything to the bucket and select the dough cycle. When the machine beeps, you’ll have a risen dough that’s ready to shape. I use this method the most.
Common Questions
You can reduce the water a bit and use all-purpose. They won’t be as chewy though. I really recommend bread flour!
You probably used all-purpose flour or measured it differently. Add some more flour. You’ll be okay.
Yes, an overnight rise in the refrigerator will work. Just shape them the next day, let them rise again, and bake.
I hope you come over to the sourdough dark side where everything is easy and works with your everyday life. This is a recipe you’ll make over and over.
Love,





I made as directed first time. Great!
The second time, I used a food processor for mix and first rise, then divided the dough in half and formed baguettes. Also great!
The third time I added dried herbs to the mix and made herbed baguettes. Awesome. These I’ve sliced diagonally and toasted for crostini base.
Now one of my favorite recipes.
thank you mark! herbs are a great idea and i’m so happy you liked the rolls 🙂
on the yeast is it active dry yeast?
Hi there! I’m excited to try these, but I can’t have yeast. How much more starter would I need to make them rise the same?
same amount of starter, just longer rise times (4-8 hours, depending on room temp)
I love these rolls! I have been looking for a roll that tastes like the Mexican bolillos (Mexican French roll) we used to get in Mexicali. And, these rolls are it! And I can use my sourdough starter! My husband thought the same thing. Thank you!
thanks Olivia! so glad you enjoy them!
Love these rolls! I made them to eat with soup. They were a hit. My children love them with honey butter. I’ve also cut the rolls in slices and put them on a board with olive oil seasoning dip. Delicious. I was wondering in the pic yours have a golden color. Do you use a egg wash? Thank you again for sharing the recipe!
hey nancy, i don’t use an egg wash. they will brown usually after a few extra minutes in the oven. an egg wash would work even better for browning but you’ll have a slightly softer crust 🙂
These are freaking delicious. My 6yr old dips hers in honey and I have no self control with them whatsoever. My husband has since discovered he loves sourdough because of these rolls. I make 10 from this recipe for perfect sized dinner rolls. Or hamburger buns. Or egg McMuffins. Pretty much anything needed with bread I use this recipe for lol they’re that good. And I soo appreciate the weighted measurements!!
hi! this looks awesome! if I wanted to add rosemary to them, how would you suggest doing that? can I incorporate them before the second rise and just let them rise longer?
i would just knead it in at the very beginning! 🙂
What can I brush the rolls with to give them a shine?
egg wash or melted butter. or look at this recipe, it has a great honey butter glaze.
K these crusty rolls were very nice. I really wanted burger buns and that other recipe was a total fail unfortunately BUT I made a new batch using the crusty roll proportions and added 1.5 T Sugar and they are lovely buns. Will make again using this one….PS i mixed the salt in with the dry ingredients and it worked fine for me and I left out the yeast and let rise over night and 4 hour second rise. Nice moist buns and soft inside. My family will love these
These were soooo delicious!! I decided I should probably follow a recipe for my sourdough discard and I’m soooo glad I chose this one!! I’m excited to make them again, as this will be my go-to recipe for rolls!!
Question: do you remove the plastic wrap at the end? I know one can braise with plastic wrap but, never have use it in baking.
Yes, remove it before you bake 🙂
🤣🤣🤣
Can the recipe be doubled or should I make two separate batches? I have a large family and a dozen is not enough.
Thank you
you can double it! the only issue i could see is room for the empty baking sheet in the oven. maybe double the dough and. bake in batches.
Would like to make these for a dinner party that will require an hour and half drive. Plus, probably won’t eat right away. Can they be baked and then heated again in the oven. Or should they be served room temp? Suggestions for this.
they’ll reheat fine in the oven…sometimes I cover them in foil to keep them from drying out. but they’re also good at room temp! up to you 🙂
Worked like a charm! Thanks for the very detailed instructions! My family loved these!!
i’m so glad debbie! happy thanksgiving 🙂
After shaping can you put them in the fridge to cook in the morning?
yes just cover tightly with plastic wrap 🙂
My family loves these and it is now my favorite sourdough recipe! We lost power during the first rise, so I wasn’t able to bake right away. After that rise was finished decided to wrap the dough with plastic wrap before shaping and refrigerate until I was ready to bake. 4 hours later, pulled it out and shaped right away and let stand for the second rise. They turned out perfect as always! Thank you for sharing your recipe with us!
Quick, uncomplicated recipe with delicious results. The exterior, of the rolls, was crisp, the inside chewy and fluffy, with unmistakable sourdough flavor. I will be making these for Thanksgiving Dinner!
thank you leslie! mmaking the cut for thanksgiving is the best compliment ever! 💕
Thank you!
So yummy! Thanks so much for the recipe. I made a double bath today. Soon as they are cool I am putting in the freezer for thanksgiving. Thank you for sharing.
Can these rolls be frozen before or after baking? Recommendation please.
i prefer to freeze them fully baked and cooled. i just defrost in the microwave for 75 seconds on the defrost setting. 🙂
I’ve made this wonderful recipe so many times, I have it memorized. It’s a fantastic recipe that turns out every time.
The only thing I do differently is raise 3-5 hours once shaped into rolls. They get bigger and fluffier then the first time I made them.
hi lynn! thank you so much for letting me know :). great idea to give them a little extra time. i appreciate your comment so much. 💕
Thank you Lynn and Katie!! ❤️🍞❤️I’m making these today!
What a fantastic roll! I am not a keen recipe follower but I did with this because my rolls never turn out crusty and chewy in the middle. THESE DID and they are amazing! Thank you for the recipe which is now in my sourdough folder! Thanks again. Delicious!
you are too kind Michele! i’m so happy you enjoyed them.
Thank you so much for this fantastic recipe! It’s so easy and my rolls turned out perfectly delicious, crunchy on the outside and soft on the inside. They went so well with crab legs that I felt like I was on Pier 30 in San Francisco. It’s a keeper!!!
Hi Debra! Crab legs sounds amazing. I’m so glad you liked them. 🙂