A simple recipe for homemade bar dish soap that gets your dishes sparkling clean. One of the most practical cold process soap recipes this bar combines the cleansing power of coconut oil with the lathering of castor oil. With just a few ingredients, it’s a great money-saving home DIY. One of the most practical cold process soap recipes of all. If you’d like, add lemon fragrance..

Store-bought dish soap is shockingly expensive and always comes in big plastic containers. But bar dish soap takes up hardly any room, is packaging-free, and works just as well.
This recipe is almost all coconut oil, which is very cleansing but drying. I added a small amount of castor oil for extra lather because everyone likes bubbles while washing the dishes. (For an even stronger soap, for use on laundry stains, you can try my homemade cleaning soap.)
what You’ll Need
Equipment
If you want to add fragrance, you definitely can! , I chose to use orange oil instead of a synthetic fragrance oil. If you want to use essential oil, make sure you look for one that won’t fade as the soap cures. (10x orange is a good one.)
Ingredients
This recipe is calculated to be a 1% superfat. This just means that there is very little extra moisture left over from the oils. They are almost all saponified or turned into soap. It also means it is quite drying and not great for washing your hands. But it leaves dishes sparkling clean! (Here is my best shower soap recipe.)
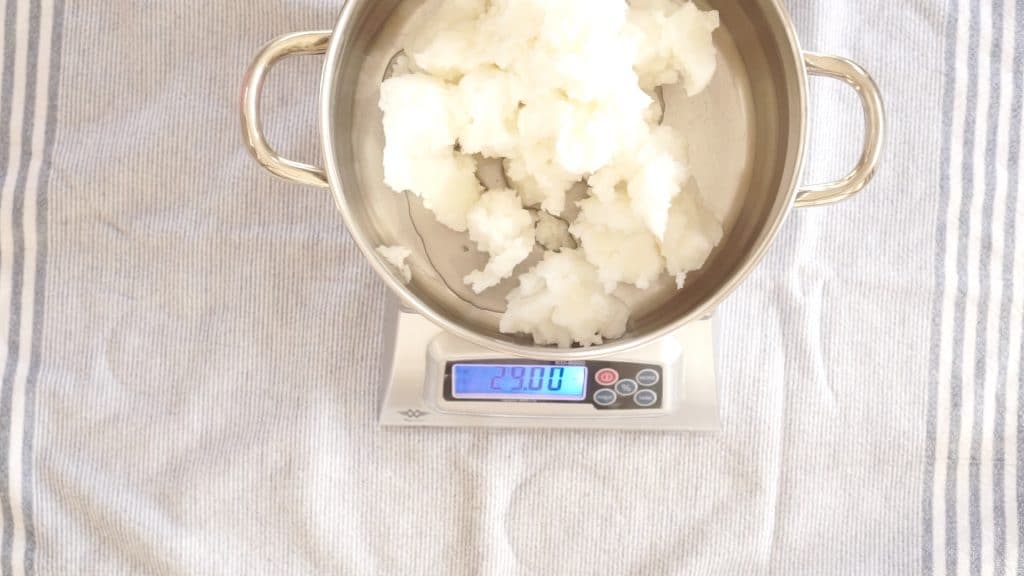
- 29 ounces coconut oil
- 1 ounce castor oil
- 5.41 ounces lye (sodium hydroxide): there’s no substitute for this. If it doesn’t contain lye, it’s not soap. Handle with gloves and eye protection.
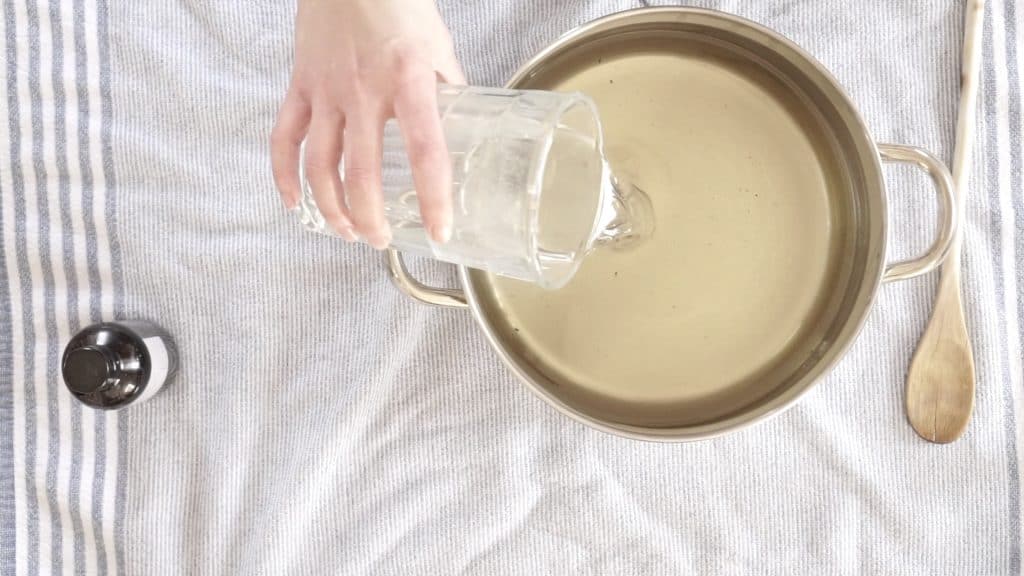
- 8 to 11 ounces water
- 1 tablespoon fragrance oil (optional): citrus essential oils like 10x orange or lemon work well and won’t fade during cure.
Instructions
Remember:
Soapmaking can be dangerous and the ingredients deserve respect. Make sure you are wearing gloves, eye protection, and long sleeves. Any splashes can burn your skin or damage your eyesight. The fumes are also dangerous, so work in a well-ventilated area.
Step One: Measuring and Combining Ingredients
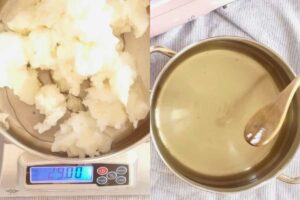
Begin by measuring out the lye and water separately, using a digital scale. Combine them by adding the lye to the water (“snow floats on the lake”). Stir until the lye fully dissolves, and set aside in a safe place.
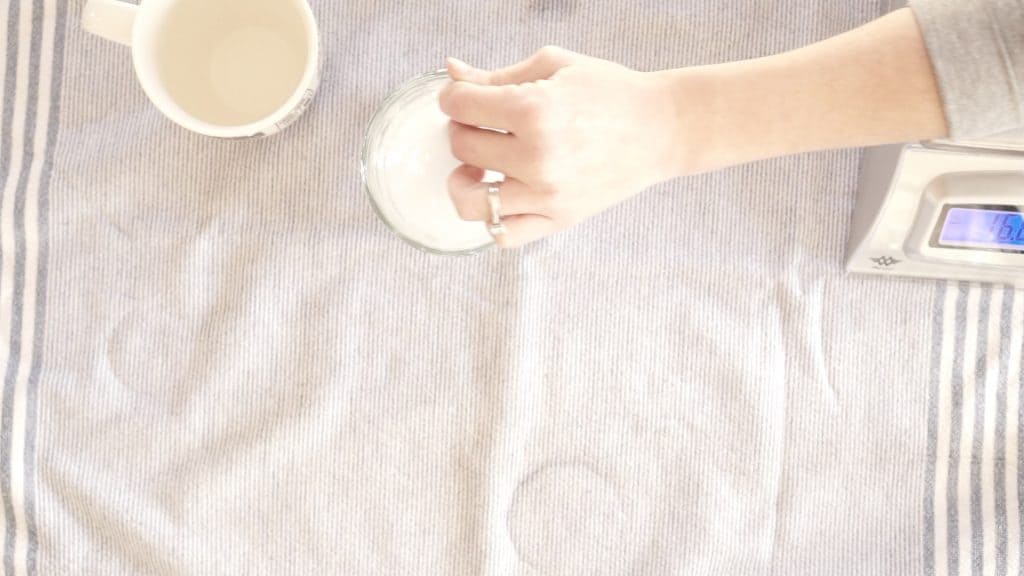
While the lye water is cooling, measure out the coconut oil and castor oil on the scale. They should technically be measured separately, but I just add them right to the pot I am melting them in.
Step Two: Melt Oils and Let Them Cool
Set the oils on the stove to melt on low, until they are fully melted and 140 degrees.

Now you need to wait for everything to cool down. This will take two to three hours. Both components should be about 100-110 degrees before you blend them. Ideally, they will be close in temperature, less than ten degrees apart.
Step Three: Blend
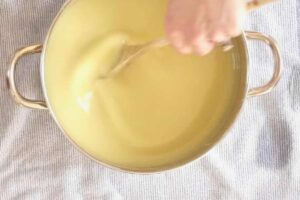
To blend, pour the lye water into the pot with the melted oils. Blend with your stick blender until a light trace is formed. That means that the blender leaves a trail (or “trace”) when it is dragged through the batter. You shouldn’t see any visible droplets of oil. It usually takes about 5 minutes of blending.
It will look like this:

If you are adding fragrance, go ahead and do it now and stir it in by hand.
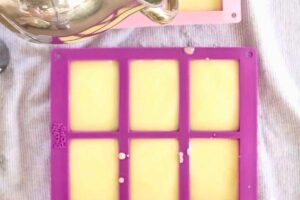
Step Four: Mold
Immediately pour into your soap molds and allow to harden for 24 hours before removing from the mold.

Let it cure for two weeks before using, oth
Storage Instructions

- Bar soap always lasts longer if it can dry in between uses. I use these soap savers to help air circulation.
- Don’t store your extra bars under the sink. Put them in a dry closet or somewhere similar.
- To help clean your dishes, this works well with either a wooden scrub brush or a dishcloth.
- Again, don’t use it as a hand soap, it’s too drying. But using it on your dishes won’t dry out your skin any more than a store-bought dishwashing liquid.
Troubleshooting
This usually happens when fragrance oil accelerates trace. Work fast, skip the fragrance next time, or switch to a slower-moving scent like
Not recommended. This soap gets rock-hard and will crack when you try to cut it. Stick with individual cavity molds.
Nope, that’s just soda ash. It’s cosmetic and washes off. To prevent it, spritz the top with rubbing alcohol right after pouring.
With proper drying between uses, expect 2-4 weeks if you’re washing a sink load full per day.
Honestly, something is off and you’ve mis-measured. This should firm up quite fast.
Printable Recipe

Homemade Bar Dish Soap
Ingredients
- 1 ounce castor oil
- 29 ounces coconut oil
- 5.41 ounces lye
- 8 to 11 ounces water
- 1 tablespoon fragrance oil optional
Save This Recipe
You'll join my email list which you will love. And if you don't, unsubscribe in one click. ❤️
Instructions
- Make the lye water. Measure the lye and water in separate containers, using a digital scale. Combine the lye and water by adding the lye to the water, then stir until dissolved. The lye solution will shoot up in temperature and become hot. Set aside to cool in a safe place.

- Melt the oils. Measure the castor oil and coconut oil using a digital scale. Melt over low heat in a stainless steel pot until fully melted and 140 degrees. Set aside to cool in a safe place.
- Blend the components. When the lye water and melted oils have cooled to about 110 degrees, combine them by pouring the lye water into the melted oils. Blend with a stick blender until a thin trace is reached. (The mixture will thicken slightly and no droplets of oil are visible.) Add the fragrance, if using, and stir in by hand.
- Pour into mold. Immediately pour into a soap mold with individual bars. (The soap dries too hard to cut easily if made as a loaf). Remove from the molds after 24 hours and allow to cure 2 weeks more before using. Store the bar in a place that will allow it to dry as much as possible between uses.
Video
Notes
- 96.67% coconut oil
- 3.33% castor oil
- 1% superfat


Does anyone have suggestions on what types of safety gloves to use? like regular rubber kitchen gloves or is there a special type?
rubber kitchen is fine, but make sure they are nice and snug and you don’t feel clumsy in them.
I just made my second batch of this totally awesome dish soap recipe and it came out just beautifully, again! I am so grateful. I followed the recipe and all recommended steps and used a really pretty flower shape soap mold. They are so pretty, smell amazing, and are totally a hard soap and ready for dishes. Thank you!!!
thank you Paula for coming back here to let me know! i still make and love this recipe so much!
Hi! Thanks for sharing your recipe. I confess I’m stumped. I am an experienced soap maker with a soap business and I thought I’d give this a try. My measurements were precise, I checked and re-checked the temp before combining oils and lye, and have been immersion blending faithfully for over 15 minutes. This will just not harden up. I don’t think I will try this again, though I’m glad for those whose batches worked.
Checking back in: it’s been 30 minutes and I have a very light trace. I still do not think I will try this recipe again. Much too long to come to trace.
hi cathy, I am positive the lye amounts listed are correct and it is definitely strange that trace would take so long with nearly all coconut oil! I have definitely never experienced that!
How many bars does one recipe make?
it just depends on the size of youur mold, they vary like crazy. using the molds I used i t’s around 12
read your recipe and not a far cry from my great aunti Bliss’ recipe, 5 pounds clean lard i can red devil lye, warm fat to body temp mix lye with ice water cool till same as lard then mix, stiring every 15 mins for next t 2 days, then pour into large flat,,,, never mind you already know lol
haha nice and simple, yes! would love to have. good lard source
Hi Katie,
Thanks for this recipe. I’ve always wanted to make soap and this is perfect for beginners.
Question: my soap looks gorgeous but it’s coated in a fine grit. Did I not stir it enough? I just made it three days ago so it hasn’t cured for two weeks.
chris, is it a true grit with texture or more of a white chalky substance? white chalky would be soda ash, which just sort of randomly happens and is NOT a problem, except for looks. if it’s a grit… i’m not sure. I can’t imagine any of the lye would have survived the curing process and stayed gritty??
Why a differentiation in the water amount? 3oz is a lot when talking soap recipes.
Does the mixture need to be covered and wrapped up to kept warm for the 24 hours that it sits in the moulds the way most hand soap recipes say to do?
nope 🙂 it won’t gel
Has anyone tried this bar recipe using half goat milk half water in the recipe and it turn out??
Hi Katie,
Thank you for your recipe. I tried it for the first time last night.
I never saw a “trace” when I was mixing. It did turn to that pudding texture pretty quickly. Can you think of what I did wrong?
It been less that 24 hours and the soap is still “oily” almost like a moisturizer bar. How long does it take to harden fully? My purchased dish bar soaps are hard. Do you think my bars will harden?
yes, this bar should be VERY hard. give it a little more time to cure.. but mine is typically hard at this point. I hope it turns out! if it doesn’t, it could have reached “False trace” where the oil starts to cool down and it looks like it has traced but hasn’t. all you can do now is wait. good luck! 💕
I made my first batch this morning, enough for 6 bars, (adjusted the amounts) it didn’t thicken up while blending, so fingers crossed I got it right.
Good morning, is this soap food safe for washing fruits and vegetables with?
I’ve made this soap twice. It’s long lasting and gentle on my hands!
Hello,
I’ve made two batches of this soap so far and I do feel that it cleans well and I like that it’s a hard soap. My only concern is that it leaves a lot of soap marks, no matter how much I rinse. It’s especially visible on glassware. Any thoughts on how to remedy this?
Hello Tanya, I add citric acid to avoid this problem.
May I ask how much citric acid you add?
Did anyone ever answer how much citric acid to add?
Just so questions are answered, Use 1 to 3 % citric acid ppo used. Dissolve in water before adding your lye. You must add a bit of extra lye too. There is videos/websites (soapqueen) that explains this in detail. 1% of 1000g of oils is 10g of citric acid and 6g of extra lye.
Omit the castor oil and do a 0% superfat. That will rid this issue
I really enjoy this recipe, thank you! I accidentally made too much and my soap solidified before I could get it all into the soap mold, so I turned my soap chunk into soap flakes. Would I be able to melt the soap flakes after it’s cured and use it as a melt and pour into a mold at this point? Thank you!