
How to Start Soap Making {Plus a Simple Recipe}

Inside: a complete beginner’s guide to making your own soap. Basically, you mix lye and water to make a solution, pour it into melted oils, blend it, pour it into a mold, and, through scientific *magic*, it turns into soap. Cool, right? Let’s learn more.
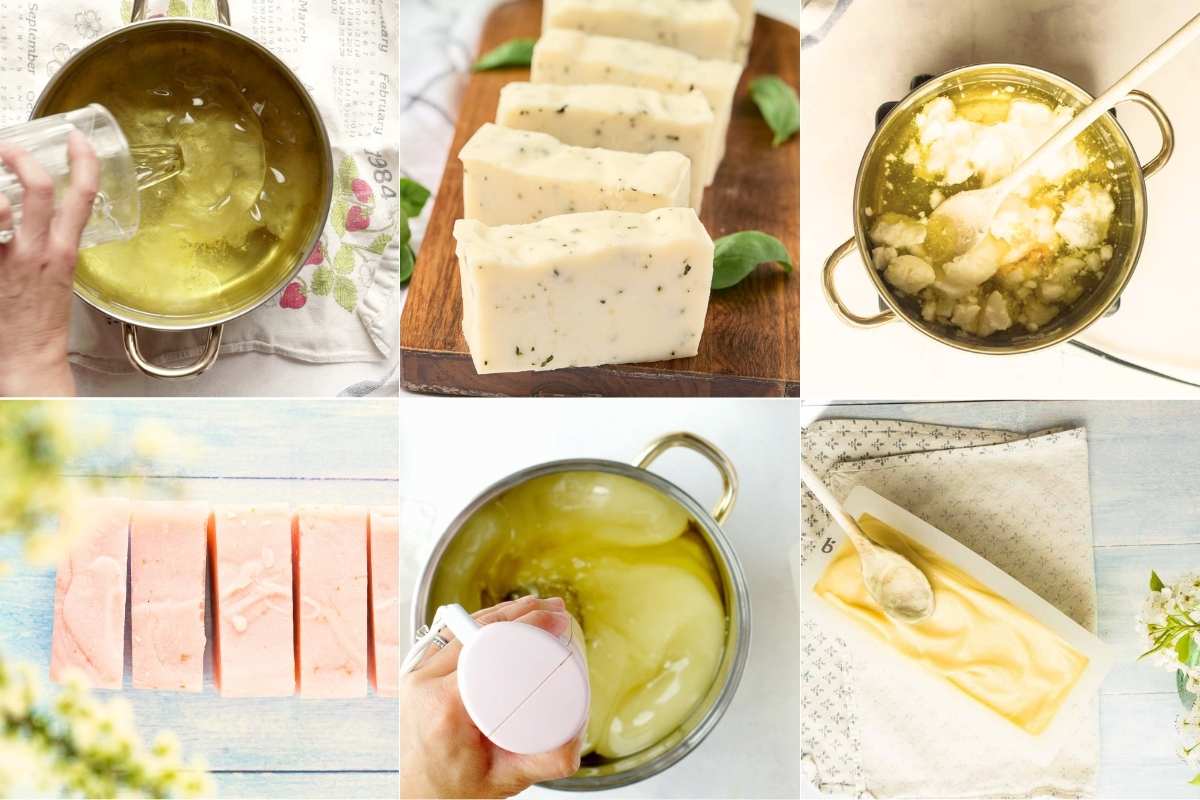
First, we’ll talk about what you’ll need, how to pick a recipe, and all the “scary stuff,” then I’ll show you the whole process step by step. Ready? Okay. There’s really a LOT to say about this topic, so get comfy.
Table of contents
- The Basics of How Soap is Formed
- Lye: Not as Scary as You Think!
- The Role of Oils in Cold Process Soap Making
- What Do You Need For Soap Besides Oil and Lye?
- Where do you get all this weird stuff, anyway?
- One More Annoying Safety Talk
- The Process of Making The Soap
- Making Your Own Recipe (If You Want!)
- Step by Step: Your First Batch
- Gel Phase During Curing
- Cleaning Up After Soapmaking
- Fun For The More Advanced Soap Maker
- What About Hot Process Soap?
- What About Melt and Pour?
- What if you just really REALLY don’t want to deal with lye?
- Anything else I should know?
There are a lot of steps, tools, and ingredients you may never have used before. And yes, lye can be dangerous, and you must treat it respectfully. But if you can competently get through everyday life, you can make cold-process soap. But making soap is not scary.
You can absolutely do this, even if it feels confusing right now.
The Basics of How Soap is Formed
Soap is the product of a chemical reaction between lye and oil.
You can’t have one without the other, any more than you can have water without hydrogen or salt without sodium. Soap needs oil, and it needs lye, or it’s not soap.
When you mix oil and lye (in the correct amounts), they blend, the molecules go all crazy, and they form something new: soap!
Let me say that one more time. You can’t make cold process soap without lye. There is no workaround. There is no substitution. If you leave out the lye, you’ll have a pot of oil. Are you with me?
You can make melt-and-pour soap, which involves melting down already-made soap and adding fun stuff to it. There’s nothing wrong with this, but it’s not soapmaking.
Lye: Not as Scary as You Think!
Lye, also known as sodium hydroxide, is a very caustic substance. It was traditionally made from ashes, but it can now be easily purchased.
It comes as little white flakes or pellets in a jar. It is used both for soap making and as a drain cleaner, as it will eat away at greasy build-up in pipes.
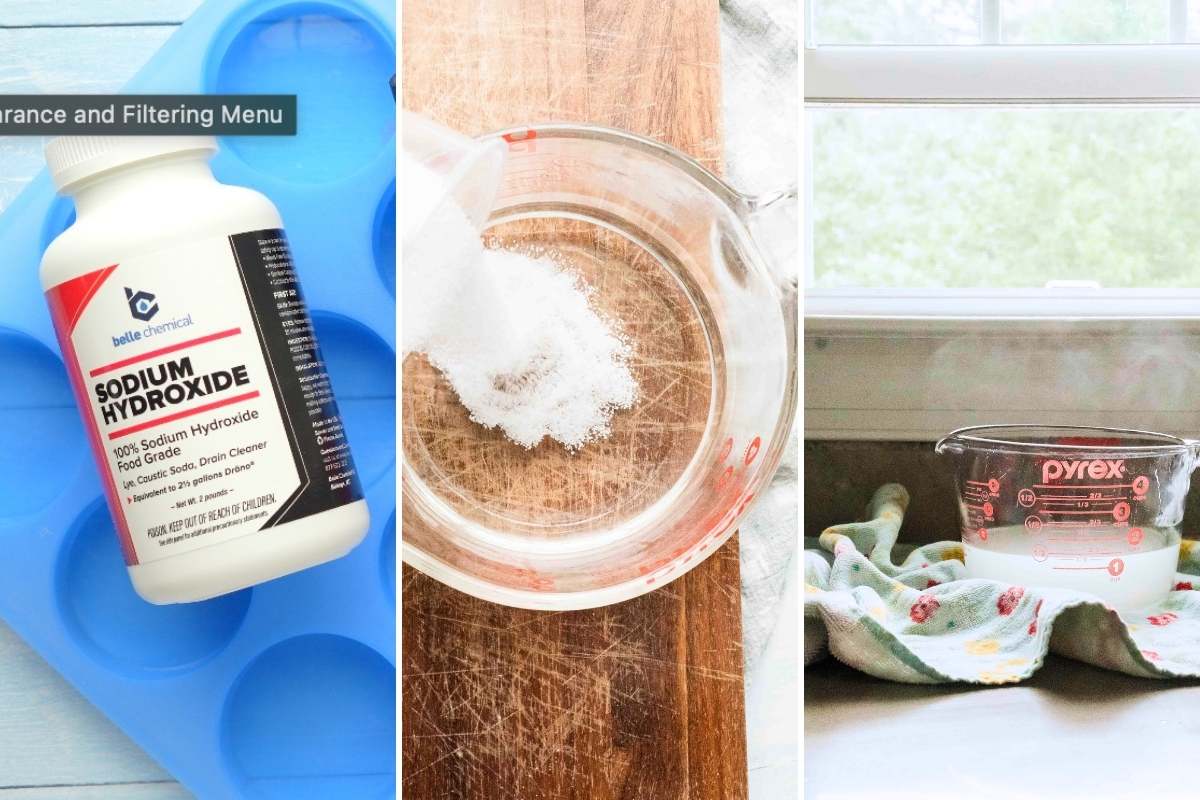
Caustic is the opposite of acidic, but lye is so caustic that it is as dangerous as a strong acid. It can eat through the skin, leave marks on countertops, and cause blindness if it splashes in your eyes.
I can hear you now…But you just told me not to be scared of lye! And I stand by that. With proper safety gear (gloves, goggles, and long sleeves), it’s nothing to be scared of.
The Role of Oils in Cold Process Soap Making
So… lye doesn’t sound super appealing, burning through our countertops and all. But don’t worry, the oils in your soap recipe are going to transform it into something completely different.
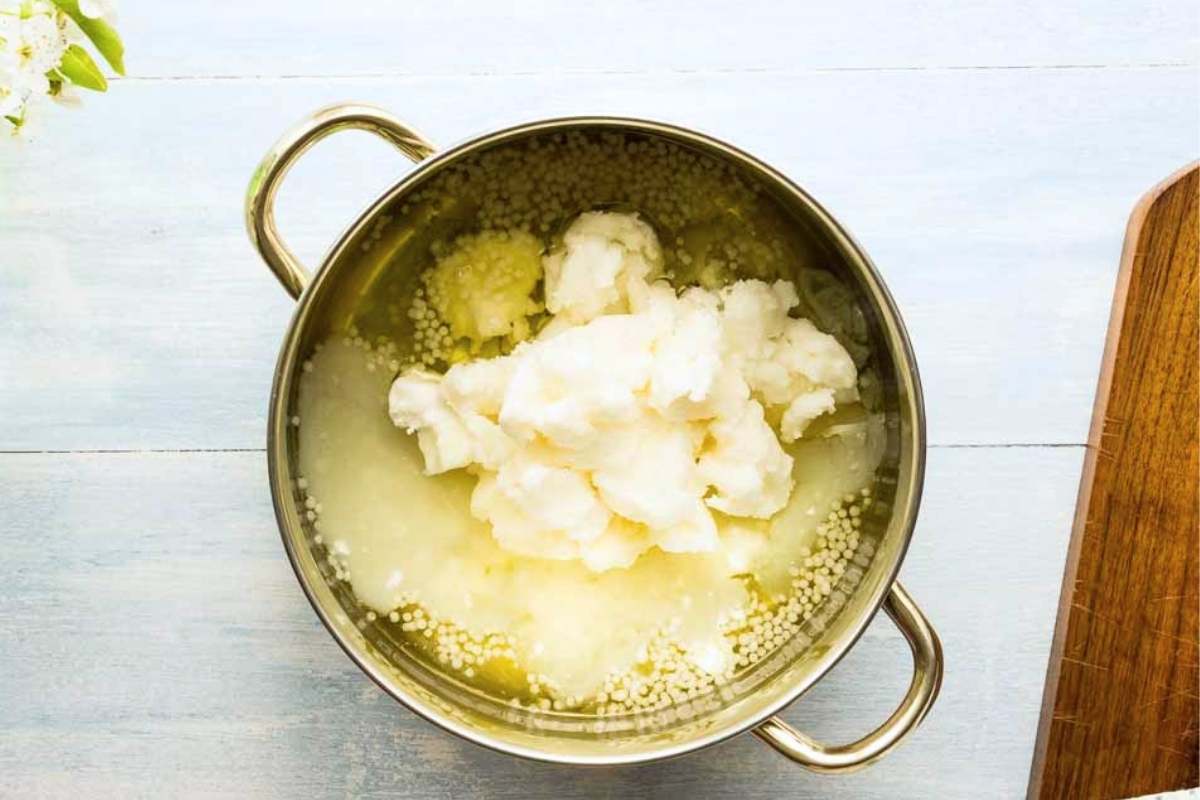
Picking oils is the most fun part of creating a soap recipe. Each oil will bring its own properties to the finished product.
For example:
- Castor oil creates lots of lather
- Olive oil is very moisturizing
- Coconut oil helps harden the bar
- Shea butter nourishes the skin.
The best soap recipes will have a blend of hard and liquid oils. You don’t have to know the properties of each oil if you’re following a recipe from a source you trust.
What Do You Need For Soap Besides Oil and Lye?
Okay, so there’s more needed than just those two things.
- Water. You have to mix the lye into water to create a liquid solution
- A digital scale. Remember, this is chemistry and things have to be precise.
- A stick blender. Mixing by hand doesn’t always work and things might not saponify properly.
- Old pots and an old spatula for melting oils and blending things. It’s nice to have a dedicated soap pot.
- A mold to pour the soap into. This can be as simple as a box lined with freezer paper.
- Safety gear
Optional stuff: essential oils, fragrance oil, colorants. You can get crazy and mix in seeds, flower petals, and even (yes) rubber ducks.
Where do you get all this weird stuff, anyway?
You can find the scale, molds, and stick blender at Amazon.
There are many shops dedicated to soapmaking. Some of the best are Nurture Soap, Brambleberry, and Bulk Apothecary.
One More Annoying Safety Talk
So we’ve established that lye is dangerous. Many people get scared and overwhelmed and stop there, but it doesn’t have to be scary.
First, be absolutely sure that your lye is stored totally out of the reach of children and pets. It comes in a pellet or flake form that is very concentrated and dangerous.
It deserves respect and proper gear, but it’s not scary.
To me, one of the most important aspects of working safely is being able to concentrate. Interruptions will cause you to make mistakes, be careless, and knock things over. Make sure little ones are out of the room, and never try to make soap when you’re in a rush.
Safety gear you will need:
- Goggles. Lye water can blind you!
- Long sleeves
- A mask
- Rubber gloves
The Process of Making The Soap
The basic process of making soap is as follows:
- Mix water and lye, set aside to cool
- Melt oils and set them aside to cool
- Blend lye water and oils to form a soap “batter.”
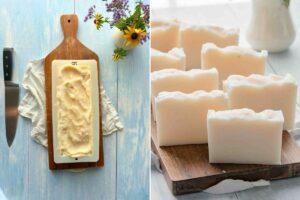
- Pour into mold and let harden for a day
- Turn out of the mold, cut into bars, and let cure for 2-3 weeks.
But of course, each step has a bit more to it. Take a look.
Making Your Own Recipe (If You Want!)
Note: If you have no interest in making up your own recipes, then don’t even worry about this! I just wanted to include it so you understand the basic science behind it all.
So here’s where it gets a little trickier. We already know that this is a chemical reaction. So it’s not like making a pasta salad where you just throw things in and hope for the best. Everything has to be precise.
The lye is going to “gobble up” the oils and saponify them. (This just means it will turn them into soap.). But each oil requires a certain amount of lye to be saponified. It is a chemical property of that oil, known as its “saponification value”, like the freezing point of a liquid. It’s different for each one.
The way we figure this out is to use something called a lye calculator. There are many of them available for free online. My favorite is from Majestic Mountain Sage.
Step by Step: Your First Batch
Step One: Prepare
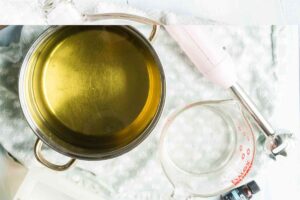
First of all, get ready. Have your recipe printed out (you can find my cold process soap recipes here.) Get out your scale, your stick blender, your oils, and your lye. Have your mold ready to go as well.
Make sure you have a distraction-free environment and a safe place to set things aside as they cool.
Step Two: Make the Lye Water
When you mix it with the water, it will shoot way up in temperature and will also release fumes. So you’ll need to be outside or near an open window. And you’ll need gloves and eye protection at this stage as well. The caustic lye solution can blind you if splashed in your eye or burn your skin.
Everything needs to be measured separately before you begin.

The lye and water are measured separately, then you add the lye to water, not the other way around. You can remember this with the saying “snow floats on the lake”.

Mix the lye and water thoroughly, until the lye dissolves. It will be hot. Set it aside to cool in a safe, well-ventilated place.
When you set the lye water aside to cool, you need to be careful. Make it very clear that it’s a dangerous solution. It could be fatal to anyone drinking it.
Save This Post
You'll join my email list which you will love. And if you don't, unsubscribe in one click. ❤️
Step Three: Measure and Melt the Oils

Next, measure out your oils separately.
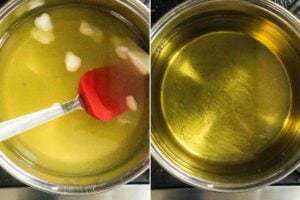
Some people prefer to melt the solid oils first, add the liquid oils, then heat everything up. Or you can dump it into one pot and heat everything up together. Do it right on the stove, on low.
You want everything thoroughly melted and at 140 degrees. Be careful with firm butter and wax: they take longer to melt.
Step Four: Let Both Components Cool

Now, everything has to cool down, separately. The next step is to blend them together with your stick blender. They can be around 100-110 degrees in temperature, or you can let them cool even more.
As long as the oils are still melted and the lye and oils are relatively similar in temperature, it will work fine.
The cooling stage will take around an hour.
Remember: Make sure your ingredients are in a safe place!
Step Five: Blend!

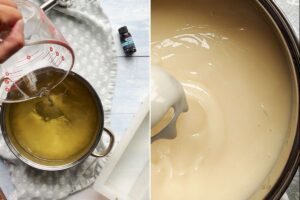
Now for the fun part. Pour the lye water into the melted oils and blend with your stick blender. At first, it will just seem very liquid, with droplets of oil floating around. After a minute or so, it will become one consistency, with no oil splotches. Then, the batter will start to slightly thicken.
Do not use a food processor or regular blender for this. It is too dangerous to have a caustic solution like this splashing around.
You can stop blending when your soap batter reaches “trace”. Trace means that when you lift up your blender and soap batter comes off of it, that soap batter will rest on top of the pot, leaving a trail, rather than immediately sinking in.
Some soap makers prefer a thin trace, and some will keep their immersion blender working until the soap has more of a pudding consistency. This is largely personal preference and as you make more handmade soap, you’ll develop your own style.
(At this point, you would add color, essential oils, or fragrance oil if you were using them, but I wouldn’t recommend either for your first batch.)
Make sure to wear gloves and safety goggles during this stage; there’s a high risk of splashing.
Step Six: Pour and Cure

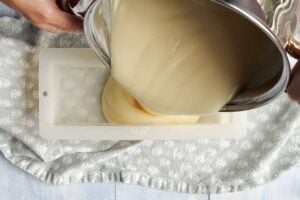
Once you have reached the trace, immediately pour the soap batter into the mold. It will start hardening right away, so move quickly.
You have a few options with molds:
- a silicone mold that forms a loaf
- a cavity mold that forms individual bars
- a lined soap mold made out of wood
Pour it right in and smooth out the top with a spatula.
Once it has cured for 24 hours, it’s time to unmold. It still needs time to finish drying out so the bar can get harder. (Castile soap will take up to two days.) You can leave the bars on an old towel for a few weeks.

Gel Phase During Curing
As soap cures, it will heat up. Sometimes it will heat up a lot and go through something called the “gel phase”. It gets bright, translucent, and very hot.
It’s not a problem, and some people prefer it because it makes colors brighter in the finished soap.
You can force the gel phase by putting the soap in a 120-degree oven for one hour, then turning the oven off and leaving it in there for 24 hours. Or by wrapping it in old blankets.
Or if you don’t want the gel phase, you can put the soap in the freezer.
Cleaning Up After Soapmaking
There are a few ways to handle this. You can rinse out everything from the pots and tools before it hardens into soap. You’ll need to be careful if you choose this method because the lye is still very caustic at this stage.
You could also let everything sit and turn into soap and then just wash it out. That is usually what I do.
Fun For The More Advanced Soap Maker
Once you have the cold-process soap method down, you can create your own recipes or add fun ingredients.
- One of my favorites is my cold process shower soap recipe, which has lots and lots of lather.
- Beeswax and honey soap makes a hard bar that is a beautiful gift or guest soap
- Mango butter soap has a lot of luxury oils and is extra moisturizing.
- Liquid soap is a whole new world. Similar process but not the same.
Great additions to handmade soap:
- poppy seeds
- coffee grounds
- essential oils
- oatmeal
You can also add natural colorants, or many different colorants and create a swirl.
Instead of using water to create your solution, you can substitute goat milk, tea, or other liquids.
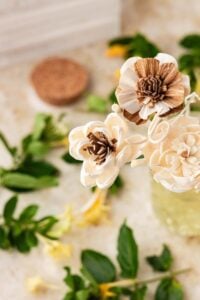
You can sprinkle the top of the soap bar with flower petals, herbs, or decorative glitter. The possibilities are endless. Really.
What About Hot Process Soap?
Hot-process soap uses heat to induce the gel phase during saponification. It “cooks” rather than just curing at room temperature. The process is similar to cold-processed soap, except the batter is heated before pouring.
It is frequently made in a crock pot. Again, the basic idea is the same, but heat forces the process instead of it just hanging out and processing at room temperature. (COLD process, get it?).
What About Melt and Pour?
It’s a big block of already made soap that you melt down. Think of buying bread dough to make cinnamon rolls or whatever. You’re adding stuff and shaping it. There’s nothing WRONG with it. But it’s not the same thing.
What if you just really REALLY don’t want to deal with lye?
Then don’t! I bet you have lived a lovely life up to this point without making cold process soap. Don’t worry about it!
But don’t be discouraged. You can make homemade sugar scrubs, homemade hand cream, and even pumpable body lotion without dealing with the dangers of lye.
You can also explore melt-and-pour soap (see above), which has all the fun of picking fragrance and color without the safety concerns.
Anything else I should know?
Well, yes, there are a few more things that you might find helpful. Don’t try to measure by volume. It won’t work, and there’s no getting around it. Keep a pot just for soap making, but also DON’T get hysterical about things mixing. When you wash your dishes, they touch dish soap. It rinses off. Relax!
At a certain point, you have to stop reading about the thing and DO the thing. And thus I leave you with this recipe. Best of luck.

Making a Beginner Soap
Equipment
- Stick blender
- Safety gear
- digital scale
Ingredients
- 10 ounces coconut oil
- 10 ounces olive oil
- 10 ounces palm oil
- 4.38 ounces lye
- 10 ounces water
- 3 tablespoons fragrance oil optional
- colorant or mica optional
Instructions
- Make lye water. Using a digital scale, measure out the lye and water in separate glass containers. Combine them by adding the lye to the water. (Remember: snow floats on the lake.). Stir until the lye dissolves. The temperature will shoot up. Place this in a safe place to cool.

- Melt oils. While the lye solution is cooling, measure out the oils butter and combine them in a large stainless pot. Melt them over low heat and heat them up to 130-140 degrees. Set them aside to cool.
- Check temperatures. After 2 hours, check the temperature of both solutions. They should be around 110 degrees. (A range of 100-120 is fine.). If not, allow them to cool longer.
- Prep mold and mix-ins. Prepare your mold and measure out any fragrance or color you will be adding. (For the best blending of colors, mix some color into a few drops of melted oils.
- Stick blend to trace. Pour the water and lye solution into the pot with the melted oils. Blend with a stick blender until a thin trace is reached. The soap batter will noticeably thicken and a trail of soap will sit on top of the liquid rather than immediately sinking in. (This will take about 1 minute.). Add the color and fragrance and stir by hand.
- Pour into mold. Immediately pour the soap batter into the mold. Smooth out the top with a spoon or spatula. Allow to cure at room temperature, uncovered for 24 hours.
- Unmold and cut. After 24 hours of curing, unmold and cut into bars. Allow to cure at least 3 weeks in a well-ventilated place.
Video
Notes
































Very concise steps and instructions. I was fortunate to have a friend d teach me how to make soap in person at her house after many years of wanting to learn how. She explained everything step by step and really demystified and took away the scariness of working with lye. She to me to “respect the medium you are working with and always err on the side of caution.” Those words clicked for me and changed everything!
So glad to see some love for Majestic Mountain Sage!! It is a great company here in Utah!😃
Te best,
Regards from Romania
Hey Corina, thank you so much!
What an amazing tutorials on soap making for beginners. It’s really whip up my enthusiasm and encouragement to venture into the art of soap making.
Hey Joseph, thank you! I’m so glad the tutorial sparked your enthusiasm. Soap making is such a rewarding hobby, and I’d love to hear how it goes for you. Happy soaping!
Hi, Im excited to get making. I ordered the ingredients. I ordered a small loaf mold that holds up to 20 oz. I was planning to do 16 oz batch. I have all the oils in your recipe. How do I adjust the weights for 16 oz of oil and how much lye and water will that adjust to?
Thank you so much
hi Christine, any timme you change a recipe you’ll need to get comfortable with a soap calculator. I like the one at mountain sage ocmpany, but there are many online. you can enter the amounts givenin the recipe and then go to “resize batch” and it will calculator everything for you. this will also let youtry different oils and figure out how much lye is needed for them.
You are a great teacher!
I have a lye bar soap does that count for making soap?
let the litel one wath somhing
i love your sope it is amazing.
love mckinley
I have worked in restaurants for many yrs. & we always had an oil pit to take away used oil for the making of soap. Is there some process needed to use this oil in the soap making process.I save this old oil not just for soap, but it can also be used as a fuel source. but, how would I proceed in soap making?
hey ken… this is super interesting. i deep fry a lot and would love to try this too. here’s an article i found on it https://www.nature.com/articles/d41586-022-01817-6
looks like you. basically just strain it and calculate a recipe using peanut oil or whatever other oil you used.
no it is perfict
I don,t now but thats a gret idea
I would like to make soap with my daughter but I don’t want her anywhere near the lye. Can I Do all the steps (minus the color and scent) and let the soap cure. Then, at a later time melt the soap and let her mix in colors and scent, then re-mold it? Sort of like a melt and pour. Would this change anything? Like would I still cut and cure it the first time? Thanks so much!
hey stephanie, to be honest i would just stick with melt and pour. you CAN do what you’re describing (it’s called re-batching) but the soap tends to come out kind of lumpy.
tell her that you are going to do this part
just stae come
Thanks so much for the smooth guide on how to make soap, I am sure it gonna be a fine roll
you are walcom wats your daters name and age.
Hi, thanx for sharing soap making process. Soon geting ingredients ready for the first trial.
I will share my experience then.
I would like to learn how to make hand lotion, petroleum jelly.
Please, could you send me the recipe on email.
look one up.
Thank you for bit by bit guide lines. It is very helpful.