The Easiest Way to Make Real Butter at Home (Without a Churn)
This isn’t just a fun kitchen experiment…it’s truly better than store-bought, with a clean, rich taste that makes every slice of bread feel special. If you’ve got heavy cream and a mixer, you’re halfway there. Let me show you exactly how to make butter at home, step by step. By the way, I know you’re tough, but please don’t try to mix this by hand. It just takes way too long.
I know this takes longer than just grabbing a stick at the store. But I think it’s worth trying at least once. Who knows? Maybe you’ll love the fresh taste so much you’ll start to make all your own from scratch…or maybe you’ll buy some from the store too. I do both. No judgement.
Table of Contents
Ingredients and Tools You’ll Need
As you continue to mix the cream past the whipped cream stage, the fat molecules begin to stick together, creating butter and releasing the liquid, buttermilk. The temperature of the cream will affect how long it takes. If it’s too cold, it will take forever. If it’s too warm, you’ll get greasy butter. Let it come to room temperature before you start.
Heart’s Content Farmhouse is a participant in the Amazon Services LLC Associates Program, an affiliate advertising program designed to provide a means for sites to earn advertising fees by advertising and linking to Amazon.com. This means that when you click on certain links on this site and make a purchase, I may earn a small commission at no additional cost to you. I only recommend products I genuinely believe in and would use in my own kitchen. As an Amazon Associate, I earn from qualifying purchases.

If you’d like to double or triple this recipe, you can make adjustments in the recipe card at the bottom of this post.
Equipment
- Hand or stand mixer (While a stand mixer is easier, a hand mixer works just fine – you’ll just need more patience.)
- Whisk
- Large spoon
- Cheesecloth
- Fine mesh sieve
- Large bowls (Pick one with high sides – this gets messy)
- Measuring cups and spoons
Ingredients
- 2 cups heavy cream (Let it come to room temperature. Use at least 36% fat content. Local or organic isn’t necessary, but avoid ultra-pasteurized if possible.)
- ½-1 teaspoon sea salt (Adds better flavor than table salt, but either works.)
How to Make Homemade Butter
The most important step is to wash your butter thoroughly. I know it can be tempting to skip or do a quick rinse, but removing all the buttermilk is crucial – any left behind will make it spoil faster. Keep rinsing until that water runs completely clear.
Step One: Whisk
Add your cream to a large bowl (or stand mixer) and whisk on low for 10-12 minutes until the consistency thickens and the cream becomes whipped cream.

Step Two: Beat
Swap out the whisk for a beater on a hand mixer. If you are using a stand mixer, you can keep using the whisk attachment. Beat at medium-high speed and continue mixing the whipped cream. After about 20 minutes, the whipped cream will change consistency again and form small clumps. After 25 minutes, the consistency will continue changing and become pale yellow.

Step Three: Reduce Speed
Around 30 minutes, the liquid will begin to separate from the solid butter clumps. Reduce the mixer’s speed to prevent splattering. The mixture will turn more yellow in color. Around 35 minutes, you will see a clear difference in color and consistency between the butter and the buttermilk. The butter is the little yellow fat clumps in the whitish liquid (buttermilk).

Step Four: Separate
Cover a fine mesh sieve with cheesecloth and place a bowl underneath. Pour the mixture over the cheesecloth-covered sieve and let all the buttermilk pour into the bowl below. Press the butter clumps with the back of a large spoon to squeeze out all the buttermilk you can. Remove the buttermilk bowl and set aside.

Step Five: Rinse
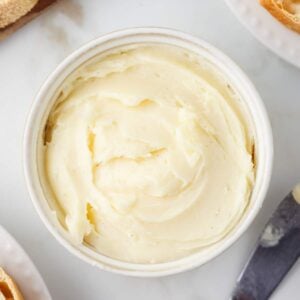
Rinse the butter with cold water for about 3-5 minutes to remove all of the excess buttermilk from the butter. Gently press with a spoon to get it all out. The water should run clear. This will help to preserve the butter and make it last longer. After rinsing, gather the butter in the cheesecloth and carefully squeeze out any excess liquid.

Step Six: Add Salt
Place your butter in a bowl or dish. Add ½ teaspoon of sea salt to the butter. Mix well and taste. If you prefer more salt, add up to another ½ teaspoon of sea salt and mix well!

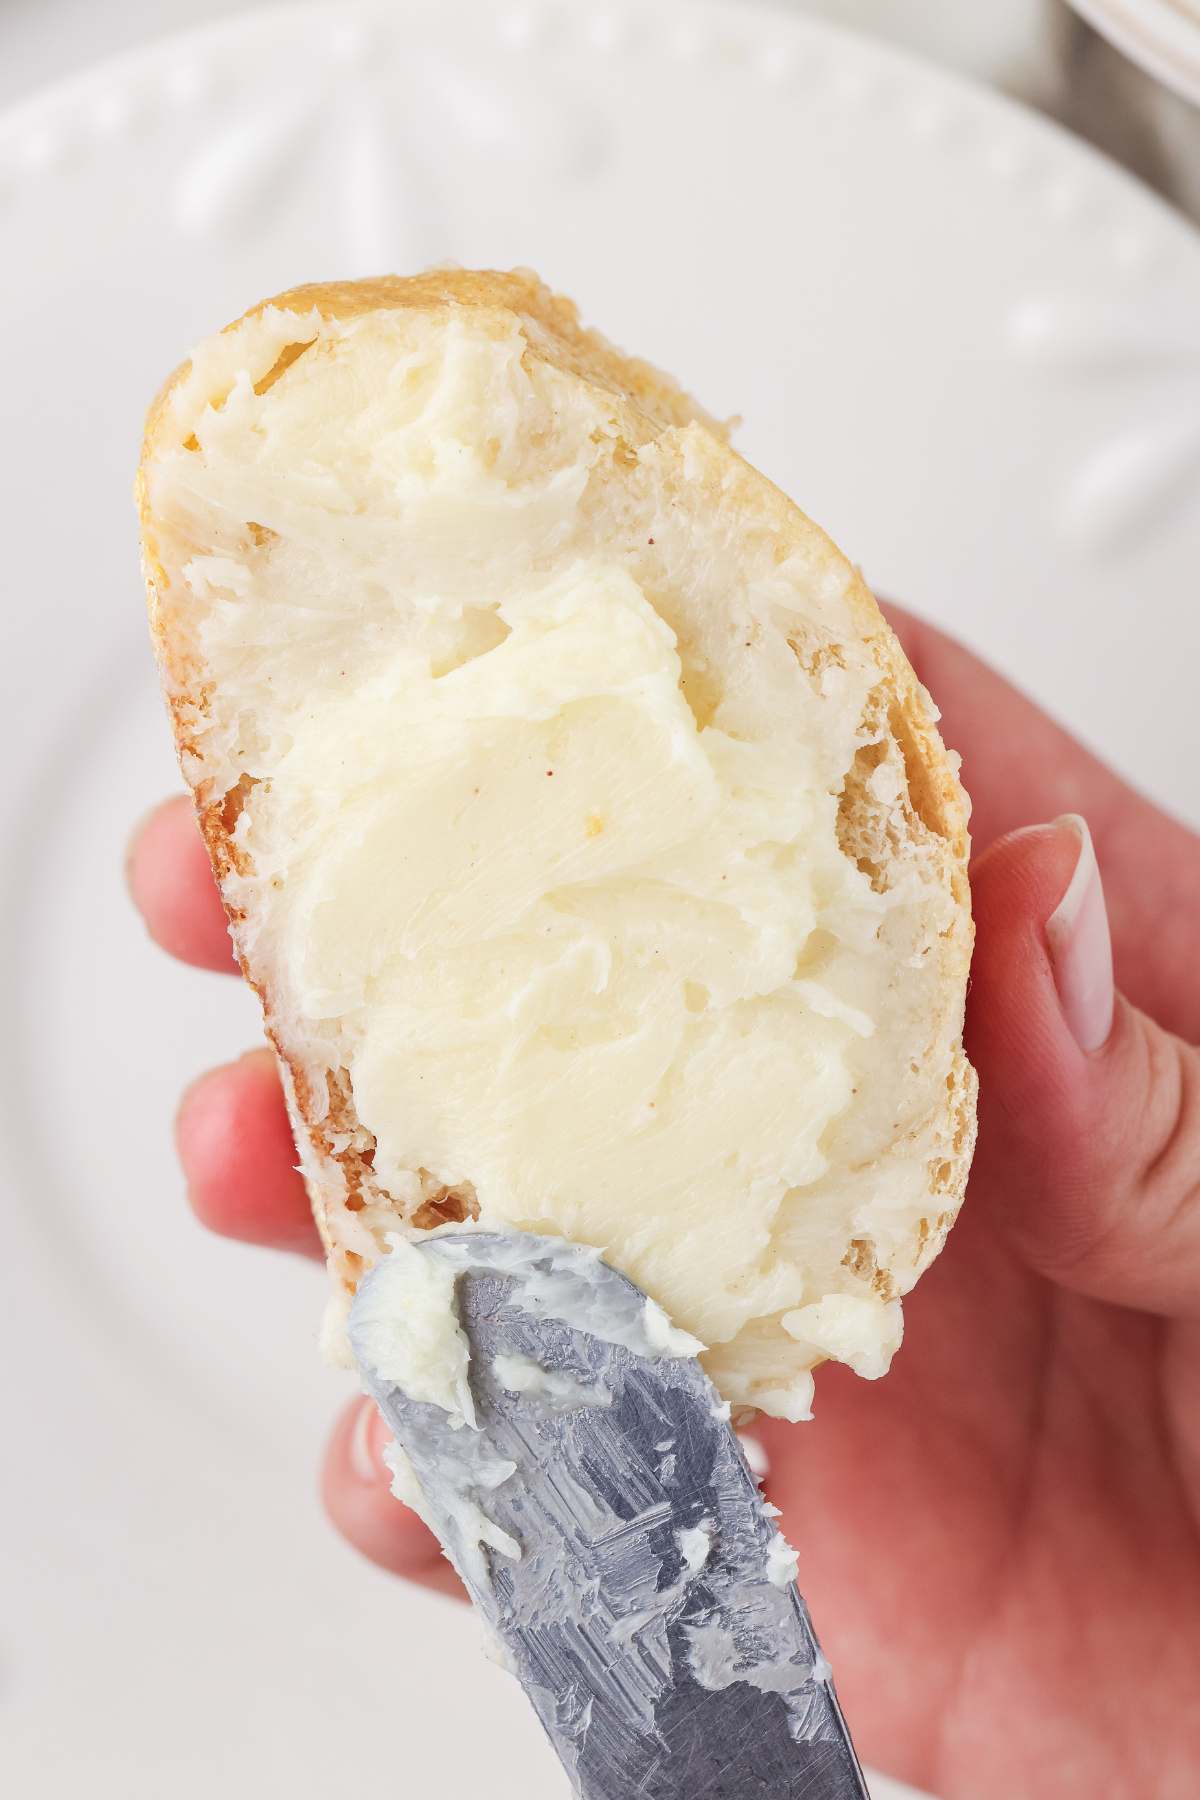
Serving & Storing Your Homemade Butter
It will stay good in the fridge for 3 days or 3 months, frozen. Always wrap it well: it likes to absorb other flavors. Let it come to room temperature before serving for the best spread.
Serve on any bread or biscuit!
- Spread over a soft slice of buttermilk sandwich bread (and use your buttermilk to make it!).
- Fresh butter over a cream biscuit with a cup of coffee or tea in the morning = perfection!
- This will taste so good on a warm slice of sourdough cinnamon raisin bread.

Make It Your Own
There are lots of ways to add different flavors.
- Add fresh herbs during the final mixing
- Try cultured cream for a tangier taste
- Mix in roasted garlic
- Use different salts (smoked salt works well)
- Save the buttermilk to bake some buttermilk blueberry waffles for breakfast the next day!
Printable Recipe
Homemade Butter
Equipment
- Hand or stand mixer
- Whisk
- Large spoon
- Cheesecloth
- Fine mesh sieve
- Large bowls
- Measuring cups and spoons
Ingredients
- 2 cups heavy cream (let it come to room temperature)
- ½-1 teaspoon sea salt
Save This Recipe
You'll join my email list which you will love. And if you don't, unsubscribe in one click. ❤️
Instructions
- Whisk. Add your cream to a large bowl (or stand mixer) and whisk on low for 10-12 minutes until the consistency thickens and the cream becomes whipped cream.
- Beat. Swap out the whisk for a beater on a hand mixer. If you are using a stand mixer, you can keep using the whisk attachment. Beat at medium-high speed and continue mixing the whipped cream. After about 20 minutes, the whipped cream will change consistency again and form small clumps. After 25 minutes, the consistency will continue changing and become pale yellow.
- Reduce speed. Around 30 minutes, the liquid will begin to separate from the solid butter clumps. Reduce the mixer’s speed to prevent splattering. The mixture will turn more yellow in color. Around 35 minutes, you will see a clear difference in color and consistency between the butter and the buttermilk. The butter is the little yellow fat clumps in the whitish liquid (buttermilk).
- Separate. Cover a fine mesh sieve with cheesecloth and place a bowl underneath. Pour the mixture over the cheesecloth-covered sieve and let all the buttermilk pour into the bowl below. Press the butter clumps with the back of a large spoon to squeeze out all the buttermilk you can. Remove the buttermilk bowl and set aside.
- Rinse. Rinse the butter with cold water for about 3-5 minutes to remove all of the excess buttermilk from the butter. Gently press with a spoon to get it all out. The water should run clear. This will help to preserve the butter and make it last longer. After rinsing, gather the butter in the cheesecloth and carefully squeeze out any excess liquid.
- Add salt. Place your butter in a bowl or dish. Add ½ teaspoon of sea salt to the butter. Mix well and taste. If you prefer more salt, add up to another ½ teaspoon of sea salt and mix well!
Notes
Nutrition


I’ve made butter with a glass jar paddle churn every summer for years now. Nothing is better than fresh! it’s too cold here in the winter (I keep my house pretty cool) but both the butter and buttermilk freeze well. I had an elderly friend who loved drinking buttermilk, so he always got a jar. Sadly, he’s gone now but every time I pour off the buttermilk I think fondly of him