Creamy Peanut Butter Fudge
I love making fudge because it’s strangely impressive but way (way!) easier than cookies. You’re just cooking stuff in a small pan and pouring it. Cookies can only wish they were that easy. This peanut butter fudge is one of my favorites. It’s sweet, creamy, and a tiny bit salty. Best of all, you don’t need any weird ingredients. You probably have everything you need right on hand.
What makes this fudge work is temperature and timing. You really need a candy thermometer here, although I know it’s a little annoying to buy one more thing. But they’re affordable, and you can use them for deep frying too.
The resting period after cooking is important too. You want the ingredients to cool enough so that when you beat them, they become smooth and creamy, not a gloppy mess.

Table of Contents
Ingredients and Tools You’ll Need
To keep your fudge smooth, you need to control the temperature. The candy thermometer is non-negotiable here. They are affordable, and I’ve provided a link below. Second, you NEED the corn syrup (I know, I know), but it’s the only way to prevent crystallization.
For the peanut butter, use commercial brands like Jif or Skippy. Natural peanut butter is great–but not for this. I personally prefer Jif creamy. Try my old-fashioned peanut butter balls if you’re a peanut butter lover like me.
I don’t know why, but I’ve never had success doubling this recipe or any other candy!
Equipment
- 2-quart saucepan
- Candy thermometer
- Whisk
- Hand mixer
- Buttered or parchment-lined dish
Ingredients
- 2¼ cups granulated sugar
- ½ teaspoon salt
- ⅔ cup half and half (can substitute equal parts heavy cream and whole milk if needed)
- 1 tablespoon corn syrup (Light or dark both work fine; do NOT substitute)
- 2 tablespoons butter + an additional tablespoon for greasing the pan
- ¾ cup creamy peanut butter
- 2 cups powdered sugar
- 1 teaspoon vanilla extract
How to Make Peanut Butter Fudge
Do not be intimidated by candy making. It is no big deal. Don’t rush the cooking, or you’ll get grainy fudge (keep it at medium-low). At some point, it will look crumbly and weird and like it can’t possibly work. It will work!
For the cooling step, wait until the pan is warm (not hot) to the touch. You should be able to hold your hand on the bottom comfortably.
If you live above sea level, read here to learn about candy-making at high altitudes.
Step One: Get Everything Mixed Up
Grab your 2-quart saucepan and whisk together the sugar, salt, half and half, and corn syrup until it’s smooth. Put it on medium-low heat and let it come to a gentle boil. Nothing crazy here – just a nice, easy bubble.

Step Two: Watch That Thermometer
Clip your candy thermometer to the side of the pan. Now here’s the HARD part – you cannot stir this. I know it’s tempting, but don’t do it! Let it cook until it hits exactly 240°F, then immediately pull it off the heat.

If you see sugar crystals on the sides of your pan while it’s cooking, wipe them down with a damp pastry brush. Keeps everything smooth.
Step Three: Add The Good Stuff – But Don’t Touch It Yet
Once it stops bubbling (give it a minute), add your 2 tablespoons of butter, the peanut butter, and vanilla right on top. Do NOT stir. I’m serious about this part. Let it cool for 20 minutes until the pan feels warm but not hot when you touch it.

Step Four: Time To Beat It Up
Now you can use your hand mixer at medium to low speed for about 1-3 minutes. You’ll see it get thick and smooth. Add the powdered sugar and beat it in. It’s going to look crumbly and weird – that’s NORMAL. Don’t panic.

Step Five: Press And Wait
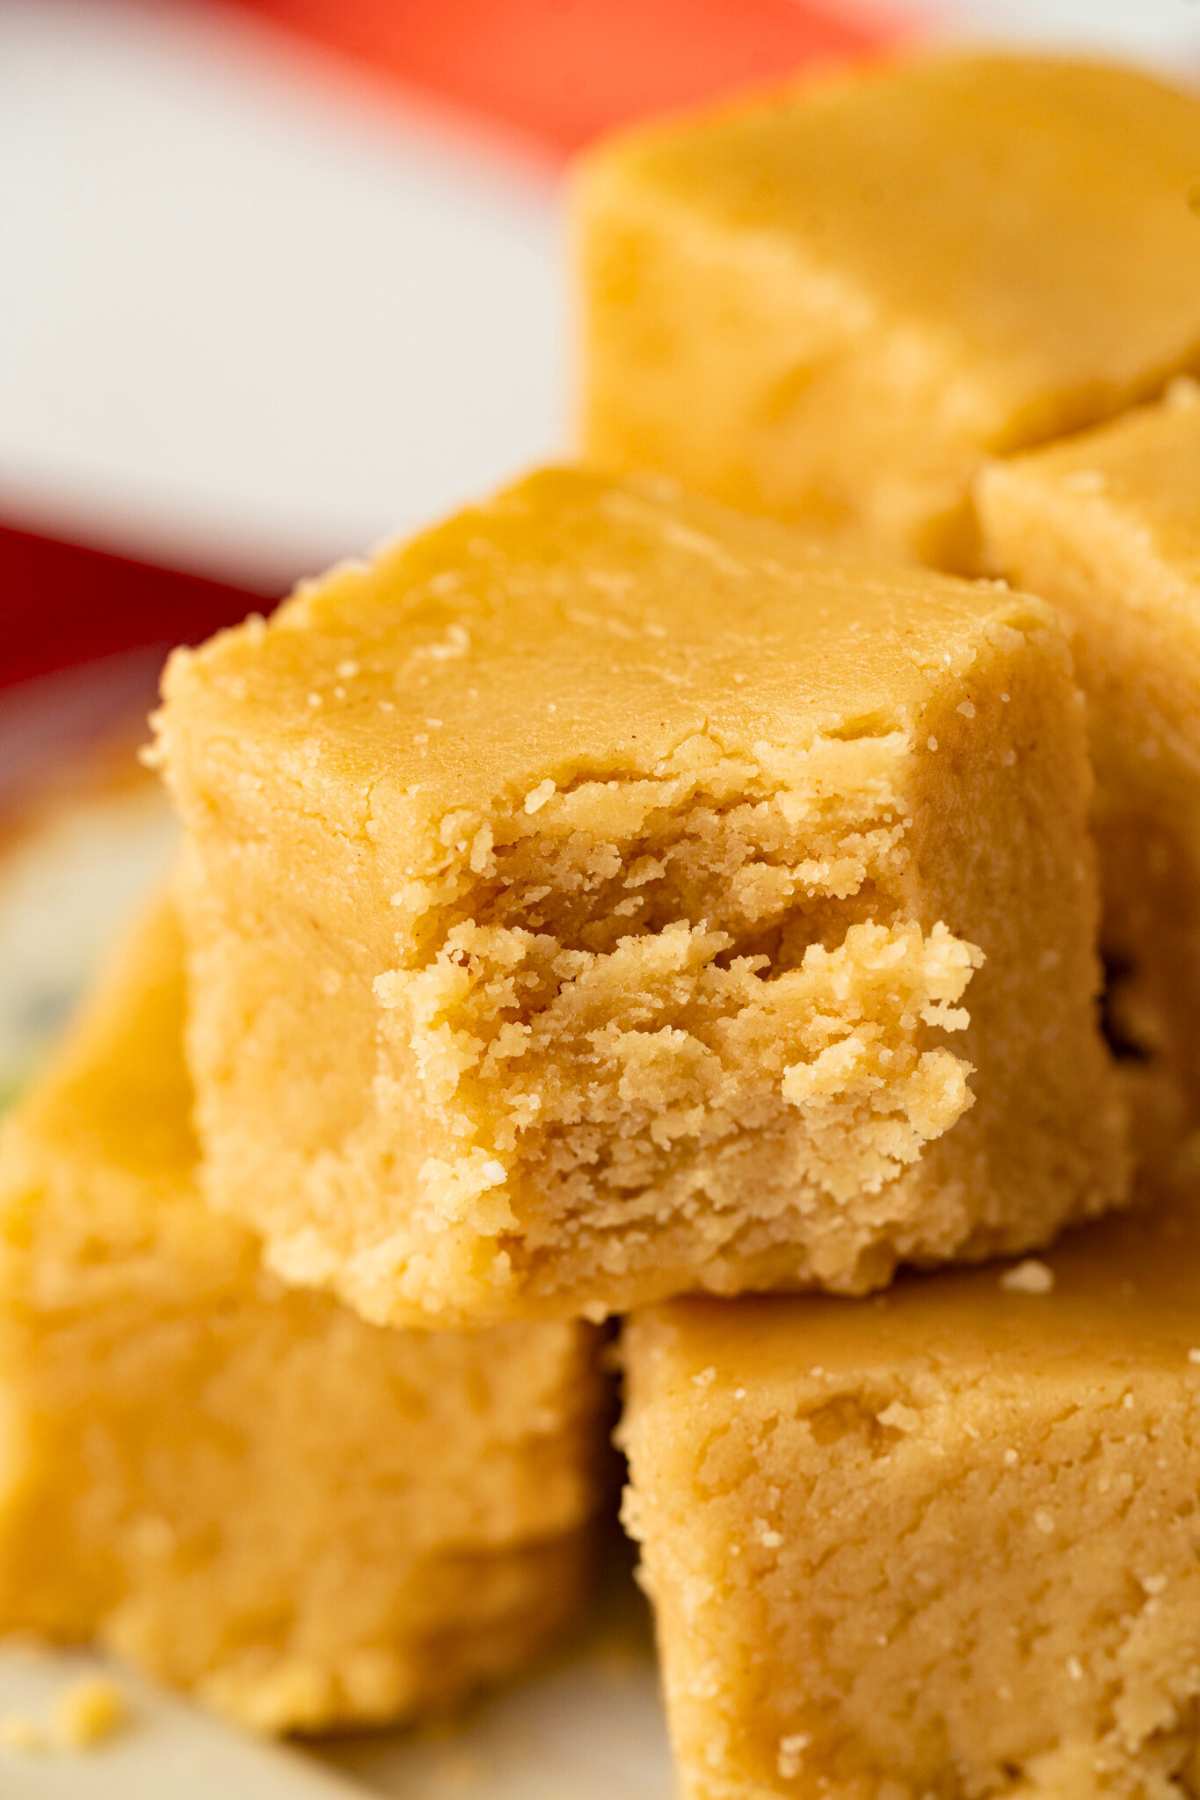
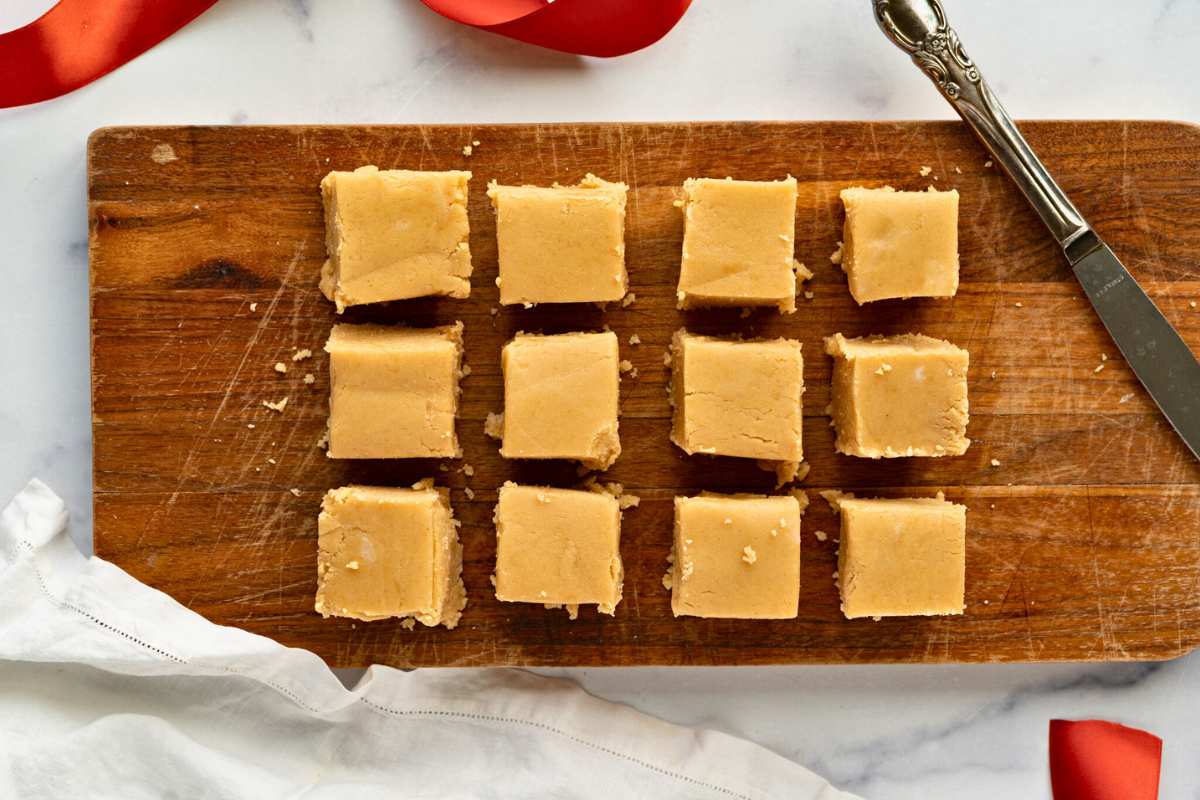
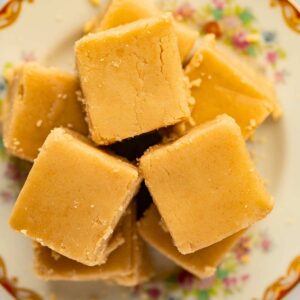
Press this crumbly mess into your buttered dish and smooth it out. Let it sit for about 20 minutes at room temperature. Once it’s set, cut it into one-inch squares. It’ll be softer than regular fudge because of the peanut butter, but it cuts just fine.

Serving & Storing
This is lovely in a mixed box of homemade candies and cookies, like Italian butter cookies or homemade soft caramels.
Store in an airtight container at room temperature for up to a week or in the fridge for up to 3 weeks. You can also wrap them well and store them in the freezer for up to 3 months. Just let it reach room temperature before serving.
Make It Your Own
It’s like a sweet candy dough. Let’s put stuff on top!
- Use almond or cashew butter (commercial versions only)
- Add a chocolate layer
- Top with flaky sea salt, mini chocolate chips, or crushed pretzels
Questions and Troubleshooting
No, that would be super weird. The texture will be strange, and it can affect how the fudge sets.
Usually, this means the mixture didn’t reach the proper temperature (240°F). Make sure your candy thermometer is calibrated correctly and isn’t touching the bottom of the pan. Also, humidity can affect the setting – on very humid days, you might need to cook at 241°F.
More Fudge Recipes
Now that you’ve got the hang of this and realize it’s easy, make some more!
- Peppermint fudge is a holiday classic.
- You don’t need a candy thermometer to make this maple nut fudge!
- Make a classic vanilla fudge or old fashioned chocolate fudge just like your grandmother used to make.
Printable Recipe
Peanut Butter Fudge
Equipment
- 2 quart saucepan
- Whisk
- Hand mixer
- Buttered or parchment-lined dish
Ingredients
- 2¼ cups granulated sugar
- ½ teaspoon salt
- ⅔ cup half and half
- 1 tablespoon corn syrup (do not substitute)
- 2 tablespoons butter + additional tablespoon for greasing pan
- ¾ cup creamy peanut butter
- 2 cups powdered sugar
- 1 teaspoon vanilla extract
Save This Recipe
You'll join my email list which you will love. And if you don't, unsubscribe in one click. ❤️
Instructions
- Combine and heat. In a 2-quart saucepan, mix the sugar, salt, half and half, and corn syrup. Whisk until smooth, then place over medium-low heat and bring the mixture to a gentle boil.
- Cook to 240°F. Attach a candy thermometer to the side of the saucepan. Allow the mixture to cook undisturbed (do not stir) until it reaches 240°F. Immediately remove the saucepan from the heat.
- Add butter and peanut butter – do not stir. Let the mixture sit until it stops bubbling. Add 2 tablespoons of butter, the peanut butter, and the vanilla extract on top. Do not stir; let it cool at room temperature for 20 minutes until the pan is warm but not hot to the touch.
- Beat the fudge. Use a hand mixer at medium to low speed to beat the mixture for 1-3 minutes until it thickens and becomes smooth. Add 2 cups of powdered sugar and beat in. It will appear crumbly: this is normal!
- Press, cool, and cut. Press the fudge into the buttered dish, smoothing it out as needed. Let it set for about 20 minutes at room temperature. Once set, cut into one-inch squares and enjoy! It will be softer than most stovetop fudge because of the peanut butter, but it will still cut into nice squares.
Notes
Nutrition