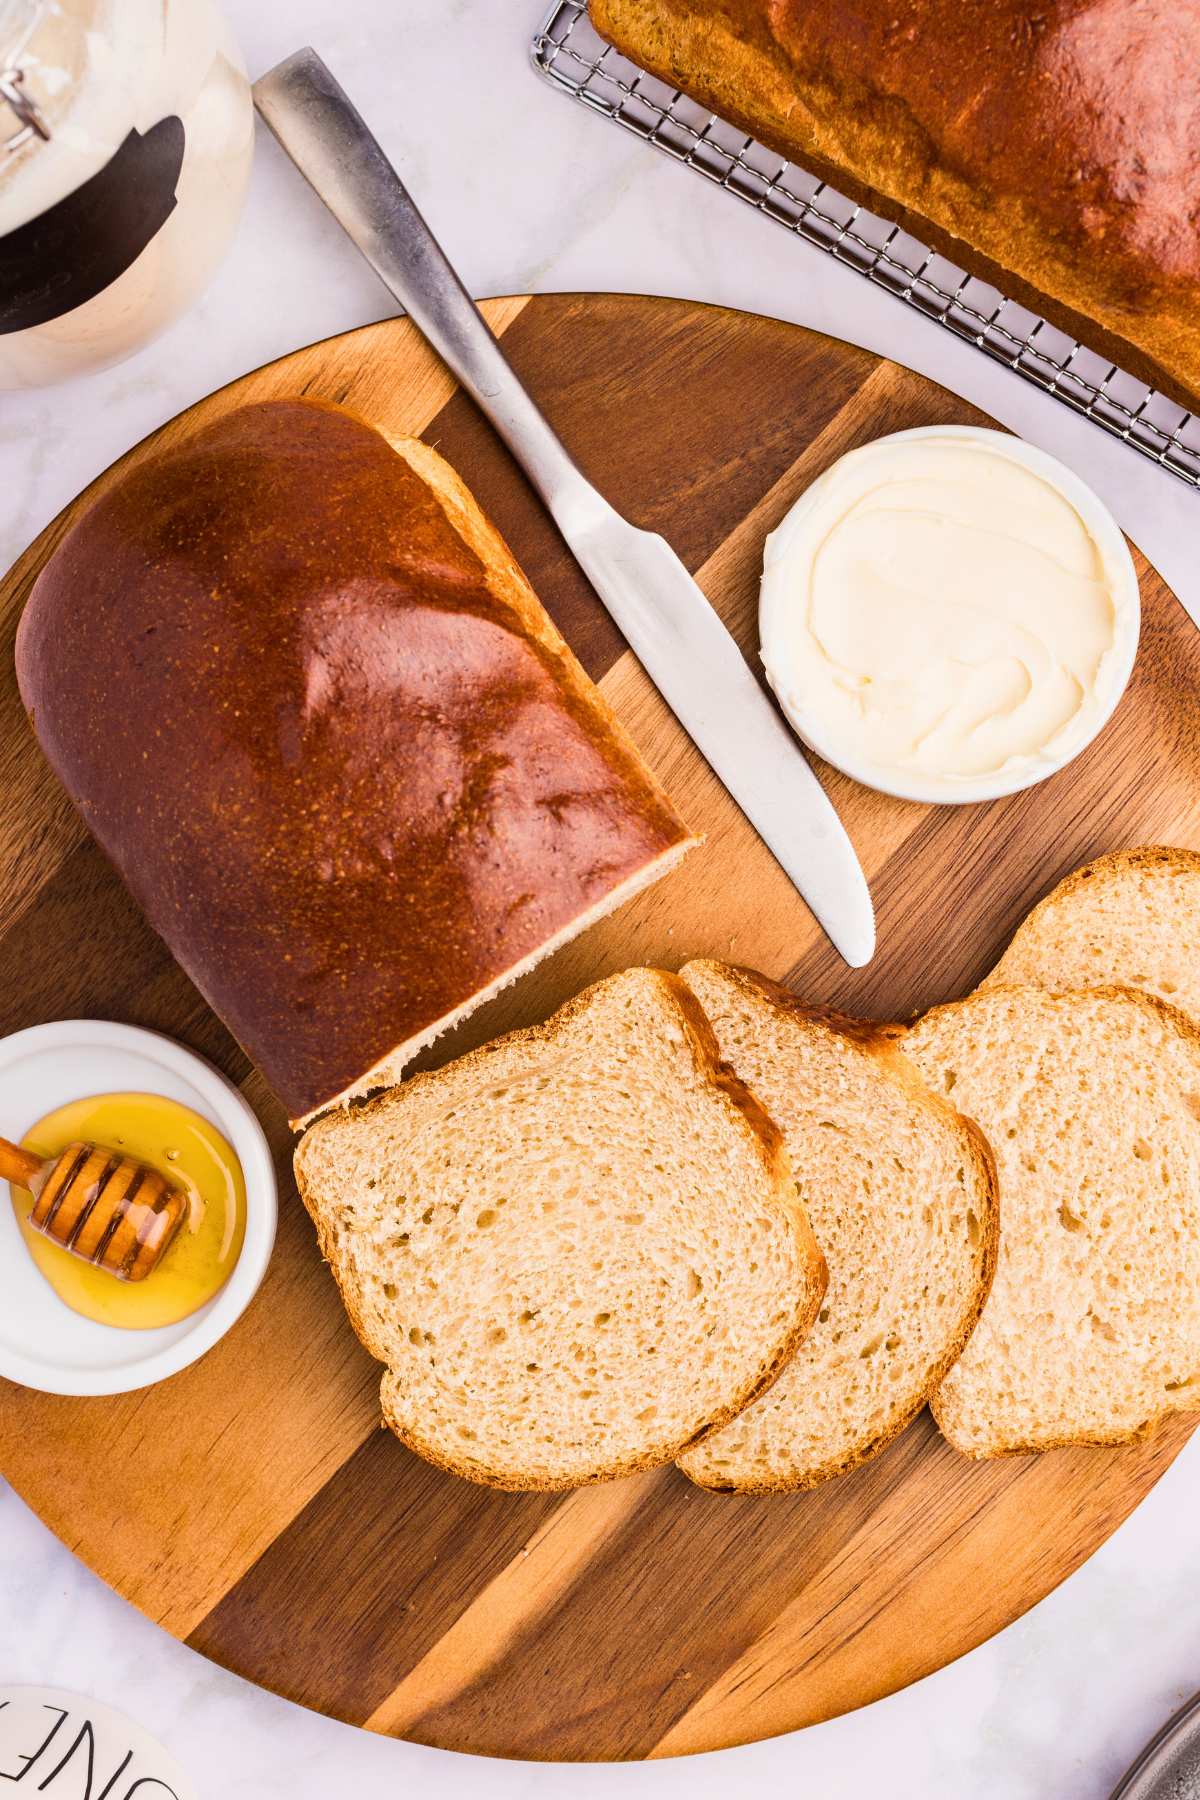
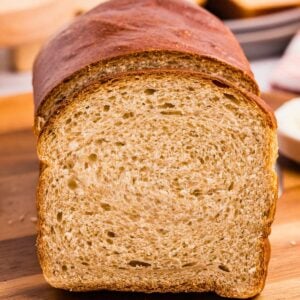
Soft Honey Wheat Sourdough Sandwich Bread
This whole wheat sourdough sandwich bread is soft enough for sandwiches, sturdy enough for toast, and gets rave reviews from my kids at lunch. A mix of all-purpose and whole wheat flour for the best texture and rise. With an overnight bulk fermentation, it fits into your day easily: start in the evening, shape in the morning, and bake before lunch.
I’ve tried using all whole-wheat flour and I don’t personally love it. But if you do, give it try. The method is still the same, you’ll just have a slightly denser loaf.
Table of Contents
What You’ll Need
This uses an active starter, so feed it the night before to make sure yours is bubbly. For metric measurements, check the recipe card below.


Heart’s Content Farmhouse is a participant in the Amazon Services LLC Associates Program, an affiliate advertising program designed to provide a means for sites to earn advertising fees by advertising and linking to Amazon.com. This means that when you click on certain links on this site and make a purchase, I may earn a small commission at no additional cost to you. I only recommend products I genuinely believe in and would use in my own kitchen. As an Amazon Associate, I earn from qualifying purchases.
If you’d like to double or triple this recipe, or use metric measurements, you can make adjustments in the recipe card at the bottom of this post.
Equipment
- Stand mixer with whisk and dough hook attachments (This makes the process much easier, but is not strictly required.)
- Baking spray
- Loaf pans (standard 9×5-inch pans work best)
- Parchment paper
- Wire cooling rack
- Bread knife
- Pastry brush (optional)
Ingredients
Bread
- ⅓ cup honey
- ½ cup active sourdough starter
- ½ cup unsalted butter, melted and cooled (one stick)
- 1 ¼ cups milk warmed to 90℉
- 1 ¼ teaspoon salt
- 2 tablespoons vital wheat gluten (adds necessary protein for structure; find it with specialty flours)
- 4 cups all-purpose flour
- 1 cup whole wheat flour
Egg Wash (Optional)
- 1 egg
- 1 tablespoon water
How to Make Sourdough Wheat Bread
Long rising times do all the work here. So don’t rush.
Step One: Activate Starter The Night Before
Mix together 20 grams of starter, 40 grams of both all-purpose flour and filtered water. Stir to combine and allow it to sit at room temperature for 8 hours or until it’s doubled in size. This will give you 100 grams of sourdough starter.
Step Two: Mix
Add the honey, sourdough starter, warm milk, and salt to the bowl of your stand mixer with the whisk attachment added. Stir to combine.

Step Three: Add Flour And Wheat Gluten
Next, add the whole wheat flour and vital wheat gluten. Stir to combine.

Step Four: Add Butter
Add the melted and cooled butter. Stir to combine.

Step Five: Add Half The Flour
Add 2 cups of the all-purpose flour and continue to stir. This dough will be very wet.

Step Six: Add Rest Of Flour
Switch out the whisk attachment for the dough hook. Start to mix the rest of the all-purpose flour into the dough by adding about ⅓ cup of flour to the dough at a time, stirring in between each addition to incorporate the flour. You’ll know that enough flour has been added when the dough is tacky and comes away from the sides of the bowl when it is being mixed.

Step Seven: Knead
Set your stand mixer to medium speed and knead the dough for 3 minutes. You can also do this by hand by turning the dough out onto a clean, dry surface and kneading the dough by hand for 5-8 minutes. You may need some additional flour to keep the dough from sticking to the counter.

Step Eight: Grease Bowl
Turn out the dough onto a clean surface, clean out your mixing bowl, and lightly grease it with baking spray.
Step Nine: Long Rise
Transfer the dough to the greased bowl, cover with a tea towel or plastic wrap, and place in a warm place for about 8-12 hours or until the dough has doubled in size. The best is overnight.

Step Ten: Prep Pans
Prepare two bread pans by lightly greasing the pans and adding a sheet of parchment paper, leaving a slight overhang on both sides.
Step Eleven: Divide And Shape
Once the dough has doubled in size, turn the dough out onto a lightly floured surface and cut the dough in half. Shape one of the pieces of dough into a rectangle about double the size of the bread pan. Then roll the dough up, tucking in the edges as you go to shape the dough into a loaf form. Place the dough into one of the prepared bread pans. Repeat this process with the other dough ball.

Step Twelve: Rise
Place the loaves in a warm place for about an hour, covered, so they can rise.

Step Thirteen: Egg Wash (Optional)
Prepare the egg wash by adding one egg and one tablespoon of water to a small bowl. Stir or whisk to mix the egg and the water completely. Using a pastry brush, brush the tops of the loaves with the egg wash.

Step Fourteen: Preheat Oven
About 45 minutes into the second rise, preheat the oven to 375°F.
Step Fifteen: Bake
Once the oven is preheated, bake the loaves for 40 minutes or until the top is golden brown.

Step Sixteen: Cool
Keep the bread in the loaf pans and cool on a wire cooling rack for 15 minutes. Remove the bread from the pans and cool on a cooling rack for another 15 minutes before cutting into the bread.
Serving & Storing Ideas
Great for sandwiches, toast with homemade butter, or grilled cheese with tomato soup.
- Keep the bread whole until you’re ready to use it – this prevents it from drying out.
- Store in a bread bag or box at room temperature for up to 3 days.
- For longer storage, slice the whole loaf once it’s completely cool and freeze with parchment between slices.

More Wheat Bread Recipes
- These honey wheat rolls are soft and perfect for a special dinner.
- Or make a honey wheat sandwich bread instead.
- If you want something quicker than sourdough, make this bread machine honey wheat bread that needs just 5 minutes of prep!
- This whole wheat sandwich bread is the same, but with yeast instead of sourdough starter.
Printable Recipe
Sourdough Whole Wheat Sandwich Bread
Equipment
- Stand mixer with whisk and dough hook attachments
- Baking spray
- Loaf pans
- Wire cooling rack
- Bread knife
- Pastry brush (optional)
Ingredients
Bread
- ⅓ cup honey
- ½ cup active sourdough starter
- ½ cup unsalted butter melted and cooled (one stick)
- 1 ¼ cups milk warmed to 90℉
- 1 ¼ teaspoon salt
- 2 tablespoons vital wheat gluten
- 4 cups all-purpose flour
- 1 cup whole wheat flour
Egg Wash (Optional)
- 1 egg
- 1 tablespoon water
Save This Recipe
You'll join my email list which you will love. And if you don't, unsubscribe in one click. ❤️
Instructions
- Activate starter the night before. Mix together 20 grams of starter, 40 grams of both all-purpose flour and filtered water. Stir to combine and allow it to sit at room temperature for 8 hours or until it’s doubled in size. This will give you 100 grams of sourdough starter.
- Mix. Add the honey, sourdough starter, warm milk, and salt to the bowl of your stand mixer with the whisk attachment added. Stir to combine.
- Add flour and wheat gluten. Next, add the whole wheat flour and vital wheat gluten. Stir to combine.
- Add butter. Add the melted and cooled butter. Stir to combine.
- Add half the flour. Add 2 cups of the all-purpose flour and continue to stir. This dough will be very wet.
- Add rest of flour. Switch out the whisk attachment for the dough hook. Start to mix the rest of the all-purpose flour into the dough by adding about ⅓ cup of flour to the dough at a time, stirring in between each addition to incorporate the flour. You’ll know that enough flour has been added when the dough is tacky and comes away from the sides of the bowl when it is being mixed.
- Knead. Set your stand mixer to medium speed and knead the dough for 3 minutes. You can also do this by hand by turning the dough out onto a clean, dry surface and kneading the dough by hand for 5-8 minutes. You may need some additional flour to keep the dough from sticking to the counter.
- Grease bowl. Turn out the dough onto a clean surface, clean out your mixing bowl, and lightly grease it with baking spray.
- Long Rise. Transfer the dough to the greased bowl, cover with a tea towel or plastic wrap, and place in a warm place for about 8-12 hours or until the dough has doubled in size. The best is overnight.
- Prep pans. Prepare two bread pans by lightly greasing the pans and adding a sheet of parchment paper, leaving a slight overhang on both sides.
- Divide and shape. Once the dough has doubled in size, turn the dough out onto a lightly floured surface and cut the dough in half. Shape one of the pieces of dough into a rectangle about double the size of the bread pan. Then roll the dough up, tucking in the edges as you go to shape the dough into a loaf form. Place the dough into one of the prepared bread pans. Repeat this process with the other dough ball.
- Rise. Place the loaves in a warm place for about an hour covered so they can rise.
- Egg wash (optional). Prepare the egg wash by adding one egg and one tablespoon of water to a small bowl. Stir or whisk to mix the egg and the water completely. Using a pastry brush, brush the tops of the loaves with the egg wash.
- Preheat oven. About 45 minutes into the second rise, preheat the oven to 375°F.
- Bake. Once the oven is preheated, bake the loaves for 40 minutes or until the top is golden brown.
- Cool. Keep the bread in the loaf pans and cool on a wire cooling rack for 15 minutes. Remove the bread from the pans and cool on a cooling rack for another 15 minutes before cutting into the bread.
Notes
Nutrition