Overnight Blueberry Sourdough Bagels
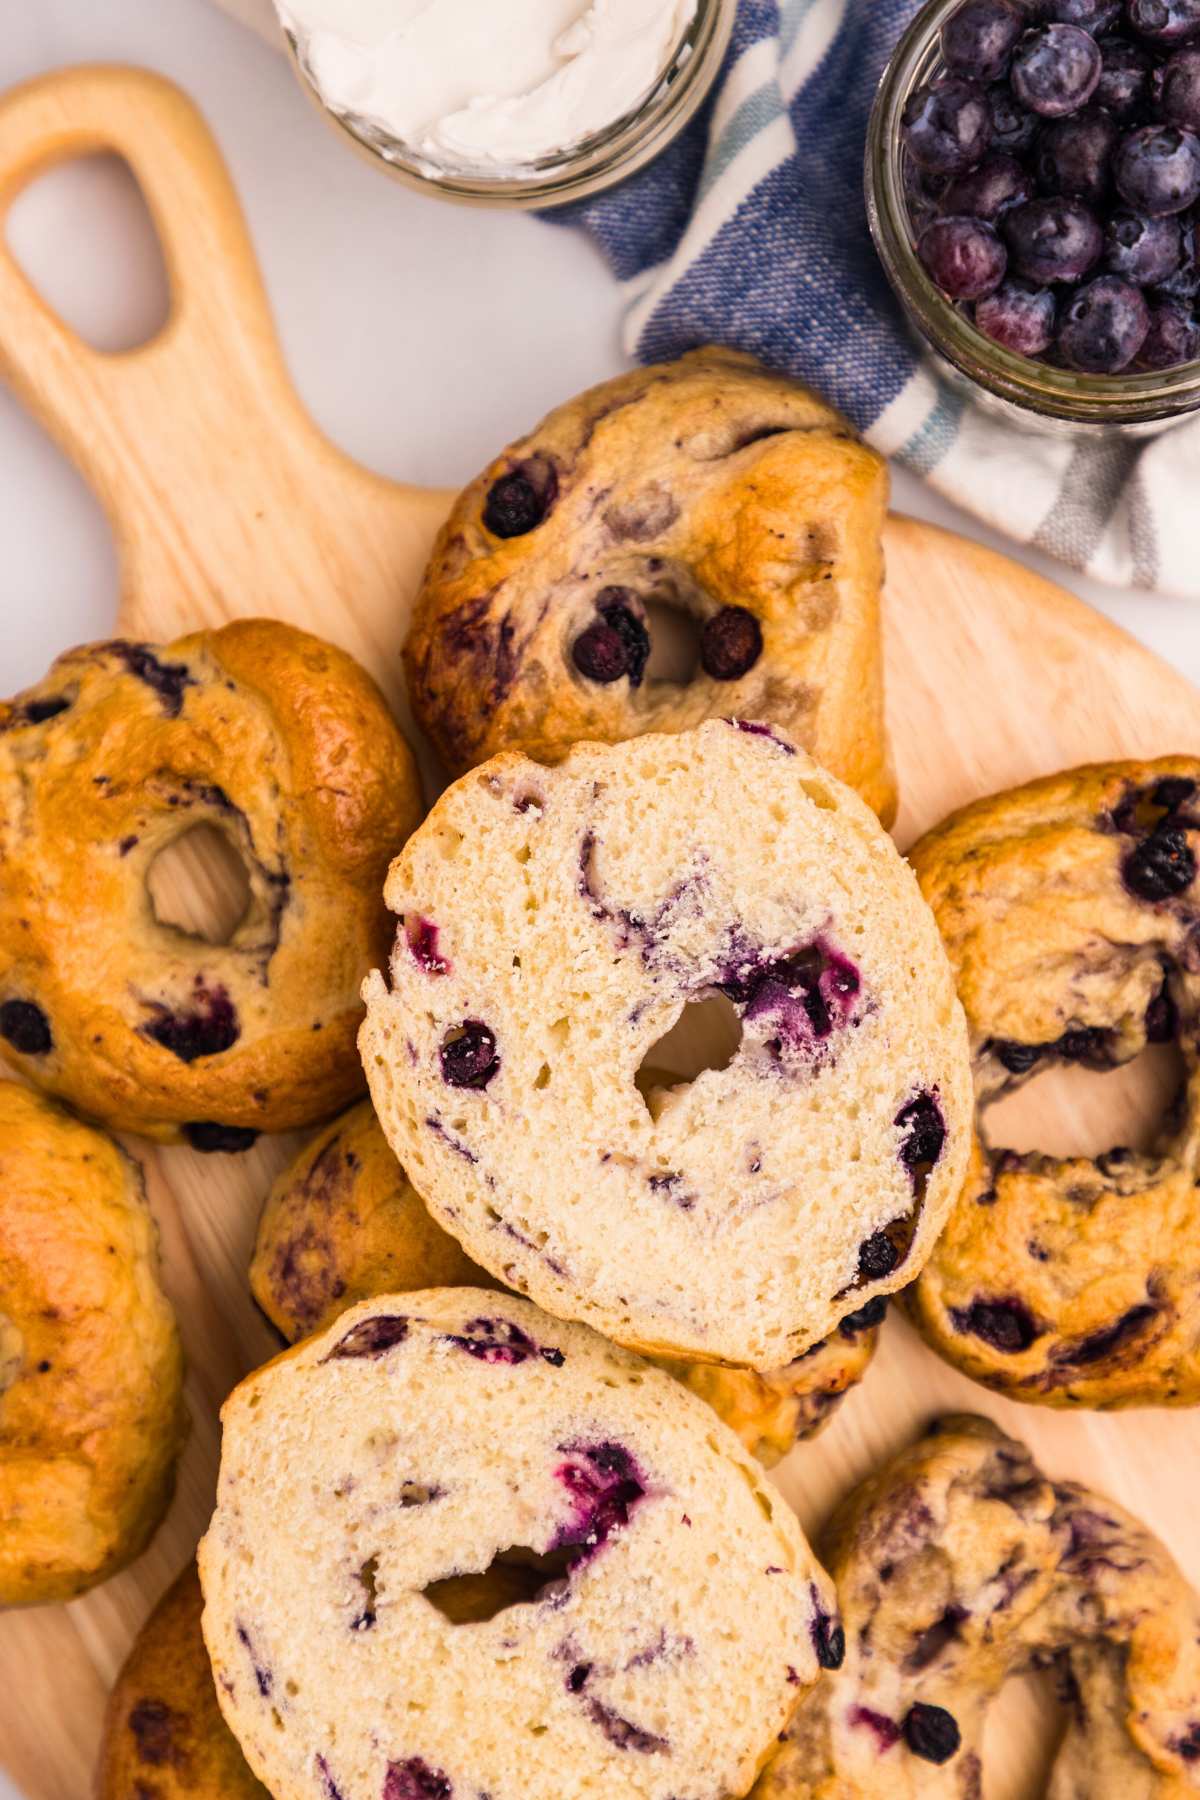
The dough is simple, the rise is long, and the results are worth it. If you’ve got a healthy starter and a quiet weekend morning, you can absolutely make these sourdough blueberry bagels. They freeze like a dream and make the best breakfast with a smear of cream cheese.

I like to make these on the weekend for the week ahead. I take them out of the freezer and pop them in the toaster. Add some cream cheese or blueberry preserves. Delicious!
Table of Contents
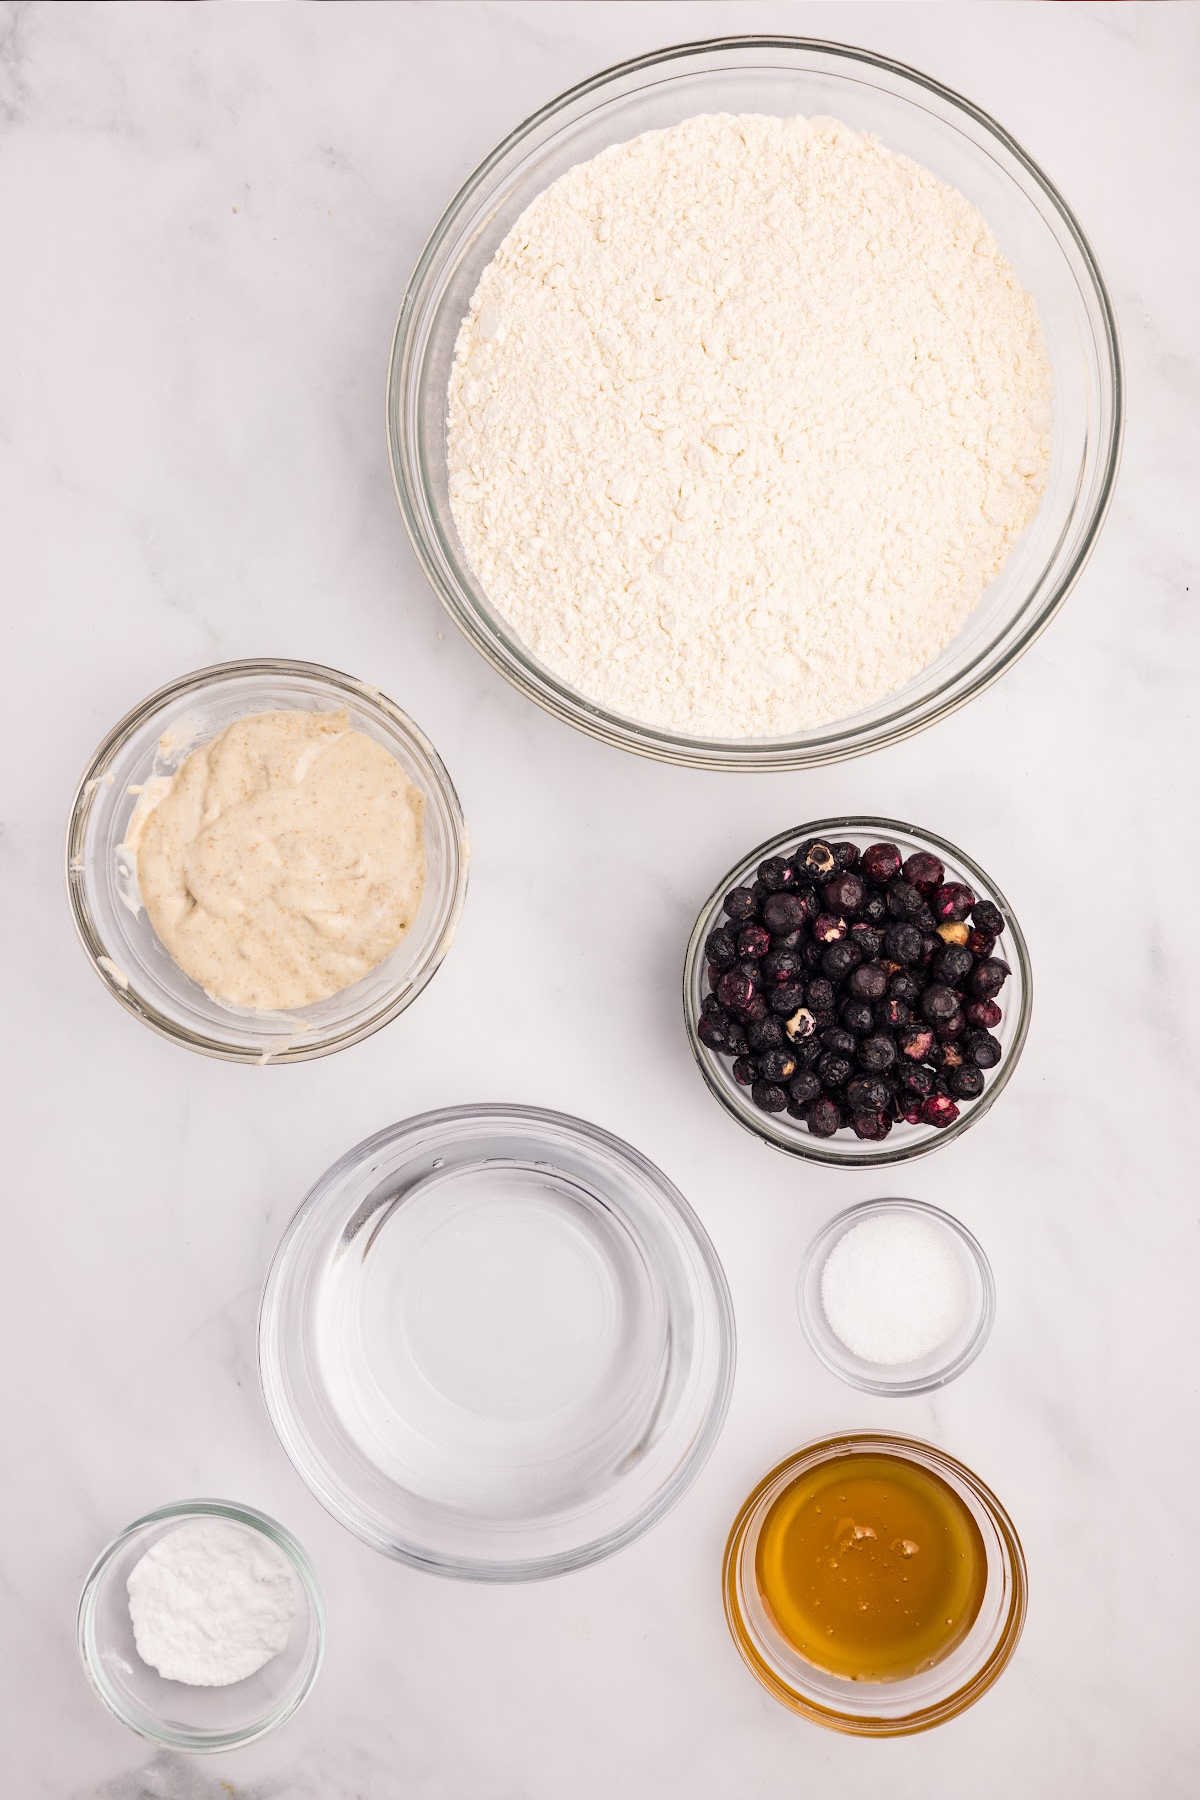
What You’ll Need
Make sure your starter is bubbly and active. Dried blueberries work best here because they won’t release extra moisture and you won’t have purple streaks! If you’re going to use fresh, you will need more flour.
Sourdough Sundays Newsletter

Every Sunday evening I’ll send you a sourdough recipe to make that week, straight from my kitchen to your inbox.
And as a thank you for signing up, I’ll send you this e-book with beautiful printable recipes right away. Simple!
You will not be added to any other email lists or my daily newsletter. But if you’re already on my newsletter, you’re welcome to join and receive both.
If you don’t have dried blueberries, you can also make them plain, following my chewy sourdough bagel recipe.
If you’d like to double or triple this recipe, you can make adjustments in the recipe card at the bottom of this post.
Equipment
Heart’s Content Farmhouse is a participant in the Amazon Services LLC Associates Program, an affiliate advertising program designed to provide a means for sites to earn advertising fees by advertising and linking to Amazon.com. This means that when you click on certain links on this site and make a purchase, I may earn a small commission at no additional cost to you. I only recommend products I genuinely believe in and would use in my own kitchen. As an Amazon Associate, I earn from qualifying purchases.
- 6-8 quart pot
- Digital Scale (for measuring sourdough)
- Slotted spoon
- Parchment paper
- 2 Baking sheets
Ingredients

Bagels
- ½ cup active sourdough starter (100 grams)
- 1 cup warm water
- 2 tablespoons honey (can substitute sugar)
- 3 ¾-4 cups all-purpose flour
- 2 teaspoons salt
- 1 cup dried blueberries (if using fresh blueberries, add more flour when you start shaping)
Water Bath
- 6 cups water
- 1 tablespoon honey
- 1 tablespoon baking soda, optional (gives the bagels that classic golden brown look)
How to Make Blueberry Sourdough Bagels
Don’t skip or rush the long rise. It’s worth the wait, I promise. If you’re new to the world of sourdough, check out these tips.
Step One: Feed Starter The Night Before
8 hours before you’re ready to make these bagels, feed your sourdough starter by adding 30 grams of sourdough, 45 grams of flour, and 45 grams of water (this will give you 100 g of active sourdough if you want more to feed later, double this). Stir to combine, cover, and let it sit at room temperature for 8 hours or until it’s doubled in size.
Step Two: Mix Water, Honey, And Starter
In a large mixing bowl, add the warm water, honey (or sugar), and active sourdough starter. Stir until the water and sourdough starter are almost fully incorporated.

Step Three: Add Salt And Flour
Add the salt and flour to the mixing bowl and stir to combine. Use a wooden spoon as much as you can, but you may need to use your hands to add the rest of the flour.

Step Four: Rise
Form the dough into a ball. Place into a clean bowl and cover with a towel, plate, or plastic wrap. Let it sit covered for 1 hour.

Step Five: Fold In Blueberries
After 1 hour, remove the cover. Add the blueberries to the bowl, and fold the dough over them until they’ve been well incorporated into the dough.

Step Six: Long Rise
Cover the dough with a towel, plate, or plastic wrap and let it rise for 8-12 hours or overnight.

Step Seven: Divide And Rest
Remove the cover and transfer the dough to a clean, dry space. Divide the dough into 12 equal portions and form them into a ball. Cover and let them sit for 1 hour.

Step Eight: Prep The Water Bath
Add the water, honey, and baking soda (if using) to a large pot and bring to a boil over medium-high heat.

Step Nine: Prep For Baking
While the water is coming to a boil, cut a piece of parchment paper into twelve 4×4-inch (2.5×2.5 cm) squares. Set aside. Line 2 baking sheets with parchment paper, then set aside. Preheat the oven to 375℉ (190℃).
Step Ten: Shape
Shape the dough balls into bagel shapes by pressing a hole into the middle and then stretching the hole. Place the prepared bagel onto one of the parchment squares. Repeat this process 11 more times until all the dough balls have been shaped into bagel shapes. The parchment paper allows for easy transfer, preventing the dough from sticking to your hands or the counter.

Step Eleven: Boil
Working in batches (about three at a time), place the bagels into the water bath. Cook for 3 minutes, flipping halfway through (about 90 seconds). Transfer the boiled bagels to the lined baking sheet.

Step Twelve: Bake
Bake the boiled bagels at 375℉ (190℃) for 25 minutes or until golden brown.

Step Thirteen: Cool
Remove them from the oven, cool for 5 minutes, then move them to a cooling rack. Cool on the rack for 10 minutes before cutting into them.
Storage Instructions
Store the bagels in an airtight container or ziplock bag at room temperature for 3 days and in the fridge for up to 5 days.
These freeze well and are great for making ahead on a prep day. Cool them and slice them. Place them in a resealable freezer bag or an airtight container for up to 3 months. When you’re ready to eat, just pop them in the toaster or oven straight from the freezer.
What to Serve with Blueberry Sourdough Bagels
- Spread on some cream cheese or blueberry preserves.
- Have a side of scrambled eggs, bacon, sausage, or baked omelet for some protein.
- Enjoy with a nice cup of hot coffee or tea.

More Blueberry Breakfast Recipes
- For a quick breakfast, this sourdough blueberry quick bread is delicious with the icing on top!
- Use up that random leftover buttermilk and make buttermilk blueberry waffles on a Saturday morning.
- Muffins are the best on-the-go breakfast or snack, and these sourdough blueberry muffins check all the boxes.
Printable Recipe
Blueberry Sourdough Bagels

Equipment
- 6-8 quart pot
- digital Scale (for measuring sourdough)
- Slotted spoon
- 2 Baking sheets
Ingredients
Bagels
- ½ cup active sourdough starter 100 grams
- 1 cup warm water
- 2 tablespoons honey (can substitute sugar)
- 3 ¾-4 cups all-purpose flour
- 2 teaspoons salt
- 1 cup dried blueberries (see notes if using fresh blueberries)
Water Bath
- 6 cups water
- 1 tablespoon honey
- 1 tablespoon baking soda optional (see notes)
Save This Recipe
You'll join my email list which you will love. And if you don't, unsubscribe in one click. ❤️
Instructions
- Feed starter the night before. 8 hours before you’re ready to make these bagels, feed your sourdough starter by adding 30 grams of sourdough, 45 grams of flour, and 45 grams of water (this will give you 100 g of active sourdough if you want more to feed later, double this). Stir to combine, cover, and let it sit at room temperature for 8 hours or until it’s doubled in size.
- Mix water, honey, and starter. In a large mixing bowl, add the warm water, honey (or sugar), and active sourdough starter. Stir until the water and sourdough starter are almost fully incorporated.
- Add salt and flour. Add the salt and flour to the mixing bowl and stir to combine. Use a wooden spoon as much as you can, but you may need to use your hands to add the rest of the flour.
- Rise. Form the dough into a ball. Place into a clean bowl and cover with a towel, plate, or plastic wrap. Let it sit covered for 1 hour.
- Fold in blueberries. After 1 hour, remove the cover. Add the blueberries to the bowl, and fold the dough over them until they’ve been well incorporated into the dough.
- Long rise. Cover the dough with a towel, plate, or plastic wrap and let it rise for 8-12 hours or overnight.
- Divide and rest. Remove the cover and transfer the dough to a clean, dry space. Divide the dough into 12 equal portions and form them into a ball. Cover and let them sit for 1 hour.
- Prep the water bath. Add the water, honey, and baking soda (if using) to a large pot and bring to a boil over medium-high heat.
- Prep for baking. While the water is coming to a boil, cut a piece of parchment paper into twelve 4×4-inch (2.5×2.5 cm) squares. Set aside. Line 2 baking sheets with parchment paper, then set aside. Preheat the oven to 375℉ (190℃).
- Shape. Shape the dough balls into bagel shapes by pressing a hole into the middle and then stretching the hole. Place the prepared bagel onto one of the parchment squares. Repeat this process 11 more times until all the dough balls have been shaped into bagel shapes. The parchment paper allows for easy transfer, preventing the dough from sticking to your hands or the counter.
- Boil. Working in batches (about 3 at a time), place the bagels into the water bath. Cook for 3 minutes, flipping halfway through (about 90 seconds). Transfer the boiled bagels to the lined baking sheet.
- Bake. Bake the boiled bagels at 375℉ (190℃) for 25 minutes or until golden brown.
- Cool. Remove them from the oven, cool for 5 minutes, then move them to a cooling rack. Cool on the rack for 10 minutes before cutting into them.
Notes
Nutrition
Did You Make This?
I would love it if you would leave a review!Love,


