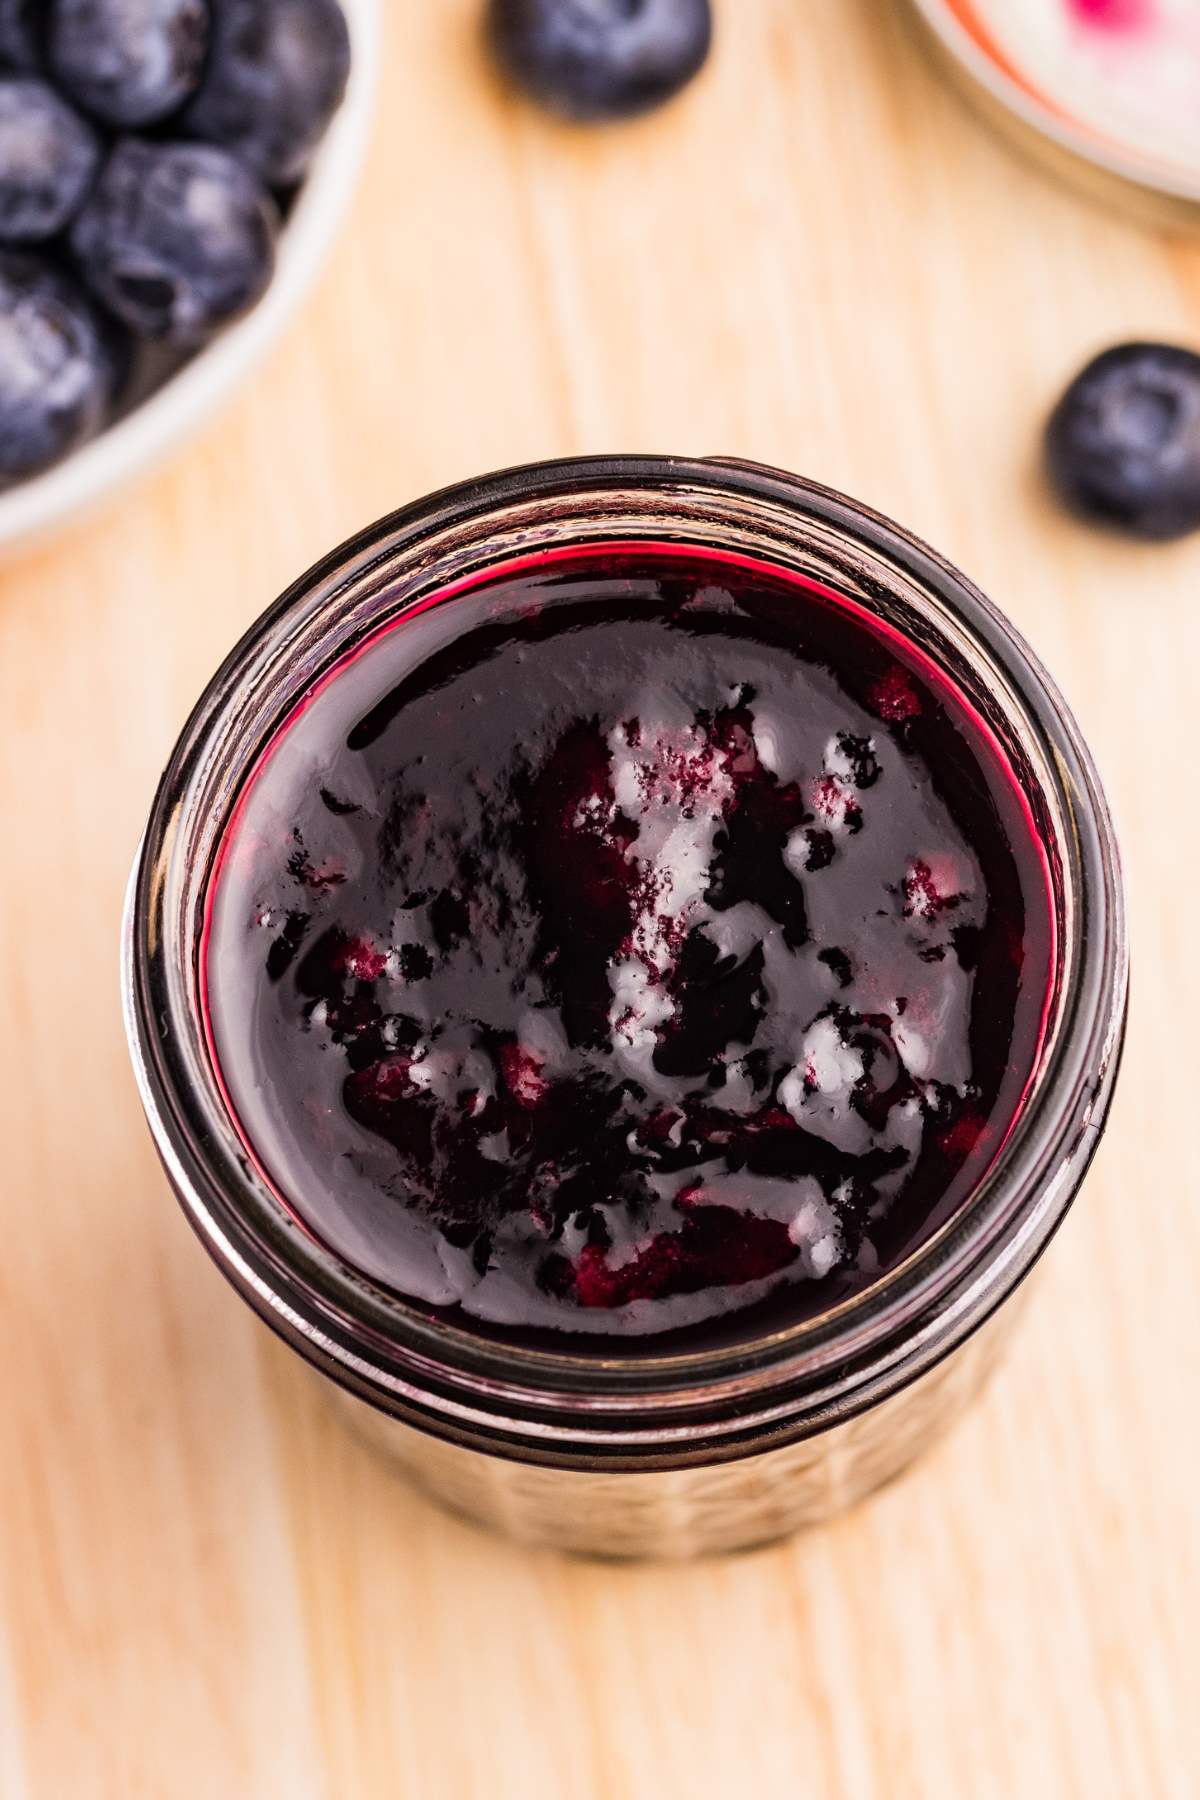
Old-Fashioned Blueberry Syrup (Canning Instructions Included!)
This is simple, reliable, and gives you that deep blueberry flavor without needing any fancy equipment. This blueberry syrup recipe is made for water bath canning, so you can enjoy summer berries on pancakes or waffles all year long. Let me walk you through exactly how I do it.
I know most people like maple syrup on their pancakes or waffles, but I honestly prefer a fruit syrup. It’s fresh, homemade, and affordable. I also love using strawberry syrup when the blueberry runs out.
Ingredients and Tools You’ll Need
Make sure your blueberries are fully ripe for the best flavor. A candy thermometer is really helpful here to make sure the syrup reaches the right temperature and thickens properly. If you don’t have one, they aren’t expensive and really worth buying.
Equipment
- Water Bath Canner
- 8 quart pot
- Fine mesh strainer (If you don’t have a fine mesh strainer, you can line a regular strainer with cheesecloth.)
- potato masher
- Candy thermometer (ensures your sugar mixture reaches the exact temperature needed for the syrup to thicken properly)
Ingredients
- 4 pounds blueberries
- 3 cups water divided
- 3 cups sugar
- 2 tablespoons bottled lemon juice (ensures consistent acidity, which is crucial for safe canning.)
How to Make Blueberry Syrup
It may seem like a lot of steps, but you’re really just boiling and simmering…a lot.
Step One: Prepare And Mash Blueberries
Wash and drain the blueberries. Add the blueberries and 2 cups of water to an 8-quart pot. Using a potato masher, mash the blueberries.

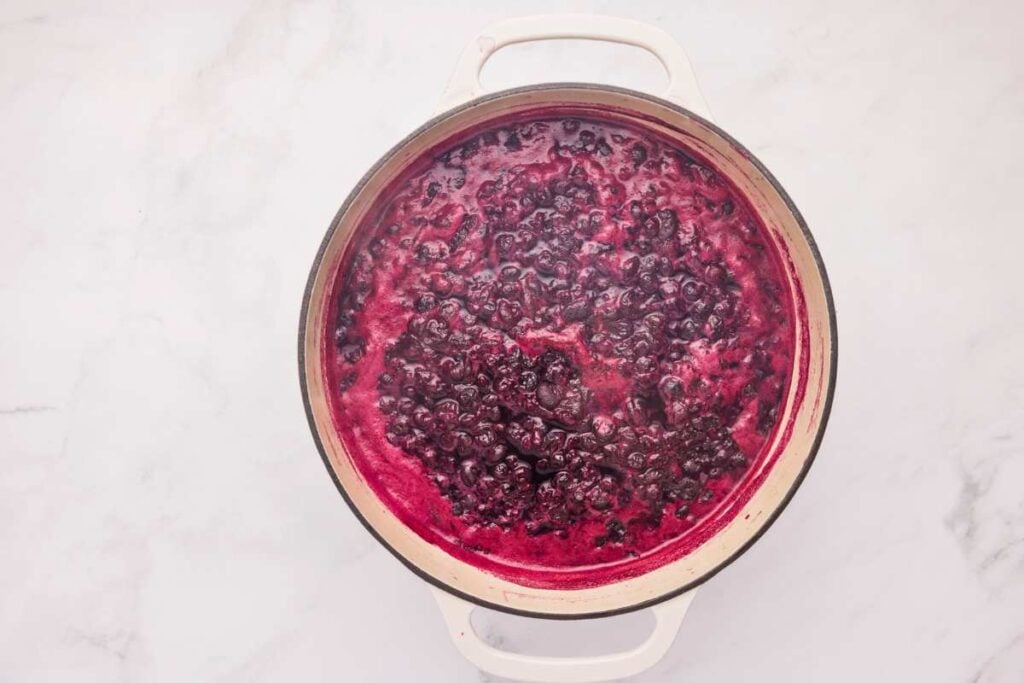
Step Two: Boil And Simmer
Place over medium-high heat and bring to a boil. Once boiling, lower the heat and simmer for 12 minutes, stirring occasionally to prevent anything from sticking to the bottom of the pot.
Step Three: Strain Blueberries
Transfer the blueberries to a fine mesh strainer or jelly bag placed over a bowl. If you do not have one, line a strainer with 3 layers of cheesecloth. Allow the mixture to drain for 30 minutes or until you have 2 ½ cups of liquid.

Step Four: Prep For Canning
Prepare your jars for canning by washing them in hot, soapy water. Transfer jars to a water bath canner and fill the canner with water so the jars are fully submerged. Place the water bath canner over medium heat and allow it to simmer. Add the canning lids and rings to a saucepan with water. Place over medium-low heat and allow them to simmer.
Step Five: Boil Sugar And Water
Combine the sugar and remaining 1 cup of water in a large pot. Bring to a boil, stirring the mixture until the sugar is fully dissolved. Boil uncovered until the mixture reaches 220℉ (about 8 minutes). The best way to check the temperature is by using a candy thermometer.

Step Six: Add Blueberry And Lemon Juices
Once the sugar water hits 220℉, add the blueberry juice and the lemon juice. Return the mixture to a boil. Once boiling, reduce the heat, and allow the mixture to simmer for 5 minutes, stirring occasionally.

Step Seven: Skim Foam
Remove the mixture from the heat and skim off any foam on top.

Step Eight: Fill Jars
Add the hot syrup to the hot jars by placing a canning funnel over the jars and ladling in the syrup, leaving a ¼ inch headspace. Repeat this process until all of the syrup is added to the jars.

Step Nine: Wipe And Attach Rims And Lids
Wipe the rims of the jars with a clean, moist towel. You may want to use a white vinegar-moistened towel to ensure there is no syrup residue on the rims. Place the lids and rings on the jars. Tighten the rings so they are fingertip-tight.

Step Ten: Process
Transfer the jars back into the water bath canner. Make sure the jars are fully submerged in water with at least 1 inch above the jars. Place the lid on the canner, set to medium-high heat, and allow the canner to come to a boil. Once the water is boiling, set a timer for 10 minutes.

Step Eleven: Cool
Remove the canner from the heat. Remove the lid and allow the jars to sit for 5 minutes. Then transfer the jars to a heat-proof area so they can cool for 12-24 hours.

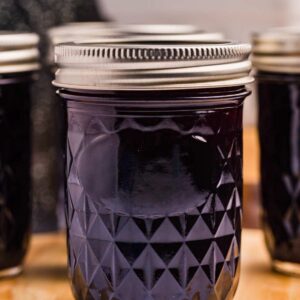
Step Twelve: Store
Check the jars for a proper seal. Remove the rings and store the jars in a cool, dark place for up to 18 months or per your lids manufacturer’s recommendations.
Storage Instructions
Keep the sealed jars in a cool, dark place, such as a pantry or cupboard. The syrup should stay fresh for up to 18 months if stored properly.
Once you open a jar, place it in the refrigerator and use it within a month.
What to Serve with Blueberry Syrup
Really you can use this the same way you use maple syrup.
- Drizzle it over pancakes with some fresh blueberries on the side (or make blueberry pancakes!).
- Make some sourdough discard waffles for breakfast – they’re ready in 20 minutes!
- French toast will taste SO good with this syrup.
- Pour it over this patriotic ice cream for 4th of July!
- Replace the glaze with this syrup in this sourdough blueberry quick bread.
Questions and Troubleshooting
Absolutely! Just make sure to thaw and drain them before using. The flavor will still be fantastic.
No worries! You can still make the syrup, but keep an eye on the texture. It should thicken slightly and coat the back of a spoon when it’s ready.
It’s best to stick with the recipe as is. The sugar not only sweetens the syrup but also helps preserve it during canning.
If your syrup is too thin, you might not have reached the correct temperature. You can reheat it and let it simmer a bit longer until it thickens up.

More Ways to Use Blueberries
- If you love the taste of blueberries, check out my jumbo blueberry muffins!
- Make some blueberry preserves if you don’t want to drain the blueberries for this recipe.
- Pre-made pie filling and a cookie dough base, make this blueberry cobbler super easy!
Printable Recipe
Blueberry Syrup Canning Recipe
Equipment
- 8 quart pot
- Fine mesh strainer (or cheesecloth)
- potato masher
Ingredients
- 4 pounds blueberries
- 3 cups water divided
- 3 cups sugar
- 2 tablespoons bottled lemon juice
Save This Recipe
You'll join my email list which you will love. And if you don't, unsubscribe in one click. ❤️
Instructions
- Prepare and mash blueberries. Wash and drain the blueberries. Add the blueberries and 2 cups of water to an 8-quart pot. Using a potato masher, mash the blueberries.
- Boil and simmer. Place over medium-high heat and bring to a boil. Once boiling, lower the heat and simmer for 12 minutes, stirring occasionally to prevent anything from sticking to the bottom of the pot.
- Strain blueberries. Transfer the blueberries to a fine mesh strainer or jelly bag placed over a bowl. If you do not have one, line a strainer with 3 layers of cheesecloth. Allow the mixture to drain for 30 minutes or until you have 2 ½ cups of liquid.
- Prep for canning. Prepare your jars for canning by washing them in hot, soapy water. Transfer jars to a water bath canner and fill the canner with water so the jars are fully submerged. Place the water bath canner over medium heat and allow it to simmer. Add the canning lids and rings to a saucepan with water. Place over medium-low heat and allow them to simmer.
- Boil sugar and water. Combine the sugar and remaining 1 cup of water in a large pot. Bring to a boil, stirring the mixture until the sugar is fully dissolved. Boil uncovered until the mixture reaches 220℉ (about 8 minutes). The best way to check the temperature is by using a candy thermometer.
- Add blueberry and lemon juices. Once the sugar water hits 220℉, add the blueberry juice and the lemon juice. Return the mixture to a boil. Once boiling, reduce the heat, and allow the mixture to simmer for 5 minutes, stirring occasionally.
- Skim foam. Remove the mixture from the heat and skim off any foam on top.
- Fill jars. Add the hot syrup to the hot jars by placing a canning funnel over the jars and ladling in the syrup, leaving a ¼ inch headspace. Repeat this process until all of the syrup is added to the jars.
- Wipe and attach rims and lids. Wipe the rims of the jars with a clean, moist towel. You may want to use a white vinegar-moistened towel to ensure there is no syrup residue on the rims. Place the lids and rings on the jars. Tighten the rings so they are fingertip-tight.
- Process. Transfer the jars back into the water bath canner. Make sure the jars are fully submerged in water with at least 1 inch above the jars. Place the lid on the canner, set to medium-high heat, and allow the canner to come to a boil. Once the water is boiling, set a timer for 10 minutes.
- Cool. Remove the canner from the heat. Remove the lid and allow the jars to sit for 5 minutes. Then transfer the jars to a heat-proof area so they can cool for 12-24 hours.
- Store. Check the jars for a proper seal. Remove the rings and store the jars in a cool, dark place for up to 18 months or per your lids manufacturer’s recommendations.
Notes
Nutrition


Can this recipe be applied to other berries?
I have a separate recipe for strawberry, apple, and raspberry syrup. Most of them need straining or a little different level of sugar. But yes, same general idea! Search my site and see if the exact one you’re looking for is there! 🙂
How many jars will this make ? 5 half pints?
yes, that’s correct! I added a note in the top of the recipe.