The Best Brioche Sandwich Bread Recipe: Soft, Rich, and Delicious
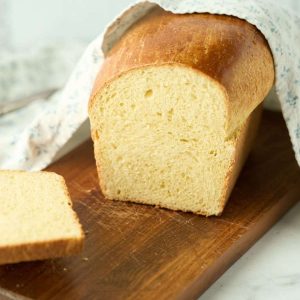
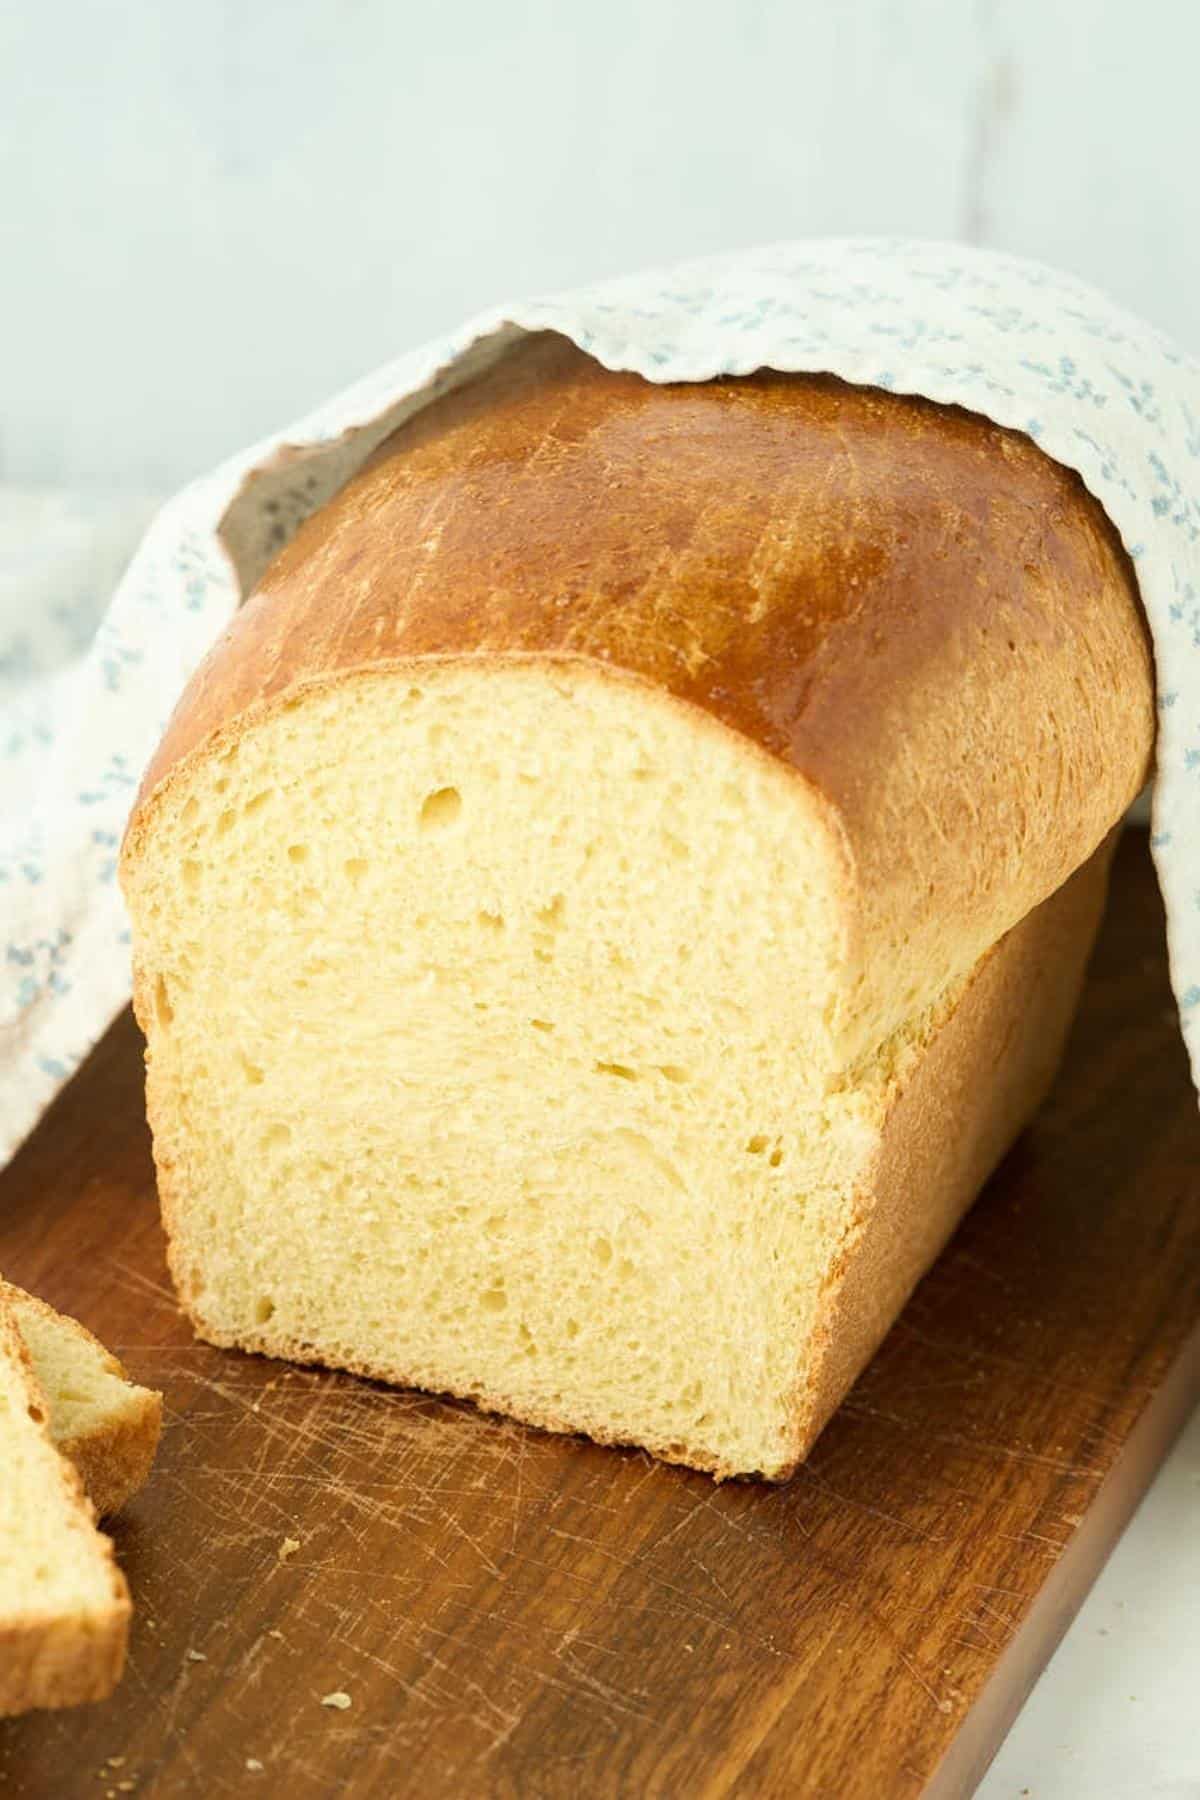
I love making this brioche sandwich bread because it’s incredibly soft and buttery but strong enough to hold all kinds of toppings, making it perfect for anything from sandwiches to French toast. It also has a rich taste that sets it apart from your typical sandwich bread,
Working with the dough can be tricky since it tends to be sticky, but I’ve found that kneading it until it’s smooth and just a bit sticky is the secret to creating the fluffiest loaf I’ve ever made. Another great thing is how well this brioche bread freezes; I can bake several loaves ahead of time and then have homemade bread ready whenever I want. This is definitely a yeast bread recipe you’ll want to keep making.
Brioche Sandwich Bread
Equipment
- Stand mixer or bread machine (or a bread machine)
- Loaf pan 8.5 x 4.5 x 2.5 inches
- Microwave-safe container (such as a Pyrex measuring cup)
- Measuring cups and spoons
- Plastic Wrap
- Pastry brush (for the egg wash)
- cooling rack
Ingredients
- ¼ cup water
- ¼ cup milk
- 3 tablespoons unsalted butter (room temperature)
- 3 eggs (room temperature)
- 3 tablespoons sugar
- 3¼ cups all-purpose flour (may need up to 3½ cups)
- 1½ teaspoon salt
- 2 teaspoons yeast (instant or active-dry)
Save This Recipe
You'll join my email list which you will love. And if you don't, unsubscribe in one click. ❤️
Instructions
- Warm the milk, water, and butter. Combine the water, milk, and butter in a microwave-safe container (such as a Pyrex measuring cup). Microwave on low for about 1 minute or until the mixture is warm to the touch (about 110°F). Be careful not to overheat it; the temperature should not exceed 120°F.
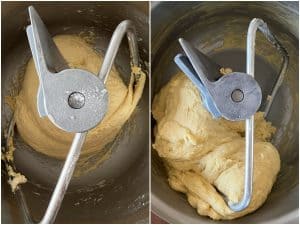
- Combine and knead the dough. Add the warm milk mixture, eggs, sugar, flour, salt, and yeast to the bowl of a stand mixer or bread machine. Mix on low speed using the dough hook attachment until the ingredients form a dough. Increase the speed to medium and knead for 5-7 minutes until the dough is smooth and slightly sticky. Start with 3¼ cups of flour and gradually add more, if needed, until the dough pulls away from the sides of the bowl but still feels slightly tacky to the touch.
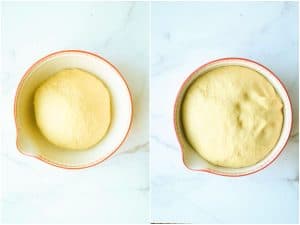
- First rise. Lightly grease a clean bowl and place the dough inside. Then, cover it with greased plastic wrap and allow it to rise in a warm, draft-free spot (around 70-80°F) for 1-2 hours or until the dough has doubled in size.

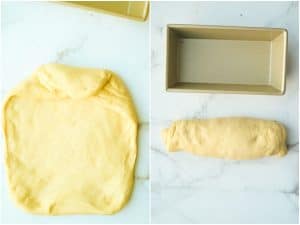
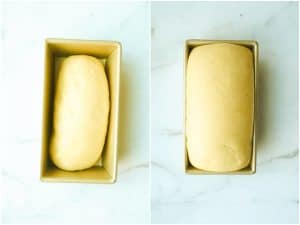
- Shape the dough. Once risen, turn the dough out onto a clean, lightly floured surface. Gently stretch it into a 9×24-inch rectangle, making sure an even thickness. Fold down the top corners of the dough and then roll it tightly into a log. Pinch the seams closed to seal. Place the dough seam-side down into a greased loaf pan.

- Second rise. Cover the loaf with greased plastic wrap and place in a warm place to rise again for an hour until the dough has risen 1-2 inches above the edge of the pan. Brush with a beaten egg for extra shine. Towards the end of the rising time, preheat the oven to 375 degrees with a rack in the center.

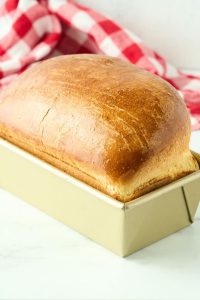
- Egg wash and bake. For a shiny crust, gently brush the top of the dough with a beaten egg. Bake in the oven for 30-35 minutes or until the loaf is deep golden brown and sounds hollow when tapped on the bottom. If the bread is browning too quickly, loosely cover the top with aluminum foil during the last 10 minutes of baking.
- Cool and serve. Carefully remove the bread from the pan and place it on a wire cooling rack. Allow it to cool for at least 1 hour before slicing. Once cooled, the bread can be stored at room temperature for up to 3 days or frozen for up to 3 months.

Notes
Nutrition
If you want to make bread at home that’s tender, rich, and a little bit special, this brioche sandwich bread is perfect. Its soft, buttery texture is great for everything from breakfast toast to your top-choice sandwiches, and it’s much better than what you can buy at the store. Whether you’re baking for a weekend brunch or making extra to freeze for later, this bread will soon be a must-have in your kitchen. After you try this, plain sandwich bread just won’t cut it anymore!
A Newsletter you’ll love
Daily recipes from the farmhouse, Sunday meal plans, seasonal ideas, straight from my kitchen to your inbox.
I promise to keep your email address safe. Unsubscribe at any time
If you’re looking for a version that’s perfect for burgers, check out my brioche burger buns for another delicious option.
I hope you love it as much as I do!
Key Ingredients and Tools
Before diving into the brioche sandwich bread recipe, make sure you have these crucial tools and ingredients ready. They’re key to getting that perfect loaf every time:

- Instant or active dry yeast: You can use either for this recipe. Just check that your yeast is fresh to make sure your dough rises as it should. Remember, instant yeast can be added directly to your mix, but active dry yeast needs to be dissolved in water first.
- Unsalted butter: This lets you manage how salty your bread is, helping you hit just the right taste. If unavailable, you can use salted butter. Just cut back on the salt you add to the recipe by ¼ teaspoon to keep things tasting right.
- Milk: Choose whole milk to make your dough richer. You can use alternatives like almond or oat milk if you don’t have regular milk. Your bread might not be as rich, but it’ll still work out.
- Stand mixer with a dough hook: Since brioche dough can be quite sticky and tough to hand-knead, a stand mixer with a dough hook attachment can save you effort and make sure smooth dough.
- All-purpose flour: It’s the perfect choice for brioche, giving it the proper texture. If all you have is bread flour, that’s okay, but your bread might become chewier.
- Pastry brush: You’ll need one to apply the egg wash that gives brioche its distinct golden, shiny top.
These items will smooth out your baking process and help you craft a delicious brioche!
Troubleshooting and Help
Yes, you can definitely make this by hand, but be prepared for a bit of a workout! The dough is sticky, so it’ll take some effort to knead it until smooth. Keep going until it becomes less tacky and more elastic—it might take 10-15 minutes of kneading.
You’ll know the dough is ready when it’s doubled in size. A good trick is to press your finger into the dough gently. If the indentation stays, it’s ready. If it springs back quickly, it needs more time to rise.
Yes, it makes a big difference! Room-temperature ingredients help the dough rise more evenly and create a softer texture. If your ingredients are too cold, it can slow down the yeast and make the dough rise much more slowly.
The best way is to tap the bottom of the loaf gently—if it sounds hollow, it’s done. You can also use an instant-read thermometer; the internal temperature should be around 190°F when fully baked.
You can, but the egg wash gives the brioche its shiny, golden crust, which is part of what makes it so pretty. If you don’t have an egg, brush it with milk or cream for a softer finish.
Yes, you can! If you want to add herbs, cheese, or something sweet like chocolate chips, fold them into the dough just before the first rise. Just be mindful not to overload the dough so it still rises properly. Once you’ve mastered this recipe, you might want to try something a little sweeter, like chocolate chip brioche, for a fun twist.
Definitely! You can divide the dough into smaller portions and shape them into rolls. They’ll bake faster than a full loaf, so start checking for doneness around 15-20 minutes, depending on their size.
Absolutely! You can make the dough ahead and let it rise overnight in the fridge. Just cover it tightly with plastic wrap. The slower, cool rise helps develop the flavor; you can shape and bake it the next day. But if you’re in the mood for something with a bit of tang and more traditional, my sourdough white sandwich bread is another great option.
This brioche sandwich bread is an easy addition to your kitchen, adding a special touch. It’s great for sandwiches, toast, or even luxurious French toast and is a recipe you’ll likely fall in love with. Its rich, buttery taste and softness make even the simplest meals more exciting.
Making the dough needs a bit of patience, but the result is totally worth it – you get a super soft loaf that keeps well in the freezer whenever you want it. Once you’ve made it, you’ll find it surprisingly simple to include freshly baked bread in your regular meal plans!

Love,




Recipe tastes great. But I’m not sure what I did wrong. instead of a beautiful loaf like yours, I have a huge franken-loaf.. I used active dry yeast, and only let it rise 1 inch above pan lip.
I wish there was a way to attach pictures to comments so you maybe could help me problem shoot.
As big and ugly as my bread looks, it is super tasty!
hey amanda i don’t think you did anything wrong! your eggs could have been a tad larger than usual, which makes a different when there are so many! is there something ont he t op ofthe loaf that almost looks like it split along the side? if so, slashing the top before baking can help! 🙂