15 Practical Canning Tips for Every Level
Canning tips and tricks for those of us who love home preserving. Make canning day just a little easier with this list.

Ah, the canning life. Gently picking your fresh grown produce and transforming into homemade goodies that will last all through the winter. Admiring your own pickles and jams sparkling like jewels in their jars, lined up in your pantry. It sounds idyllic, doesn’t it?
Well, the reality of it can be… less so. Giant canning pots filled with pounds of boiling water, a million knives and cutting boards all over the kitchen, and a suspicion that you may have gone a little crazy for attempting this. It’s hot, messy, and hard work.
But these canning tips, for beginners and the more experienced alike, will help the process go as smoothly as possible.

FREE FOR SUBSCRIBERS
Canning Binder
Subscribe (free!) to my newsletter to receive this PDF + dozens of others in my printable library. You’ll also get emails you’ll truly love, with a weekly meal and so much more.
Table of contents
- ☀️ Start in the morning
- 🧹 Begin with a clean kitchen
- ✅ Make sure you have everything before you start
- ❤️ Don’t make more work for yourself (water bath canning is hard)
- 🫙 Use a smaller jar size for most things
- ⭐️ Pay attention to details
- 🍽 Plan an easy dinner
- ⚖️ Use a kitchen scale
- 🫙 Prepare extra mason jars
- 🌻 Make your workspace pleasant
- 👗 Dress appropriately.
- 📝 Use printed recipes
- ⭐️ Pressure canning tips for beginners
- 🏷 Label your canning jars
- 🙌 Celebrate your wins
This post may contain affiliate links, meaning I may earn a small commission at no extra cost to you. As an Amazon associate, I earn from qualifying purchases.
☀️ Start in the morning
If you get started too late, you start pushing into dinner time and that’s just a mess. Summer mornings are cool and more pleasant to work in
Now I don’t mean start thinking about getting going in the morning, but start the process in the morning. This means that the night before, you may want to take out your jars, canner, canning recipe, and all the accessories like the lid lifter and funnel.
If you have to harvest things beforehand, keep that in mind. You want the whole process over and done with by lunch if at all possible.
🎥 video
🧹 Begin with a clean kitchen

Home canning ends up with a lot of dirty dishes. You’ll have prep items like knives and cutting boards, pots, and on top of all that, a canner and speciality canning tools.
You don’t want to deal with that cleanup plus breakfast dishes when it’s all over. It’s horrible.
So make sure all your dishes are done ahead of time, the counters are cleared off, and your whole workspace is clutter-free.
✅ Make sure you have everything before you start
Have you ever gotten partially through a recipe and realized you’re missing an ingredient? Sure, we all have!
But in canning (particularly water bath canning), this can be a disaster. Recipes must have a certain acid level to be safe, so you can’t just make a simple substitution.
So before you chop that first tomato, double-check that you can see your recipe through to the end. Read through all the instructions.
Don’t forget about your canning gear, too. Check your inventory of the following:
- various canning jar sizes
- lids (your lids need to be new to form a proper seal!)
- rims
- clean, old dish towels
- pickling salt
- pectin
- citric acid
- vinegar
- lemon juice
- distilled water (if your recipe calls for it)
- sugar (some jam recipes call for pounds of it!)
- all the parts of your water bath canner (lid, rack, etc.)
❤️ Don’t make more work for yourself (water bath canning is hard)
Canning is hard work. Don’t make it even harder when you don’t have to! The rules of canning have changed over the years, and you may be taking extra steps that aren’t necessary anymore.
For example, sterilizing your jars and lids is no longer necessary as long as you are processing for at least 10 minutes. You are good to go as long as they are clean and hot (so they don’t break when they hit the boiling water). (Check out the bottom of this article from Ball for reference.)
Take advantage of easy methods when you can. There is nothing wrong with refrigerator pickles or freezer jams. Also, if you have a pressure canner, take advantage of it. Many recipes are faster when you process in there than the water bath canning method, and you don’t have to carry full water pots.
When there is a more straightforward way to do something, do it!
🫙 Use a smaller jar size for most things
First of all, very big jars (half gallon and up) are only safe for canning fruit juice. But as you can more, you’ll probably find that smaller quantities of things like relish, jams, and sauces, are more useful. A small jar gets used up faster, so whatever is inside stays fresh.
Yes, it is a tiny bit more work than pouring half of your jam into a giant quart jar. But unless you have a huge family that all loves the same thing, smaller quantities just seem to work better and make sure none of your canning goes to waste.
As a bonus, jar breakage is less disappointing when it’s a smaller percentage of what you made.
⭐️ Pay attention to details
Don’t skip little steps like getting rid of air bubbles, wiping the jar rim, or letting your jars rest while they cool. Every step of a recipe is there for a reason. If you skip one, you might have jars that don’t seal, or an otherwise unusable product.
I don’t have to tell you how frustrating that would be after a hard work day!
🍽 Plan an easy dinner
Trust me when I say that after a day of harvesting produce in the heat and then standing over vats of boiling water, the last thing you’ll want to do is make dinner.
And yet, does it make sense to can fifteen dollars worth of tomatoes just to turn around and spend forty dollars on pizza for dinner? No, it does not.
So before you even begin your day of canning, you have to know what you’re having for dinner. There are three acceptable choices: cereal, sandwiches, or something made by another person. That’s it. Do not set yourself up for failure by planning anything else.
⚖️ Use a kitchen scale
This is one of those tips that people resist. Kitchen scales seem fussy and unnecessary, but they are a huge help in canning. (And sourdough baking and soap making!)
Many recipes will give the ingredients by weight, which makes sense when dealing with produce because sizes can vary.
And measuring by weight can be quicker and easier than measuring by volume: no measuring cups to deal with, simply add things directly to the pot.
Need a reliable scale? This one measures in ounces, grams, and pounds and has served me well for years.
🫙 Prepare extra mason jars
Your recipe tells you it will make six half-pint jars, so dutifully wash them and keep them warm.
Then, when it comes time to pour everything in, you have extra!
What to do? Quickly find some dusty, room temperature jars and wipe them off? The clock is ticking and your canner is boiling like crazy.
Avoid this by having a few extra jars prepped and ready to go so you can process any overflow.
(Note: In water bath canning, it’s essential to have your jars filled but not over-filled for them to seal properly. So if you have a partially filled jar, do not process it. Just keep it in the fridge.)
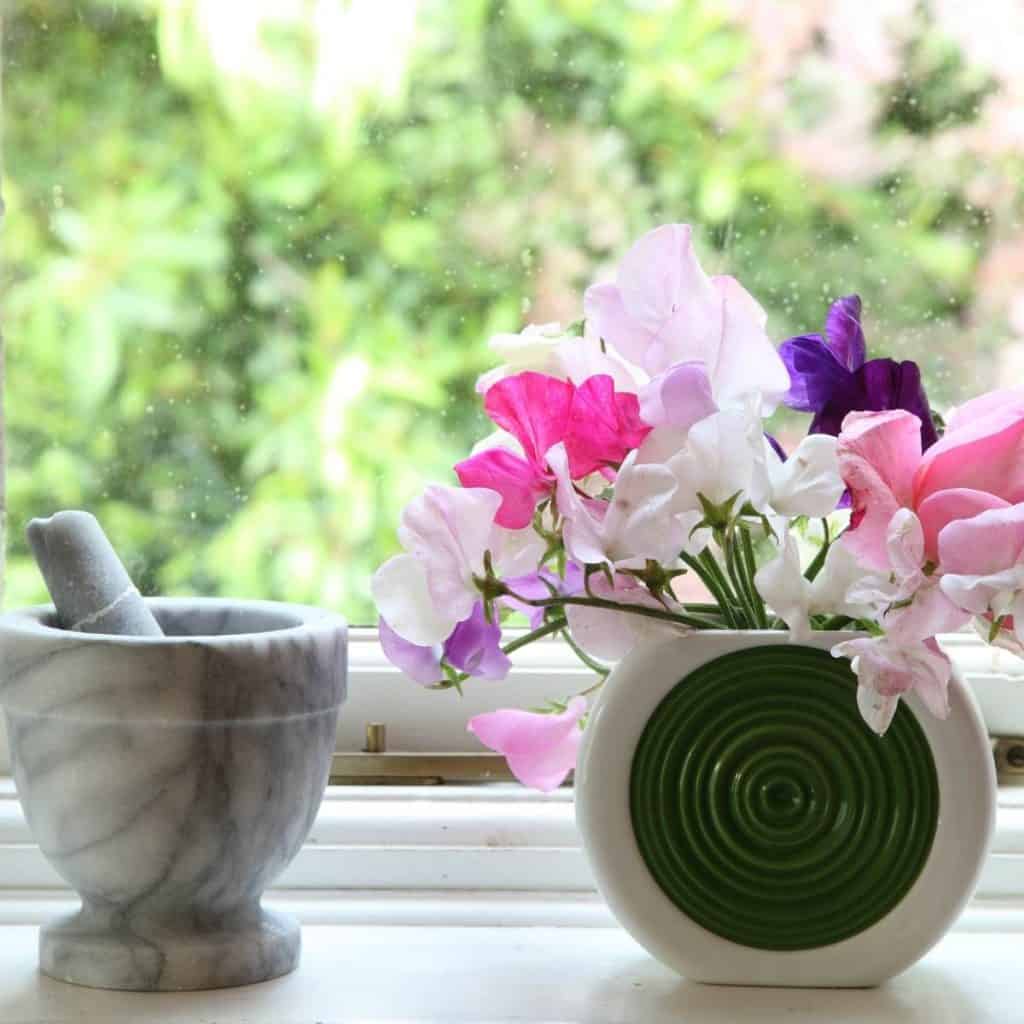
🌻 Make your workspace pleasant
Just because canning is hard work doesn’t mean you have to be miserable. We’ve already discussed starting in the morning and with a clean kitchen, so we are partway there.
But there is more you can do to make your canning day a happy one!
- Put on music or a podcast that you like.
- Open the window if it’s nice out
- Make sure little people are occupied
- Put a small vase of wildflowers on your windowsill.
👗 Dress appropriately.
No one looks beautiful while canning. Just accept it. Wear the following:
- Clothes that you won’t cry about if they ruined
- An apron with pockets
- Closed-toe shoes
- Hair pulled back
📝 Use printed recipes
The internet is a great source of canning recipes, but if you’re using a recipe you found online, print it out first. You do not want to be dripping jam all over your phone, or lose your place in your instructions.
I keep all of my printed recipes in my canning journal. It is so nice to work from a flat paper recipe that’s in a plastic page protector to keep it safe.
If you’re using something from a canning book, consider making a photocopy, or try a book weight to keep it open on the page you’re using.
⭐️ Pressure canning tips for beginners
If it’s your first time working with a pressure canner, do a test run with water only to avoid being completely overwhelmed. (You can watch my pressure canning test run and unboxing video, here, for some help.)
The pressure canning method can be easier in many ways: the recipes are more flexible since you’re limited to high acid items, the processing times are shorter, and a good vacuum seal is easier to come by.
But there are special steps you need to take before pressure canning food.
- If you have a dial gauge, you need to check the accuracy every year
- Rubber gaskets need to be inspected for wear and periodically replaced
🏷 Label your canning jars
Homemade jams have a way of all looking the same once they are in jars. So as you finish a batch, label it right away. This can be as simple as writing in sharpie on the top of the lid, or you can get fancy and use cute printable labels.
Either way, one of the most important canning tips is to remember to clearly label what you’ve made! If you can’t tell the jam from the barbecue sauce, your hard work will have been for nothing.
🙌 Celebrate your wins
This whole ordeal, from growing your own food to preserving it in your own kitchen, is a lot of work. A lot of work that many people will never understand.
So give yourself a little pat on the back when you’re done. Don’t forget why you’re doing this. when it seems like too much.
Admire the fruits of your labor, take a shower, and break out that box of cereal for dinner. You deserve it.


Thanks for the great article. In the chapter about pressure canning it states: “recipes are more flexible since you’re limited to high acid items”. I think there’s a word missing, as the good thing about pressure canning is we’re not limited to high acid foods! I would see pressure canners in second hand stores when I was young and could kick myself for not getting a good old one.
Thanks for this article. I have a question about preserving sandwich spreads made from vegetables and either nuts or beans. In Germany it is common to buy vegan spreads in the supermarket in metal tins for about one euro. For example, cashew and bell pepper spread, or tofu-eggplant spread. I do not find these spreads in the US. How can I preserve these if I make them myself? Unlike pure nut butter, they will spoil if left out because they contain pureed vegetables, so I’d like to be able to can them if it’s possible, but am not sure what process to use. Thank you for any suggestions you may have!
Jaimie it sounds like something that would not be safe for canning at home, even with a pressure canner. Anything that is very dense can only be canned in commercial facilities. (pumpkin, for example, can’t be done at home). It’s too risky to try it without an approved recipe :(. I would freeze it in cubes.