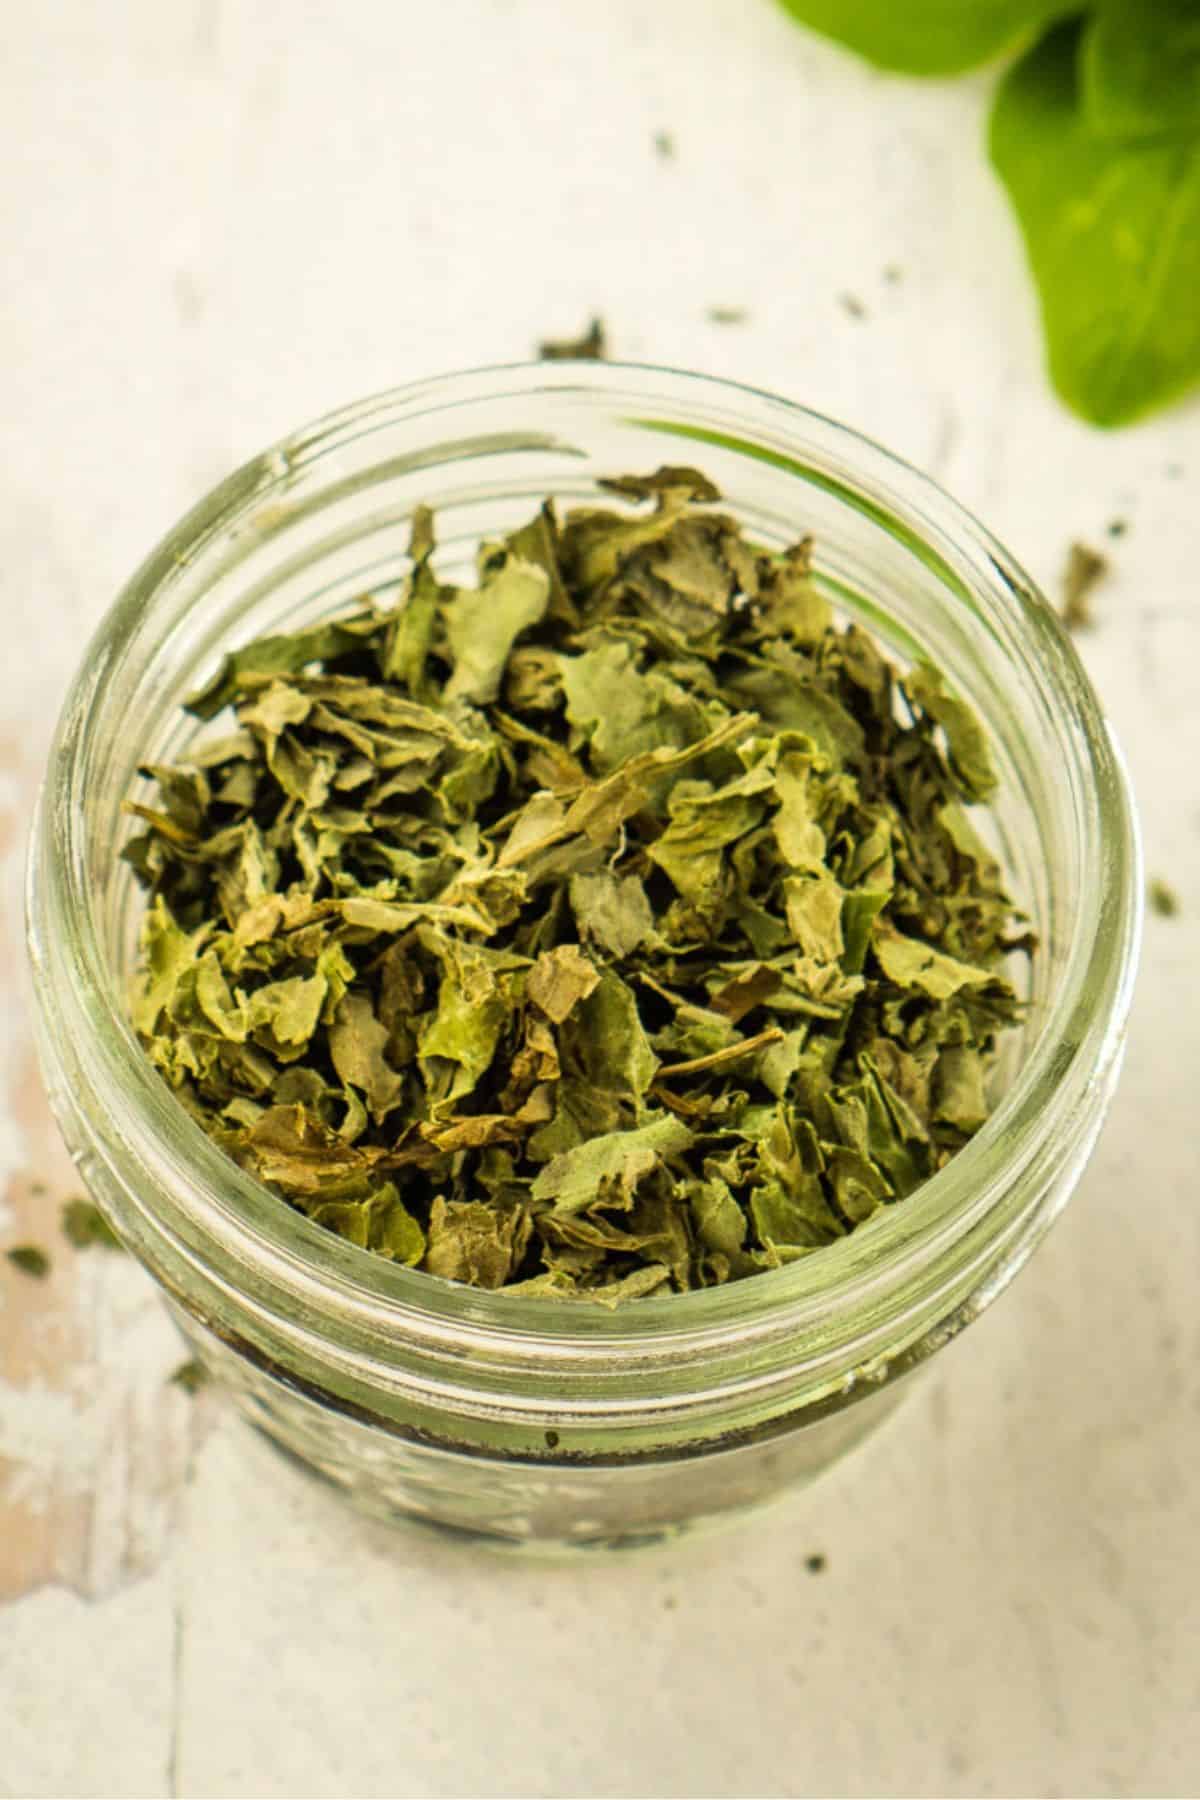
How to Dry Basil in the Dehydrator
Making your own dried basil is super simple with a home dehydrator. With a few steps and a lot of hands-off time, you can check one more thing off your grocery list forever.

Table of contents
❤️ Why you’ll love this recipe
- It’s easy! All you do is wait while the dehydrator does the hard work.
- A money saver: herbs are cheap and abundant in summer but dried basil is expensive at the grocery store.
- Fun to do with kids.
🧂 Ingredients
- Fresh basil
🥣 Equipment
This post contains affiliate links, meaning that if you make a purchase after clicking on a link I may earn a small commission at no additional cost to you. As an Amazon associate, I earn from qualifying purchases.
- A dehydrator. (I have this budget-friendly model and it works fine for fruit leather and herbs.)
- Small mason jars. (Four-ounce mason jars are perfect for dried herbs and other little kitchen projects.
🍴Instructions
Step One: Harvest
We begin with harvesting, a step that can go surprisingly wrong. Really take a look at the plant you are planning on harvesting. Smell the leaves. Make sure that is a true sweet basil smell and no weird licorice or other smell has crept in. Basil, especially if you save your own seeds, can sometimes grow into a weird variety.
A Newsletter you’ll love
Daily recipes from the farmhouse, Sunday meal plans, seasonal ideas, straight from my kitchen to your inbox.
I promise to keep your email address safe. Unsubscribe at any time
If you are happy with the quality of the plant, go ahead and start harvesting. Do this in the morning, after the dew has dried. A general rule is that you don’t want to harvest more than ¼ of a plant to avoid stressing it out. If a frost is predicted and the plant is going to die anyway, just pull all the basil leaves you want.
Step Two: Strip, clean, Dry

Immediately after harvesting, bring the leaves in and start prepping them. First strip them off the stems, then wash and dry the basil. Simply rinse and gently pat it dry with paper towels. Handling it too roughly will leave black marks on the leaves. Not the end of the world, but not something you want all over.
If you start with wet basil in the dehydrator, it will take hours and hours just to dry off the excess water. So the dryer you can get it, the better.
Step three: Set up the machine

Since drying basil takes up a lot of surface area, get out every dehydrator tray you have. We want to lay the leaves in a single layer, with space in between each one so there is plenty of air circulation.
The drier the air of the room, the faster the basil will dry. So resist the temptation to place it outside. Set it to 90 or 95 degrees, and press start.
Step FouR: Wait!

The basil is done when it is completely dry and crumbles easily. I usually test a few leaves, and if they crumble, I move on to the next step. This will take up to 24 hours!
Step Five: crumble and store

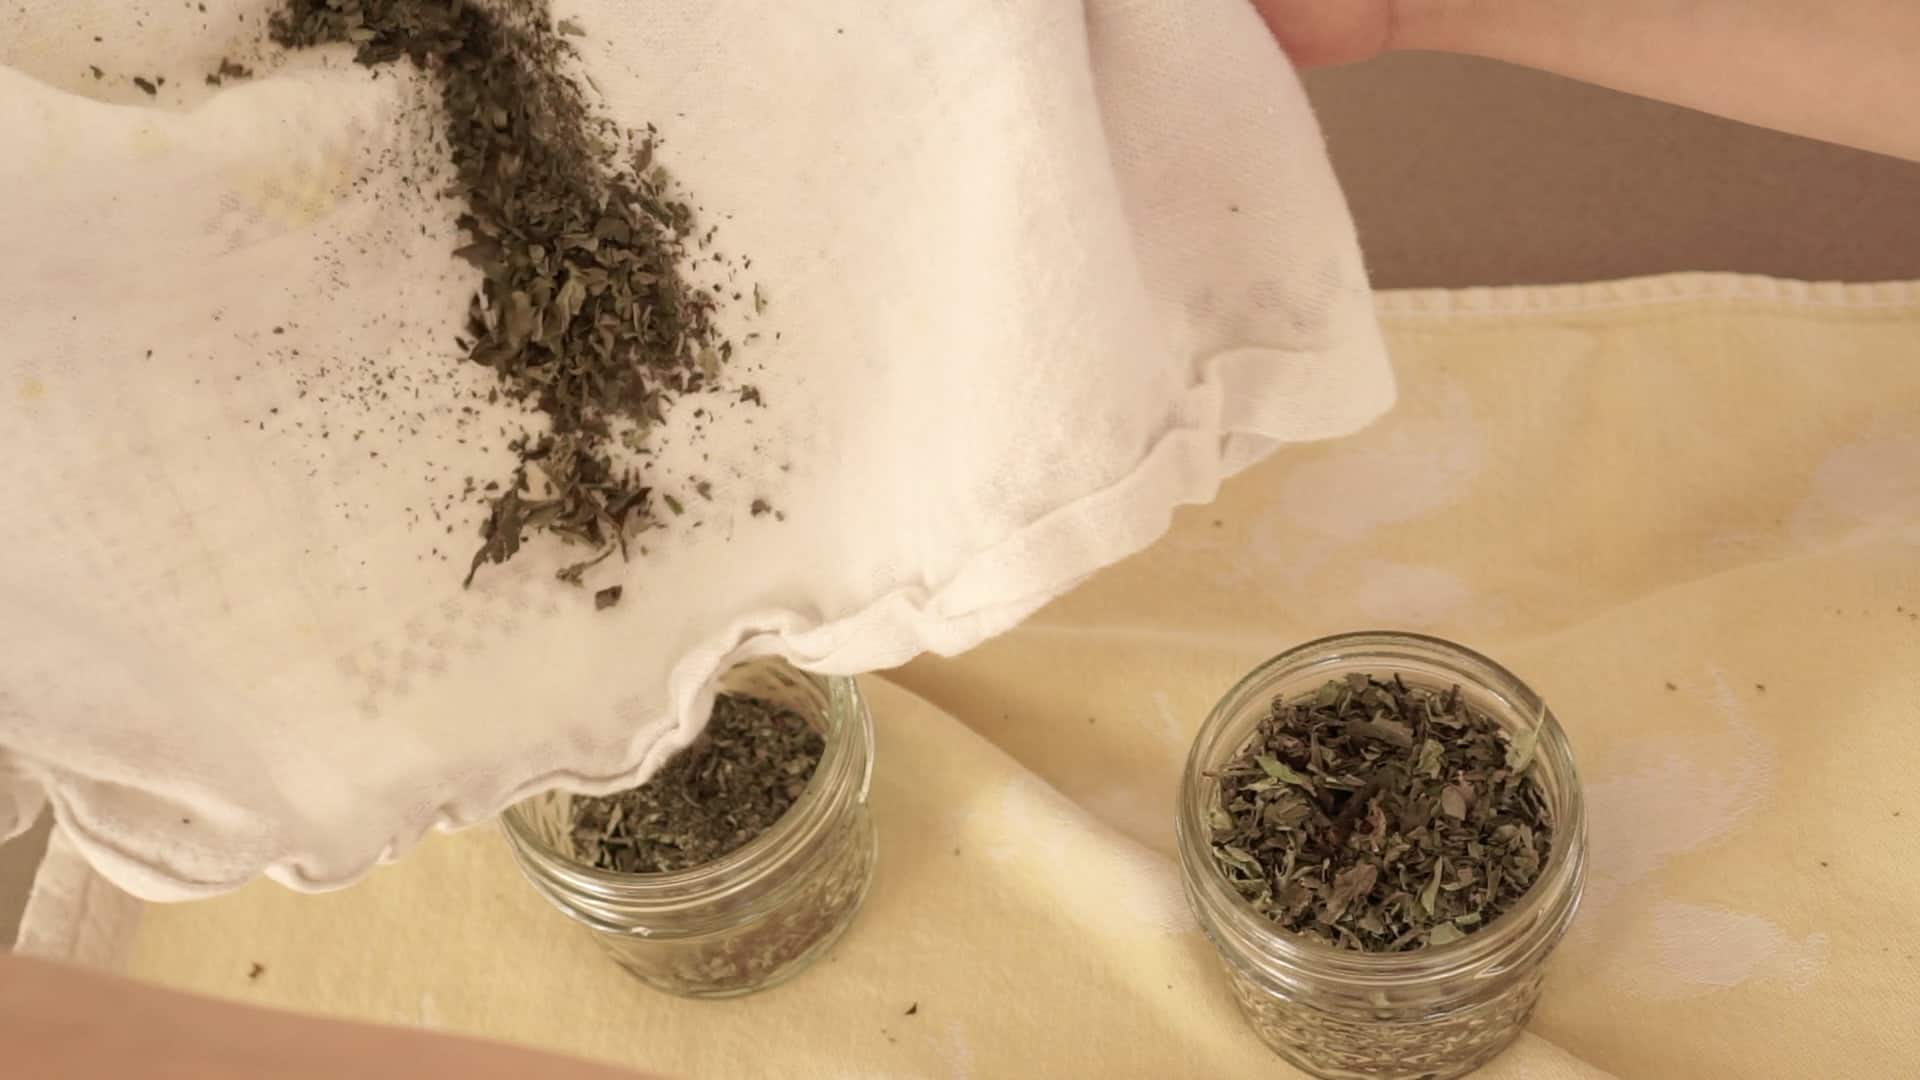
I pull everything out and put them on a clean tea towel. Start crumbling by hand, however fine you want it to be.
I often find that some leaves are ready before the others. Simple pull out the ones that aren’t ready, place them back in the dehydrator and run another 1-2 hours.
🥫 Storage instructions

Store the dried basil in small mason jars or in old spice bottles. Make sure you label them. If you are drying herbs on a regular basis, you will find that they all look very similar in jars!
🔍 FAQs
12-24 hours
Sure!
That depends on your machine and how many racks you have.
👩🏻🍳 Expert tips
- Keep the machine running in a low-humidity place, or it will have to work longer and harder to fight the moisture in the air.
📘 Related Recipes
- Chewy dried strawberries are dried in the oven but are almost as easy to do
- Cowboy candy is a canning project that can also be stored in the refrigerator if you’re not ready for canning.
- If you are interested in food preservation, be sure to sign up for access to the printable library, which has a canning planner.
The Story BehinD the recipe
When we moved to this little homestead of ours, I definitely envisioned us making everything and never going to the grocery store again. I thought we would have lots of animals, an insanely huge garden, and a pantry filled with canned food, braided onions, home-cured sausages, and everything else. The reality is… I still want that, but we are getting there slowly. But I’ve learned to take the easy wins and do what I can to be more self-sufficient, without constantly wanting the next project.
Drying basil in the dehydrator is one of those easy wins. Even if you don’t have an in-ground garden, you can still do this if you have a container garden with basil plants. Even though it takes a while, it’s very very easy, and if you have a dehydrator you don’t need any other piece of equipment.
Love,


Haha. I picked some and was dehydrating. 95. After 33 hours most still was not dry. I threw it away. I have another full bag I picked. I will try again.