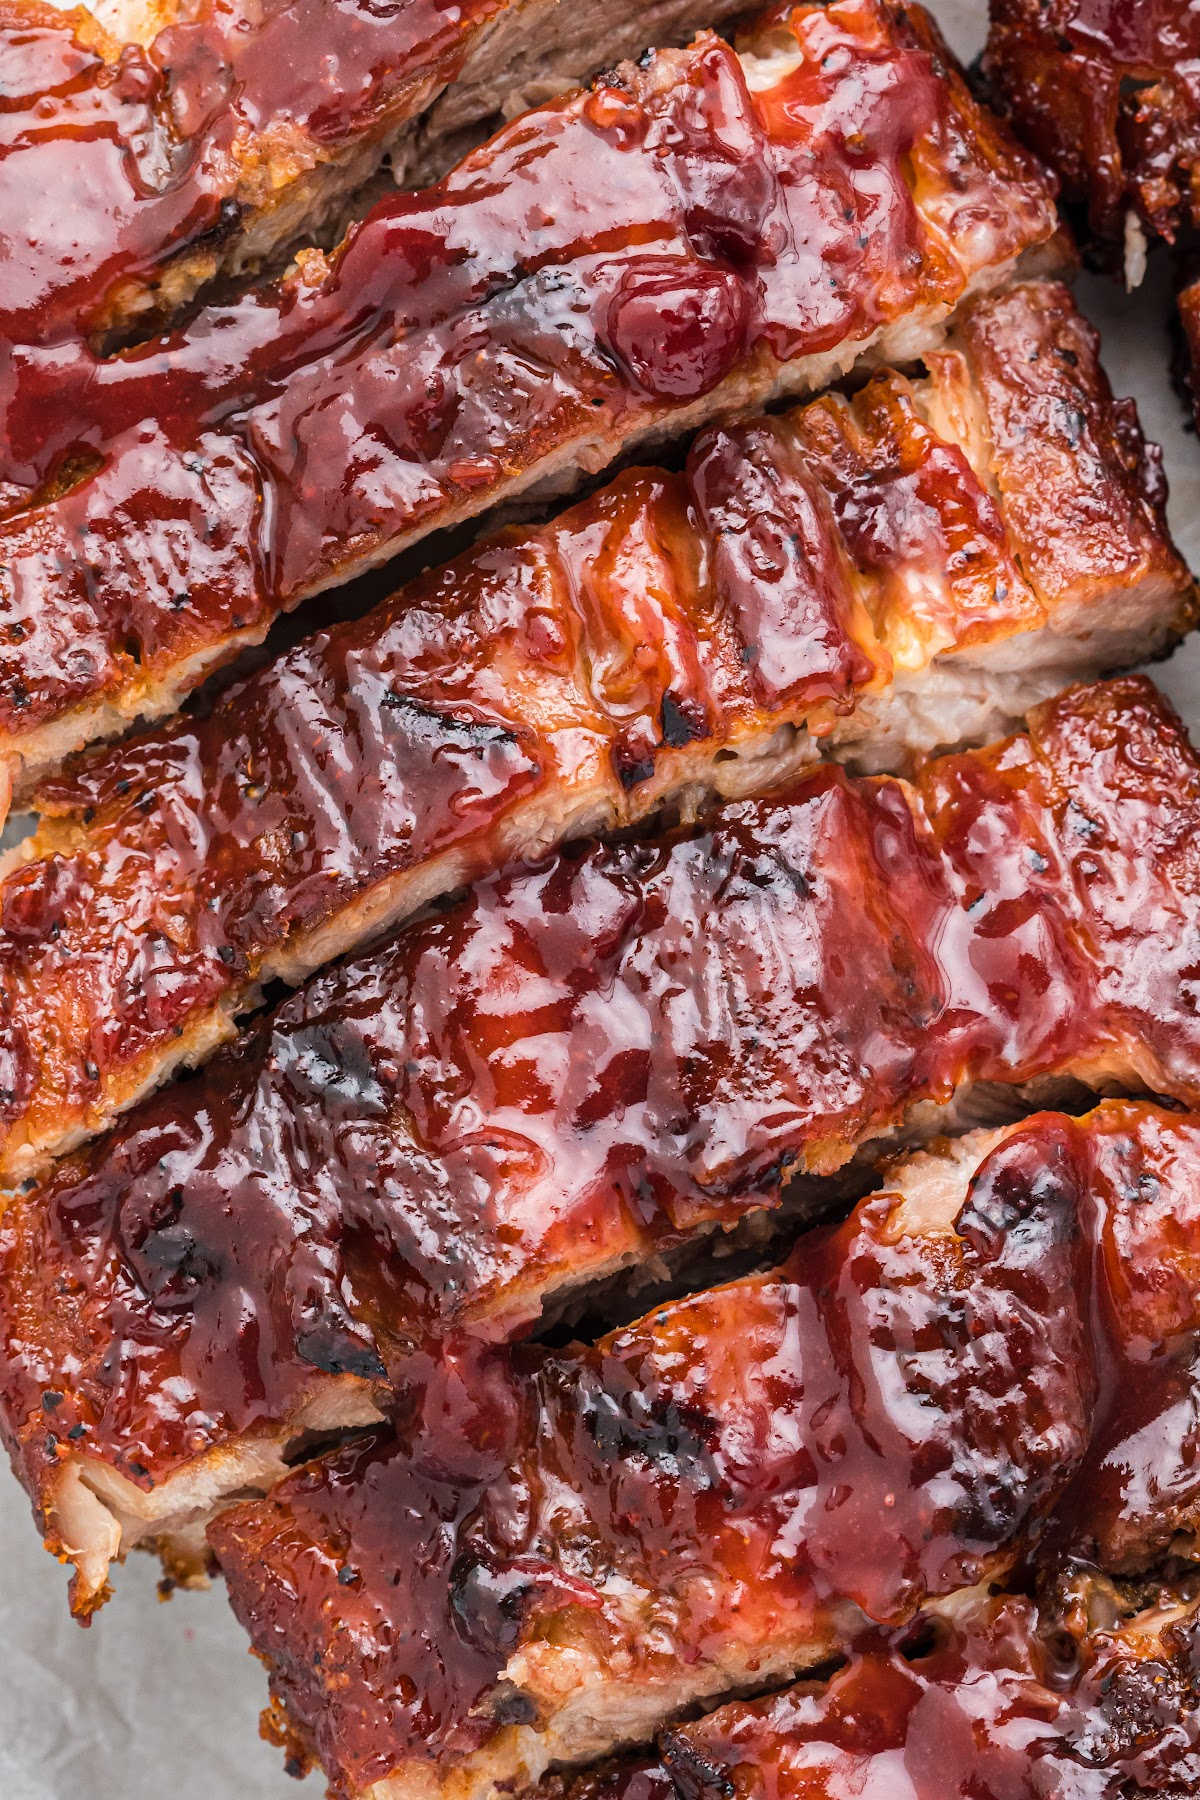
Fall-Off-the-Bone Baby Back Ribs (Oven to Grill Method)
If I had to pick one summer recipe that always gets compliments, it’s these baby back ribs. I’ve used different rubs, sauces, and cooking methods for years before landing on this oven-to-grill approach, and now I won’t make them any other way. They turn out tender, juicy, and fall-off-the-bone every single time, with a rich, smoky barbecue flavor that tastes like you fussed all day.

The ribs fall off the bone, are topped with the best barbecue sauce, and will definitely leave you wanting more. Make sure to take the time to remove the silverskin before cooking–it makes a huge difference!
Table of Contents
Ingredients and Tools You’ll Need
If you don’t want to make your own sauce, store-bought is just fine! Make sure you have a meat thermometer on hand to reach the perfect temperature for tenderness.
A Newsletter you’ll love
Daily recipes from the farmhouse, Sunday meal plans, seasonal ideas, straight from my kitchen to your inbox.
I promise to keep your email address safe. Unsubscribe at any time

Heart’s Content Farmhouse is a participant in the Amazon Services LLC Associates Program, an affiliate advertising program designed to provide a means for sites to earn advertising fees by advertising and linking to Amazon.com. This means that when you click on certain links on this site and make a purchase, I may earn a small commission at no additional cost to you. I only recommend products I genuinely believe in and would use in my own kitchen. As an Amazon Associate, I earn from qualifying purchases.
If you’d like to double or triple this recipe, you can make adjustments in the recipe card at the bottom of this post.
Pork
- 1 rack baby back ribs
Rub (makes enough for two racks of ribs)
- 2 tablespoons sugar
- 1 tablespoon paprika
- 1 tablespoon chili powder
- 1 tablespoon cumin
- 1 tablespoon coriander
- 1 tablespoon kosher salt
- 2 teaspoons coarsely ground pepper
- ½ teaspoon cayenne pepper
Barbecue sauce
- 1 cup ketchup
- 2 tablespoons brown sugar
- 2 tablespoons molasses
- 1 tablespoon apple cider vinegar
- 1 tablespoon Dijon mustard
- 1 tablespoon Worcestershire sauce
- ½ teaspoon onion powder
- ¼ teaspoon garlic powder
- ¼ teaspoon coarsely ground pepper
- ¼ teaspoon liquid smoke
- pinch of salt
How to Make Baby Back Ribs
Step One: Prep
Preheat the oven to 300℉. Prepare a large baking sheet (a traditional 13×18 cookie sheet works great) by lining it with aluminum foil.
Step Two: Make Rub
In a small bowl, whisk together the rub ingredients.

Step Three: Remove Silverskin
Remove ribs from packaging and pat dry with paper towels. Place the ribs on the lined baking sheet. Turn the ribs meat side down to remove the membrane, called the silverskin. Slide a butter knife between the membrane and ribs about an inch in. This can be easier to do starting one or two ribs down from the top. Using a paper towel, take hold of the edge of the membrane and pull across the ribs and down. The paper towel helps grip the membrane to pull. Often, the membrane comes off all in one piece. If not, grab hold of the next piece and pull until completely removed.

Step Four: Rub
Spread rub across one side of the ribs, rubbing the spices into the meat, using about 2 ½ tablespoons of the rub. Turn and rub the spice mixture onto the other side, using an additional 2 ½ tablespoons of the rub.

Step Five: Bake
Cover the ribs with aluminum foil and place them in the oven. Cook for 2 hours and 15 minutes and remove from the oven. Check with a meat thermometer. Ribs should be at an internal temperature of 195-205℉ to be at the perfect tenderness. They are safe to eat at a lower temperature, but need to be cooked at a higher temperature to be tender enough to eat. Place back in the oven for a few minutes if necessary.

Step Six: Make Sauce
While the ribs cook, prepare the sauce for your ribs. In a medium saucepan, whisk together ketchup, brown sugar, molasses, apple cider vinegar, Dijon mustard, Worcestershire sauce, onion powder, garlic powder, pepper, liquid smoke, and salt. Cook sauce on low heat, stirring occasionally, for 15-20 minutes. Refrigerate for later use or brush on ribs.

Step Seven: Finish On Grill
Preheat a gas grill to medium-high heat. Brush sauce onto the meat side of the ribs. Place the ribs meat side down on the grill and cook for 3-5 minutes. Brush sauce on the other side of the ribs and turn over. Brush additional sauce on the meat side of the ribs again and cook for a further 3-5 minutes. Brush sauce on again if desired and remove from the grill.

Step Eight: Rest And Serve
Let ribs rest for at least 10 minutes. Cut into slices by finding the soft spots in between the bones and cutting between each bone, or serve two at a time. The bones can be at a slight angle, and it can help to look at the ribs’ side versus the meat side when cutting.

Storage Instructions
Let the ribs cool completely, then wrap them tightly in aluminum foil or place them in an airtight container. Store them in the refrigerator for up to 3-4 days.
To reheat them, preheat your oven to 300 degrees Fahrenheit. Place the ribs in an oven-safe dish and cover with aluminum foil to keep the meat from drying out. Heat for 20-30 minutes, or until warmed through.
You can make the sauce ahead of time and store it in the fridge for 1-2 weeks.
You can precook the ribs up to two days in advance. Cook in the oven, cover in foil, and refrigerate. When you’re ready, warm them for 20 minutes in the oven at 300 degrees (still in foil), then finish on the grill with the sauce.
What to Serve with Baby Back Ribs
Serve these with all your classic barbecue side dishes.
- Everyone loves a creamy coleslaw on the side.
- Sourdough cornbread will make even the pickiest eaters happy.
- These cast iron baked beans have lots of flavor and use only one dish.
- Every barbecue needs a potato salad. It’s the law.

More Barbecue Sauces To Try
- Homemade apricot barbecue sauce is just the right blend of sweet and tangy.
- Try this sweet cherry barbecue sauce that’s made with cherry preserves.
- Learn to can your own barbecue sauce so you always have some on hand.
Questions and Troubleshooting
Yes, it’s worth the extra step. Removing the membrane makes the ribs more tender and allows the rub and sauce to penetrate better, giving you more flavorful meat.
No problem! You can finish the ribs under the broiler for a few minutes. Just watch them closely to avoid burning the sauce. I do this ALL the time.
Printable Recipe
Baby Back Ribs

Ingredients
Pork
- 1 rack baby back ribs
Rub (makes enough for two racks of ribs)
- 2 tablespoons sugar
- 1 tablespoon paprika
- 1 tablespoon chili powder
- 1 tablespoon cumin
- 1 tablespoon coriander
- 1 tablespoon kosher salt
- 2 teaspoons coarsely ground pepper
- ½ teaspoon cayenne pepper
Barbecue sauce
- 1 cup ketchup
- 2 tablespoons brown sugar
- 2 tablespoons molasses
- 1 tablespoon apple cider vinegar
- 1 tablespoon Dijon mustard
- 1 tablespoon worcestershire sauce
- ½ teaspoon onion powder
- ¼ teaspoon garlic powder
- ¼ teaspoon coarsely ground pepper
- ¼ teaspoon liquid smoke
- pinch of salt
Save This Recipe
You'll join my email list which you will love. And if you don't, unsubscribe in one click. ❤️
Instructions
- Prep. Preheat the oven to 300℉. Prepare a large baking sheet (a traditional 13×18 cookie sheet works great) by lining it with aluminum foil.
- Make rub. In a small bowl, whisk together the rub ingredients.
- Remove silverskin. Remove ribs from packaging and pat dry with paper towels. Place the ribs on the lined baking sheet. Turn the ribs meat side down to remove the membrane, called the silverskin. Slide a butter knife between the membrane and ribs about an inch in. This can be easier to do starting one or two ribs down from the top. Using a paper towel, take hold of the edge of the membrane and pull across the ribs and down. The paper towel helps grip the membrane to pull. Often the membrane comes off all in one piece. If not, grab a hold of the next piece and pull until completely removed.
- Rub. Spread rub across one side of the ribs, rubbing the spices into the meat, using about 2 ½ tablespoons of the rub. Turn and rub the spice mixture onto the other side, using an additional 2 ½ tablespoons of the rub.
- Bake. Cover the ribs with aluminum foil and place them in the oven. Cook for 2 hours and 15 minutes and remove from the oven. Check with a meat thermometer. Ribs should be at an internal temperature of 195-205℉ to be at the perfect tenderness. They are safe to eat at a lower temperature, but need to be cooked at a higher temperature to be tender enough to eat. Place back in the oven for a few minutes if necessary.
- Make sauce. While the ribs cook, prepare the sauce for your ribs. In a medium saucepan, whisk together ketchup, brown sugar, molasses, apple cider vinegar, Dijon mustard, Worcestershire sauce, onion powder, garlic powder, pepper, liquid smoke, and salt. Cook sauce on low heat, stirring occasionally, for 15-20 minutes. Refrigerate for later use or brush on ribs.
- Finish on grill. Preheat a gas grill to medium-high heat. Brush sauce onto the meat side of the ribs. Place the ribs meat side down on the grill and cook for 3-5 minutes. Brush sauce on the other side of the ribs and turn over. Brush additional sauce on the meat side of the ribs again and cook for an additional 3-5 minutes. Brush sauce on again if desired and remove from the grill.
- Rest and serve. Let ribs rest for at least 10 minutes. Cut into slices by finding the soft spots in between the bones and cutting between each bone, or serve two at a time. The bones can be at a slight angle, and it can help to look at the ribs side versus the meat side when cutting.
Notes
Nutrition
Did You Make This?
I would love it if you would leave a review!Love,


I have made your ribs in the oven as instructed they came out most delicious. However, I am going to be making six racks of ribs and I was wondering if I could make them on the Blackstone grill If they were put in the oven? Do you know raft in foil and on low with this be possible and would it take about the same amount of time?
hi valeri, I’m not familiar with the Blackstone, but as far as a I know it’s more like a stovetop than an oven. they might have some sort of contraption that holds the heat and turns it into an oven? I’m not sure, otherwise I can’t say if it would work.