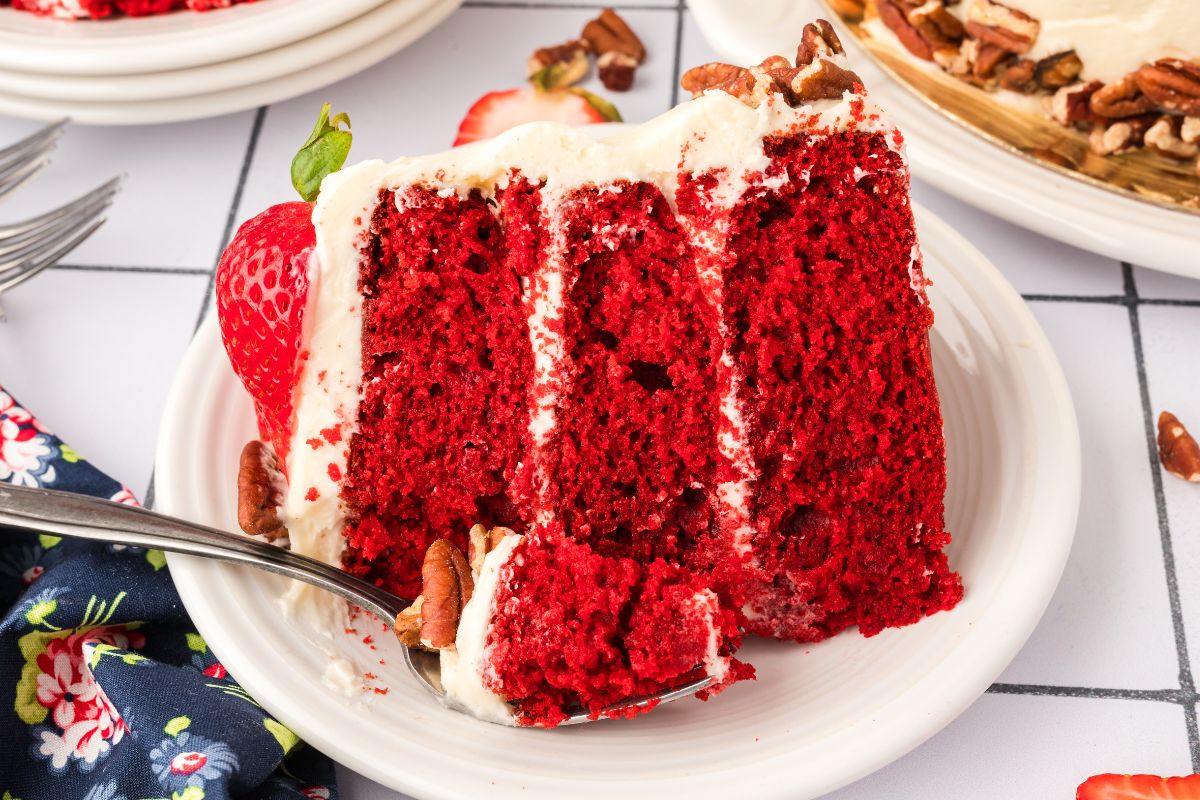
Old-Fashioned Red Velvet Cake with Cream Cheese Frosting
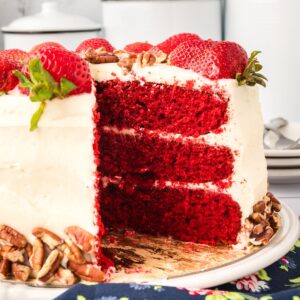
This is just the thing when you want something, you know…big. A production, but in a good way. Everyone will ooh and ahh when you set this on the dining room table. It’s super moist with a cream cheese frosting that’s just right. Perfect for birthdays, holidays, or any special occasion that deserves a showstopper.

This is a classic for a reason. But it is actually easy to make. Just bake, layer, and frost.
Table of Contents
Ingredients and Tools You’ll Need
The red food coloring is what will give it that classic color. But if you are avoiding dyes, you can leave it out and the cake will still taste great. You could try natural red food dye or beet juice for the color (but I don’t know how the beet juice will affect the taste. If you don’t have buttermilk, you can make a quick substitute by adding a tablespoon of white vinegar or lemon juice to a cup of milk and allowing it to sit for 10 minutes.


This will make 12 slices in a three layer cake. If you’d like to double or triple this recipe, you can make adjustments in the recipe card at the bottom of this post.
Equipment
- 3 9 inch cake pans
- Hand mixer
Ingredients
For the Cake
- 2½ cups all-purpose flour
- 1½ cups granulated sugar
- 1 teaspoon baking soda
- 1 teaspoon salt
- 1 tablespoon cocoa powder
- 1 cup vegetable oil
- 1 cup buttermilk (at room temperature)
- 2 large eggs (at room temperature)
- 2 tablespoons red food coloring
- 1 teaspoon white distilled vinegar
- 1 teaspoon pure vanilla extract
For the Cream Cheese Frosting
- 1 pound cream cheese (softened)
- 1 cup unsalted butter (softened)
- 1 teaspoon of pure vanilla extract
- 6-8 cups powdered sugar
For Garnish
- pecans
- strawberries
How to Make
Step One: Make the Cake Batter
Start by preheating your oven to 350 degrees F. Get your cake pans ready by greasing and flouring
Time for the dry ingredients. Sift together your flour, sugar, baking soda, salt, and cocoa powder in a big bowl.
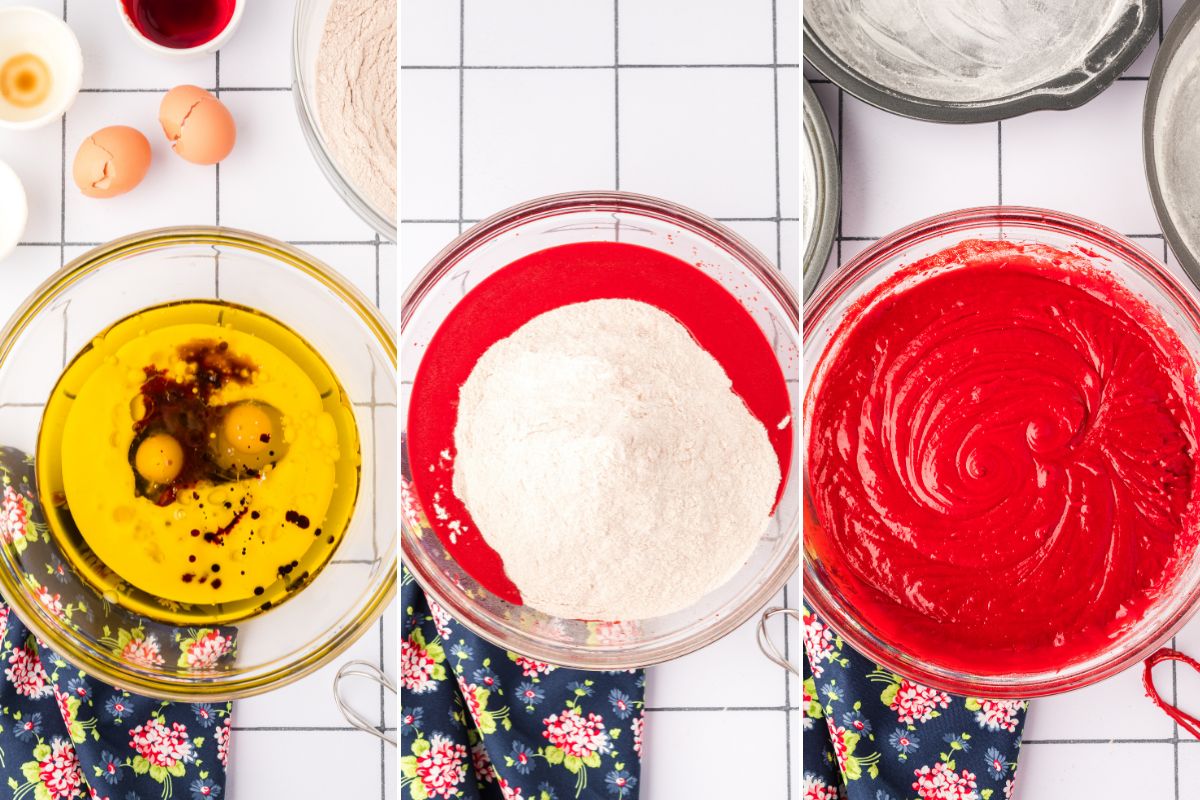
In another bowl, mix together your oil, buttermilk, eggs, that vibrant red food coloring, vinegar, and vanilla. An electric mixer is your friend here.
Gradually add your sifted dry ingredients into the wet ingredients, mixing until you have a smooth, beautifully red batter.
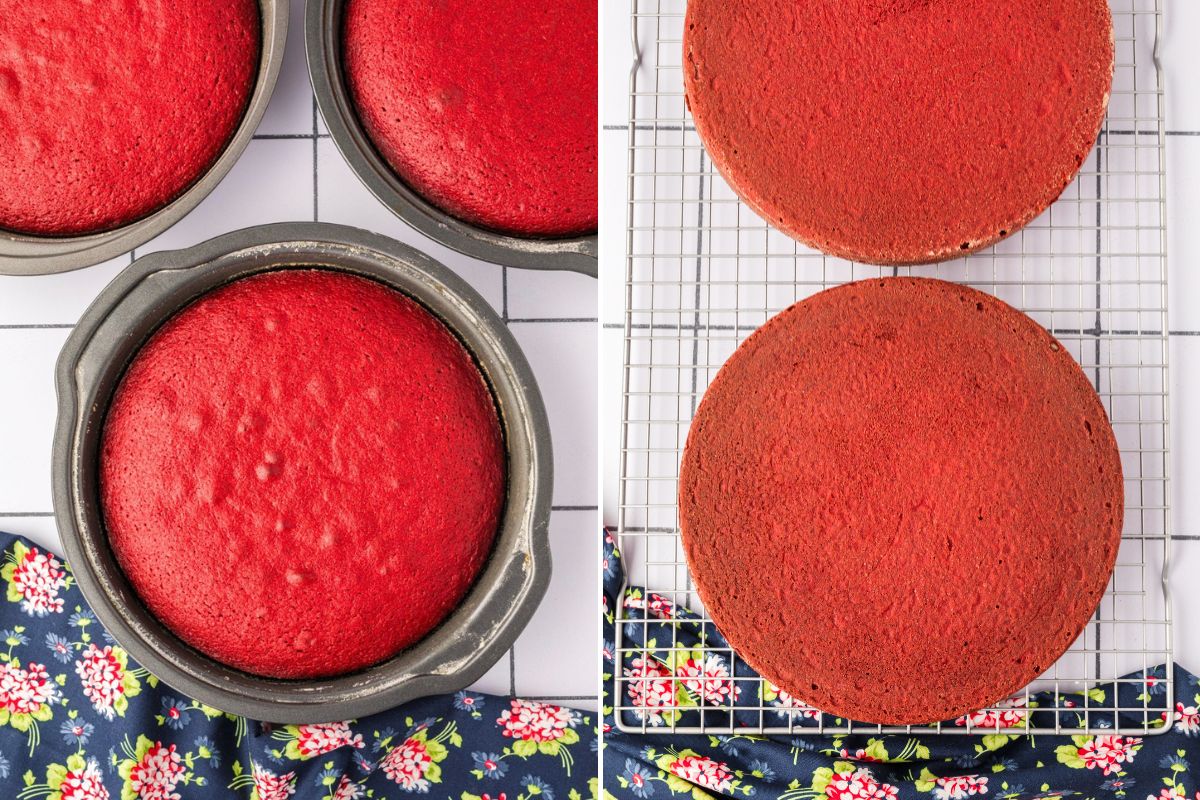
Step Two: Bake
Pour that batter evenly into your prepped cake pans.
Bake until a toothpick poked into the center of each cake comes out clean, about 20-25 minutes. Let the cakes chill on a cooling rack before you take them out of the pans (about 15 minutes). Then let them cool COMPLETELY on the wire racks. You don’t want to frost when the cake is still warm.
Step Three: Make the Cream Cheese Frosting
While waiting, whip up your cream cheese frosting. Beat together your softened cream cheese and butter until it’s nice and smooth, then add in vanilla extract and powdered sugar gradually. Keep beating until you get that light, fluffy texture.

Step Four: Assemble
Place a layer on your cake stand, frost the top, and then repeat. Your final layer gets frosting on top and all around the sides.

Time for the finishing touch: sprinkle chopped pecans and fresh berries over your cake for that extra wow factor.
Don’t forget the best part: cutting yourself a generous slice and digging in!
Storage Instructions
Your cake can be stored in the fridge for up to a week. Just make sure it’s covered well to prevent it from drying out.
If you want to freeze the cake, wrap it securely in plastic wrap and then foil. It can last in the freezer for up to 2-3 months. Just thaw it in the fridge before serving.
It will freeze best unfrosted, in individual layer. But if you have leftovers and want to enjoy them later, it’s frine to wrap pieces up and freeze them frosted.
More Showstopper Cakes
Every once in a while it’s nice to make something impressive
- This chocolate Christmas Bundt cake looks breathtaking! As long as you have a Bundt pan, you’re halfway there.
- Strawberry Texas sheet cake is pink and pretty but very easy.
- Just arrange berries for this iconic American flag sheet cake.
- A caramel Bundt cake is delicious with homemade caramel frosting poured on top.
Printable Recipe
Old-Fashioned Red Velvet Cake with Cream Cheese Frosting
Equipment
- 3 9 inch cake pans
- Hand mixer
Ingredients
For the Cake
- 2½ cups all-purpose flour
- 1½ cups granulated sugar
- 1 teaspoon baking soda
- 1 teaspoon salt
- 1 tablespoon cocoa powder
- 1 cup vegetable oil
- 1 cup buttermilk (at room temperature)
- 2 large eggs (at room temperature)
- 2 tablespoons red food coloring
- 1 teaspoon white distilled vinegar
- 1 teaspoon pure vanilla extract
For the Cream Cheese Frosting
- 1 pound cream cheese (softened)
- 1 cup unsalted butter (softened)
- 1 teaspoon of pure vanilla extract
- 6-8 cups powdered sugar
For Garnish
- pecans
- strawberries
Save This Recipe
You'll join my email list which you will love. And if you don't, unsubscribe in one click. ❤️
Instructions
Make the Cake
- Prepare the cake pans. Preheat your oven to 350°F (175°C). Then, grease and flour three 9-inch round cake pans, making sure they are well-coated to prevent the cake from sticking.
- Make the batter. Sift the flour, sugar, baking soda, salt, and cocoa powder in a large bowl. In another large bowl, use a handheld electric mixer to gently beat together the vegetable oil, buttermilk, eggs, red food coloring, vinegar, and vanilla extract until everything is well combined. Gradually add the dry ingredients to the wet mixture, beating on low until the batter is smooth and fully combined.
- Bake and cool. Divide the batter evenly among the three prepared cake pans. Tap the pans lightly on the counter to remove any air bubbles. Bake in the preheated oven for 20 to 25 minutes or until a toothpick inserted into the center of each cake comes out clean. Remove the cakes from the oven and let them cool in the pans on a cooling rack for 15 minutes. Afterward, carefully remove the cakes from the pans and allow them to cool completely on the racks before frosting.
Make the Cream Cheese Frosting
- Beat wet ingredients. In a large mixing bowl, beat the softened cream cheese and butter together until smooth and creamy so there are no lumps in your frosting. Then, add the vanilla extract and mix until incorporated.
- Add sugar to preference. Gradually add the powdered sugar, about 1 cup at a time, beating continuously on low speed until the frosting is light and fluffy. Adjust the amount of sugar based on your preferred sweetness and consistency.
Assemble
- Assemble. Place one cooled cake layer on a cake stand or serving plate. Spread a generous layer of frosting over the top using an offset spatula. Place the second cake layer on top and repeat the frosting process. Add the third cake layer and frost the top and sides of the cake evenly with the remaining frosting. For an extra touch, garnish the top of the cake with chopped pecans and fresh strawberries, if desired.
- Serve. Slice and serve this classic red velvet cake and enjoy!
Notes
Nutrition