Easy Bread Machine Sourdough (Truly Foolproof)
Most people love the idea of baking with sourdough because they see pictures of beautiful artisan loaves with deep crust, slashes, and all the rest. And then the reality of their bread is a flat, weird situation that is not quite what they expected. Anyone else?
It’s time to end that sadness forever. Because once you master this bread machine sourdough recipe, you’ll have a foolproof loaf you’ll be proud of every time.
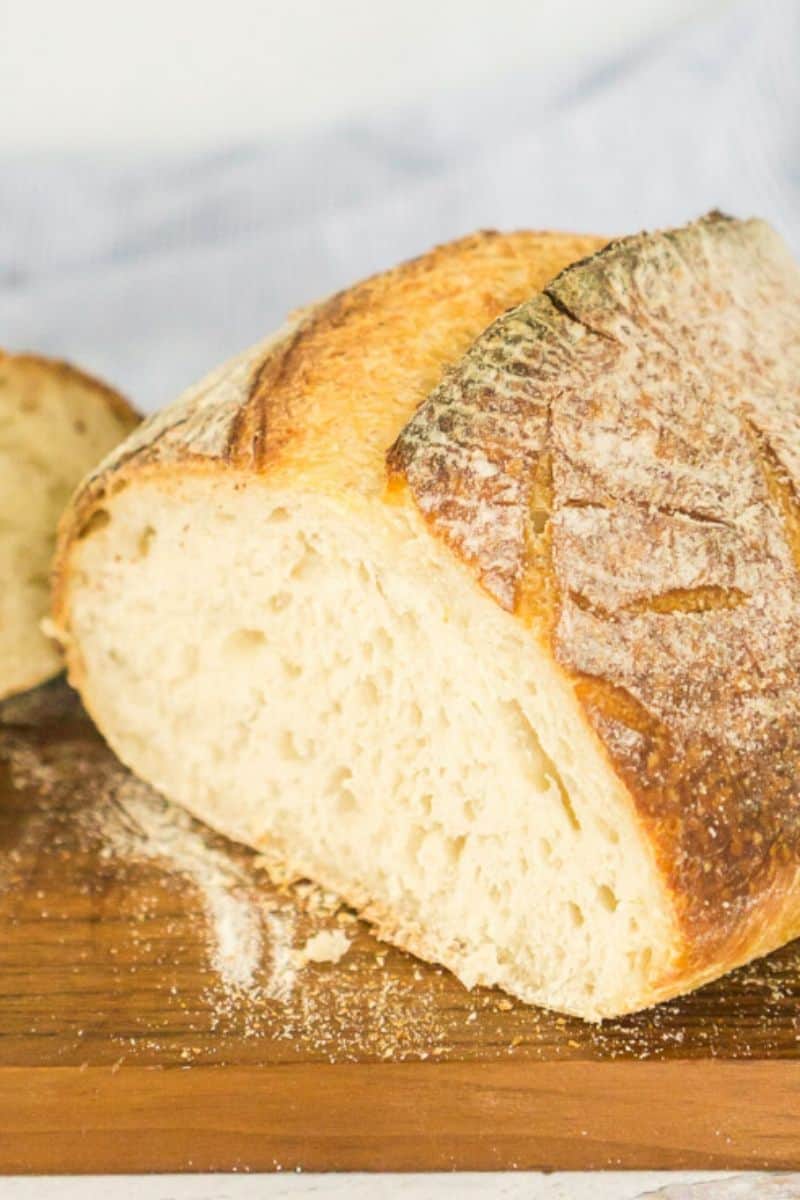
Over time, this has become my go-to for daily baking. It’s incredibly easy, especially since my bread machine handles most of the kneading. With just a few basic ingredients and letting the dough rise overnight in the fridge, I always end up with a crispy loaf on the outside and soft and chewy inside.
It’s perfect for sandwiches, toast, or even just a buttered slice. At first, the dough might seem a bit dry, but I’ve learned that’s completely normal. Resist the urge to add extra water and trust the process, and it turns out perfectly every time.
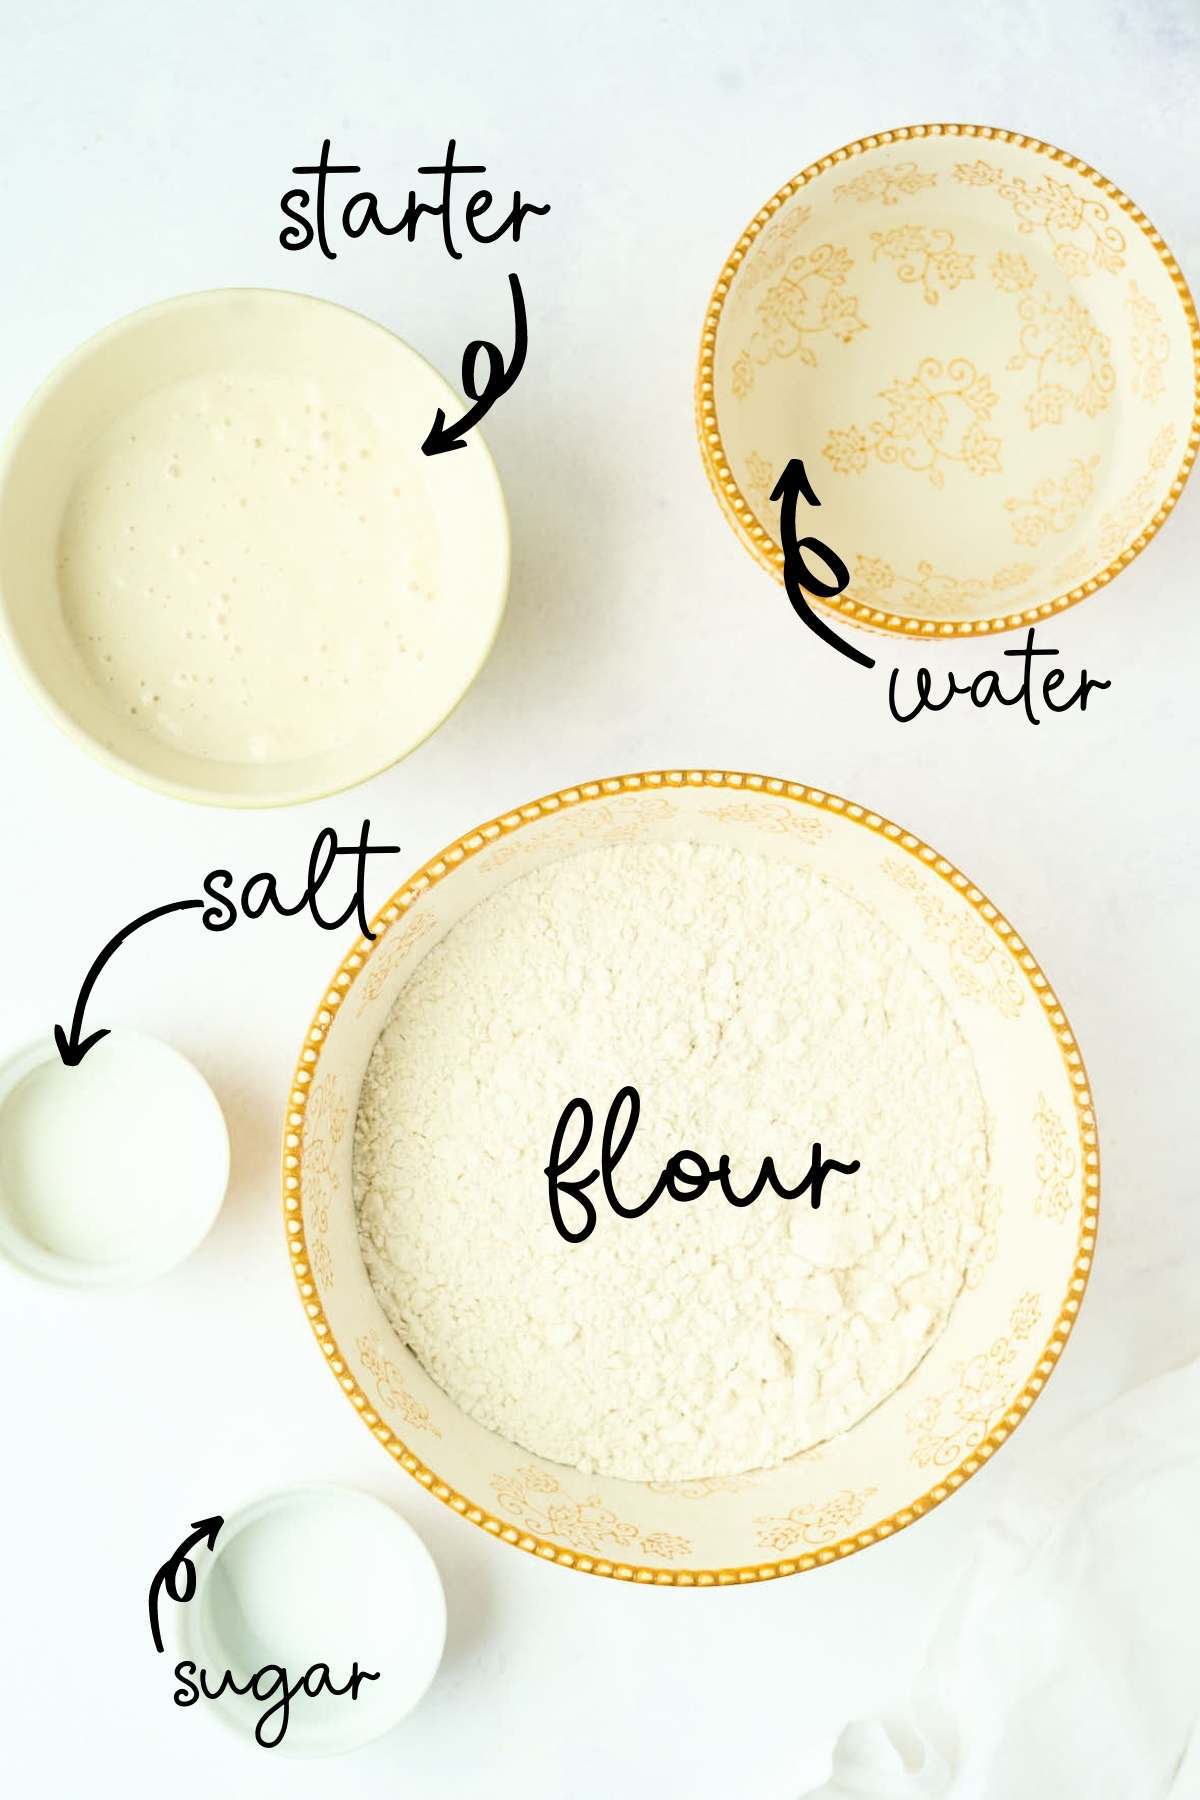
Ingredients and Tools You’ll Need
We’re using the bread machine to do the kneading, but you can also do it in a stand mixer. Make sure your starter is bubbly and active.

Heart’s Content Farmhouse is a participant in the Amazon Services LLC Associates Program, an affiliate advertising program designed to provide a means for sites to earn advertising fees by advertising and linking to Amazon.com. This means that when you click on certain links on this site and make a purchase, I may earn a small commission at no additional cost to you. I only recommend products I genuinely believe in and would use in my own kitchen. As an Amazon Associate, I earn from qualifying purchases.
Equipment
- Bread machine (with a dough cycle setting) (It does the kneading for you. If you don’t have one, kneading by hand or using a mixer works, but a bread machine simplifies the process.)
- Large mixing bowl
- Measuring cups and spoons
- Damp tea towel or kitchen towel
- Baking Sheet
- Parchment paper
- Rimmed baking sheet
Ingredients
- 3 cups bread flour (15.85 ounces) (regular or wheat flour will work too, but bread flour will make your bread chewier and stronger)
- 1 cup lukewarm water (7.75 ounces)
- ¾ cup fed sourdough starter (5.65 ounces) (You can also easily make your own at home with flour and water—it takes about 5-7 days to get a strong starter going.)
- ½ tablespoon sugar
- 1 ¾ teaspoon salt
How to Make Bread Machine Sourdough
Step One: Autolyze
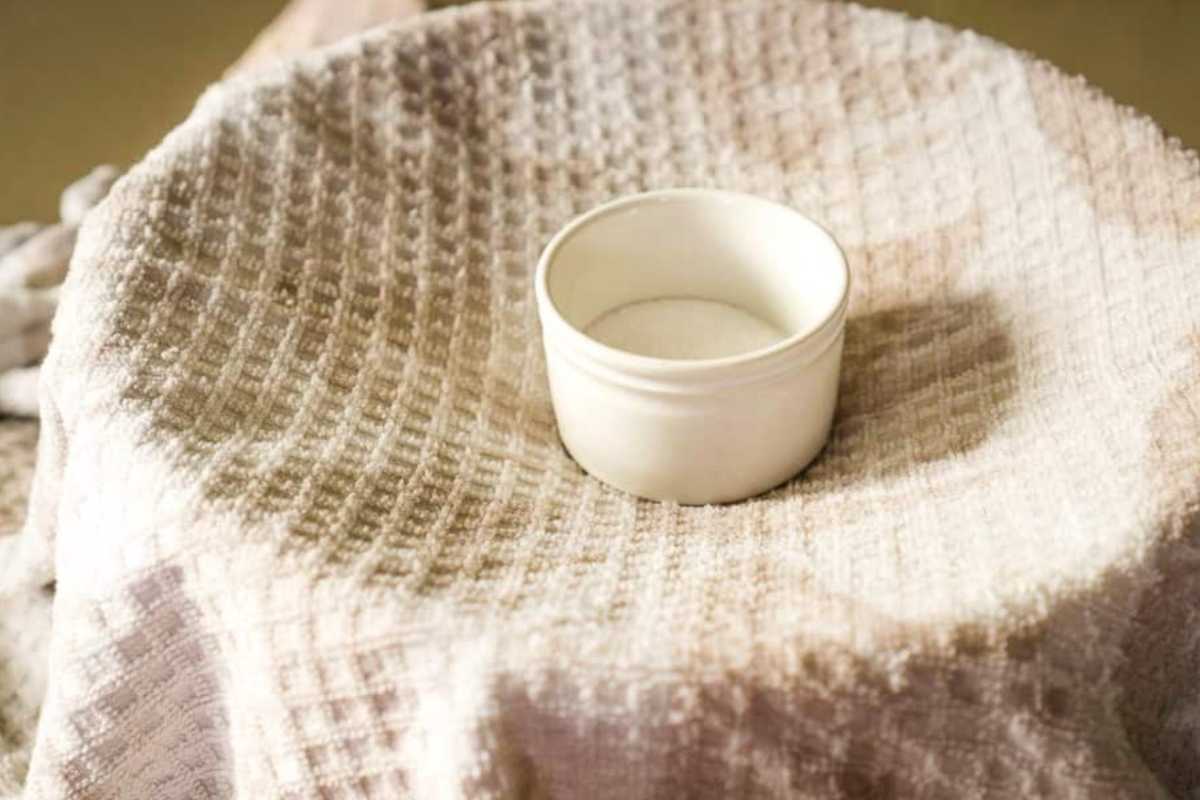
Combine the bread flour, sourdough starter, sugar, and water in a large mixing bowl. The dough will feel drier than typical sourdough—this is normal. Do not add more water. Use your hands to make sure all ingredients are incorporated into a cohesive ball. Cover the bowl with a damp tea towel and let the dough rest on the counter for 30 minutes. Tip: Pre-measure the salt and place it in a small container on the towel to remind yourself to add it later.
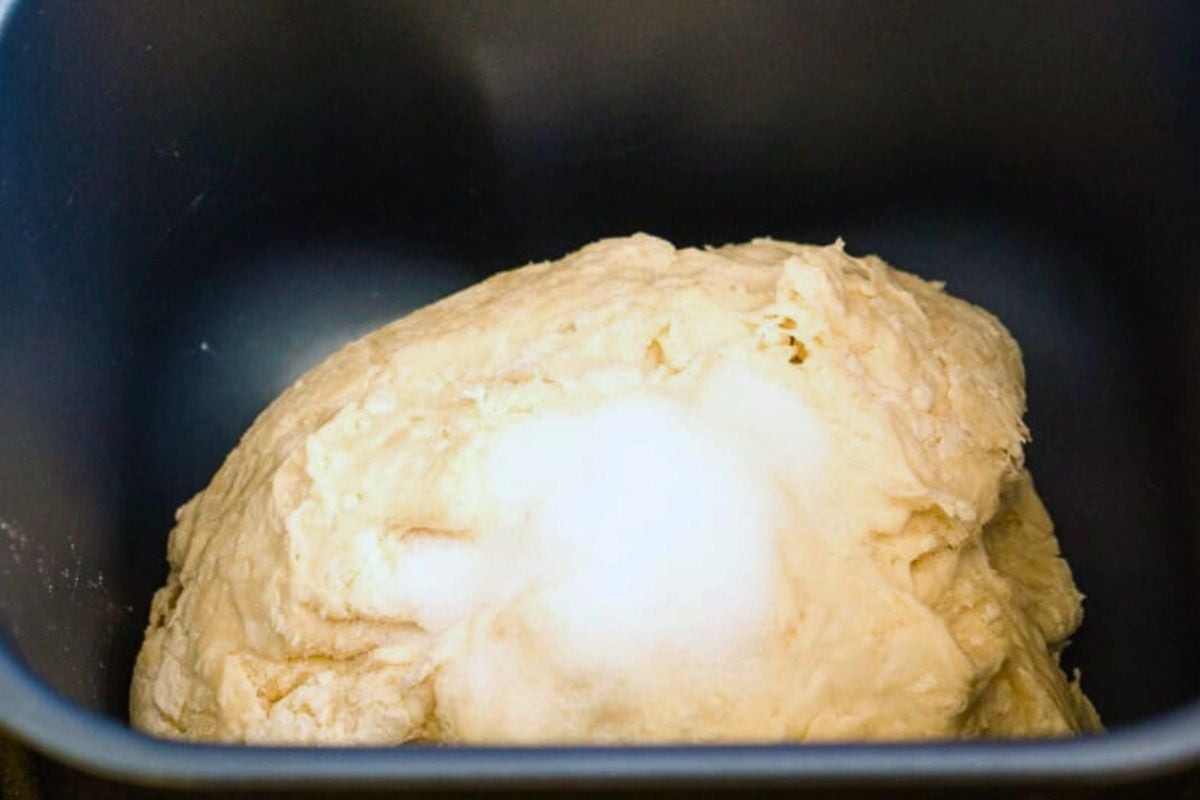
Step Two: Knead
After the autolyze, transfer the dough and salt into the bread machine bucket. Then, select the “dough” cycle and press start. You don’t need to fold the dough or anything crazy like that. Just walk away.
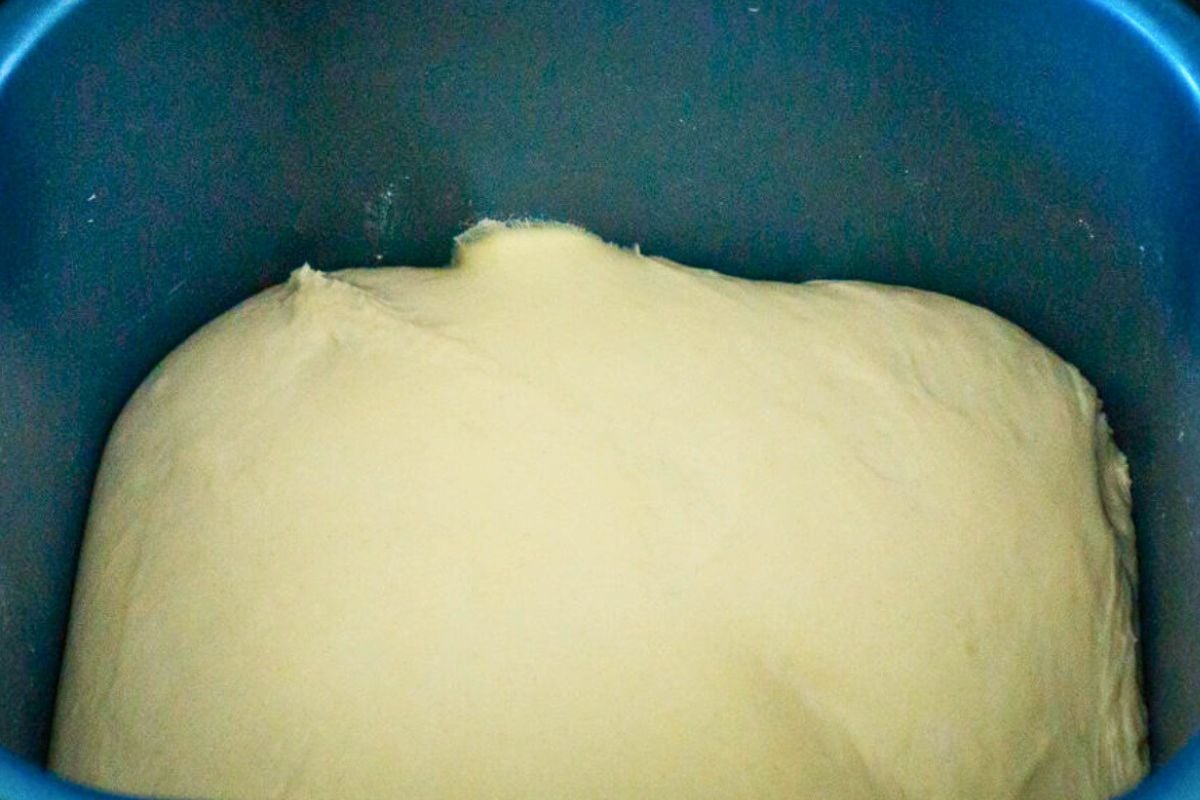
Step Three: First Rise
When the cycle ends, leave the dough in the machine to continue rising for 2-3 more hours. The dough should be noticeably puffier and soft to the touch, though it may not have doubled in size. This longer rise helps develop the flavor and texture of the bread.
Step Four: Shape The Loaf
Prepare a baking sheet by lining it with parchment paper and sprinkling cornmeal over the surface. Carefully remove the dough from the bread machine and gently shape it into a round or oval loaf. The dough will be slightly sticky, but avoid using flour for shaping. Place the dough on the prepared baking sheet.
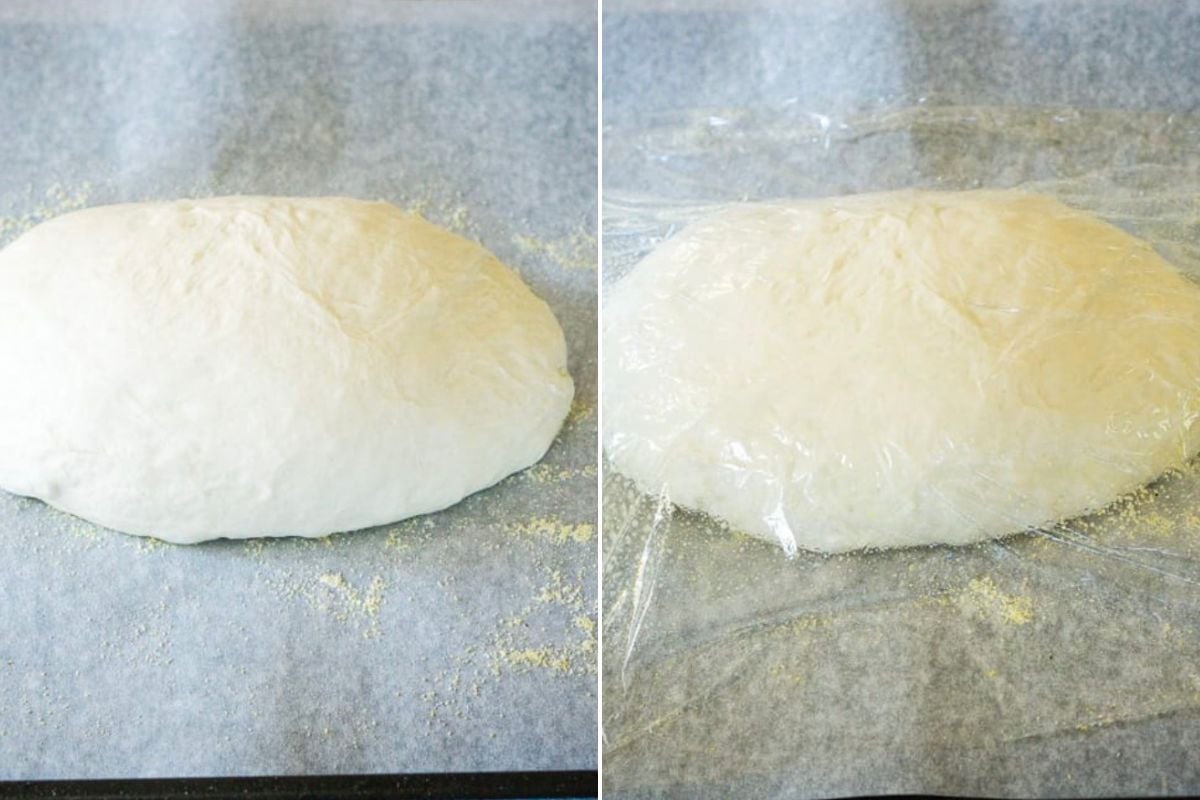
Step Five: Second Rise (Overnight Proof)
Spray a piece of plastic wrap with cooking spray and loosely cover the shaped dough. Place the covered loaf in the refrigerator to proof overnight for 8 to 16 hours.
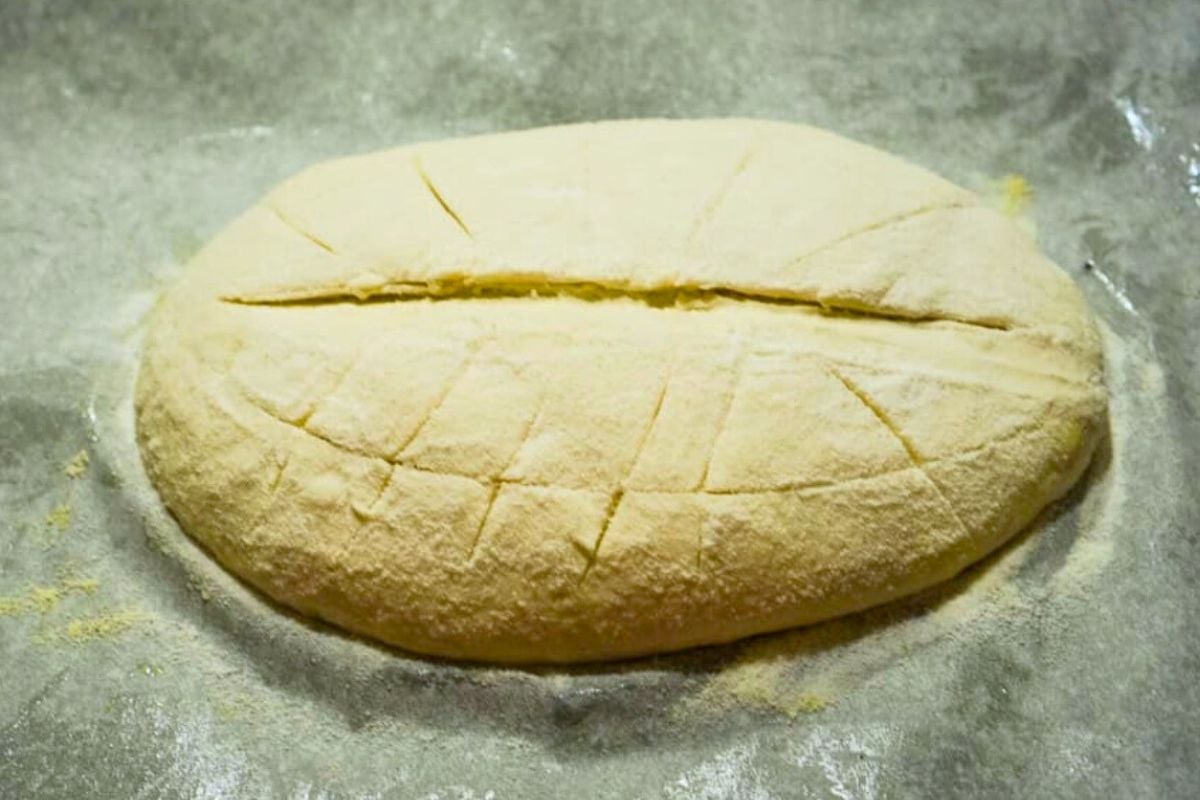
Step Six: Prep For Baking
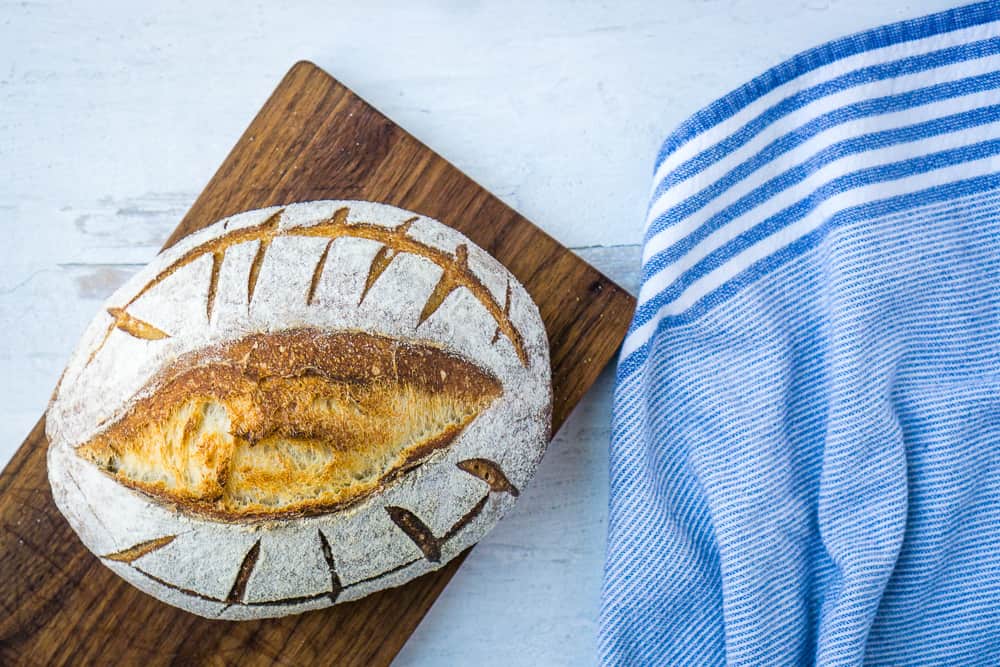
In the morning, preheat the oven to 450°F (230°C). Position two racks: one in the center of the oven and the other in the lower middle. Then, place an empty-rimmed baking sheet on the lower rack while the oven is preheating. Next, remove the loaf from the fridge. Dust it lightly with flour and use a lame or a sharp serrated knife to slash the top of the dough, allowing the loaf to expand during baking.
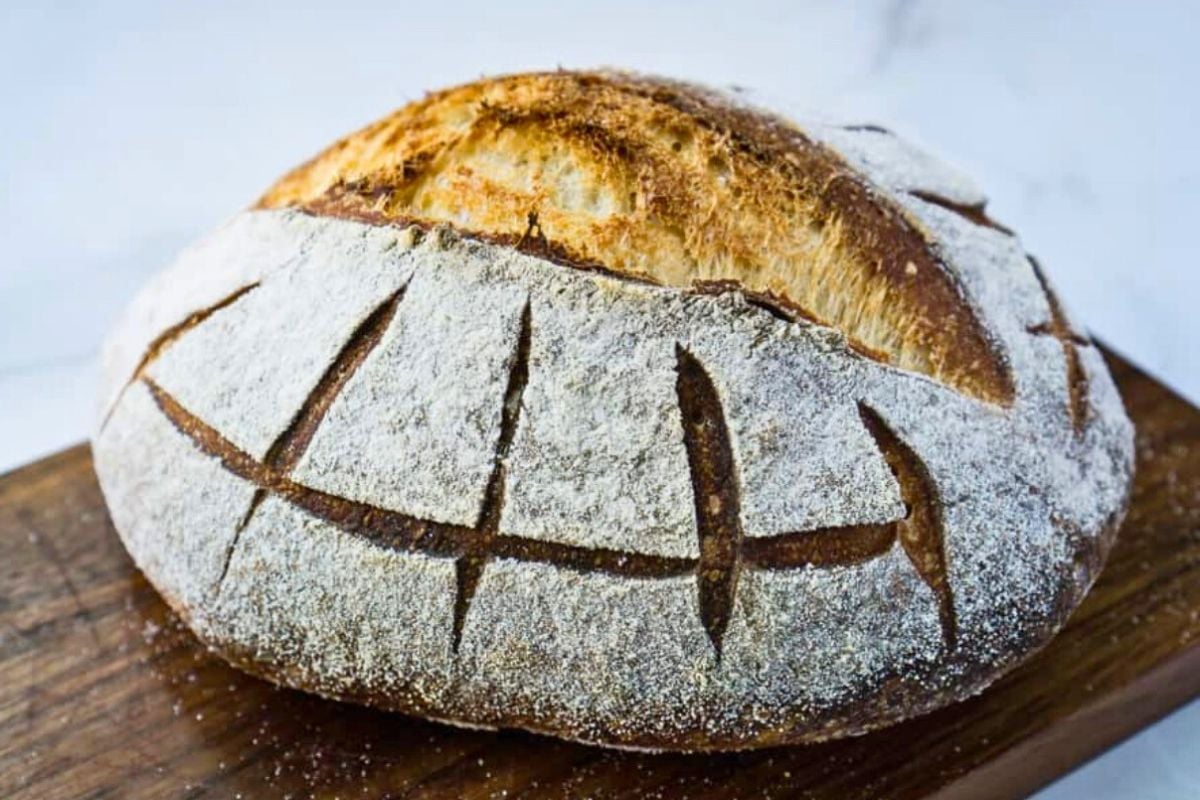
Step Seven: Bake With Steam
When the oven is fully preheated, carefully pour 1 cup of water into the baking sheet on the lower rack to create steam. Immediately place the loaf on the center rack and close the oven door. Bake the loaf for 45 minutes until it reaches a deep golden-brown color. Remove from the oven and allow the bread to cool on a wire rack for at least 4 hours.
Step Eight: Slice And Serve
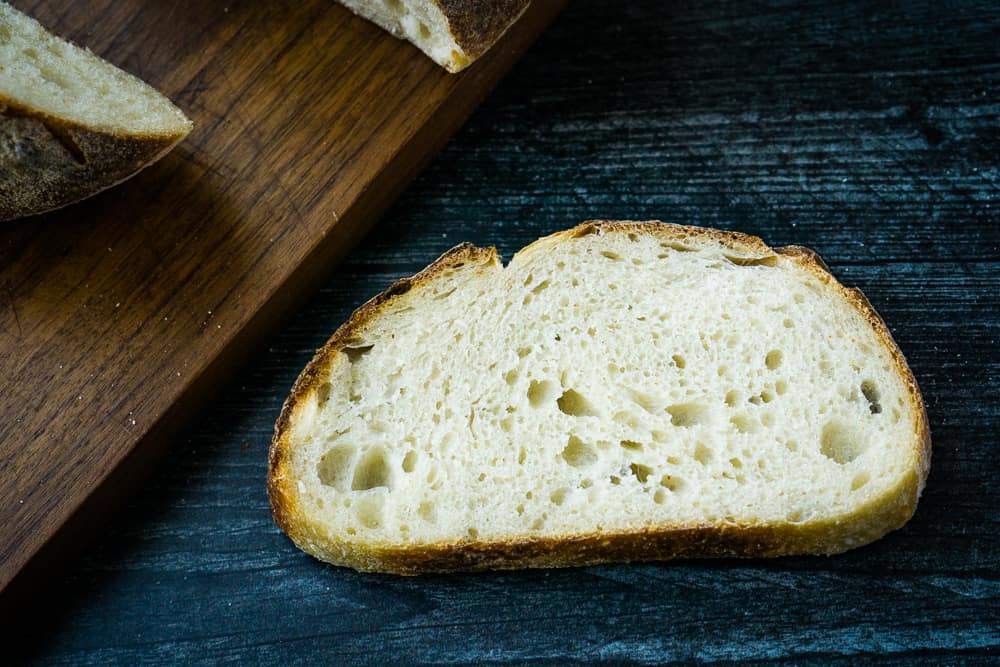
Once the bread has fully cooled (after at least 4 hours), use a sharp, serrated knife to slice the loaf into even pieces. Enjoy fresh or toasted with your favorite toppings!
Storage Instructions
Once the bread has completely cooled, wrap it in a clean kitchen towel or place it in a paper bag. This will help keep the crust crispy while preventing the bread from drying. Avoid using plastic, as it can cause the crust to become soft. Stored this way, the bread will stay fresh for about 3 days at room temperature.
You can also freeze it. First, let the loaf cool completely. Then, slice the bread into pieces, so it’s easier to use later. Wrap the slices tightly in plastic wrap or aluminum foil and place them in a freezer-safe bag. Remove as much air as possible before sealing the bag. The bread can be stored in the freezer for up to 1 month.
Thaw the slices at room temperature or pop them straight into the toaster. You can also reheat them in the oven for a few minutes to freshen up the crust.
What to Serve with Bread Machine Sourdough Bread
This bread is great for everything from toast at breakfast to a side at dinner.
- Spread on some homemade butter or strawberry jam.
- It’s great for grilled cheese sandwiches since it doesn’t have big holes.
- Serve as a side for dinner, like with a creamy chicken noodle soup.
Questions and Troubleshooting
Check my Sourdough FAQ page to see what could have gone wrong.
The autolyze step helps improve the dough’s texture, but if you’re short on time, you can throw everything in the bread machine and still get a great loaf.
No! It’s normal for this particular recipe. Once it rests and rises, the dough will soften and be easier to work with.
Great question! The dough should look noticeably puffier, but doesn’t need to double in size. If you press it gently with a finger and it springs back slowly, it’s ready.
Yes, you can! If you’re in a rush, let the dough rise at room temperature for another 2-3 hours. The slow, overnight rise helps develop the sourdough flavor, so try it when you can.
There are a couple of reasons this could happen. If your starter wasn’t bubbly and active when you used it, that could slow the rise. Also, sourdough can be slightly slow to rise, especially in cooler kitchens. If this happens, just give it more time to puff up! If you’re having trouble with your sourdough starter and wondering if it’s still alive, don’t worry! Check out this helpful guide on how to tell if you’ve killed your sourdough starter.
Yes! Some readers have baked this in the machine. But you can’t just run a cycle from start to finish. You’ll need to remove the dough to rest in the fridge overnight, then pop it back in to bake in the morning.
You sure can. The steam and baking sheet is really a workaround for those of us who don’t have one. 😊
More Sourdough Recipes For Beginners
- My sourdough roll recipe uses the same steam technique and adds a pinch of instant yeast for a fluffy roll with a crisp crust.
- Sourdough baguettes are hand kneaded but also a similar process.
- And if you want to do all the crazy folding and buy some neat tools, here is a true artisan bread recipe you might like.
Printable Recipe

Bread Machine Sourdough
Equipment
- Bread machine (with a dough cycle setting)
- Large mixing bowl
- Measuring cups and spoons
- Damp tea towel or kitchen towel
- Baking Sheet
- Rimmed baking sheet
Ingredients
- 3 cups bread flour (15.85 ounces)
- 1 cup lukewarm water (7.75 ounces)
- ¾ cup fed sourdough starter (5.65 ounces)
- ½ tablespoon sugar
- 1 ¾ teaspoon salt
Save This Recipe
You'll join my email list which you will love. And if you don't, unsubscribe in one click. ❤️
Instructions
- Autolyze. Combine the bread flour, sourdough starter, sugar, and water in a large mixing bowl. The dough will feel drier than typical sourdough—this is normal. Do not add more water. Use your hands to make sure all ingredients are incorporated into a cohesive ball. Cover the bowl with a damp tea towel and let the dough rest on the counter for 30 minutes.Tip: Pre-measure the salt and place it in a small container on the towel to remind yourself to add it later.
- Knead. After the autolyze, transfer the dough and salt into the bread machine bucket. Then, select the “dough” cycle and press start. You don’t need to fold the dough or anything crazy like that. Just walk away.
- First rise. When the cycle ends, leave the dough in the machine to continue rising for 2-3 more hours. The dough should be noticeably puffier and soft to the touch, though it may not have doubled in size. This longer rise helps develop the flavor and texture of the bread.
- Shape the loaf. Prepare a baking sheet by lining it with parchment paper and sprinkling cornmeal over the surface. Carefully remove the dough from the bread machine and gently shape it into a round or oval loaf. The dough will be slightly sticky, but avoid using flour for shaping. Place the dough on the prepared baking sheet.
- Second Rise (overnight proof). Spray a piece of plastic wrap with cooking spray and loosely cover the shaped dough. Place the covered loaf in the refrigerator to proof overnight for 8 to 16 hours.
- Prep for baking. In the morning, preheat the oven to 450°F (230°C). Position two racks: one in the center of the oven and the other in the lower middle. Then, place an empty-rimmed baking sheet on the lower rack while the oven is preheating. Next, remove the loaf from the fridge. Dust it lightly with flour and use a lame or a sharp serrated knife to slash the top of the dough, allowing the loaf to expand during baking.
- Bake with steam. When the oven is fully preheated, carefully pour 1 cup of water into the baking sheet on the lower rack to create steam. Immediately place the loaf on the center rack and close the oven door. Bake the loaf for 45 minutes until it reaches a deep golden-brown color. Remove from the oven and allow the bread to cool on a wire rack for at least 4 hours.
- Slice and serve. Once the bread has fully cooled (after at least 4 hours), use a sharp, serrated knife to slice the loaf into even pieces. Enjoy fresh or toasted with your favorite toppings!
Video
Notes
Nutrition


what can I use instead of cornmeal on parchment paper?
plain flour! 🙂
Katie, Thank you for this fantastic recipe. It is incredibly easy to bake and turns out a fabulous tasty loaf. I do the overnight proofing in a banneton which I put in a sealed plastic bag and this gives me a lovely shape. I have also reduced the cooking time by about 5 to 8 minutes because the first one I did got burnt. What is the best way of storing the sourdough loaf because I find it loses it crisp crust and goes a bit heavy after one day in a bread bag? Many thanks again for a recipe that does not require me to be tied to the kitchen for hours on end!!
david i love storing it in a bread box. if you get a “real” one, it has specially designed circulation to help it keep its crust. this is my favorite: https://amzn.to/36Q1iHh it’s a little big, though. but i’m glad you are enjoying the recipe!! 🙂
Today was the 3rd recipe I made with this. EXCELLENT.. for 2 of the recipes I used 1/2 regular unbleached and 1/2 Best for Bread multigrain. I took the dough out of the machine to rise for 3 hours so the top wouldn’t get dry. the 3rd recipe I actually kneaded by hand and that worked too. 1/2 whole wheat flour for that one. This is working really well for me. Thanks… It’s Sourdough all the TIME now.. 😀
so glad it’s working for you teresa!!! ??
Can I shorten the proofing time by leaving the loaf out of the fridge and on the counter? I have a very small fridge!
sure! check after 4 hours or so, depending on the temp of your room.
Hi Katie,
Thank you for developing this amazingly fuss free recipe! I’ve just made my first loaf of sourdough based on your recipe, with my first ripened starter. The loaf was gone in a blink in my house!
Hope you can help me with a few questions:
1. If I wish to use whole wheat flour with white bread flour, what ratio would you recommend? Would you recommend adding vital wheat gluten to the whole wheat flour?
2. Just to make sure – should I wish to make a slightly larger loaf, the amount of ingredients could be proportionally increased?
3. Can I bake this recipe in a 9×5 loaf pan, with a baking sheet of water underneath for steam? I’m worried the steam method wouldn’t work well as the loaf tin encloses the loaf.
Thank you x
Ps. Your sourdough manual and YouTube instructional videos are also incredible! Thank you for taking time out to write it / make them.
hi natalie! i’m so happy you like it!
1. you can absolutely add whole wheat flour- i’d recommend substituting 1/3 for your first and increasing it from there. you CAN add the wheat gluten but it’s not necessary; i’d try it without first.
2. yes, just increase the ingredients and it will work great
3. for the sandwich loaf: yes that will still help the loaf rise! you will get a very crusty sandwich loaf and it if you want something softer, i do have a recipe specific for sourdough sandwich bread
If you want to bake in a loaf pan, here’s a trick to make it work like a Dutch oven. You need 2 loaf pans and 2 metal binder clips. Put your dough into one loaf pan. Invert the other bread pan over the top of the one holding the dough. Clip the 2 pans together with a binder clip on each end. This will make steam inside your pans. Bake as directed.
Hi Katie, thank you for developing this amazing no fuss sourdough method. I just made my first ever loaf today and it was wonderful. Starter used was also my first ever, fed-for-8-day starter (Bob). Very pleased. Hoping that my next loaf would rise a little more with a riper version of Bob.
I have a few questions, hope you can help. I did read through the other comments but would like to make sure:
1. This recipe is good for pro-rating into a larger loaf, correct?
2. I can bake this in a 9” x 5” loaf pan, with a tray of water below (steam)?
3. Can whole wheat flour be used? What is the recommended ratio with the white bread flour please?
Thanks for such an easy recipe. I used all-purpose flour but mixed only the water and flour at first and let it sit for 1/2 hour and then followed your directions from there. The loaf was very tasty, but the crust was very dark, especially on the bottom, and very crunchy. 3 days later it is much easier to slice. My oven temperature is accurate so any advice to have the loaf not taste burnt? Lower temperature or less time baking?
hi carol! try less baking time! this one is tricky to have a time on because all ovens come up to temp differently after being cooled down from the steam. check at 30 minutes and see what you think!
Hi, i compelted my baking this morning! I dont think i slashed deep enough so there was no crack at the top and didnt spring as high as the one in your photo.
I want to ask do I put the parchment paper onto the baking sheet along with the loaf? I find the instructions not clear for a first time sourdough baker. Also what is the purpose of the two racks? They are quite close together in space. Do you have a photo to show me these steps? Thank you!
hi christina, yes the parchment goes under the loaf, on top of the baking sheet. it’s just to keep the loaf from sticking to the baking sheet. the lower rack is to hold your empty baking sheet, which heats up and creates the steam when you pour the water in. the distance between them isn’t that important. if you didn’t do the steam, that explains why your bread didn’t rise as high, or it could just be your starter needs a little more time to mature. hope this helps!
This was my first time making sourdough bread. I used San Francisco sourdough starter. OMG, this made a beautiful artisanal loaf of the best bread I’ve ever tasted! I love that it used the bread machine, and I loved that it was a true sourdough (no yeast). It was also pretty easy to make. I was blown away about how good this was. Sourdough is one of the most difficult breads to master, and I figured I would have to try different recipes and practice before getting it right. Nope, got a perfect loaf on my first try! Perfect crust, not dry, and the holes were the perfect size. Thank you!
hi amy! i’m so happy you enjoyed the recipe! you’re right about sourdough usually being a challenge but i’m glad there’s an easy way 🙂
Hi Katie just wanted to say thanks a million for the recipe, I baked this just now in the bread machine and it was absolutely perfect.
Hi Katie, thanks for the recipe! Gonna make this tomorrow, could you clear up one thing for me please? When you say “Cover the bowl with a damp tea towel and let it rest on the counter.” how long should I rest it for?
about thirty minutes! I keep forgetting to add that! :).
Thanks very much!
Katie, I loved how this loaf looks and tastes! Thank you! I’d like to make a larger batch – my bread machine can do recipes with 5 cups of flour. Have you ever scaled the batch size up? If not, advice?
lynn it should be absolutely fine!
I love your recipe. Thank you for finding an easier way to make sourdough. However, the confusing ingredient in this is the water. It would help to say “scant cup water”, 7.75 ounces, 220 grams. Because of course a cup of water is 8 ounces, or 240 grams.
Good point Alicyn, I’ll correct that! 🙂
THANK YOU so much for this recipe! I have been searching for a sourdough recipe that will give me a rustic, thick crust, great flavor and NOT take all day to knead and pamper and watch. The recipes I tried were either too complicated to do more than once or, when using the bread machine, didn’t come through on the crust and sour flavor. This hybrid recipe combines convenience and quality. I love it and have used it twice in one week.
hi jeanne! I’m so glad you’ve found a new favorite recipe! thanks for letting me know 🙂
I’ve made this recipe multiple times and have learned a lot. Slashing deeply from end to end really makes a difference in how it turns out, for example. My favourite variation includes just under half whole wheat and just over half all purpose flour then I throw in a handful of ground flax. I feed the starter with whole wheat flour mostly, and dark rye flour on occasion. This seems to make the starter stronger/more bubbly than all purpose flour feeds. I’ll even be sharing starter with a friend to get her started soon.
Hi there, can I modify your recipe to include rye flour?
Thanks!
yes, I would at first substitute 1/3 of the flour and see how you like it, then increase from there
This turned out amazingly! I mistakenly added salt with all the other dry ingredients, but it still worked out! It was such a great loaf of bread with a fabulous crust and softer centre! It looked so professional, I’m still in awe! Thank you, Katie, for all your instructions and this fabulous recipe!
Hi Katie,
I`m having a little problem, when I get the doe out of the bred machine it`s very soft and cant form a ball with it, have to place it a dutch oven tried cutting down on the water but no different could it be the starter it looks good and is full off bubbles and is always fed the night before baking
Regards John
hi John! interesting! are you using bread flour? if you use all purpose flour it absorbs less water and you’ll have to decrease the water by quite a lot. I don’t think its your starter if it seems healthy. I would decrease the water even more, until it looks quite dry in the beginning as pictured. if you are already doing that I’m not sure what the issue could be 🙁
Hi Katie, thank you so much for persisting & developing the easiest no fuss recipe. Success first time – very happy!!
Can I bake the dough in a bread tin rather than having a free form loaf? I understand the crust will turn out different.
Thanks in advance. Judy See
yes you definitely can! still do the steam 🙂
Why can’t I leave the dough in tje bread machine and let it bake in there? Is there a better sourdough recipe for that (not trying to be lazy, just have a lot going on and sourdough starter coming out of my ears.
hi Kathleen. you can, especially if your kitchen is very cool. otherwise cover the bucket and pop it in the fridge. then you’ll have to go to a bake only. cycle for the baking portion.
Hi Katie
Why do you put the salt in the machine and not in the bowl when mixing the ingredients
the theory is that mixing the salt directly with the starter will do “something” bad if you mix it in too early. To be honest, I don’t think its that big a deal! 🙂
Hi,
Do you refill the water pan as the water evaporates? Thanks
no because once it evaporates the crust will start to brown better, you only need steam for the first half of the baking time 🙂
I love you madly deeply! I am on YOUR sourdough cult of fans. After many failed attempts… SUCCESS! Thank you SO MUCH! Delicious!
thank you so much Karen! so glad you’ve had sourdough success at last 🙂
Would you recommend this recipe to bake – sourdough-
in the bread machine ? – without steam ? Can I still do it ? – or bread is not going to come out at all? Just wondering :))
Thank you for response .
Hugo, you can! the machine actually seals up quite nicely, which creates steam. the only think is you’ll need to remove the bucket and cover it for the overnight rise in the fridge. then put it back in the machine to bake. my machine does not have a “bake only” cycle. so I’ve never tried it. but others have, with success! 🙂
Hi again, I’ve made this recipe many times with the steam pan method. Our family LOVES it! How do I adapt the baking process now to use a 5 qt. dutch oven instead? Thx so much.
Mary Ann, it will work great in a Dutch oven. Don’t worry about the steam at all. Just place your loaf in the dutch oven lined with parchment. bake with the lid ON for about 25 minutes, then OFF about 25 minutes. the rest of the recipe is all the same 🙂