
Chewy Chocolate Coated Caramels

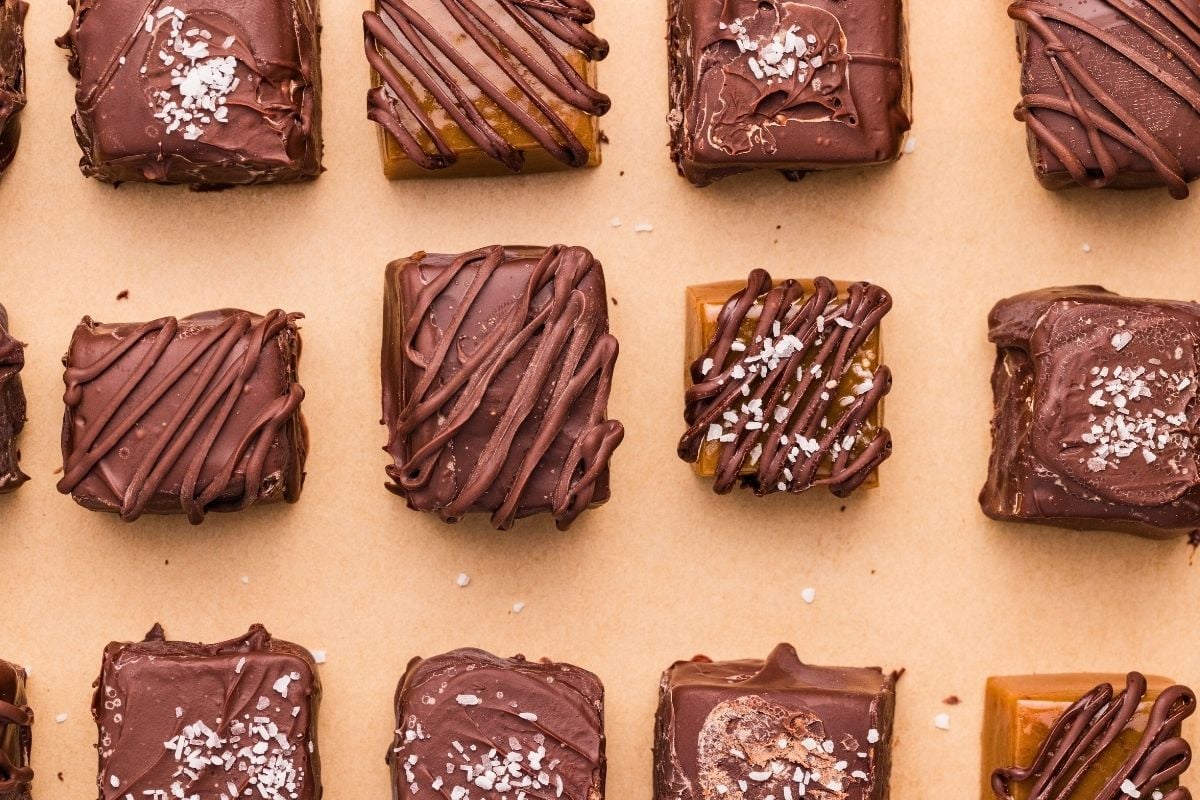
Caramels are my absolute favorite in a box of chocolates. Don’t you agree?! I often wished I could get a whole box of them…so I took things into my own hands, and here we are. (And they taste way better homemade, of course!)
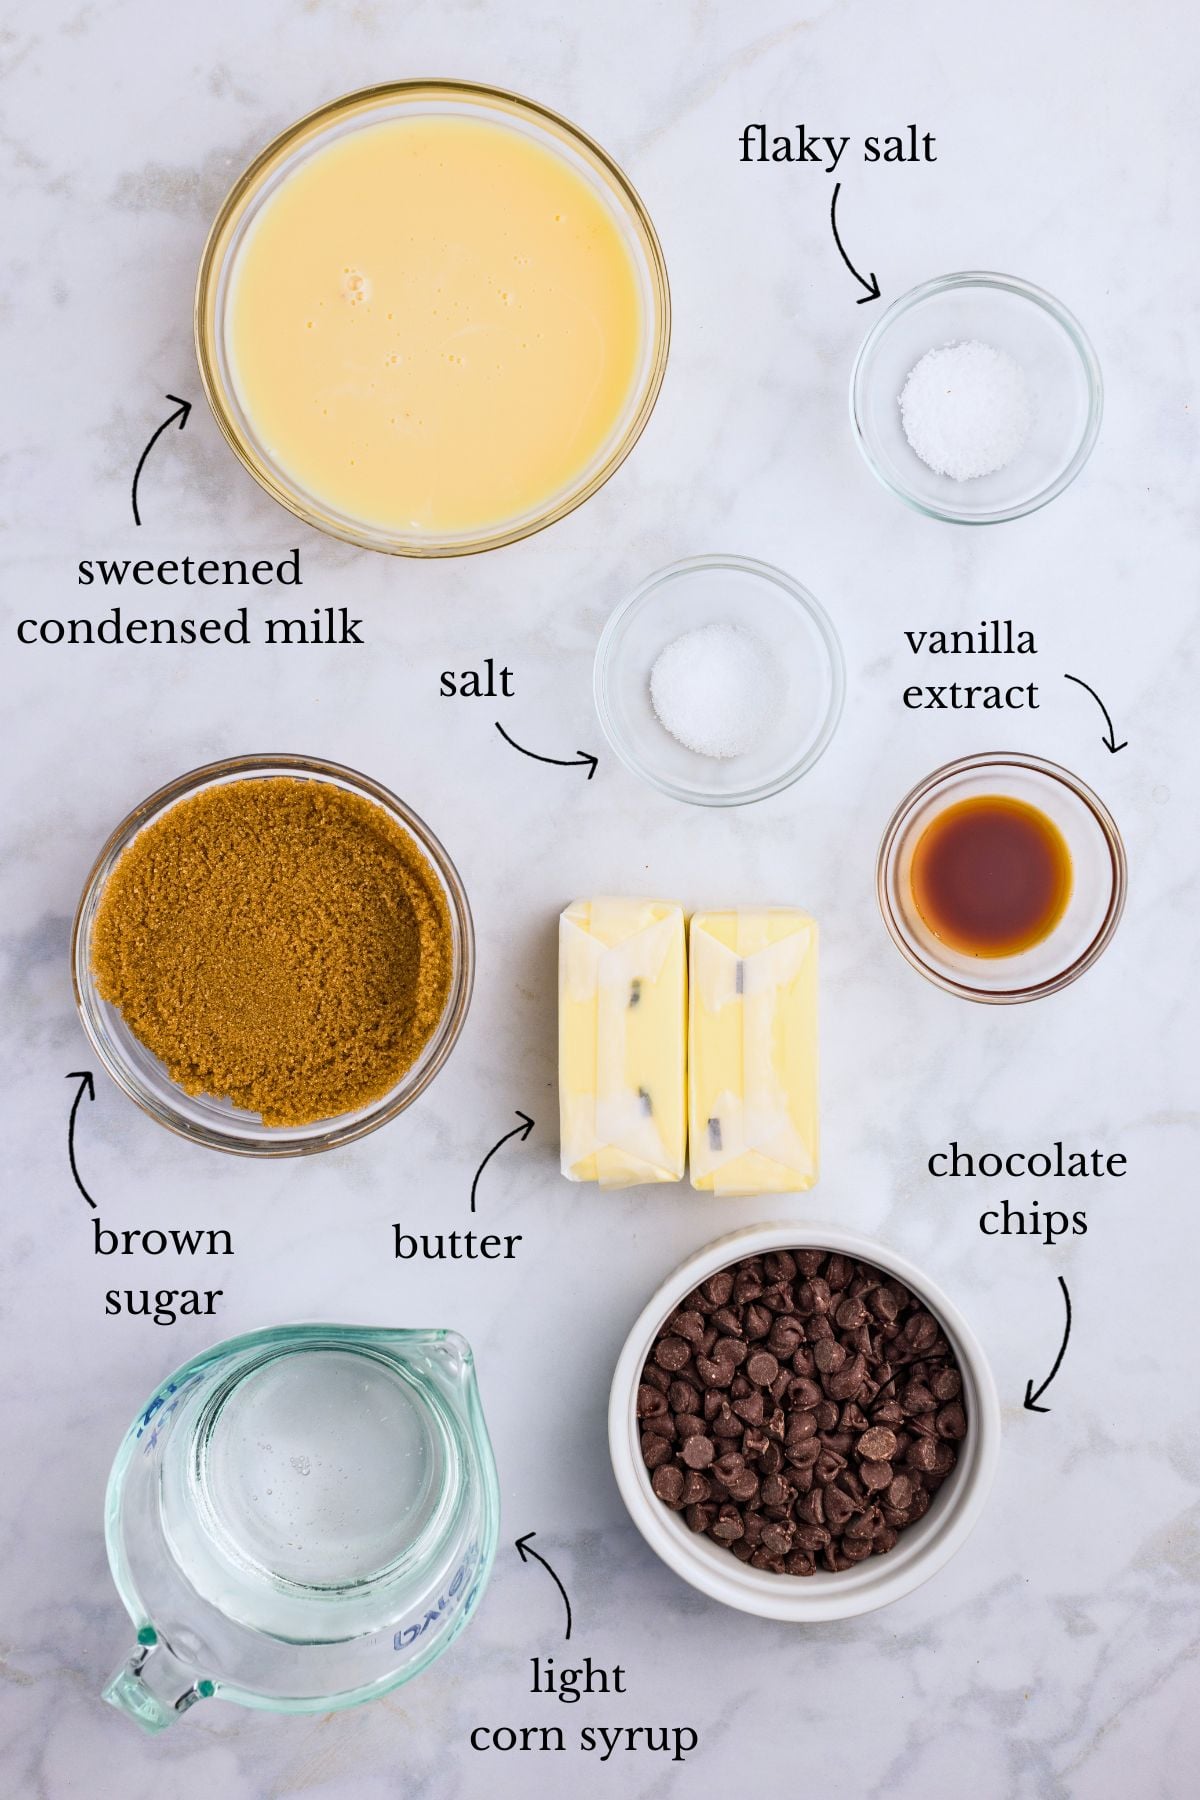
What You’ll Need
- 2 cups brown sugar, packed
- 1 14-ounce can sweetened condensed milk
- 1 cup light corn syrup
- 1 cup unsalted butter
- ½ teaspoon salt
- 1 teaspoon vanilla extract
- 3 cups semi-sweet chocolate chips (or your preferred chocolate)
- 1 teaspoon kosher salt (or your favorite flaky salt)
Equipment You’ll Need
Just like my other caramel recipes, I recommend a heavy-bottomed pan and a candy thermometer. These are the two tools you’ll need for recipes that require precise temperature control.
And for this recipe, you’re going to need a double boiler to properly melt the chocolate. If you don’t have one, you can use a heatproof bowl over a pot of water. A stainless steel bowl works perfectly. Worst-case scenario, you can use the microwave, and I’ll get to that later!
You can also use a dipping tool to make dipping into the chocolate easier, but a fork works just fine.
Instructions
Line the pan
Start by lining an 8×8 square pan with parchment paper. You can also use a 9×9 pan, but I wouldn’t go much bigger, or your caramels won’t be thick enough. It’s okay if a bit of the paper sticks out. It will make it easier to pop the caramel out of the pan once it’s cooled.
Combine the ingredients
Next, put the brown sugar, condensed milk, butter, and corn syrup in a heavy-bottomed pot.
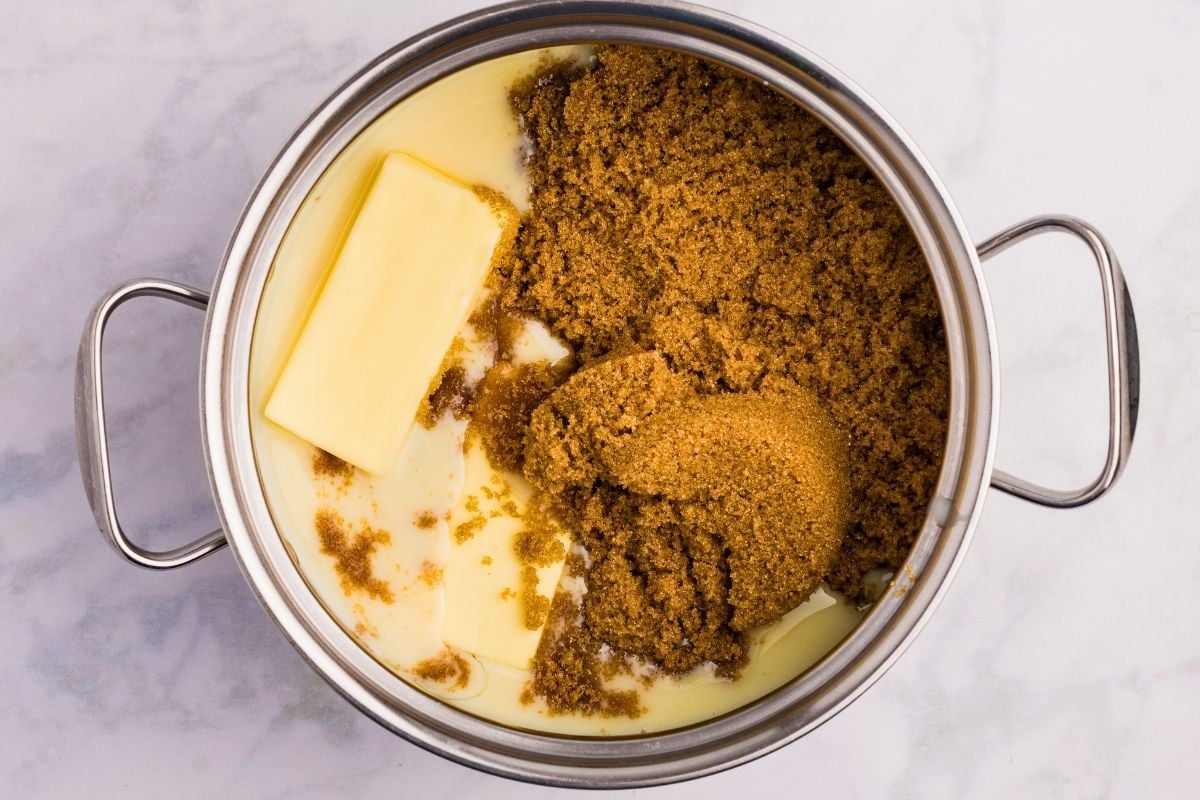
Using a heavy-bottomed stainless steel pot is the best tool for this. If you use a regular saucepan, the temperature can get out of control, and you’ll burn the mixture.
Melt everything together
Turn the heat to medium and begin heating the mixture. Stir constantly so everything melts together and nothing burns. We don’t want burnt sugar! It’s a mess, and then you have a ruined pan…no thanks!
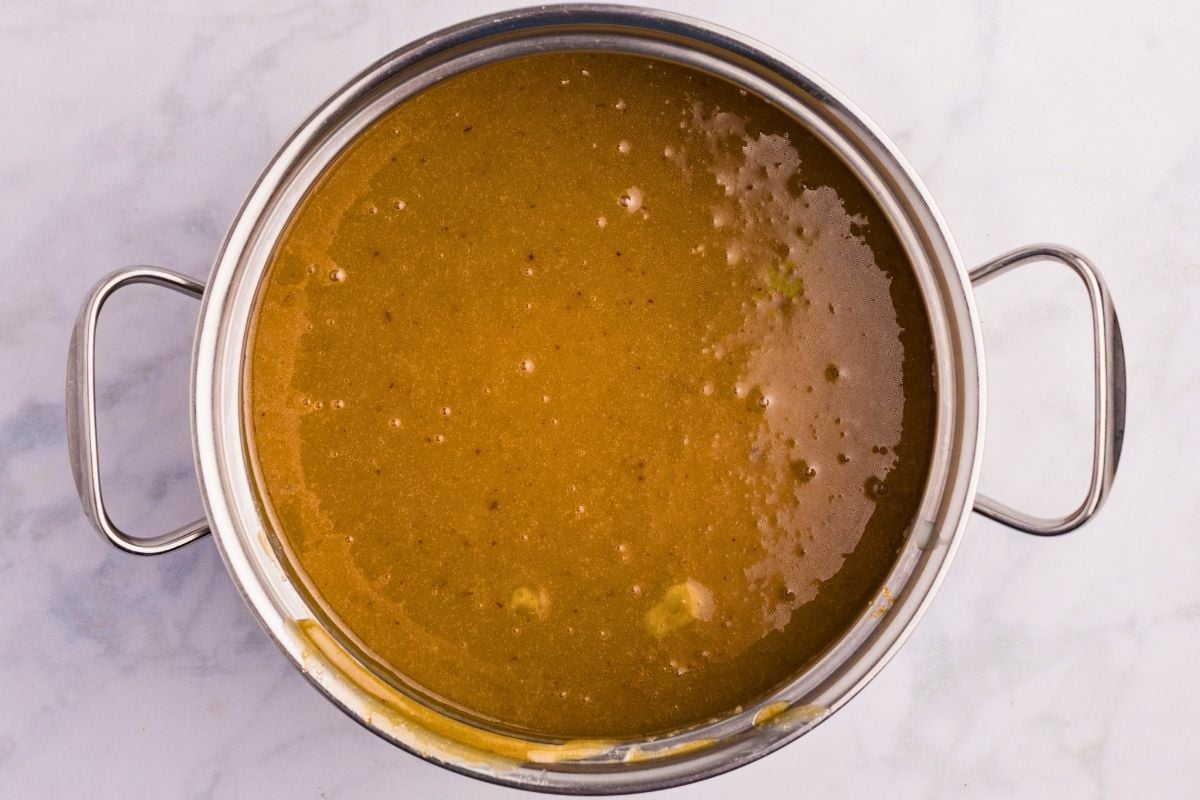
Take your time, stir often, and everything will start to come together.
Cook to temperature
Once everything is melted together, bring the mixture to a very specific temperature for the caramel to set properly.
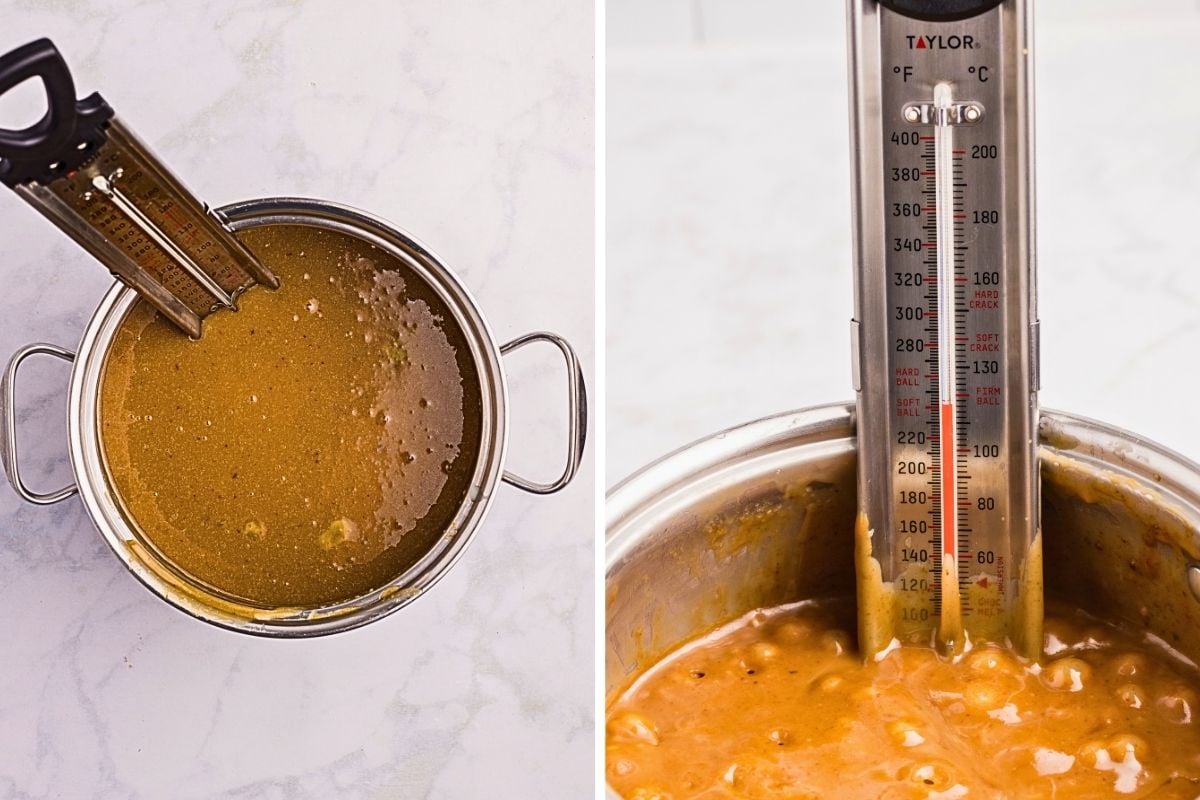
It will start to boil, and that’s when you can insert the candy thermometer to monitor the temperature. We’re looking for 240°F, and this won’t happen quickly! It’ll take about 15-18 minutes, so be patient.
Add salt and vanilla
Once you hit that temperature, remove the pot from the heat.
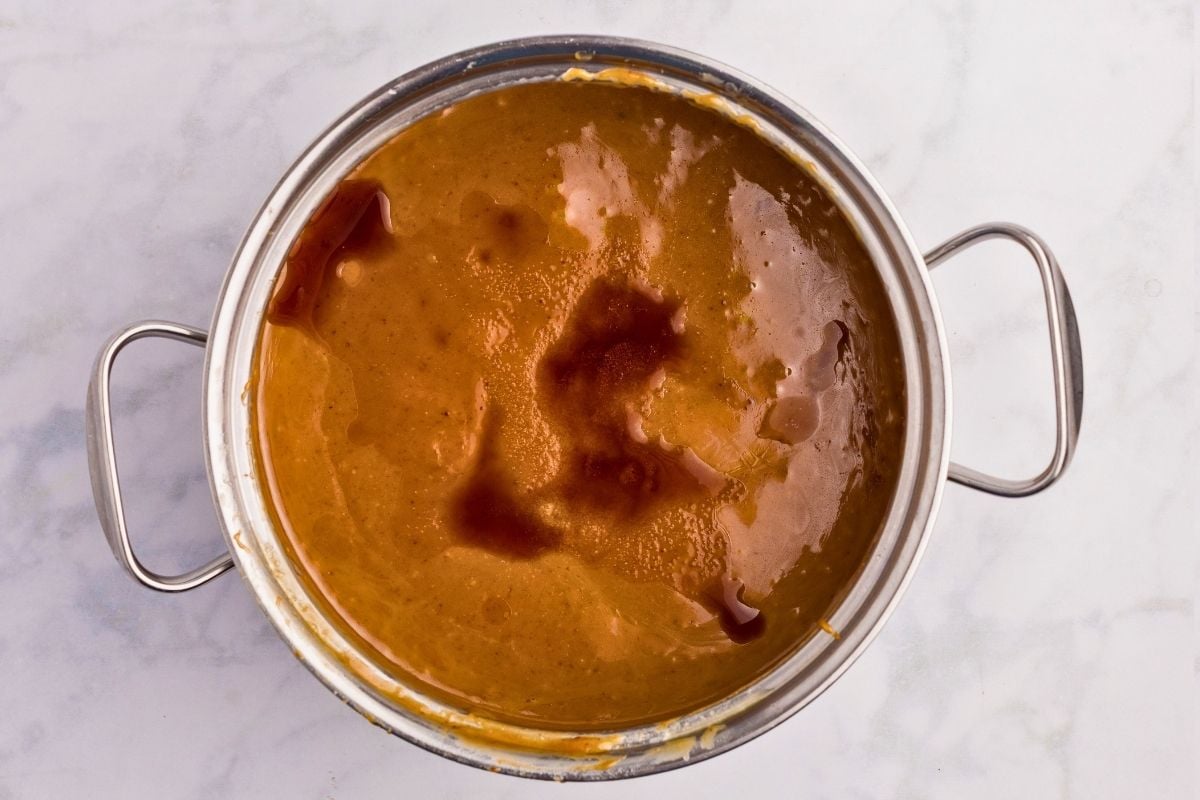
Now you can stir in the salt and vanilla extract.
Pour and cool
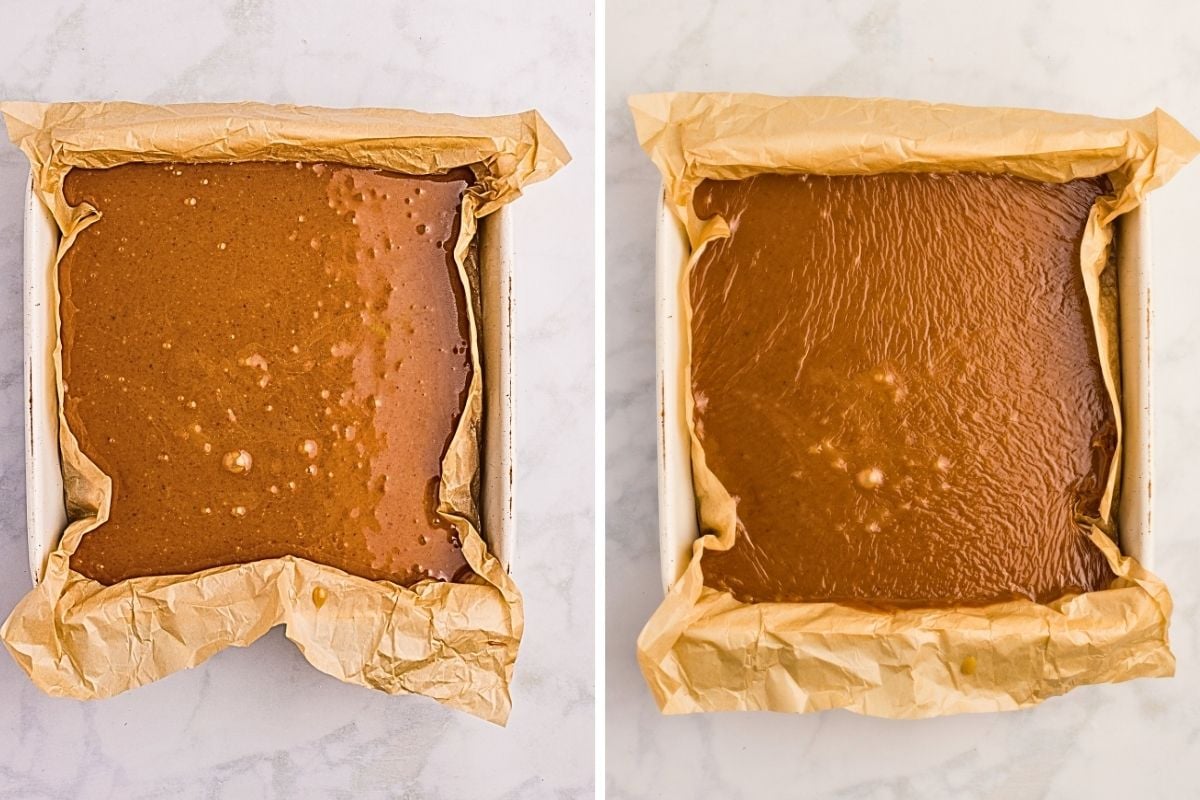
Carefully pour the mixture into the parchment-lined pan. It’ll take a while, but you’ll need the caramel mixture to cool for at least 3-4 hours. The caramel will go from glossy to more matte; that’s when you know it’s setting correctly.
Save This Post
You'll join my email list which you will love. And if you don't, unsubscribe in one click. ❤️
Your home’s temperature and humidity will affect the timing, so keep an eye on them and make sure they’re completely cool and set before moving forward.
Cut into squares
Take the caramels out of the pan and place them on a cutting board. Now, cut into small squares with a sharp, lightly greased knife. I like to give my knife a light spritz of non-stick cooking spray for this.
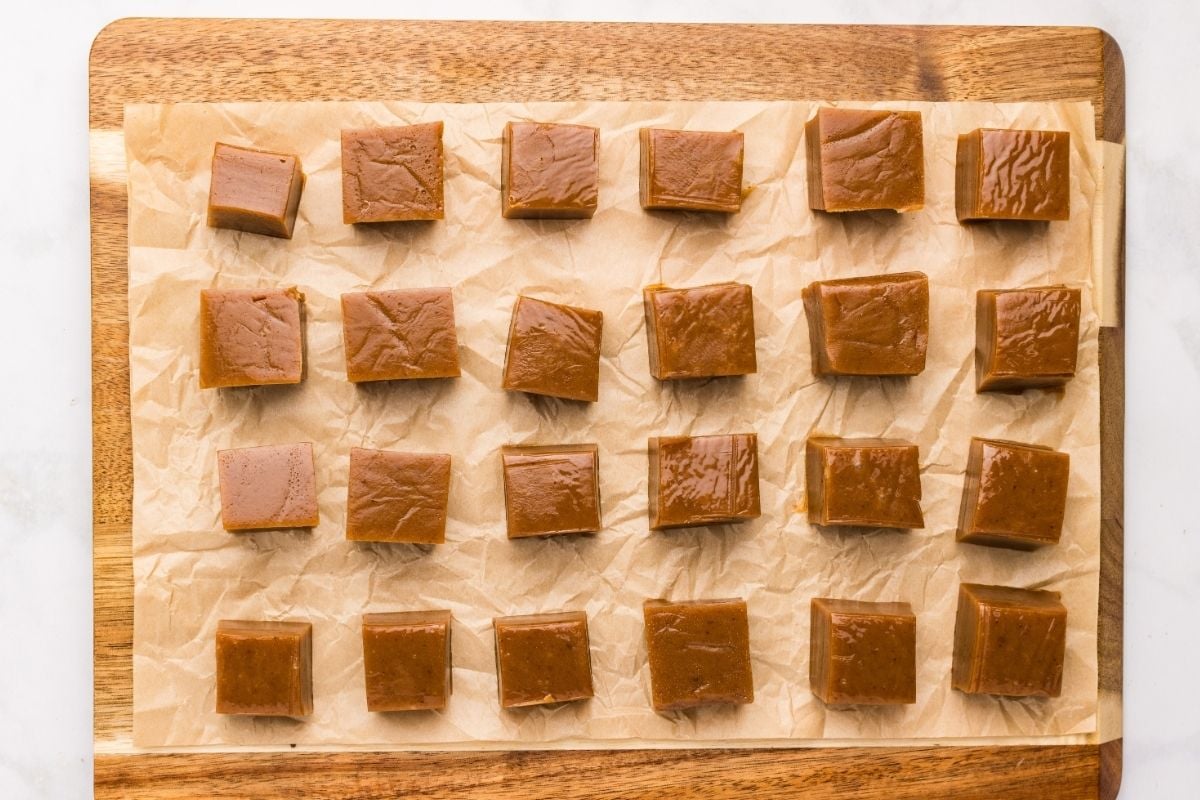
Re-grease the knife as needed for clean, smooth cuts. Place the cut squares on a sheet of parchment paper for the next step (you can reuse the same parchment sheet as before if it’s still in good shape).
Melt the chocolate
Make sure you’re ready to finish all of the caramels when you start this step. You don’t want the chocolate to melt, harden, and then require melting again. The chocolate will taste the same, but won’t look as pretty and will get harder to work with.
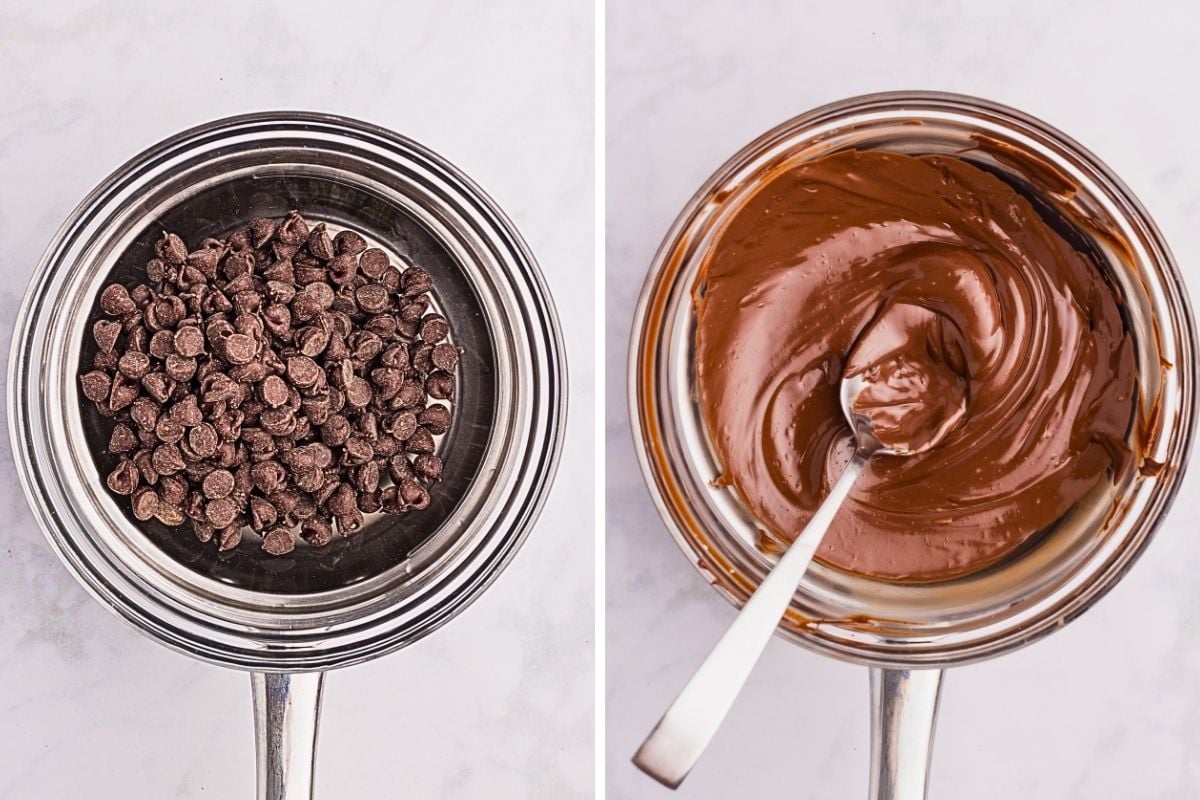
Prep the double boiler by adding a small amount of water to the pan (1-2 inches will work). Melt the chocolate in the bowl, stirring often.
I prefer a double boiler because it gives better heat control, but if you don’t have one, it’s ok! You can use a microwave. Put the chocolate in a microwave-safe bowl. Work in 30-second increments, stirring every time you take it out to check if it’s melted. Keep going until all the chocolate is melted.
Dip the caramels
Then, using a fork or candy-dipping tool, dip each caramel into the chocolate, then set it back on the parchment paper.
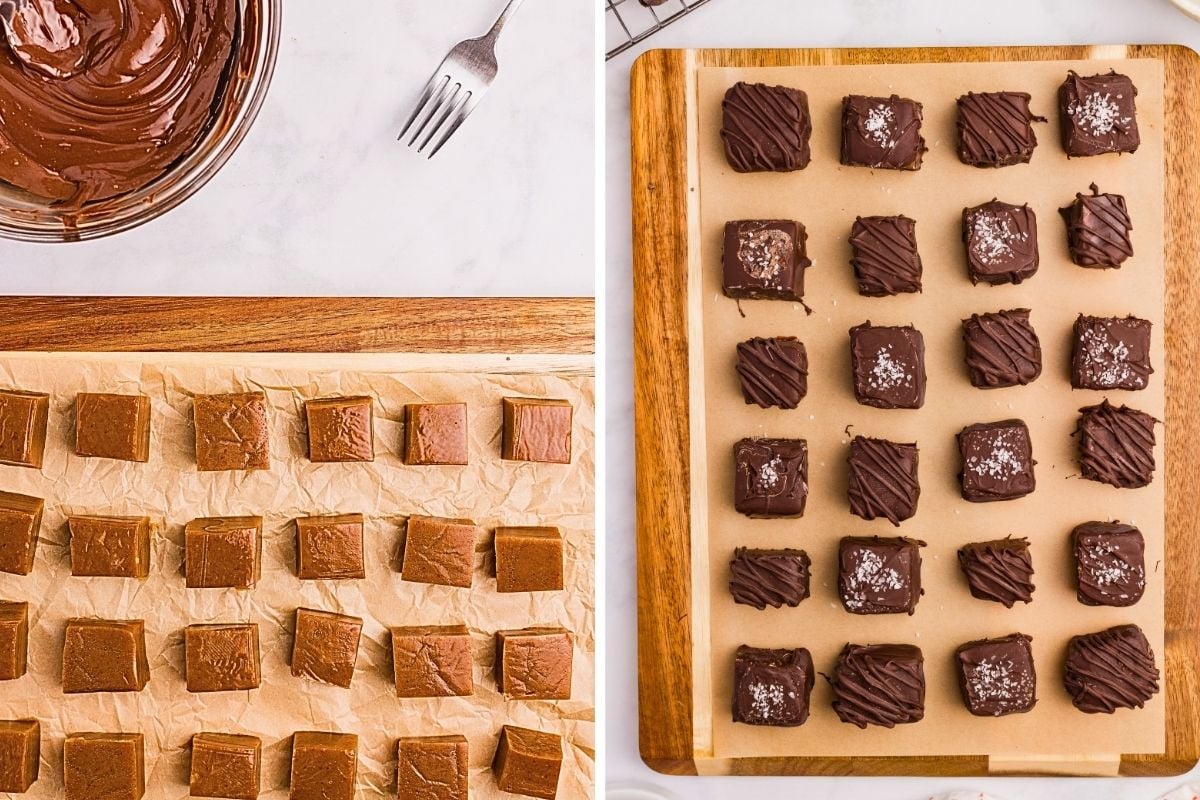
You’ll notice that you have a lot of chocolate, and that’s ok. I’ve found that making “too much” chocolate makes the dipping process easier. If you have a deeper “pool” of chocolate, it’s easy to dip the candy and get it coated in one dip. Ultimately, I use the extra chocolate to decorate the chocolates with cute drizzles and swirls. We’ll do that in the next step.
Salt and set
Salting the chocolates is optional, but it honestly makes these caramels crazy good. It’s a classic sweet-and-salty combo, and it’s the best. So don’t skip it if you don’t have to!
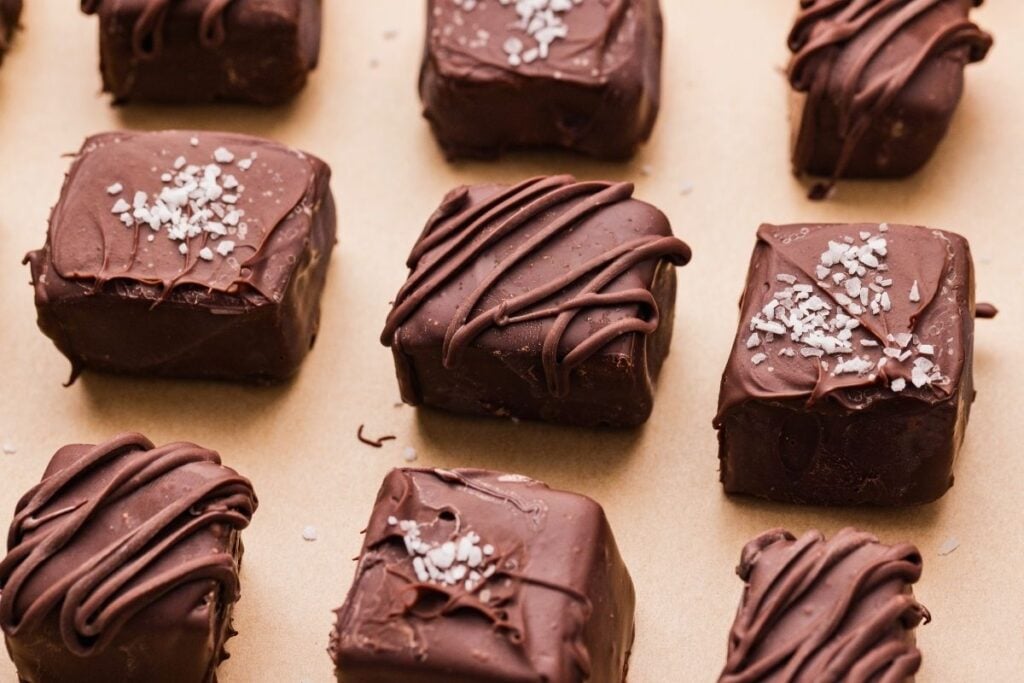
You have to work quickly here so that the salt sticks to the chocolates. Sprinkle with salt and decorate with the extra chocolate, if you’d like. Put the extra chocolate in a piping bag and drizzle it on. Just remember to work quickly before the chocolate sets. Then let them cool completely before storing and eating.
Storage Instructions
These little chocolates make GREAT gifts. You can also make them ahead of time to keep things simple and stress-free.
Make sure that the chocolates are completely cooled and hardened before storing. Store them in an airtight container (a holiday tin or sealed decorative plastic baggie works great) in a cool, dry place.
I like to keep them in the fridge until I’m ready to give them away. Seal them tightly and keep them away from strong smells. I suggest gifting them within a week or so.
Questions and Troubleshooting
Absolutely. I used semi-sweet chips for this recipe, but you can go in a different direction if you’d like! Dark chocolate won’t be as sweet, and milk chocolate is also delicious (and a little more kid-friendly). You can also use wafers or bars, too. Just chop up the bars before melting. Keep in mind that different types of chocolate may melt and coat the caramels differently.
I highly recommend it, but if you don’t, that’s ok! Don’t run out and buy one just yet. You can use the “soft ball” method to check whether the caramel mixture is at the right temperature. Do the same by letting it boil for 15 to 18 minutes, then drop a small ball of the mixture into a bowl of cold water. If you’re able to form it into a soft ball that is also still a little squishy, then you’re at the right temperature. Remove it from the heat and keep going with the recipe.
It’s totally fine! The recipe calls for 3 cups, and that’s a fair amount, so you can dip each caramel in plenty of melted chocolate without running out (or scraping the bowl to get that last bit). You can put the extra into a piping bag and decorate the chocolates.
This is a typical (and annoying!) part of melting chocolate. You really need to work fast so you don’t have to melt the chocolate over and over again. The more you do that, the less consistent the chocolate will be. If you want to get really fancy and become a true candymaker, you can temper your chocolate. That technique deserves its own lesson and is a fun kitchen challenge. You can find instructions online!
You sure can! Get way ahead of the game by making them a few weeks ahead of time, then store them in an airtight container or bag in the freezer. Label them, especially if you’re making a lot of goodies ahead of the holidays, so you can keep everything organized.
More homemade caramel and chocolate treats
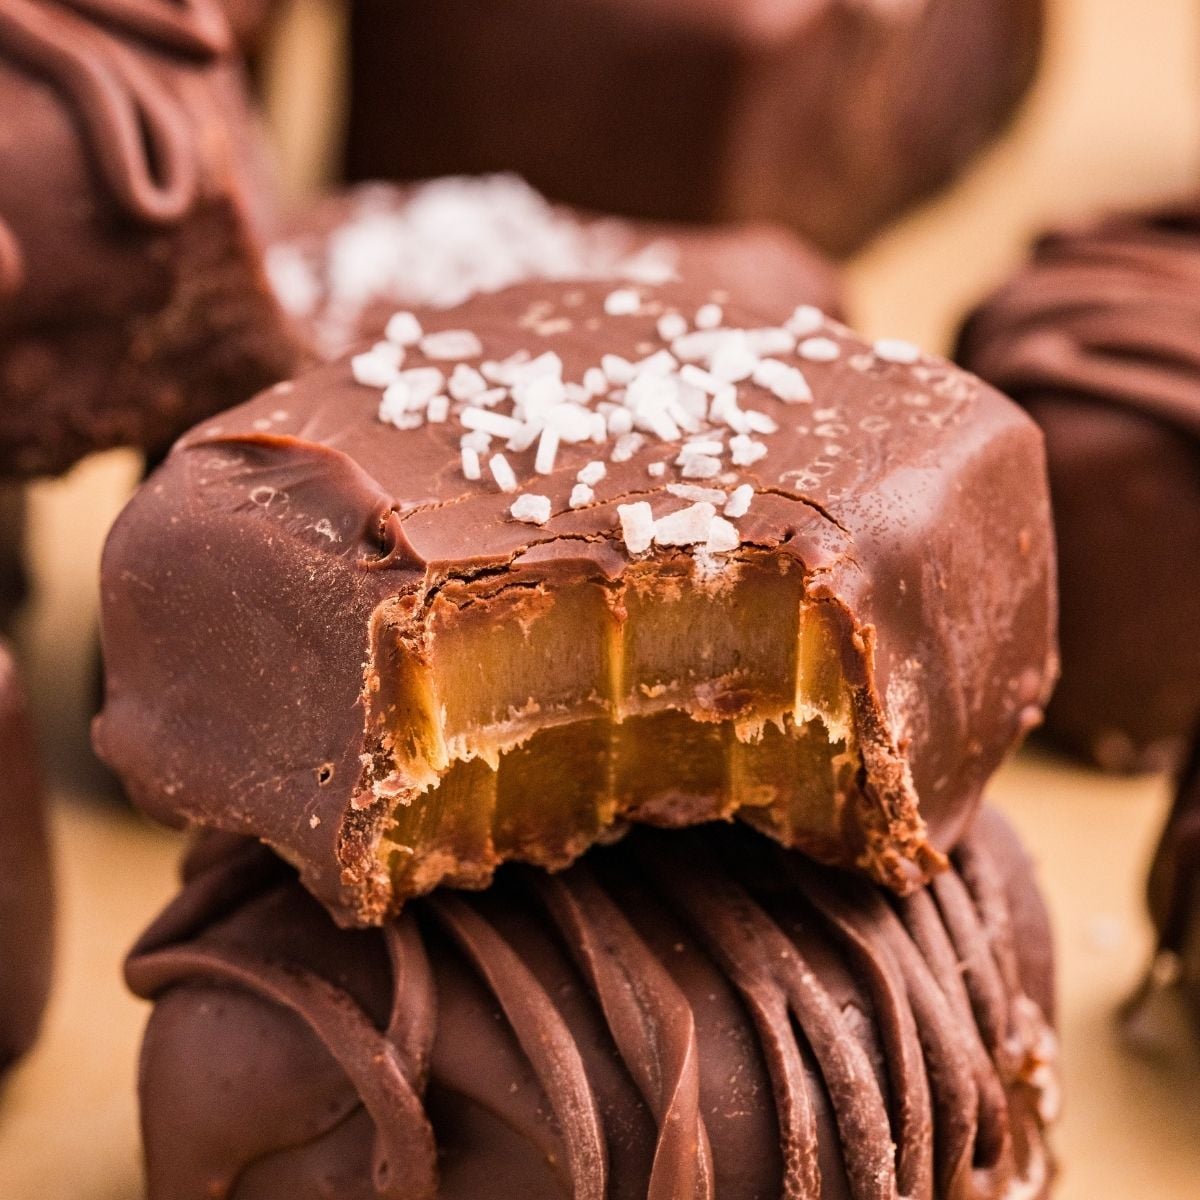
Chocolate Coated Caramels
Equipment
- 8×8-inch square baking pan
- Parchment paper
- Medium heavy-bottomed saucepan
- Candy thermometer
- Sharp knife
- Cutting board
- Small saucepan
- Heatproof bowl (for a double boiler)
- Fork or dipping tool
Ingredients
Caramel
- 2 cups brown sugar packed
- 1 14-ounce can sweetened condensed milk
- 1 cup light corn syrup
- 1 cup unsalted butter
- ½ teaspoon salt
- 1 teaspoon vanilla extract
Chocolate Coating
- 3 cups semi-sweet chocolate chips or your preferred chocolate
- 1 teaspoon kosher salt or your favorite flaky salt
Instructions
Make the Caramel
- Line the pan. Line an 8×8 square pan with a piece of parchment paper and set aside.
- Combine the ingredients. In a medium saucepan, add the brown sugar, sweetened condensed milk, corn syrup, and butter.
- Melt everything together. Cook over medium heat, stirring constantly, allowing the butter to melt and all the ingredients to come together.
- Cook to temperature. Once the mixture starts boiling, add a candy thermometer and cook, stirring constantly, until it reaches 240°F, about 15-18 minutes.
- Add salt and vanilla. Remove from the heat and stir in the salt and vanilla extract.
- Pour and cool. Pour the mixture into the prepared pan and allow it to cool completely, 3-4 hours.
Cut the Caramels
- Cut into squares. Transfer the cooled caramel to a cutting board and cut into small squares using a lightly greased, sharp knife. Wipe and regrease the knife as needed for cleaner cuts.
- Set on parchment. Transfer the caramel squares to a piece of parchment paper.
Coat in Chocolate
- Melt the chocolate. Add 1-2 inches of water to a small saucepan over medium heat and place a heatproof bowl on top to create a double boiler. Melt the chocolate in the bowl.
- Dip the caramels. Using a fork or dipping tool, dip each caramel square into the chocolate to fully coat it, letting the excess chocolate drip off.
- Salt and set. Move each caramel to the parchment paper quickly, then sprinkle with kosher salt (optional) while the chocolate is still wet. Allow them to cool completely.
Notes
Nutrition

Related Articles
See ALL
Party Sub Sandwiches (Easy + Make Ahead)
Classic Deep Fried Buffalo Wings
Black Cherry Barbecue Sauce (For Pork + Chicken)
Old-Fashioned Southern Coleslaw That Goes With Everything
Homemade Italian Sandwich Bread
Creamy Hawaiian Macaroni Salad Recipe (Easy!)
Crispy Chicken Tenders Recipe (Panko Method)
Piña Colada Sheet Cake
Creamy Sausage and Tortellini Soup
Make Your Own Iced Caramel Apple Latte
Broiled Salmon with a Brown Sugar Glaze
Apple Pear Sangria
See all
Related Articles
Cranberry Pecan Chicken Salad
Crockpot Cheesy Potato Casserole (With Frozen Hash Browns)
Budget Bread Recipe: A $0.60 Loaf (Beginner Friendly)
Old-Fashioned Yeast Doughnuts (Fried)
Super Soft Hawaiian Rolls
Sweet Cherry Cobbler
Tuna Salad with Dijon Mustard and Dill Relish
Bread Machine Brioche Loaf
Strawberry Rosé Sangria