
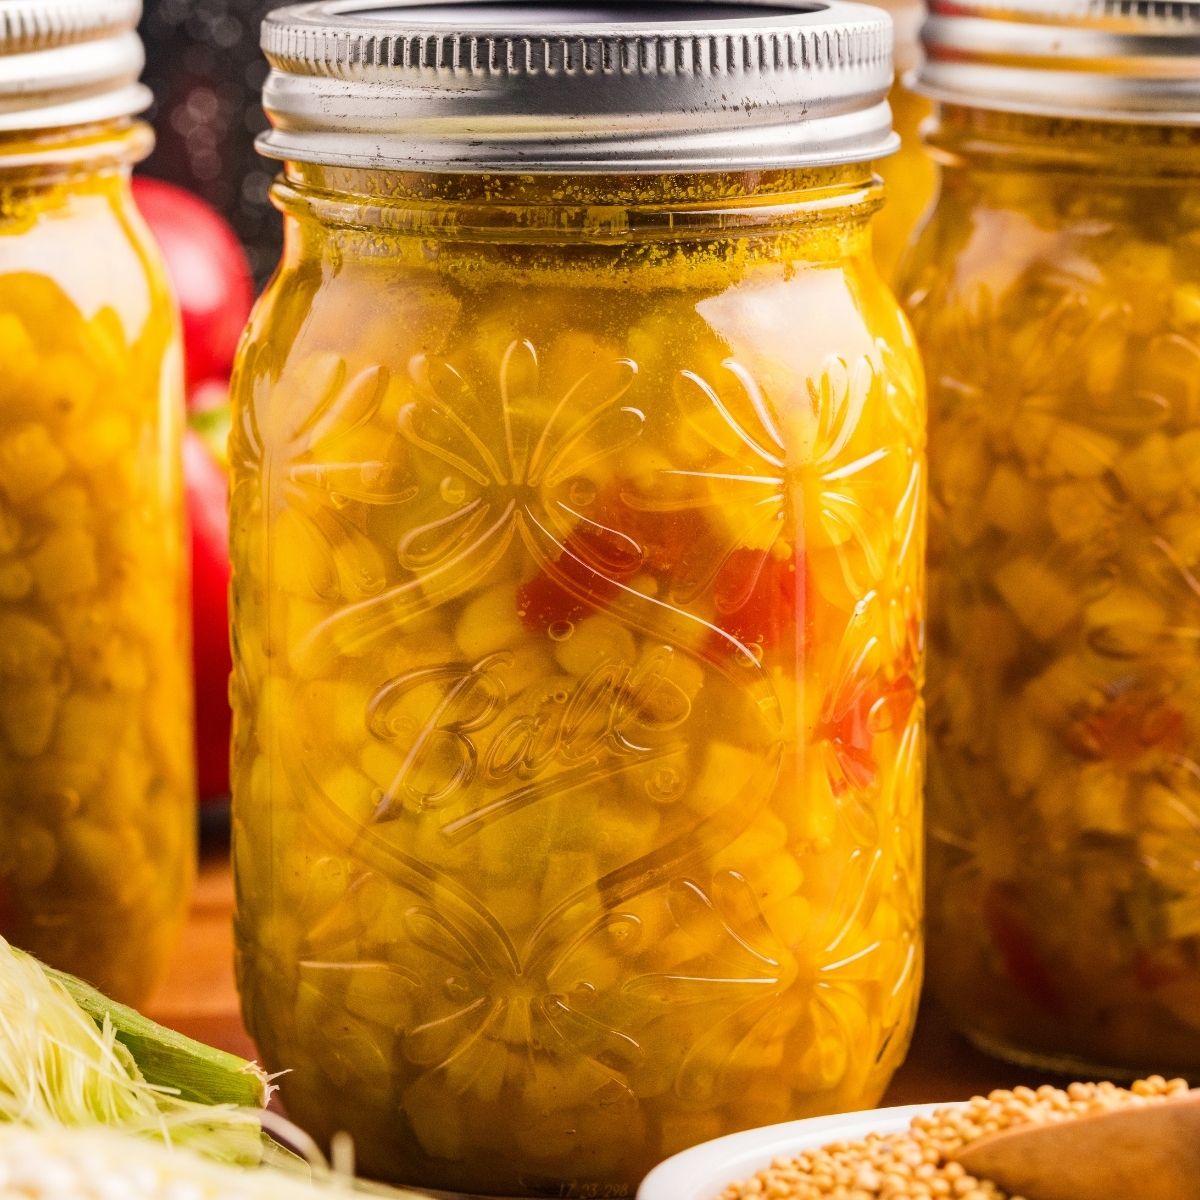
Corn Relish for Canning

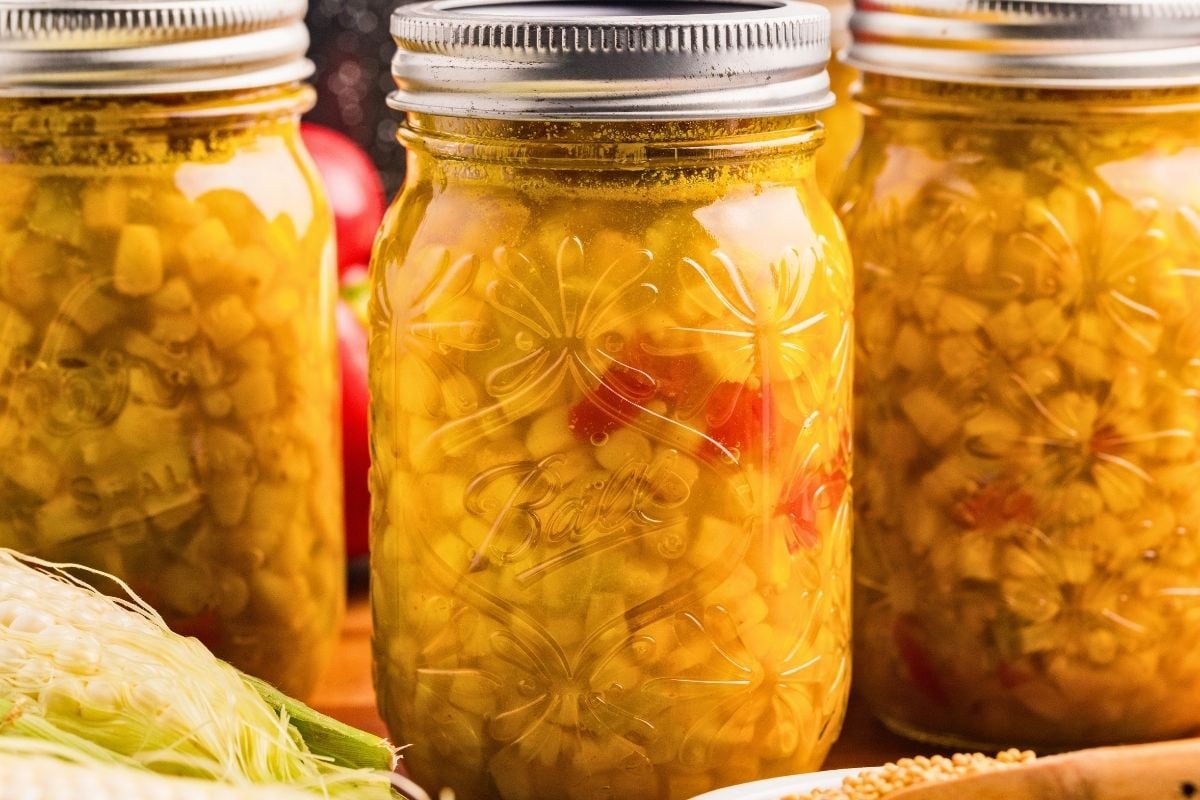
Anytime we can something with vinegar and lots of seasoning and designate it as NOT something to eat plain, it’s called a relish. I don’t make the rules. But I DO make this recipe every year. It’s good on tacos and grilled chicken.
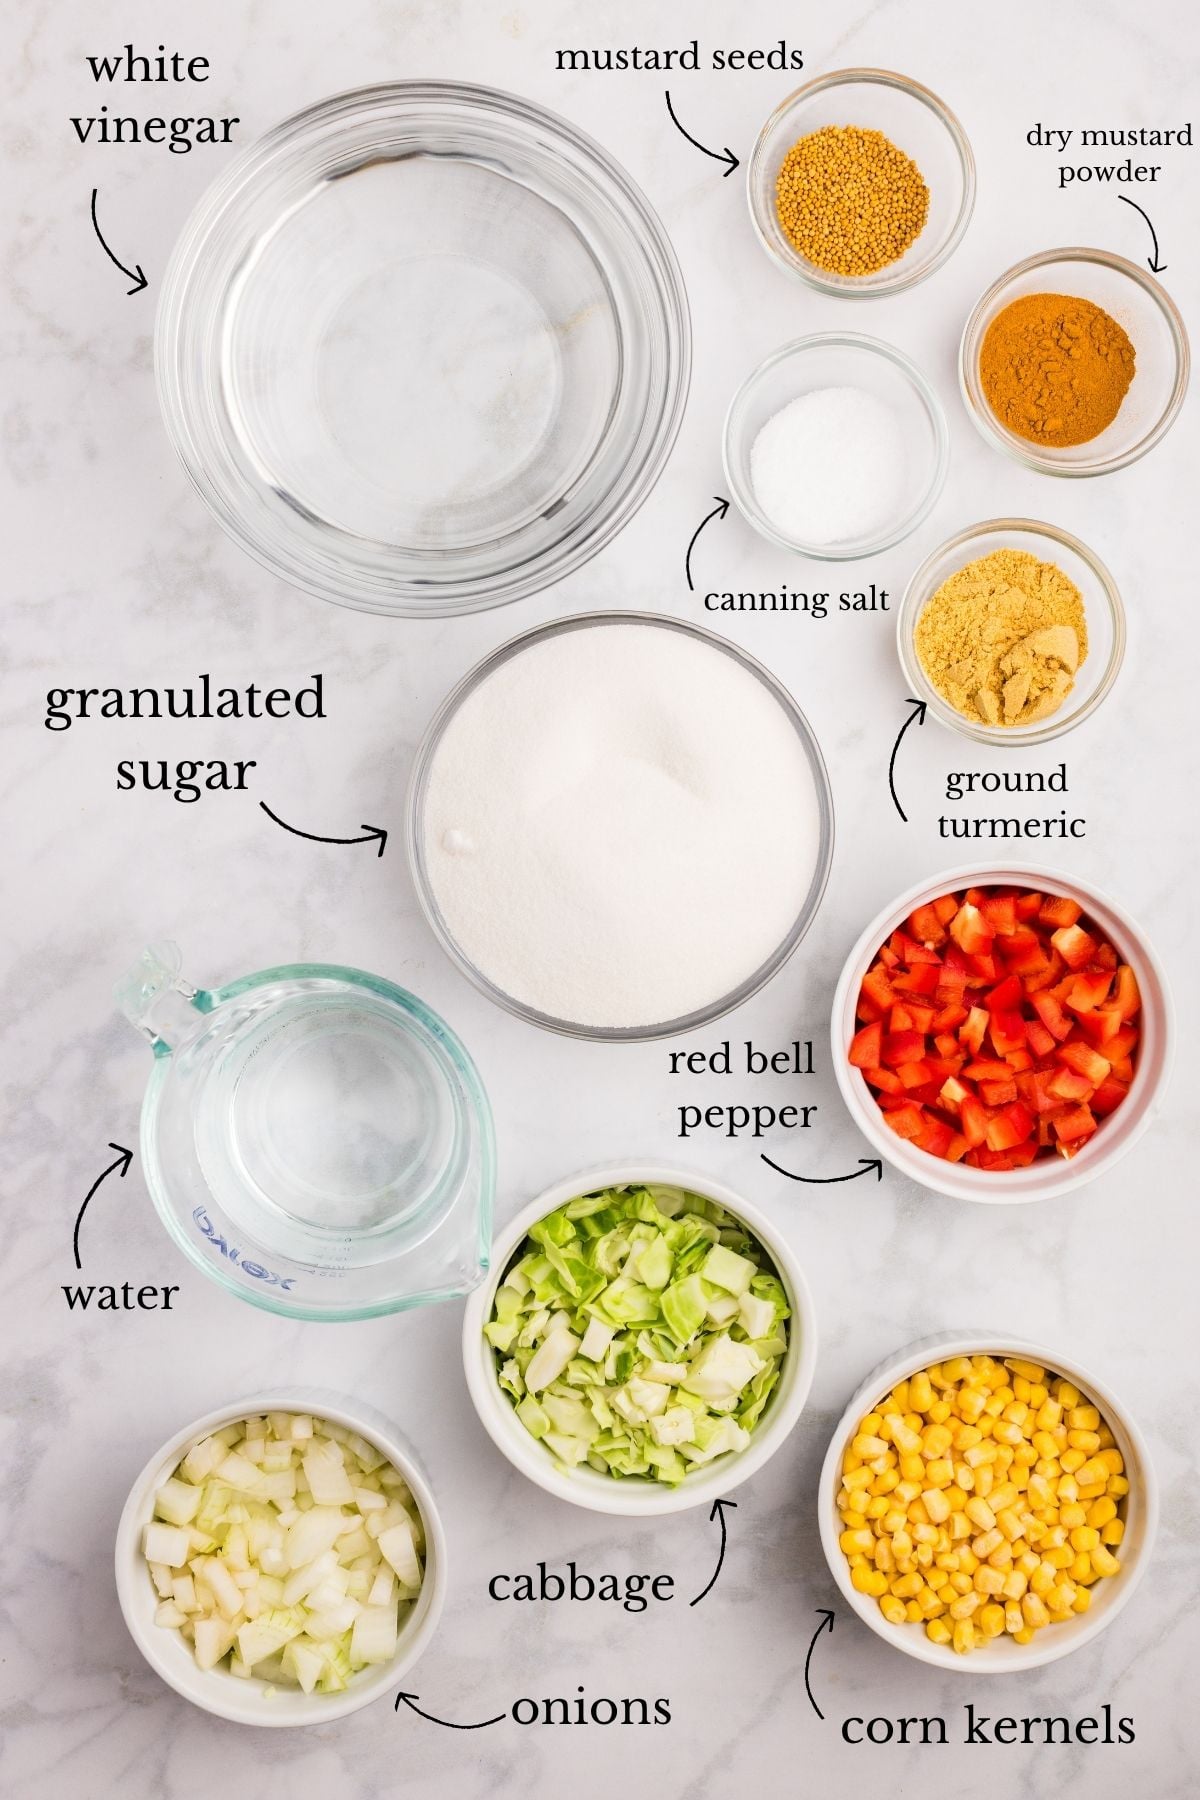
What You’ll Need
- 9 cups frozen corn kernels, thawed (fresh corn can also be used, but you’ll need to do some prep beforehand. You’ll need about 18 medium ears. Blanch them (remove the husks) for 5 minutes, cool them immediately in an ice-water bath, cut off the kernels, and measure the kernels before proceeding.)
- 3 cups cabbage, finely chopped
- 1 cup red bell pepper, chopped and seeded
- 1 cup onions, finely chopped
- 3 cups granulated sugar
- 4 cups white vinegar – use 5% acidity vinegar; it’s the best choice for water-bathed canned relish recipes
- 1 cup water
- 2 tablespoons dry mustard powder
- 1 tablespoon canning salt
- 1 tablespoon mustard seeds
- 1 tablespoon ground turmeric
Equipment You’ll Need
Canning does require having some equipment on hand. But if you’ve done one of my canning recipes before, you should be in good shape. You’ll need a water-bath canner with a rack for the bottom, and a large stainless steel pot for cooking the relish.
Other canning essentials you’ll need include jars, new lids and rims, a jar lifter, and a canning funnel. Strangely enough, you’re also going to need a chopstick or something else that’s thin and not metal to help along the way. You’ll see why soon!
Instructions
Combine the ingredients
Grab a large pot and add all of the ingredients from the corn to the ground turmeric. Everything will go into the pot all at once.
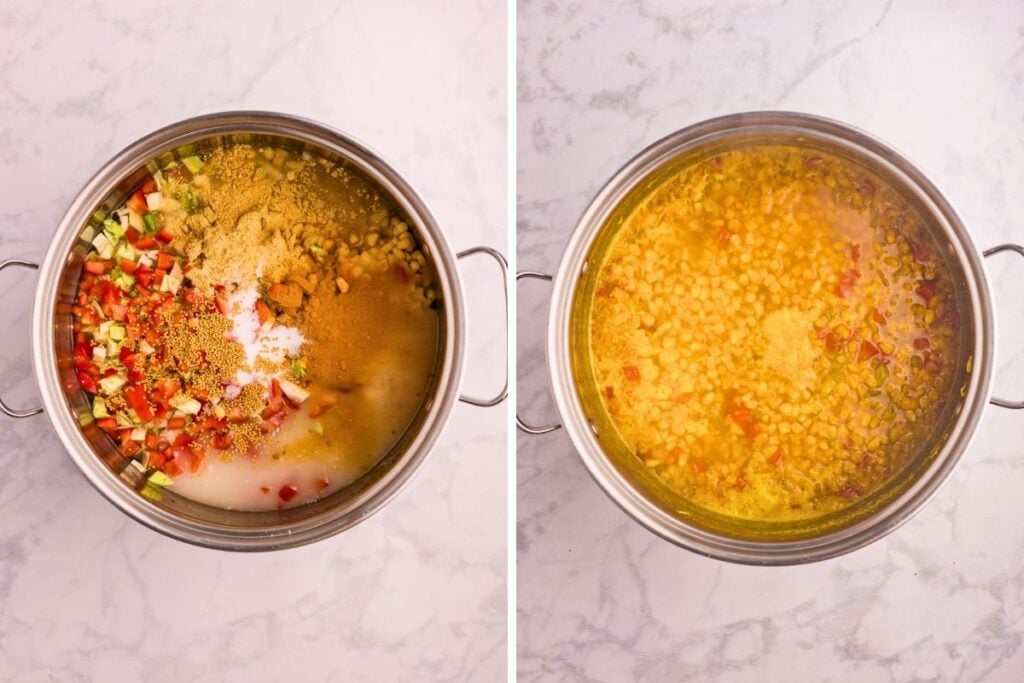
Give it a good mix so that everything is combined.
cooking the relish
Turn the heat to medium and make sure you’re mixing along the way so nothing sticks to the edges. Once the mixture is boiling, reduce the heat to a simmer.
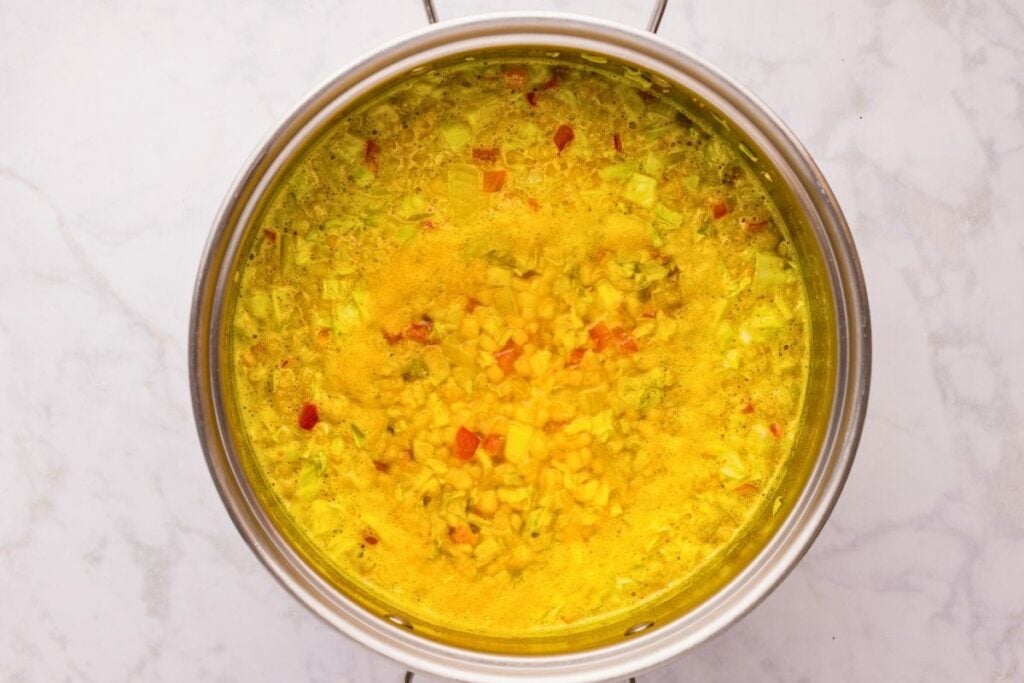
Then you’ll reduce the heat to medium-low and stir it occasionally for about 25 minutes. The liquids will reduce a little, and that’s okay. You want the vegetables to have a nice, crispy texture, so don’t overcook or boil them.
Wash the jars
You can wash and prep the jars while the corn mixture is cooking. Just wash the jars, lids, and rings in hot, soapy water. Make sure to rinse thoroughly, then set the lids and rings aside for now.
Heat the jars
Next, you’re going to sterilize and heat the jars. Put the jars into the water-bath canner, then cover them completely with water.
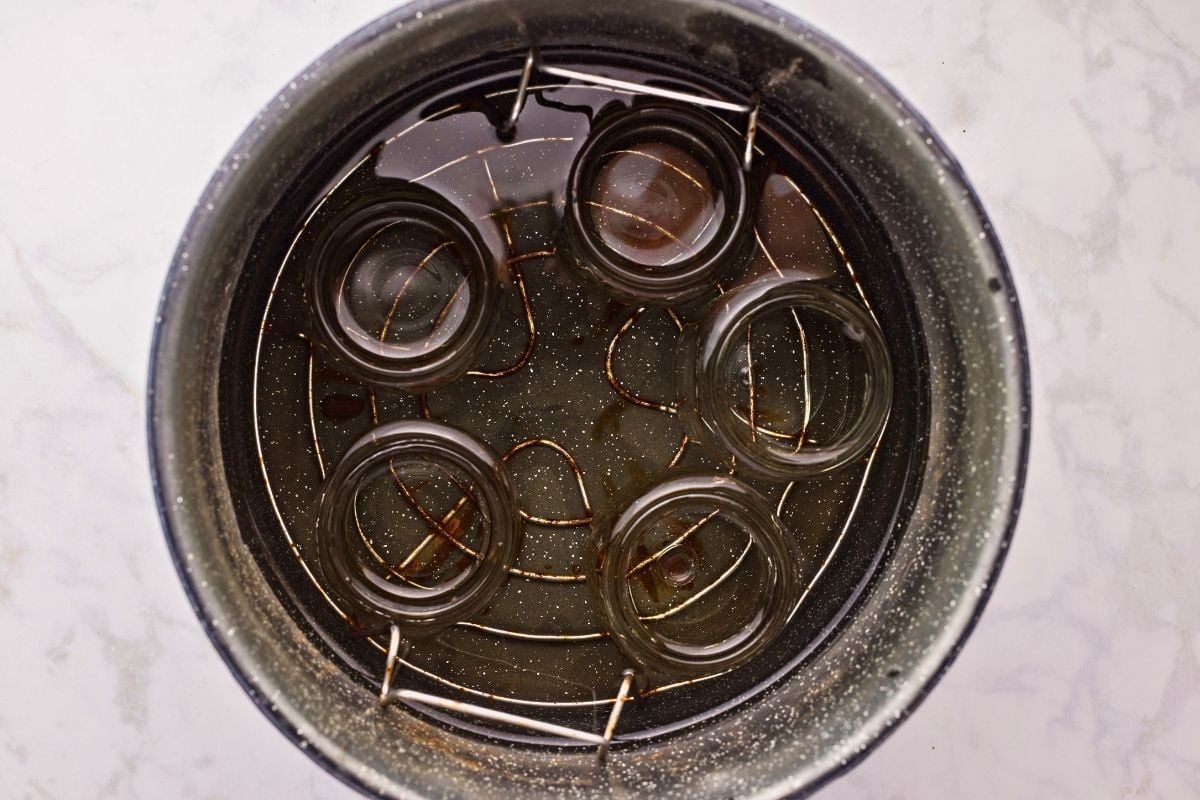
Bring that to a simmer over medium heat, and make sure it doesn’t boil. This is a sterilizing and safety measure that’s important not to skip! Putting them into hot water sterilizes the jars. Another hot canning tip is to work with warm jars when filling them with warm corn relish.
Pack in the solids
Now you’re going to add the corn mixture into the jars with a slotted spoon and the funnel. First, add only the corn mixture, no liquid.
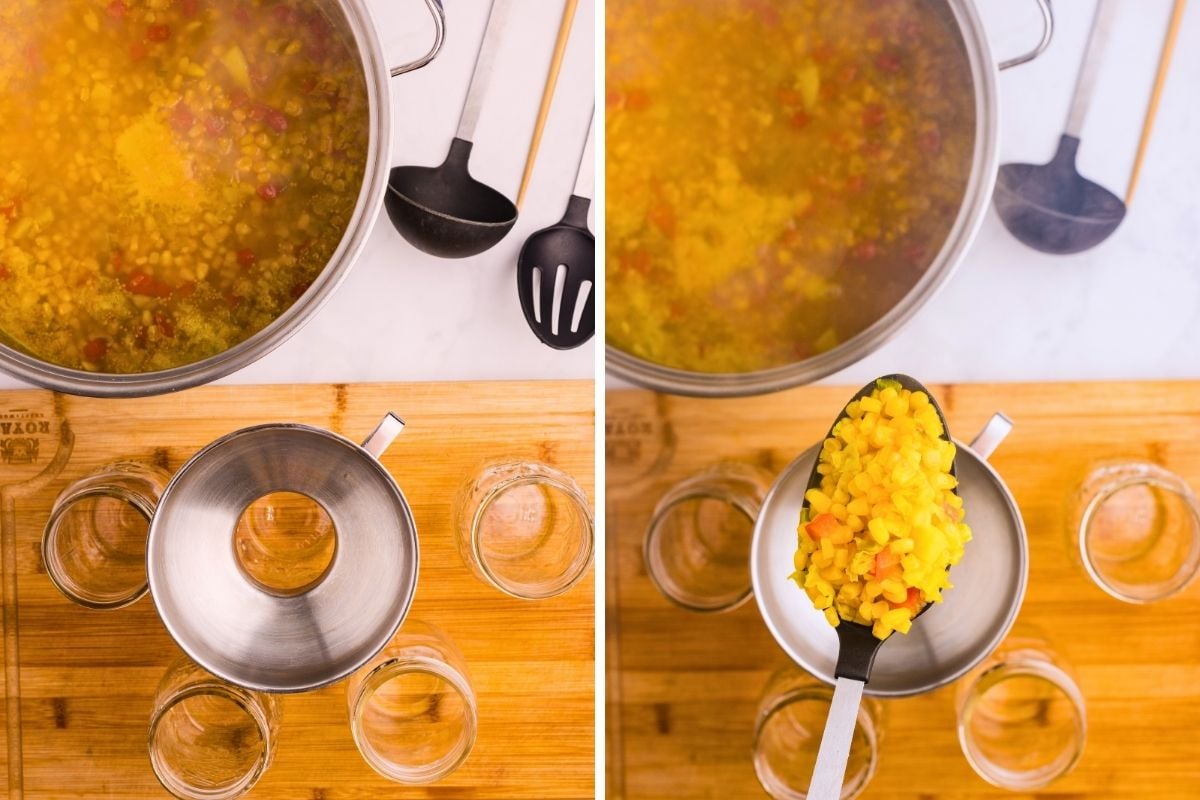
Make sure you leave an inch of headspace so that you have room for the liquid. What is headspace, you might ask? It’s the space you leave between the mixture in the jar and the top of the jar.
Ladle in the liquid
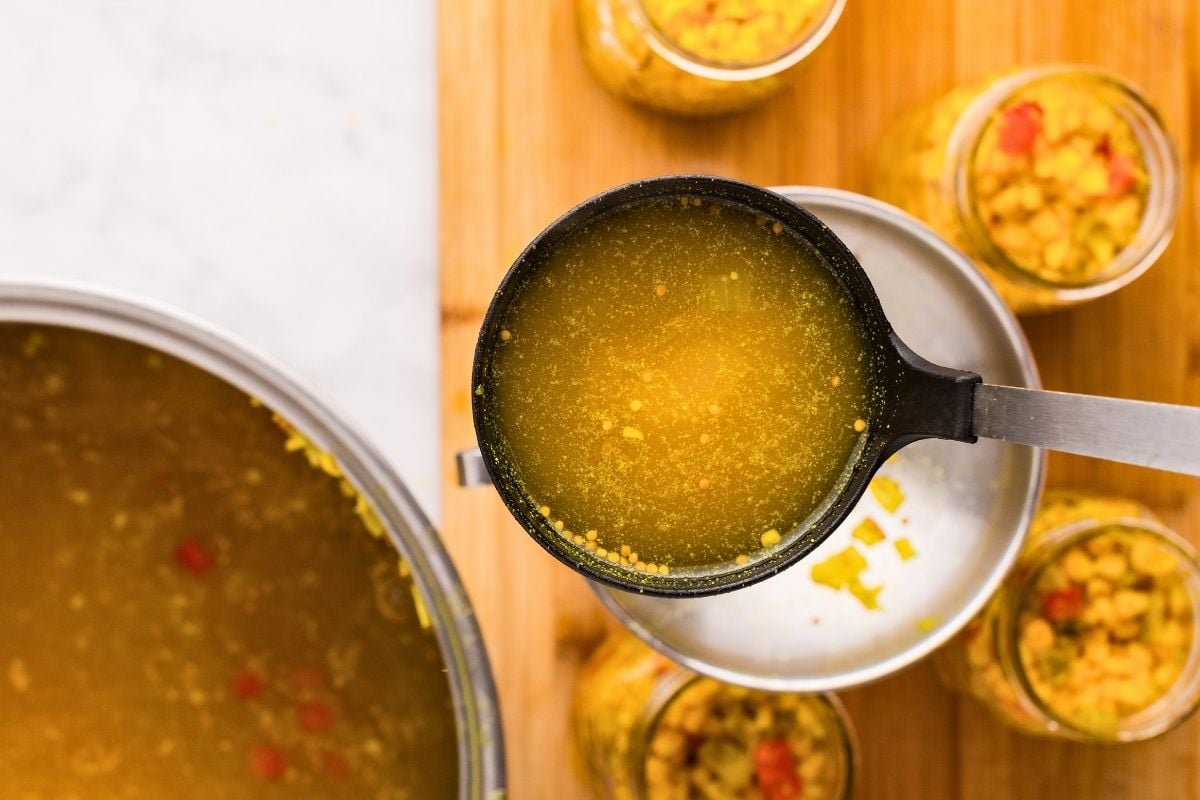
Now add the remaining liquid from the pot using a ladle. This is where the funnel comes in handy, so you don’t make a mess, and all the brine goes right into the jar.
Save This Post
You'll join my email list which you will love. And if you don't, unsubscribe in one click. ❤️
Again, headspace is really important here, so add the liquid to leave ½ inch of headspace.
Remove air bubbles
Here’s where you’re going to use the chopstick I mentioned. You’re going to use this to poke around the corn relish and make sure there are no air bubbles.
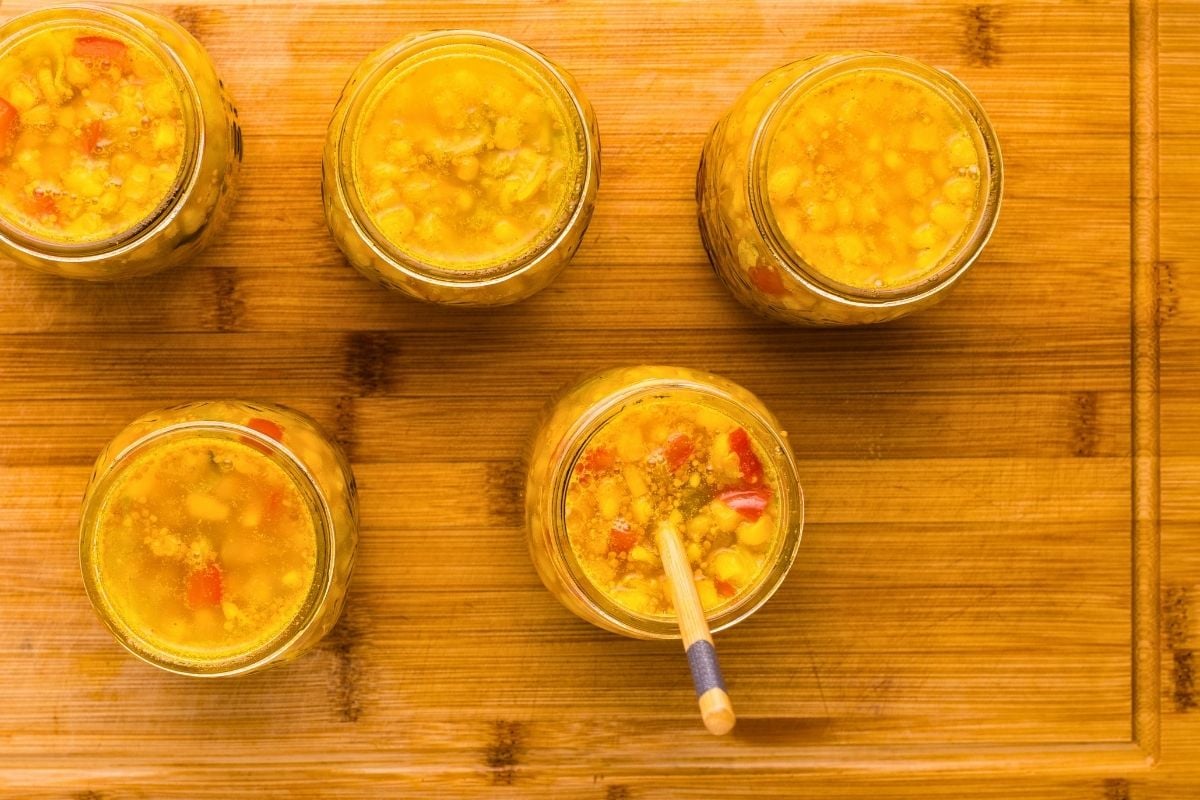
As you do this, some of the corn relish might settle, creating more headspace. If that happens, just add a little more liquid, so you have the ½-inch headspace as before.
wipe the rims and attach the lids
Before attaching the lids, you’ll want to wipe the rim of the glass jar with a damp towel to remove any excess liquid.
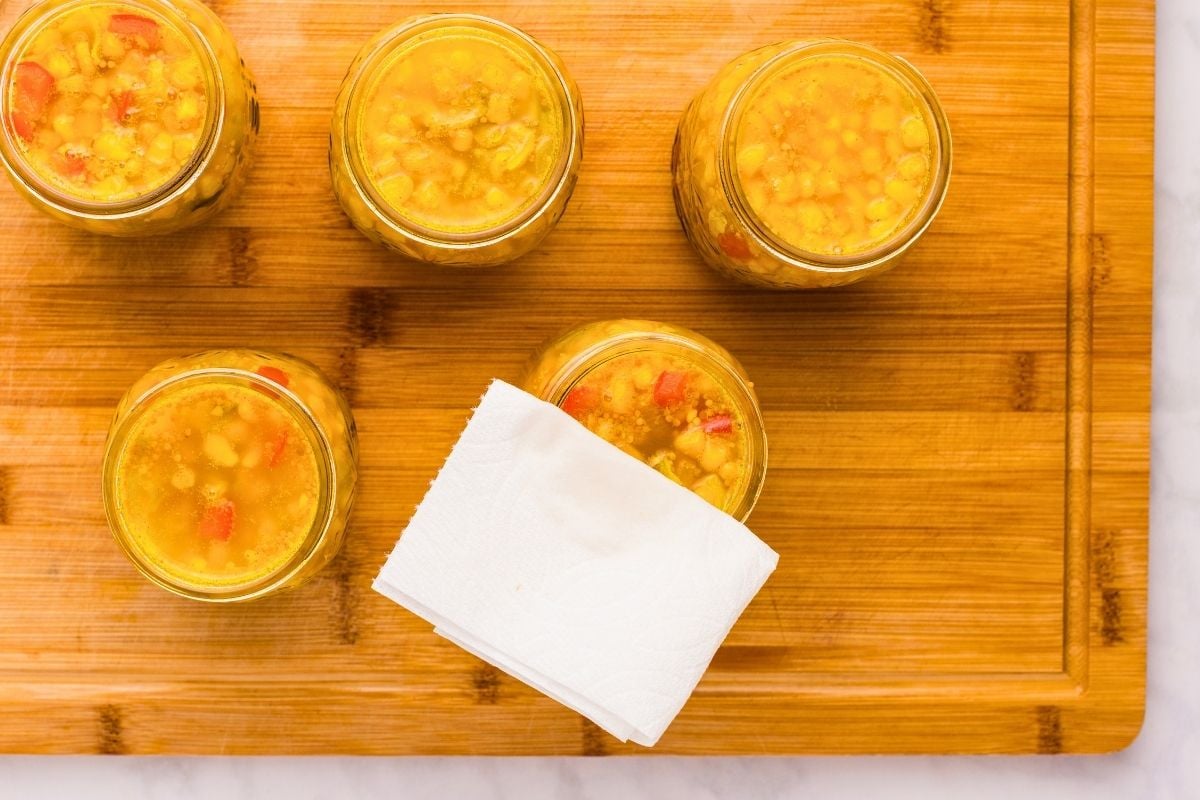
After you do this, you can attach the lids to the rim, and then tighten them to fingertip tight. That means you’re going to screw the lids on with just the tips of your fingers. You don’t want them to be super tight.
Process the jars
To process the jars, return them to the canner with at least 1 inch of water covering them. Also, be sure that the jars aren’t touching each other.
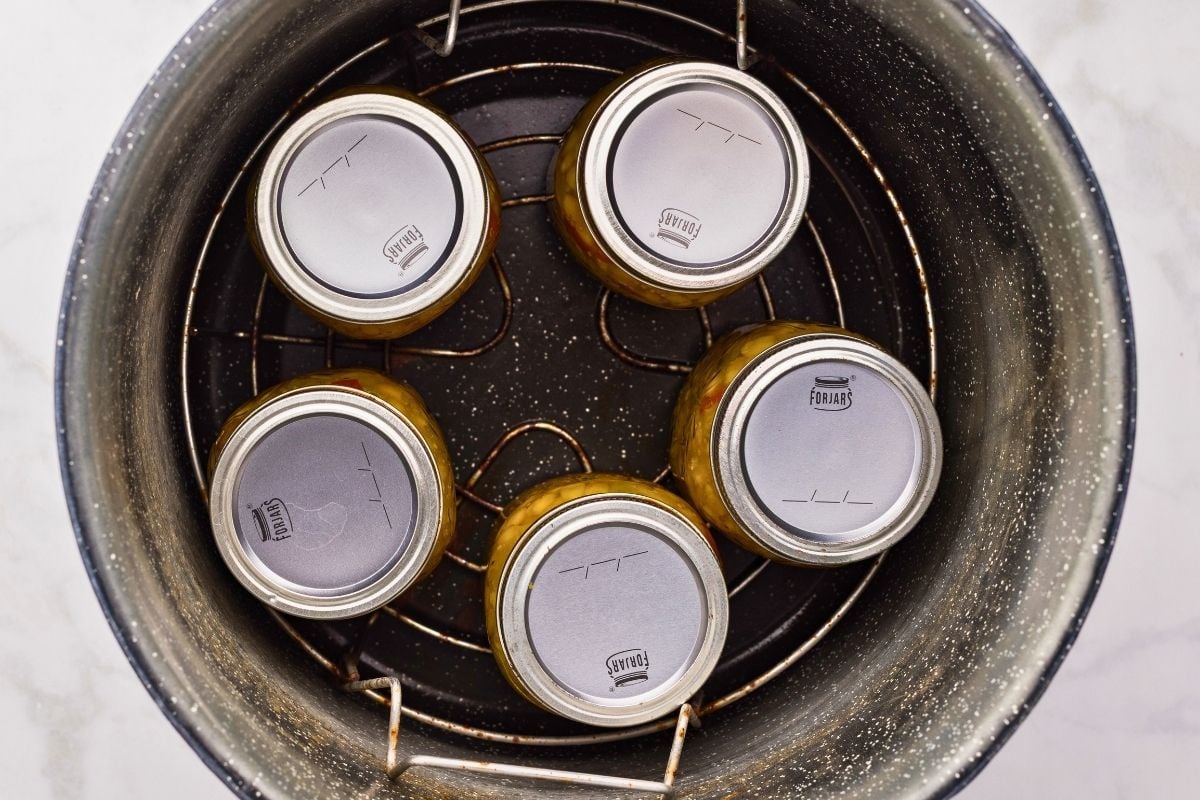
Then you’ll bring it to a boil over medium-high heat and put a cover on top. Once the water is boiling, process the cans for 15 minutes.
Rest in the canner
Once the 15 minutes are up, take the canner off the heat, then let the jars sit in the hot water for about 5 minutes to finish processing.
Cool completely
When the five minutes are up, use your jar remover and take the jars out of the canner. Make sure you put them in a heat-safe area, such as a cutting board or a cooling rack.
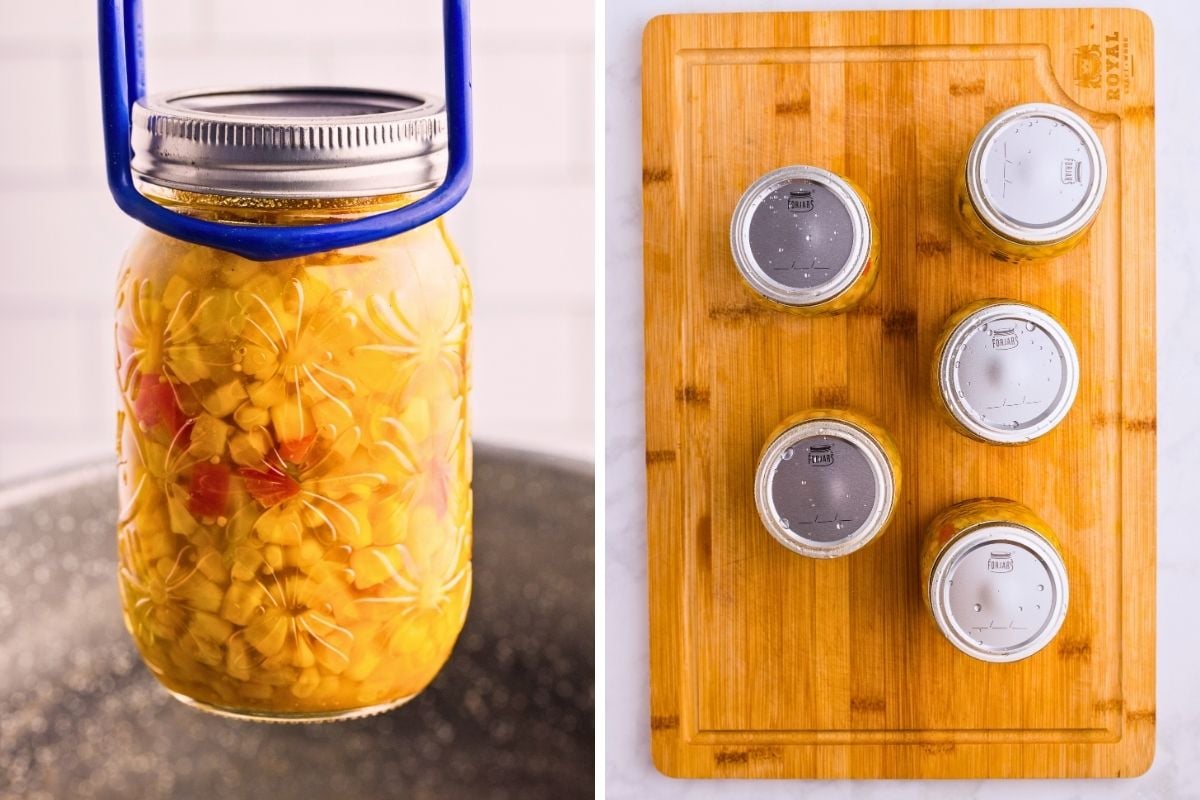
Now you’re going to let them cool undisturbed for 12 to 24 hours. It’s really important that you don’t move them, so put them somewhere they won’t be touched or moved around. As this happens, you might hear a few pops, and that’s ok! It means the cans are sealed properly.
Check the seals
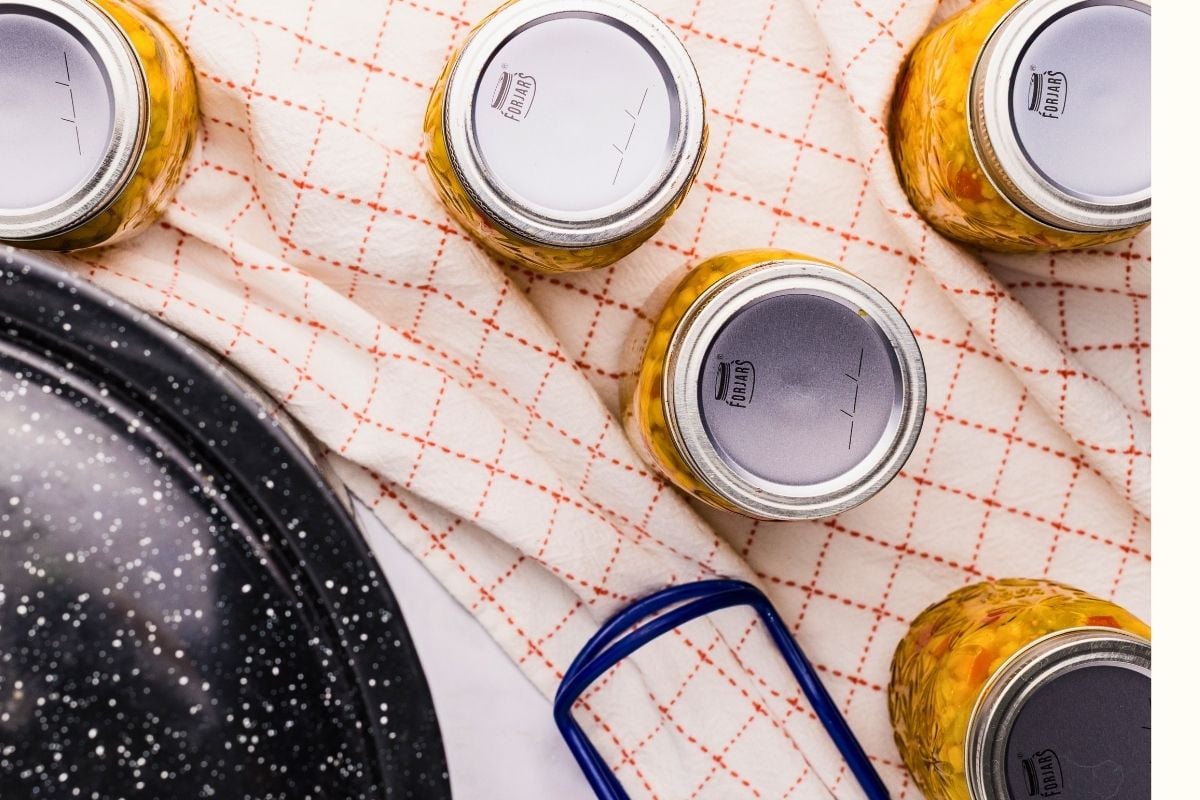
After they’ve completely cooled, you can check the seals. Do this by trying to lift the lids (without removing them); if they don’t budge, you’ve done it correctly. Once you’ve done that, you can screw on the rims.
Storage Instructions
It’s always important to label the corn relish with the date you made it. You can store the jars in a cool, dark place for 12 to 18 months. Once you open a jar, make sure that you store it in the refrigerator and use it within two weeks.
Questions and Troubleshooting
Yes. Whenever you’re cooking with highly acidic ingredients like vinegar, you’ll need to use a stainless steel pot.
I actually don’t recommend using canned corn. As you can guess by the name (ha!), canned corn has already been canned, and it might turn out too mushy.
Half pints are okay (reduce the processing time by 3 miniutes), but don’t go bigger.
The important thing here is to make sure the vegetables are roughly equal in size. I like to cut them to the same size as the corn kernels so everything cooks evenly and they’re easy to pour into and out of the jar without making a huge mess.
More relish recipes for canning
- Jalapeño Relish (for Canning)
- Sweet Cucumber Relish (For Canning)
- Dill Pickle Relish (Canning Recipe)
- Southern Chow Chow (Canning Recipe)
Traditional Corn Relish
Equipment
- water bath canner with rack
- 5 pint canning jars with new lids and rings
- large stainless steel pot
- Jar lifter
- Canning funnel
- Slotted spoon
- Ladle
- Nonmetallic bubble remover or chopstick
Ingredients
- 9 cups frozen corn kernels see notes for fresh ears of corn
- 3 cups finely chopped cabbage
- 1 cup chopped, seeded red bell pepper
- 1 cup finely chopped onions
- 3 cups granulated sugar
- 4 cups white vinegar 5% acidity
- 1 cup water
- 2 tablespoons dry mustard powder
- 1 tablespoon canning salt
- 1 tablespoon mustard seeds
- 1 tablespoon ground turmeric
Instructions
Cook the relish
- Combine the ingredients. In a large stainless steel pot, combine the corn, cabbage, red bell pepper, onion, sugar, vinegar, water, dry mustard powder, canning salt, mustard seeds, and turmeric.
- Bring to a boil. Stirring to prevent sticking, bring the mixture to a boil over medium heat.
- Simmer until tender-crisp. Reduce the heat to medium-low and boil gently, stirring occasionally, for about 25 minutes, until the liquid has reduced and the vegetables are tender-crisp.
Prepare the jars
- Wash the jars. While the relish cooks, wash the jars, lids, and rings in hot soapy water. Set the lids and rings aside.
- Heat the jars. Place the clean jars in the water bath canner, cover them completely with water, and bring to a simmer over medium heat. Do not boil.
Fill the jars
- Pack in the solids. Remove the jars from the canner. Using a slotted spoon, fill each jar with the corn mixture, leaving a generous 1-inch headspace.
- Ladle in the liquid. Ladle the hot liquid into each jar, leaving a ½ inch headspace.
- Remove air bubbles. Slide a chopstick or other nonmetallic utensil into each jar to release air bubbles, adding more liquid as needed to maintain a ½ inch headspace.
- Attach the lids. Wipe the rims with a clean, damp cloth, then attach the lids and rings. Tighten to fingertip tight.
Process, cool & store
- Process the jars. Return the jars to the canner with at least 1 inch of water above the tops. Bring to a boil over medium-high heat and process half-pint or pint jars for 15 minutes.
- Rest in the canner. Remove the canner from the heat, remove the lid, and let the jars sit in the hot water for 5 minutes.
- Cool completely. Remove the jars to a heat-safe area and let them cool undisturbed for 12 to 24 hours.
- Check the seals. Check the lids for a proper seal, remove the bands, and store the jars in a cool, dark place for 12 to 18 months. Refrigerate any unsealed jars and use within 2 weeks.
Notes
Nutrition

More to explore