
Canned Dill Pickles

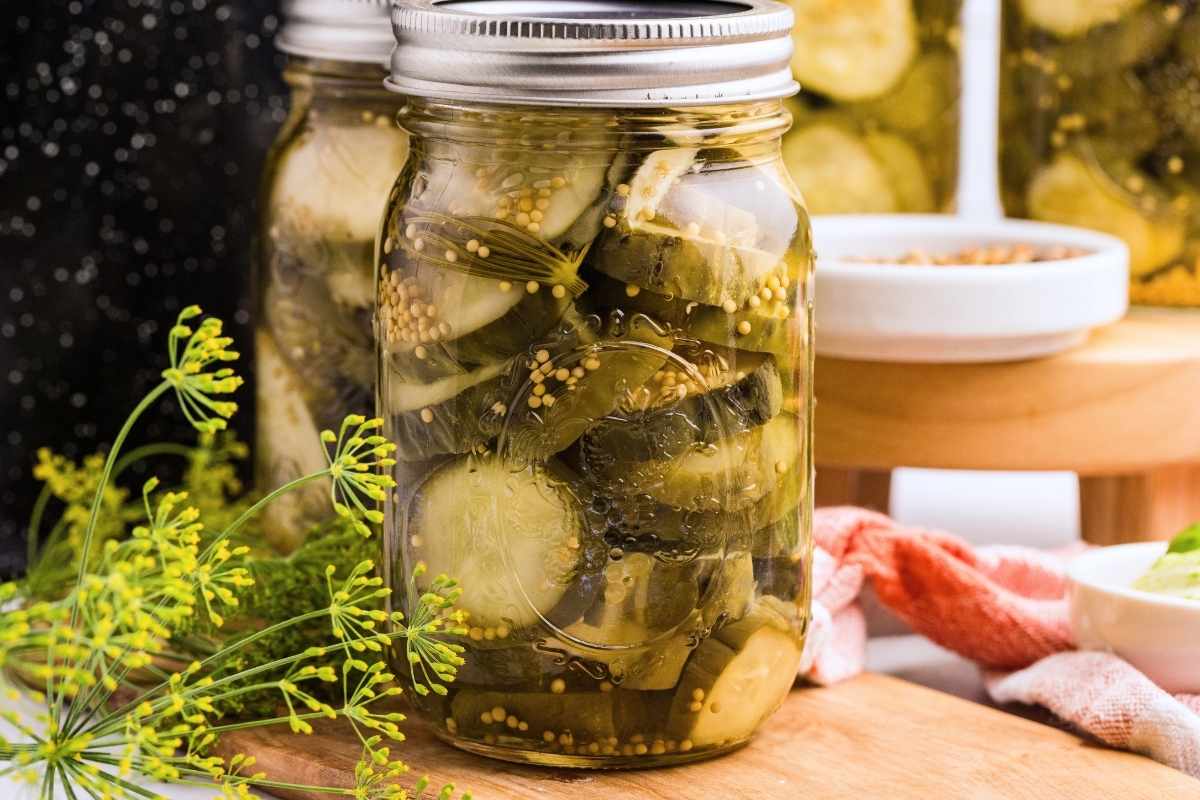
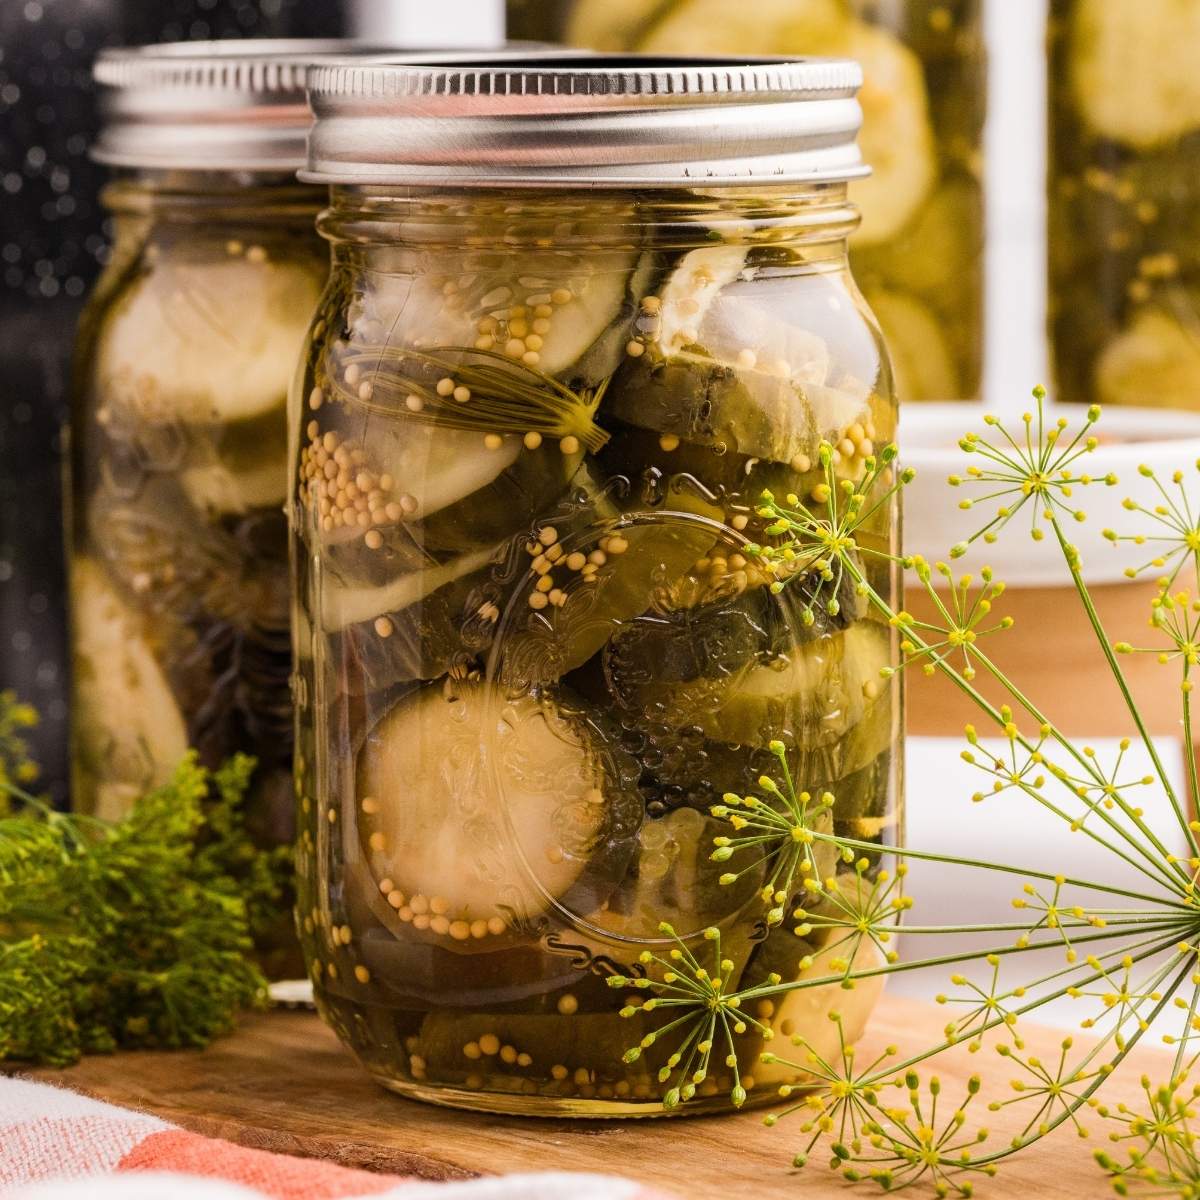
These pickles are crunchy, garlicky, and have lots of dill flavor. Pickling lime helps keep them super crisp. This recipe makes 4-5 pints.
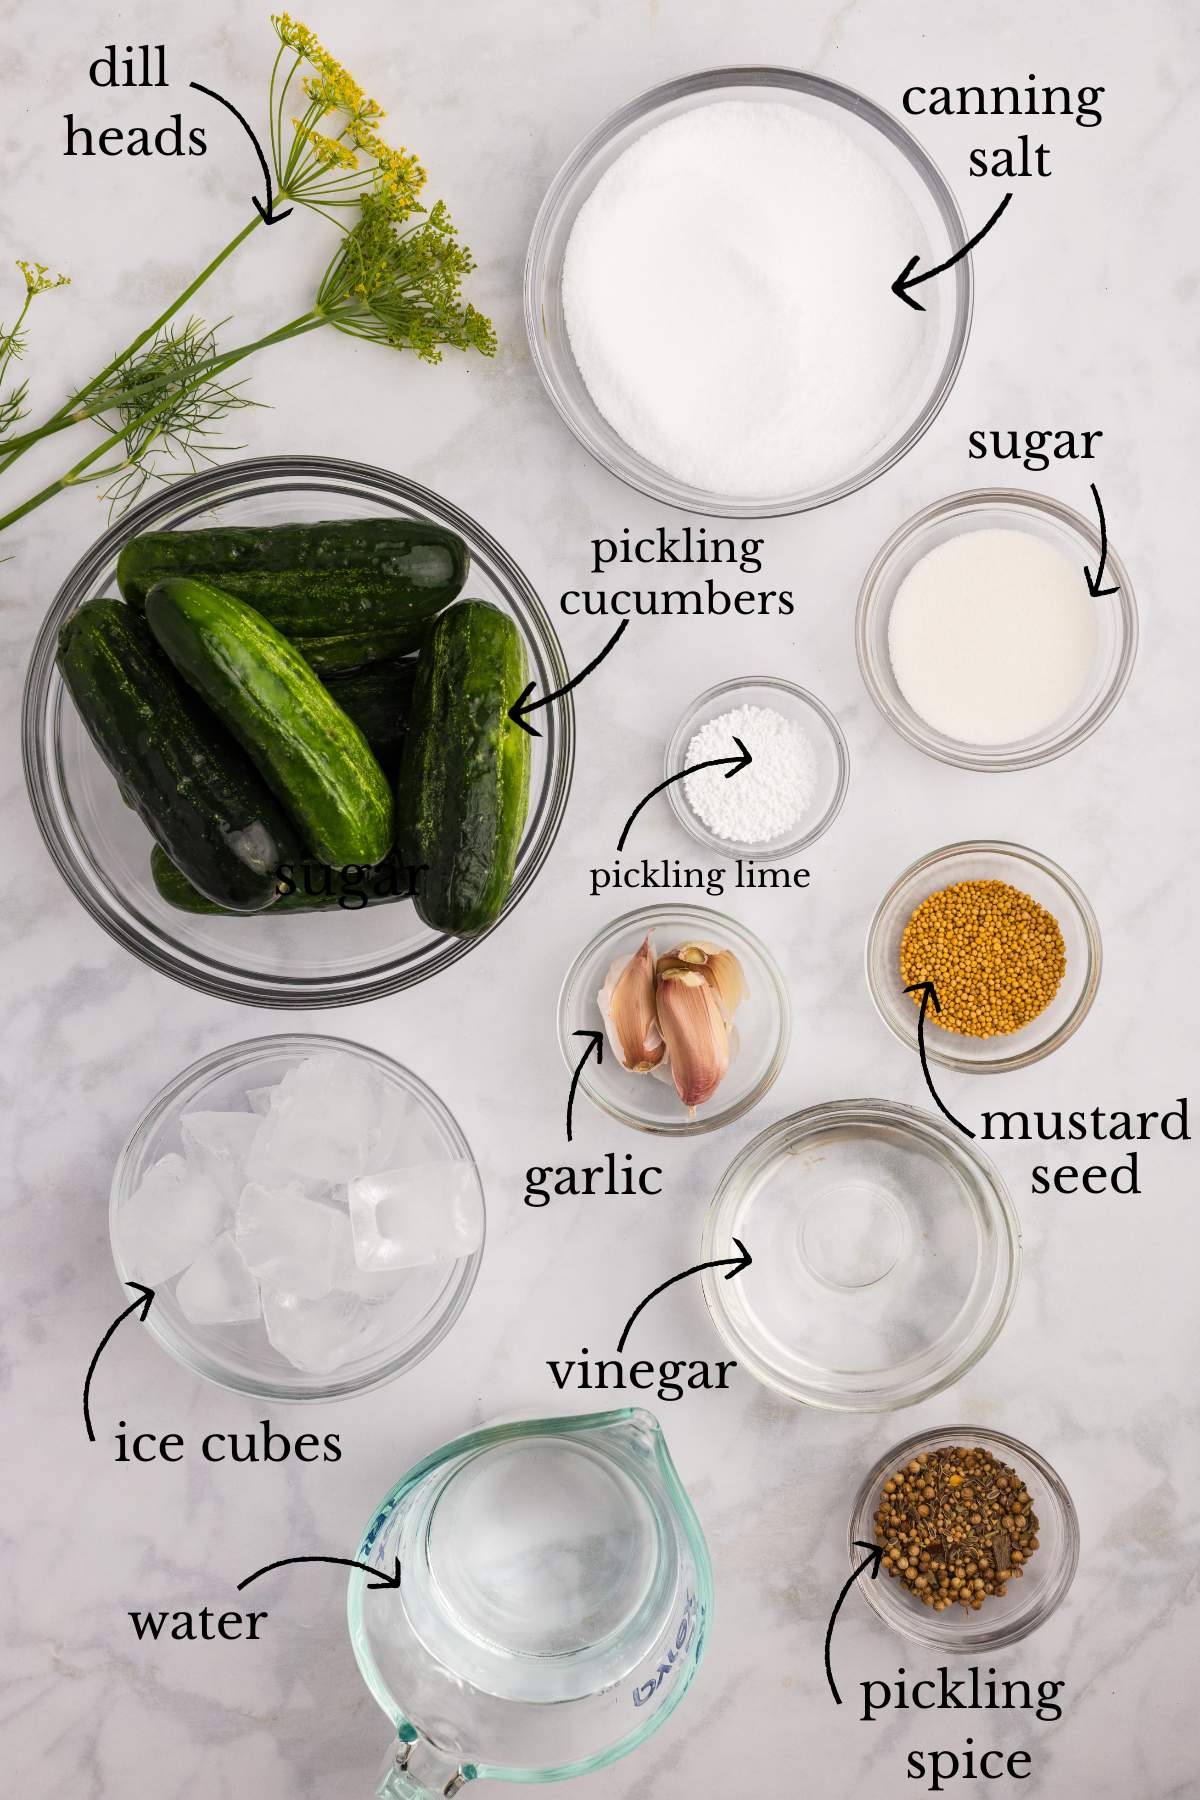
What You’ll Need
Day 1 (salt soak)
- 2 pounds pickling cucumbers, sliced if over 4 inches long. You really do need pickling cucumbers. They’re better shaped for jars, and regular slicing cucumbers hold too much moisture, which means soft pickles.
- 16 cups ice cubes
- 1 ¼ cups pickling salt, divided. Table salt’s anti-caking agents will turn your brine murky.
- 12 cups water, divided
Day 2 (making brine and filling jars)
- 2 tablespoons pickling spice
- 3 cups vinegar. White distilled, 5% acidity. You need 5% acidity to can pickles safely.
- 2 tablespoons sugar
- 5 teaspoons mustard seeds
- 10 fresh dill heads
- 5 cloves garlic
- 1 ¼ teaspoons pickle crisp, optional
Equipment You’ll Need
Equipment
- Water bath canner with rack
- 5 pint mason jars with new lids and bands. Jars and bands can be reused forever, but the flat lids only seal once, so buy new ones every time.
- Jar lifter
- Canning funnel
- Spice bag or cheesecloth with kitchen twine
Instructions
This takes a lot of time, yes, but most of it is just waiting. These are truly easy to make. If you want something even simpler, refrigerator dill pickles are always an option too.
Slice and trim the cucumbers
Slice your cucumbers into ¼ inch rounds (discard the blossom end pieces), or leave them whole if they’re small (under 4 inches or so). Whole ones need one extra step: trim about 1/16 inch off the blossom end of each cucumber. The blossom end contains enzymes that will soften your pickles in storage, and there is nothing sadder than opening a jar in January to find mush.
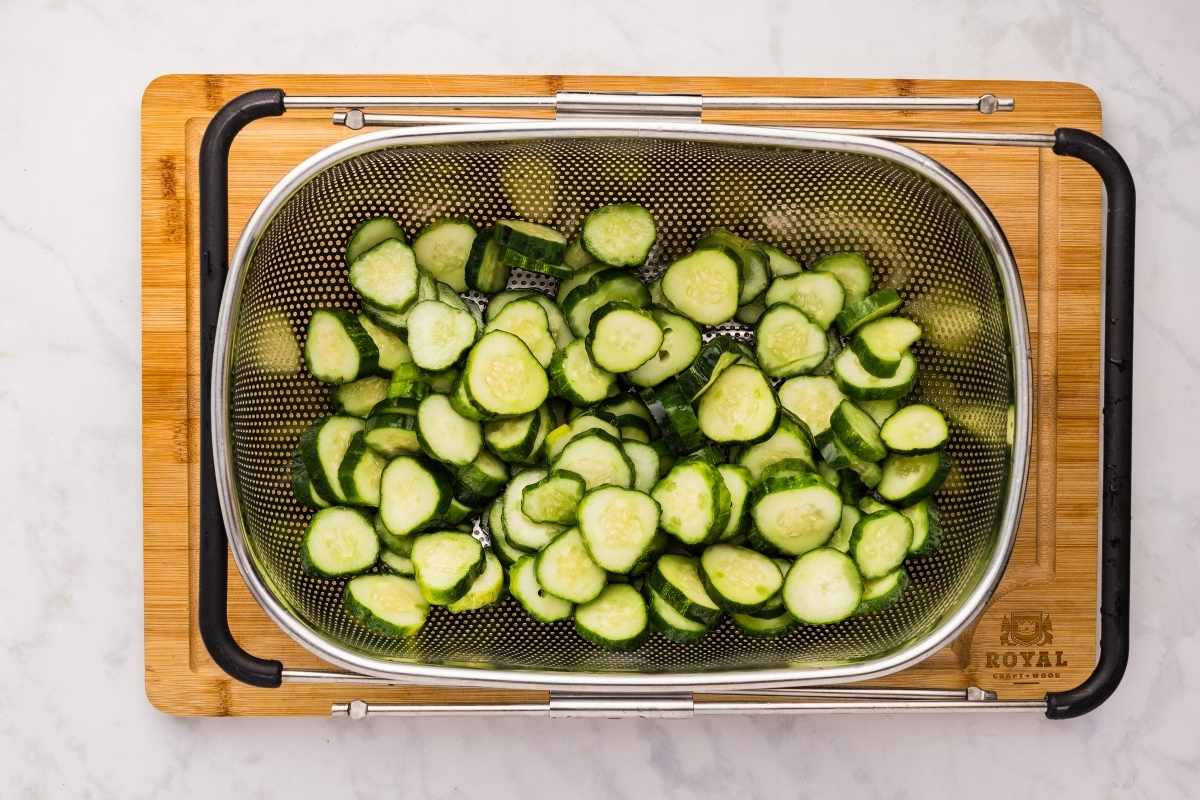
I know it feels fussy to snip a sliver off the end of every single cucumber. It’s worth it. This is one of those tiny steps that separates crisp pickles from disappointing ones.
Soak them overnight in ice water
Layer the cucumbers and ice cubes in a big pot or your crockpot bowl so everything is well distributed. Dissolve ½ cup of the pickling salt in 4 cups of water, then pour it over the whole icy pile. If the cucumbers bob up, set a plate on top to keep them fully submerged.
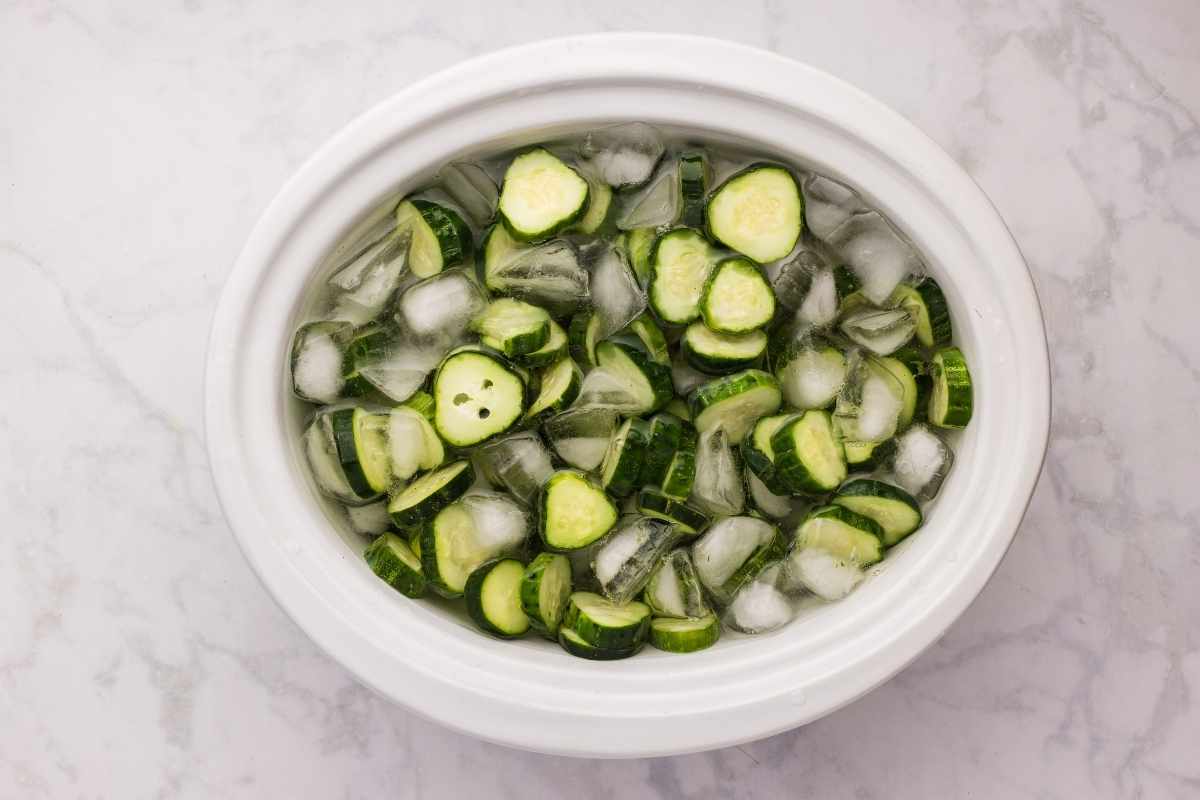
Into the fridge they go for at least 12 hours, but no more than 18. Don’t be tempted to skip this soak. It’s the single biggest thing you can do for a crunchy pickle, and at no point in this recipe do we want warm cucumbers. Cold and crisp go together.
Get the jars and canner ready
On day two, wash your jars with hot, soapy water, then set them in the water bath canner filled with water and keep them hot while you work. Wash the lids and rings and set them aside.
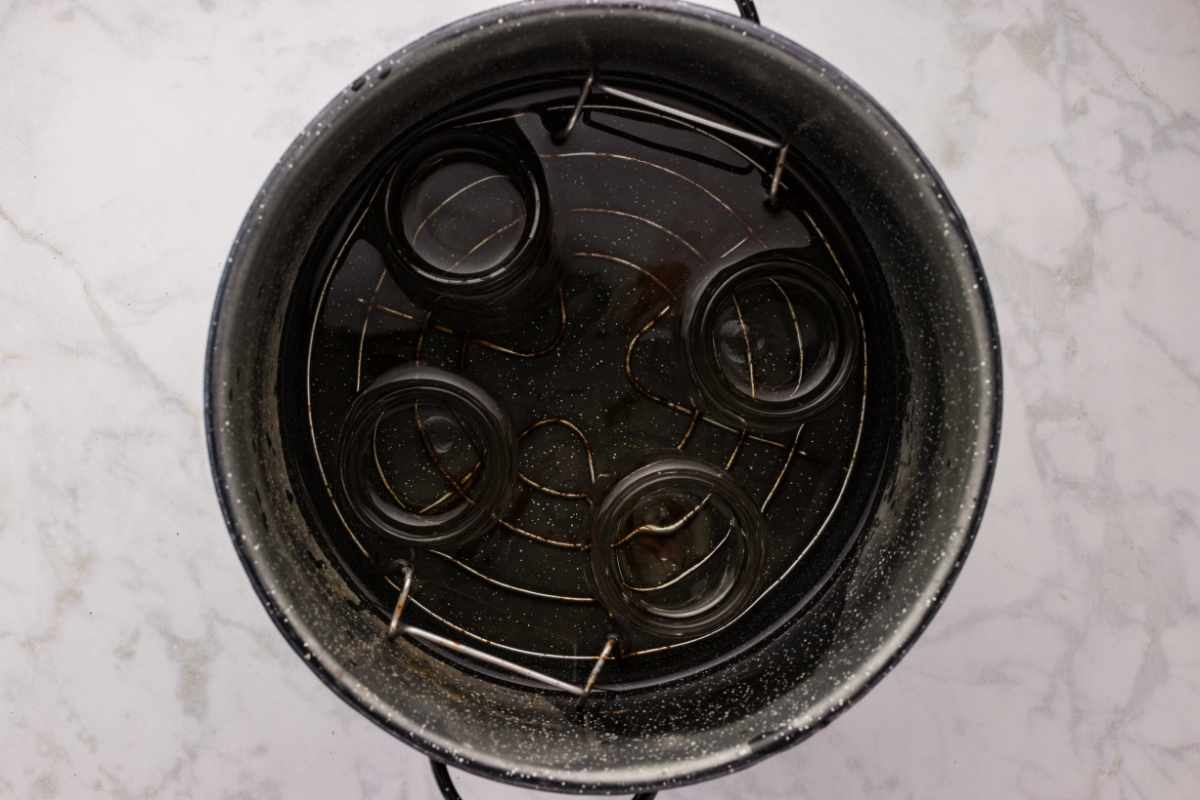
Hot jars matter here. You’ll be ladling boiling brine into them later, and a cold jar meeting hot liquid is how jars crack.
Make the brine
Tie the pickling spice up in a spice bag or a square of cheesecloth secured with kitchen string. In a large pot, combine the remaining ¾ cup pickling salt, 8 cups water, the spice bag, the vinegar, and the sugar.
Bring it to a boil over medium heat, stirring occasionally so the salt and sugar dissolve.
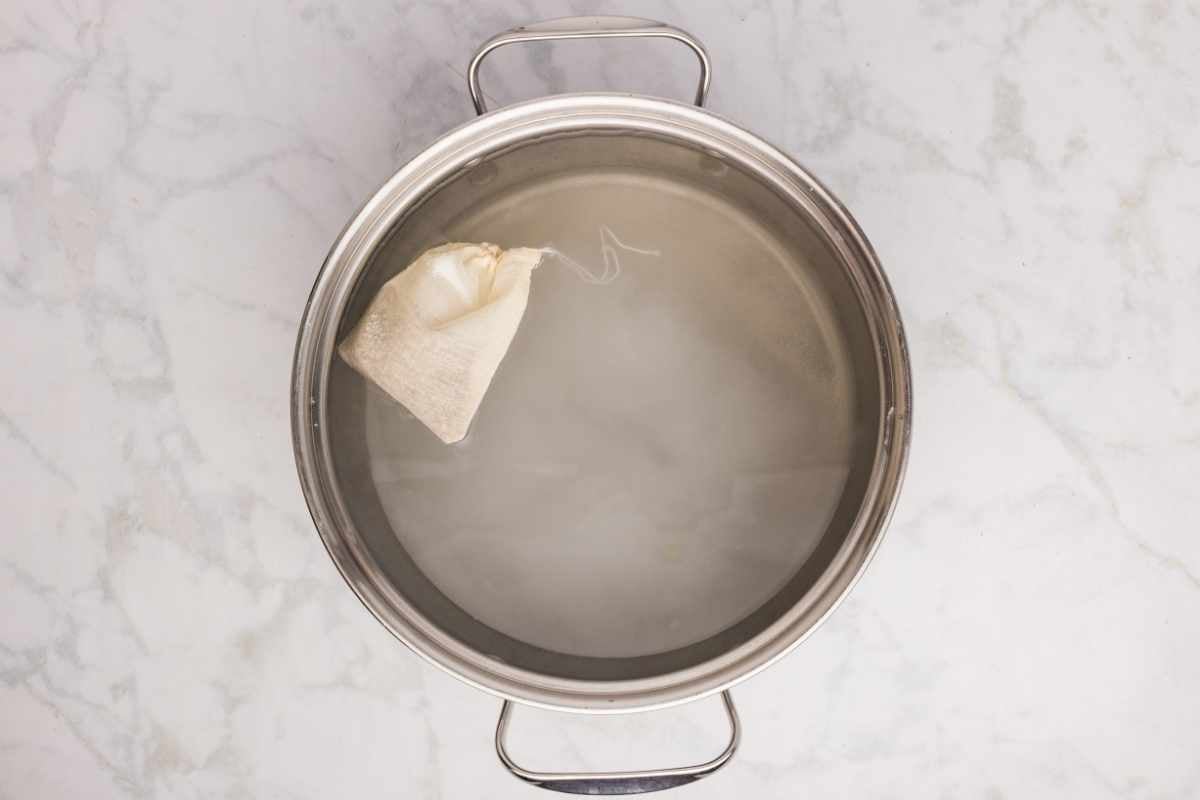
Once it’s boiling, drop the heat to medium-low, cover, and let it boil gently for 15 minutes so the spices infuse.
Pack the jars
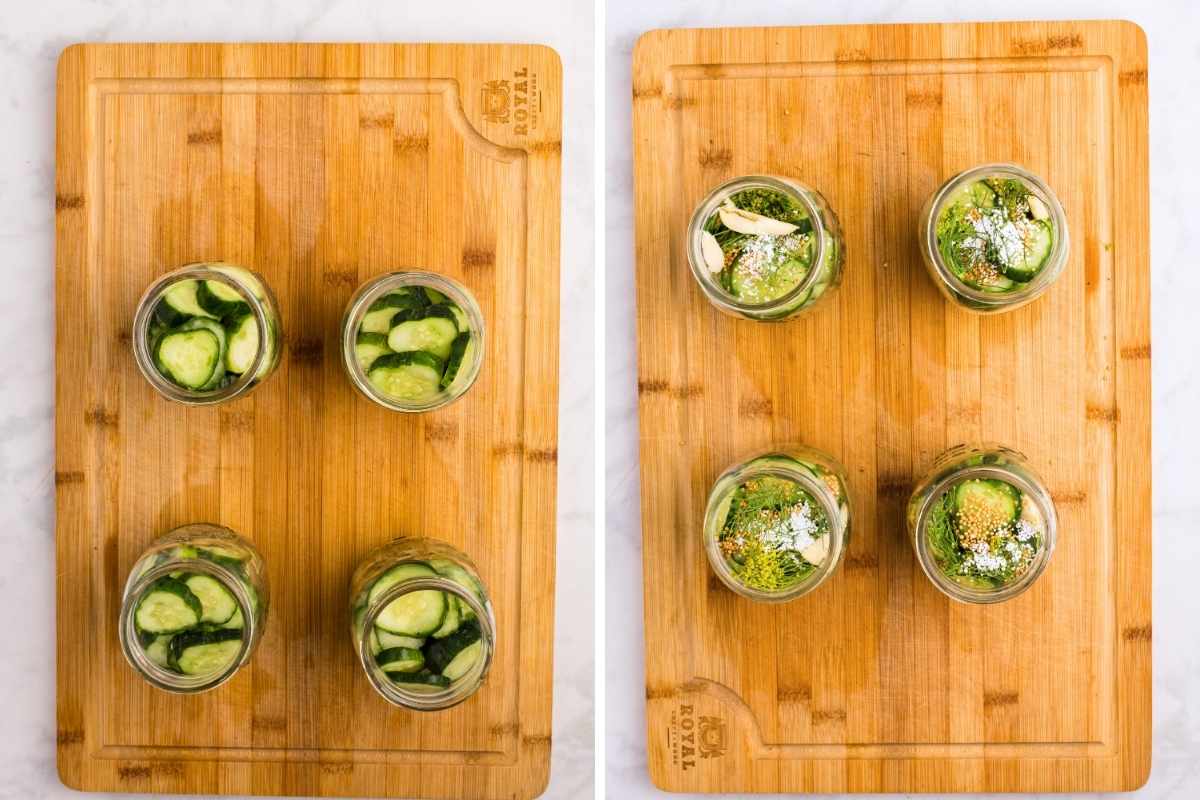
Dump the cucumbers into a colander in the sink, rinse them well under cool running water, and let them drain thoroughly. Then pack them into the hot jars, leaving a generous ½ inch of headspace at the top.
Pack them tight. Floating pickles are common, but the fix is simple: squeeze them in there. A loosely packed jar means cucumbers bobbing at the top and brine that doesn’t reach where you need it.
Save This Post
You'll join my email list which you will love. And if you don't, unsubscribe in one click. ❤️
To each jar, add 1 teaspoon mustard seed, 2 fresh dill heads, 1 clove of garlic, and ¼ teaspoon pickle crisp if you’re using it. I HIGHLY recommend the pickle crisp! It’s optional, but you really need it for the best crunch.
Fill with brine and cap
Ladle the hot pickling liquid into each jar, covering the cucumbers and keeping that ½ inch headspace.
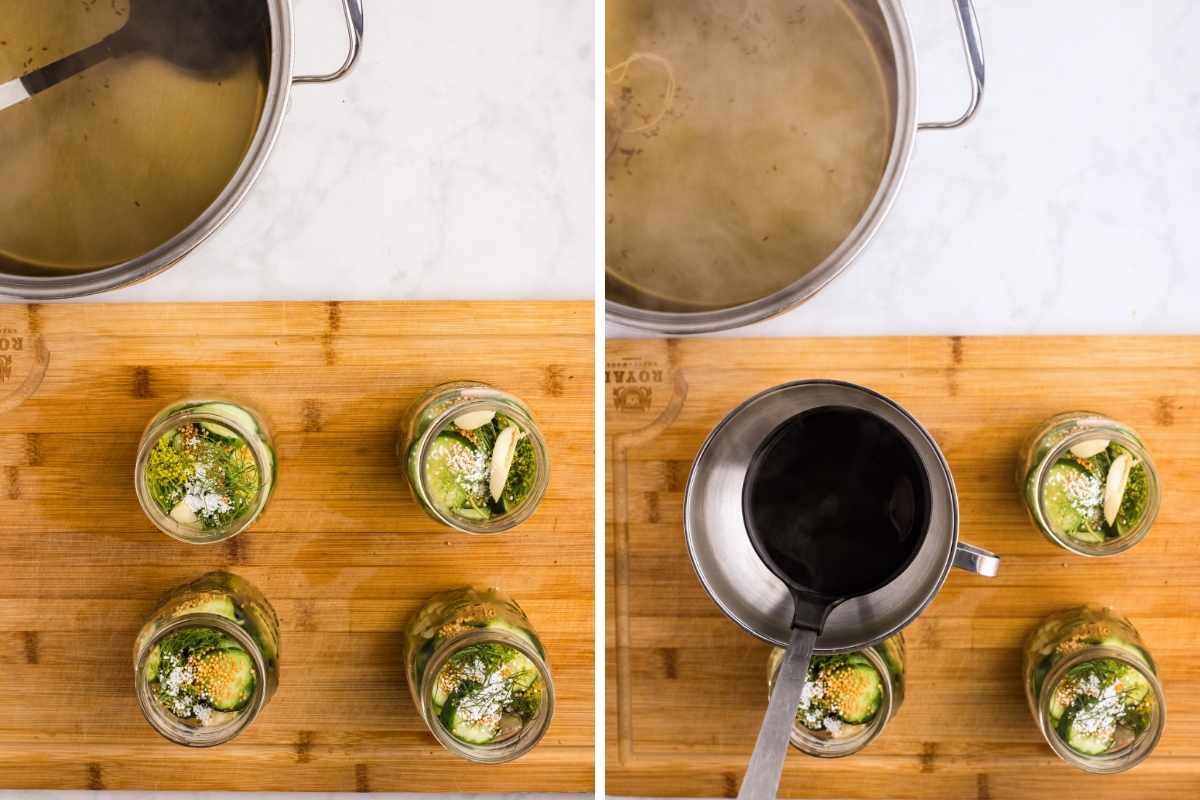
Run a bubble remover or a chopstick down the inside of each jar to release trapped air bubbles, then top off with more brine if the level dropped.
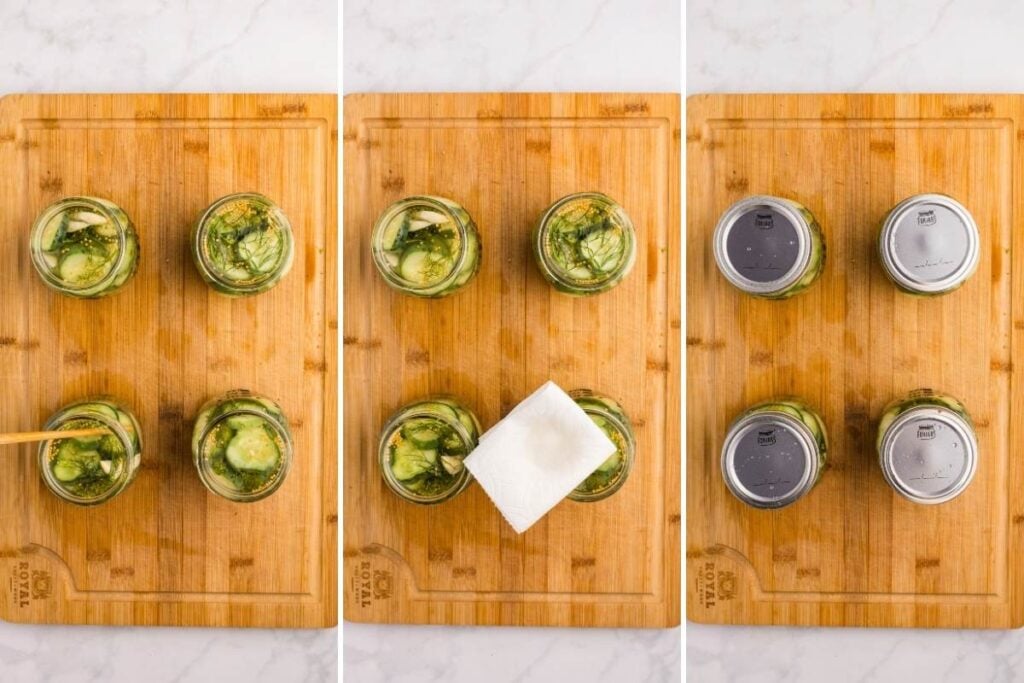
Wipe the rims with a clean damp towel. Even a little brine on the rim can keep a lid from sealing. Add the lids and rings and tighten to fingertip tight. That just means snug with your fingertips, not as tight as you can get it. Air needs to escape during processing.
Process in the canner
Lower the jars into the canner and check that there’s at least one inch of water covering them. Bring the water back to a full boil and process for 10 minutes, but make sure to start your timer when the water is actually boiling, not when the jars go in. If you’re above 1,000 feet, adjust your processing time for altitude.
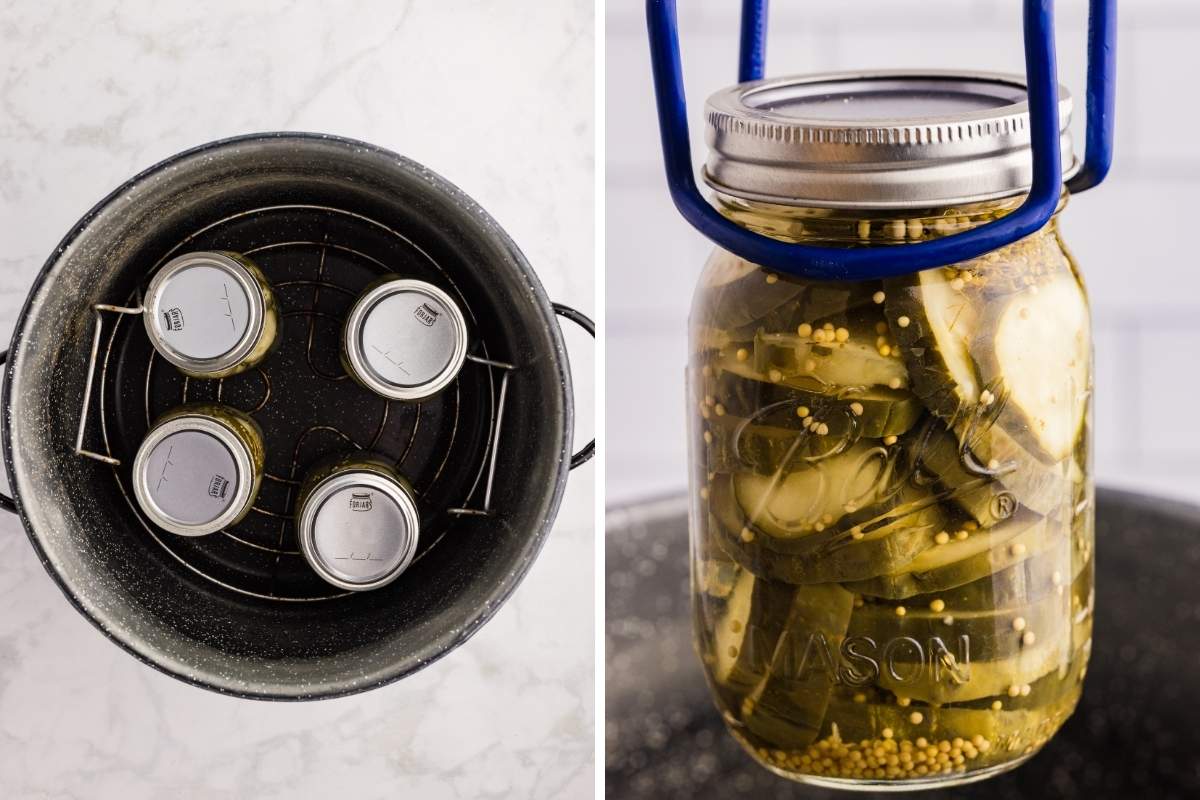
When the time is up, turn off the heat, remove the canner lid, and let the jars sit in the water for 5 minutes before lifting them out.
Cool and check the seals
Set the jars on a heat-safe surface and leave them completely alone for 12 to 24 hours. No pressing on the lids, no tilting them to admire your work. You’ll hear the lids ping as they seal. The BEST sound.
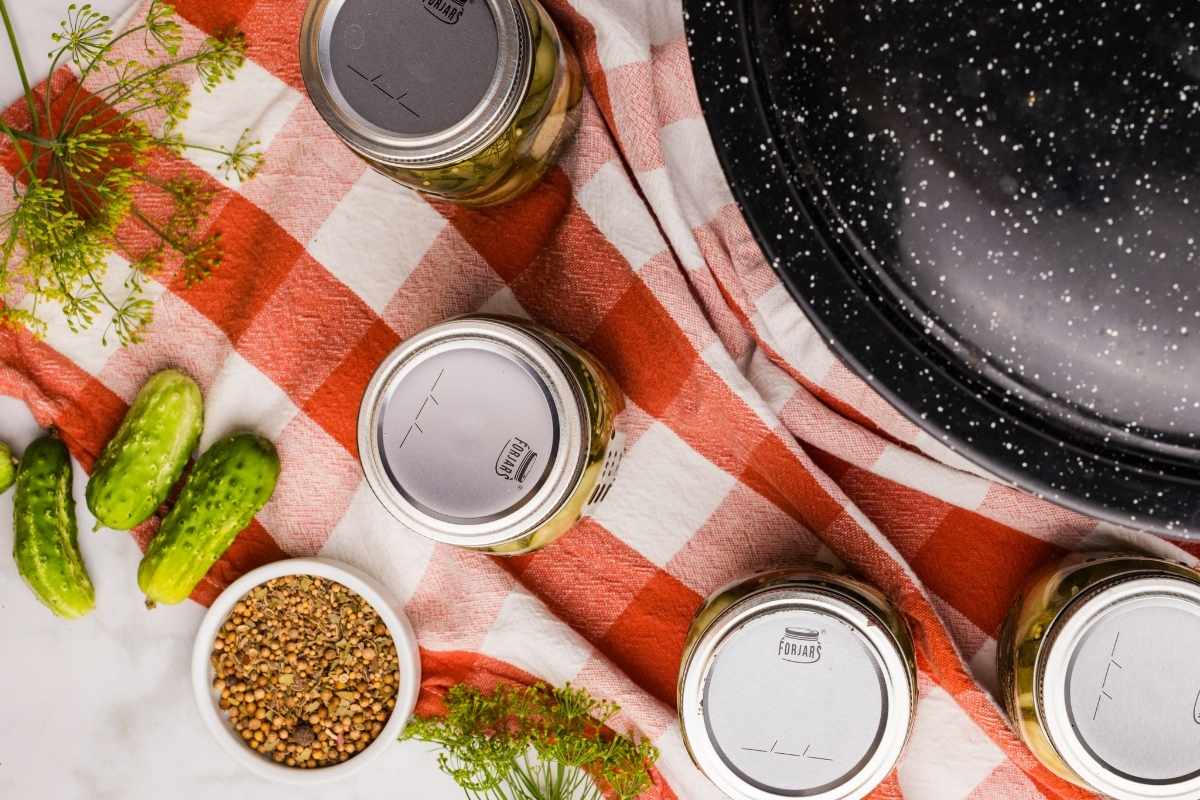
Check the seals before storing. The lid should be concave and shouldn’t flex when you press the center. Now comes the hard part: waiting. These are safe to eat once sealed, but they’re much better after 2 to 3 weeks, when the dill and garlic have had time to work their way through.
Storage Instructions
Sealed jars keep in a cool, dark spot for up to 18 months. A basement shelf or the back of a pantry works. Keep them away from the stove and any sunny windows.
If a jar didn’t seal, that’s okay. Stick it straight in the refrigerator and treat it as a fridge pickle. Use it within 2 months.
Once you open a sealed jar, refrigerate it and eat the pickles within 2 months. Keep them submerged in the brine, so they stay crisp. Toss any jar with a leaking lid, an off smell, or mold — no exceptions.
Variations
Do not change the vinegar, water, or salt amounts. That ratio is what makes these safe to can. All the variations below keep those amounts the same.
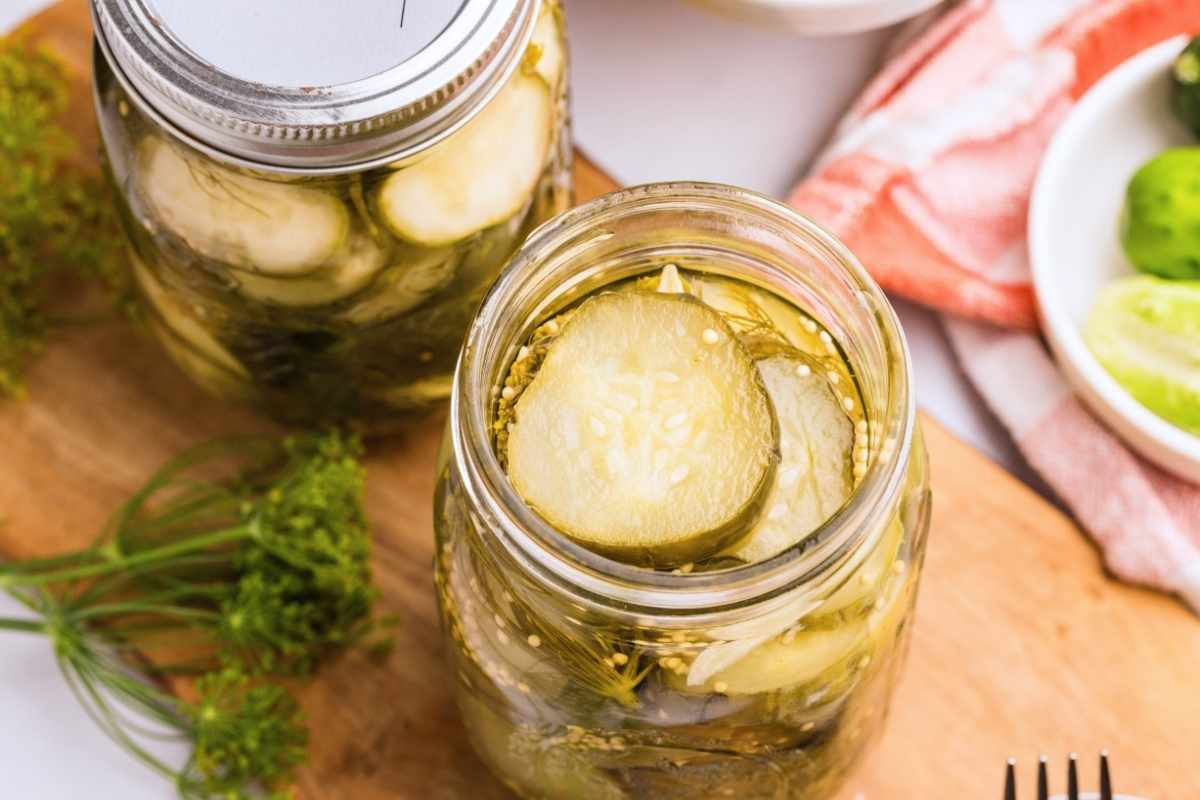
- Spicy dills: add ¼ to ½ teaspoon red pepper flakes to each jar along with the mustard seed.
- Extra garlic: use 2 cloves per jar instead of 1, and let the jars sit a full month before opening.
- Spears instead of slices: quarter the cucumbers lengthwise and pack them standing up. Same processing time.
- Red hot cinnamon pickles. This is a whole different recipe, but similar process!
- Whole pickles: small cucumbers under 4 inches can go in whole; just trim that blossom end off first.
Questions and Troubleshooting
Can I skip the overnight ice soak?
You can, but don’t. The soak is the biggest reason these pickles come out crisp instead of soggy. And it’s the easiest step in the whole recipe: you just wait.
Can I use apple cider vinegar?
If it’s 5% acidity, it’s safe. But it darkens the brine and changes the flavor, so I stick with plain white vinegar for a classic dill pickle.
Why did my pickles turn out soft?
Usually the cucumbers were overripe, not fresh, or the blossom ends weren’t trimmed. The blossom end has enzymes that soften pickles in storage, so trim about 1/16 inch off every whole cucumber.
Why are my pickles floating in the jar?
Totally normal and totally safe. Pack the jars tighter next time and you’ll get less of it.
More Ways to Preserve Cucumbers
Canned Dill Pickles
Equipment
- water bath canner with rack
- 5 pint mason jars with new lids and bands
- Large stockpot or crock
- Spice bag or cheesecloth with kitchen twine
- Colander
- Canning funnel
- Jar lifter
- Bubble remover or wooden chopstick
- Ladle
Ingredients
Day 1 (Salt Soak)
- 2 pounds pickling cucumbers sliced if over 4 inches long
- 16 cups ice cubes
- 1 ¼ cups pickling salt divided
- 12 cups water divided
Day 2 (Making Brine and FIlling Jars)
- 2 tablespoons pickling spice
- 3 cups white distilled vinegar 5% acidity
- 2 tablespoons sugar
- 5 teaspoons mustard seeds
- 10 fresh dill heads
- 5 cloves garlic
- 1 ¼ teaspoons pickle crisp optional
Instructions
Day 1
- Prepare the cucumbers. Slice the cucumbers into ¼ inch slices. If using smaller cucumbers, leave them whole and trim the blossom end off of each one.
- Layer with ice. To a large pot or crock, layer the cucumbers and ice cubes so they are well distributed.
- Add the salt soak. In a large bowl, dissolve ½ cup of the pickling salt in 4 cups of water and pour over the ice and cucumbers. If necessary, place a plate on top so the cucumbers stay fully submerged.
- Refrigerate overnight. Transfer to the refrigerator and let the cucumbers rest for at least 12 hours but no more than 18 hours.
Day 2
- Prepare the jars. Wash the jars with hot, soapy water, place them in a water bath canner filled with water, and keep them hot. Wash the lids and rings and set aside.
- Bag the pickling spice. Place the pickling spice in a spice bag or cheesecloth tied securely with kitchen string.
- Make the brine. In a large pot, combine the remaining ¾ cup pickling salt, 8 cups water, spice bag, vinegar, and sugar. Bring to a boil over medium heat, stirring occasionally to dissolve the sugar and salt.
- Simmer the brine. Once boiling, reduce the heat to medium low, cover, and boil gently for 15 minutes to infuse the spices into the liquid.
- Drain the cucumbers. Transfer the cucumbers to a colander over the sink, rinse with cool running water, and drain thoroughly.
- Pack the jars. Pack the hot jars with the cucumbers, leaving a generous ½ inch headspace.
- Add the seasonings. To each jar, add 1 teaspoon mustard seeds, 2 fresh dill heads, 1 clove of garlic, and ¼ teaspoon pickle crisp, if using.
- Fill with brine. Ladle the hot pickling liquid into each hot jar, covering the cucumbers and leaving a ½ inch headspace.
- Remove air bubbles. Run a bubble remover or chopstick around each jar and add additional brine if needed to maintain proper headspace.
- Seal the jars. Wipe the rims with a clean damp cloth, then apply the lids and rings until fingertip tight.
- Process the jars. With at least one inch of water covering the jars, bring the water back to a full boil and process for 10 minutes, adjusting for your altitude if necessary.
- Rest and cool. Turn off the heat, remove the canner lid, and let the jars rest in the canner for 5 minutes. Remove the jars to a heat safe surface and cool undisturbed for 12 to 24 hours.
- Check the seals. Confirm each lid has sealed before storing.
Notes
Nutrition

Looking for more?
Favorites from the archives.
Old Fashioned Molasses Cookies (Soft and Chewy)
Blackberry Mojito Recipe
Strawberry Old-Fashioned Cocktail
Gentle Cold Process Baby Soap Recipe