
No-Sew Scented Fabric Drawer Liners

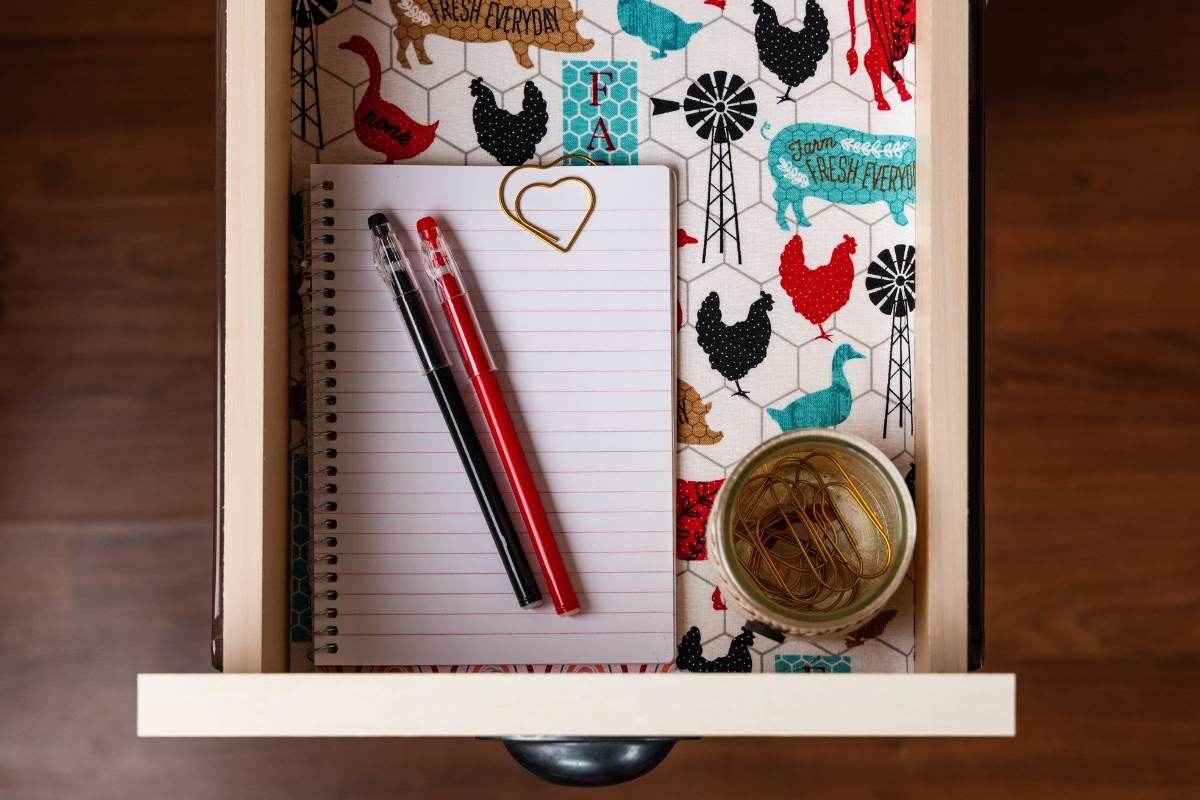
Custom-fit cotton drawer liners that smell like gardenia every time you open the drawer? Yes please. Good for sock drawers, linen closets, and nightstands.
What You’ll Need
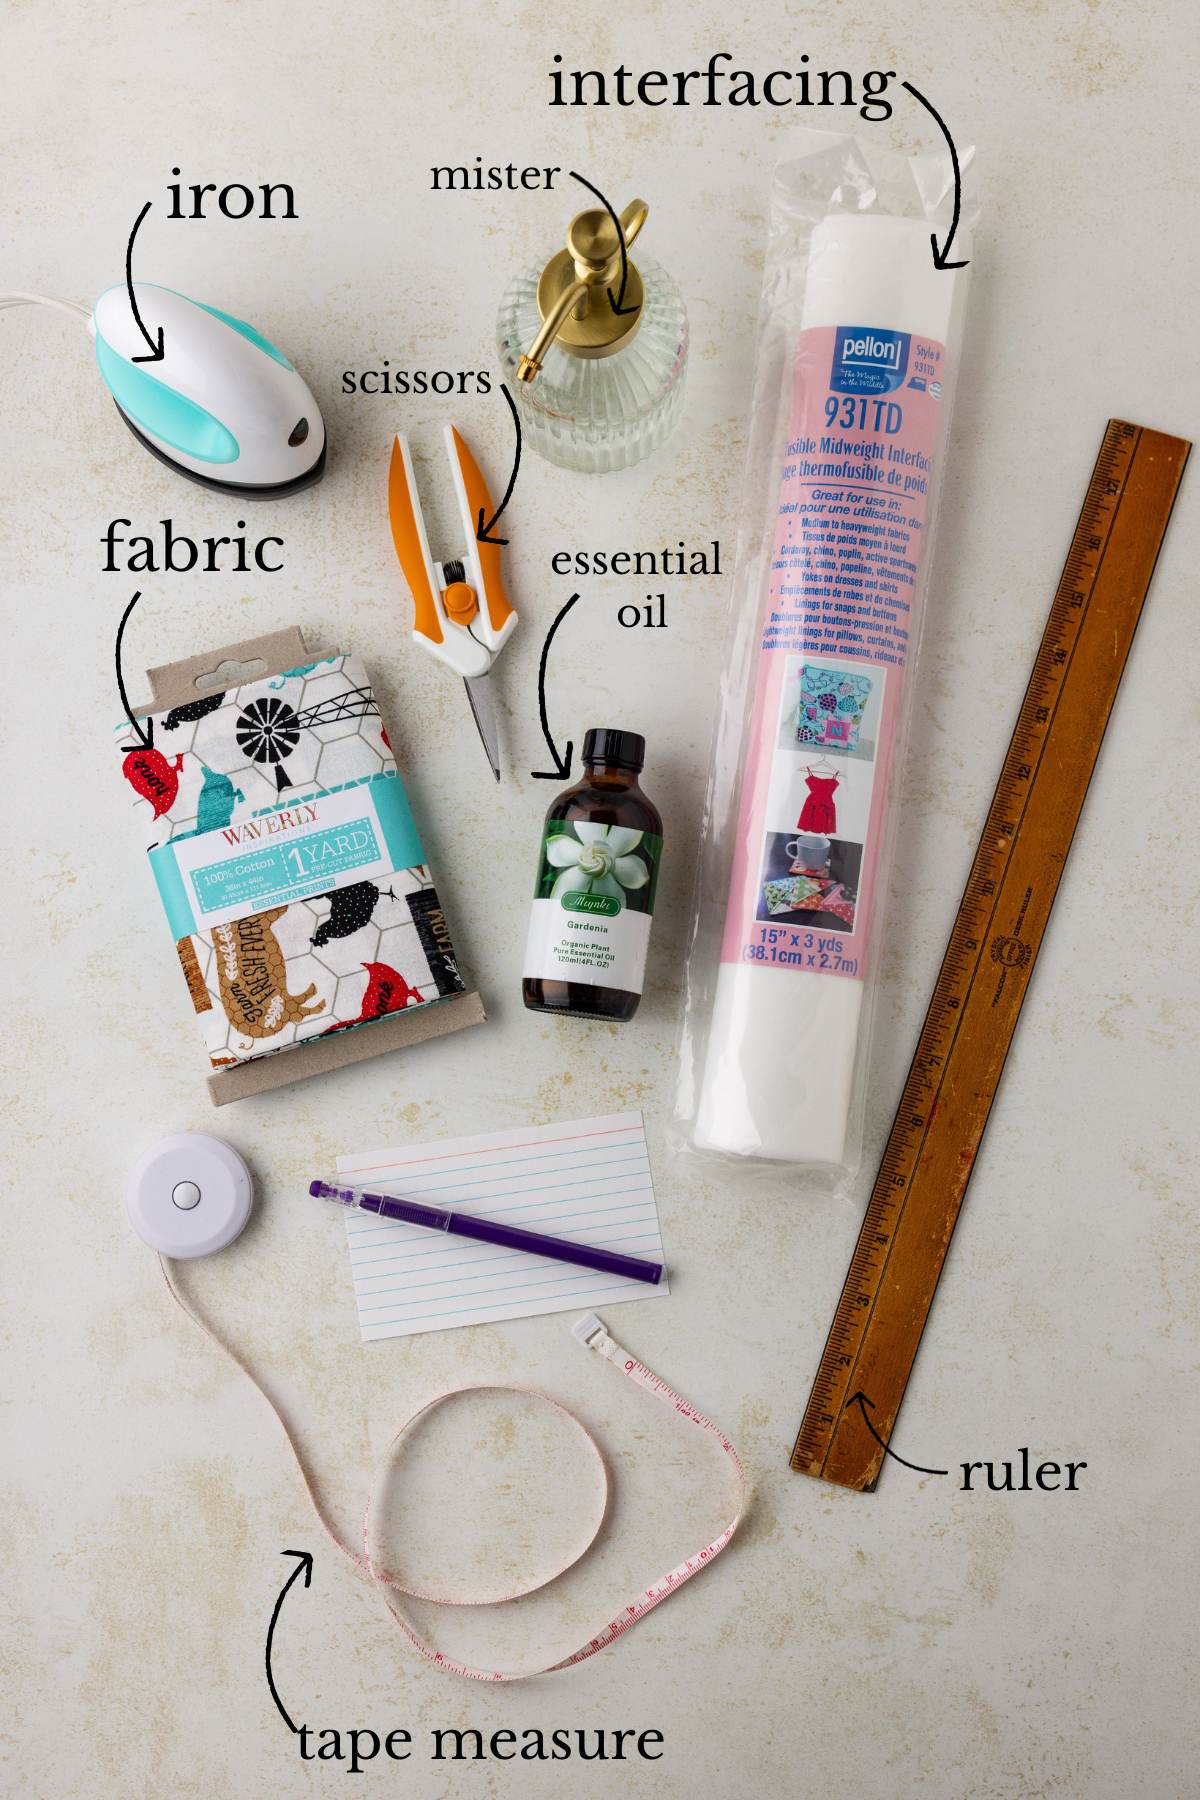
Of course, the amount of fabric you need will depend on how many drawers you’re lining and how wide they are. I find that a yard is plenty for a couple of nightstands or one dresser.
Liner
- Cotton fabric. Wash and dry it before you start! I machine washed and sun-dried mine.
- Fusible midweight interfacing
- Fabric scissors
- Tape measure and ruler
- Pen or pencil and scrap paper
- Iron
Scented mixture
- Essential oil or fragrance oil
- Water
- Plant mister
Instructions
Measure and mark
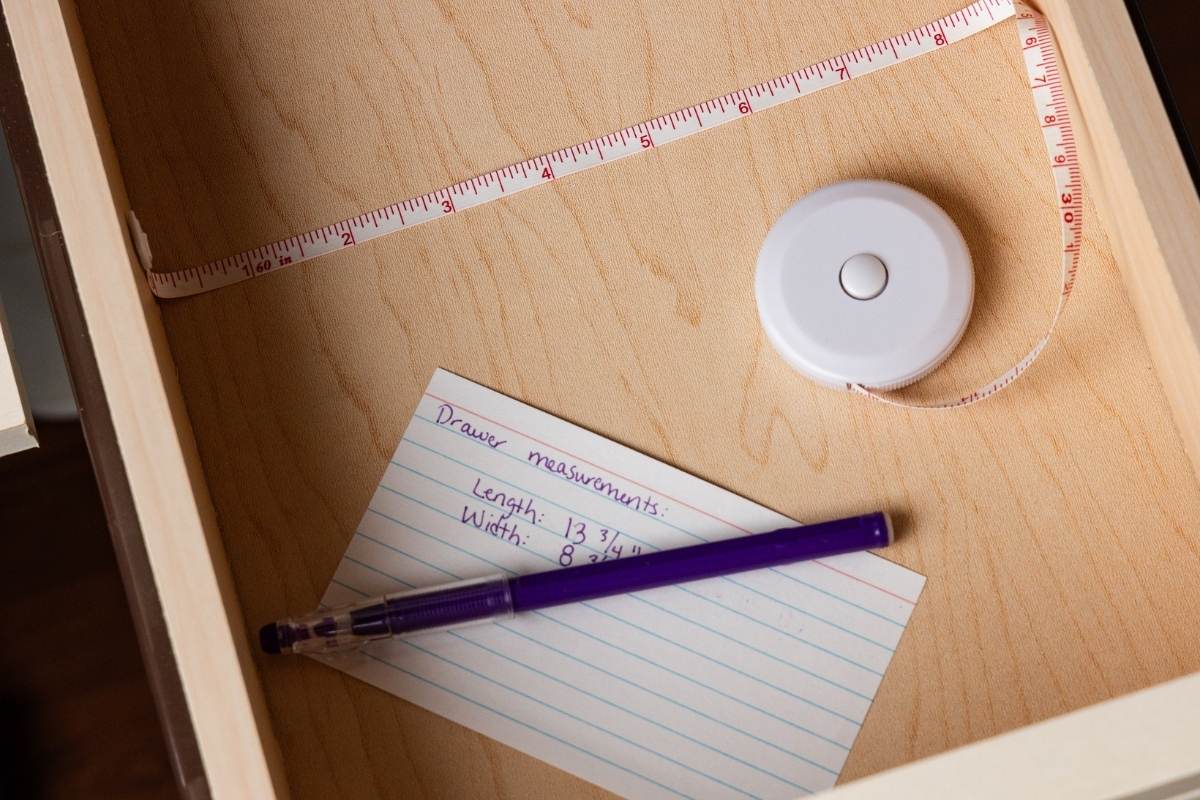
Before anything else, wash and dry your cotton fabric. We machine-wash ours and let it dry in the sun. Then grab your tape measure and get the length and width of the inside of the drawer you’re lining. Jot the numbers down on scrap paper, because you will forget them the second you walk away.
Use those measurements to draw an outline of the drawer on the smooth side of the fusible interfacing.
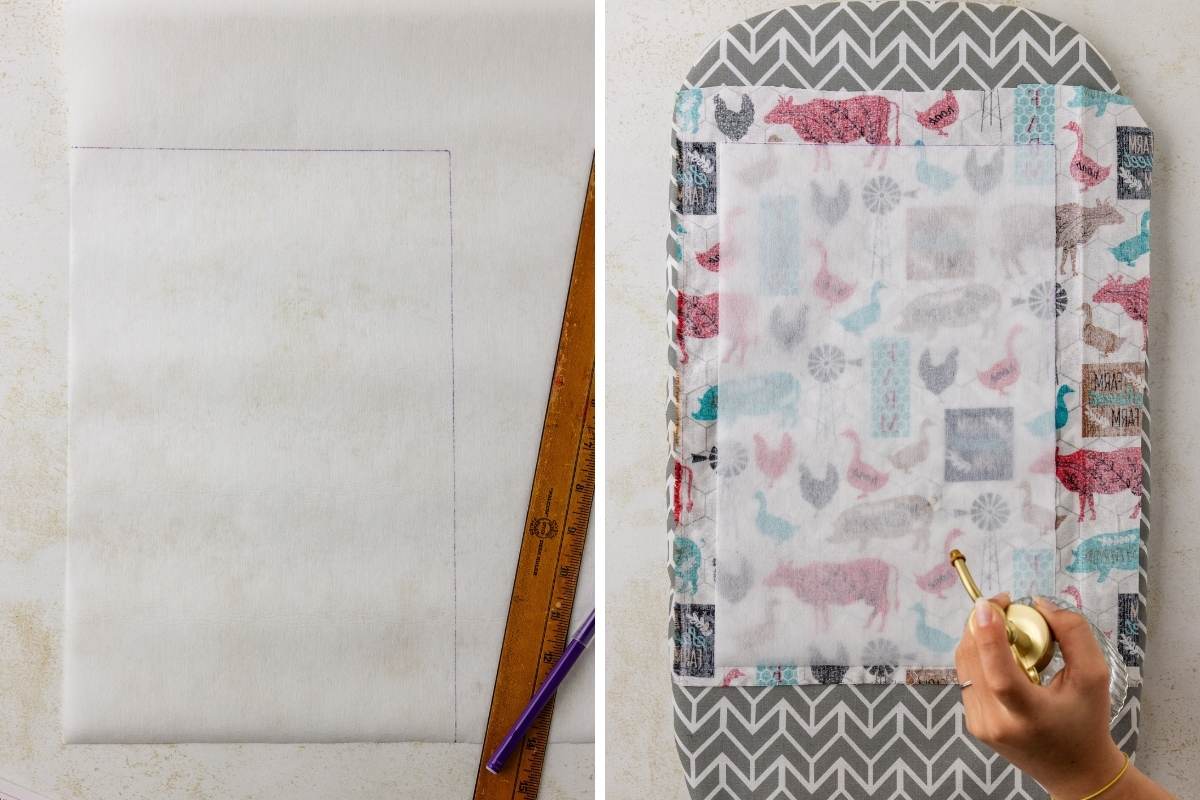
Then roughly cut a piece of your fabric that’s larger than the interfacing. Don’t overthink this cut. I just hack out an oversized rectangle, because we’re trimming everything down later anyway. Precision comes at the end, not here.
Fuse the interfacing
Lay the fabric face down on your ironing board, then place the interfacing bumpy side down on top of it. The bumpy side is the glue side, so it has to touch the fabric. Get it backward, and you’ll fuse the interfacing to your iron instead of your liner. Not fun!
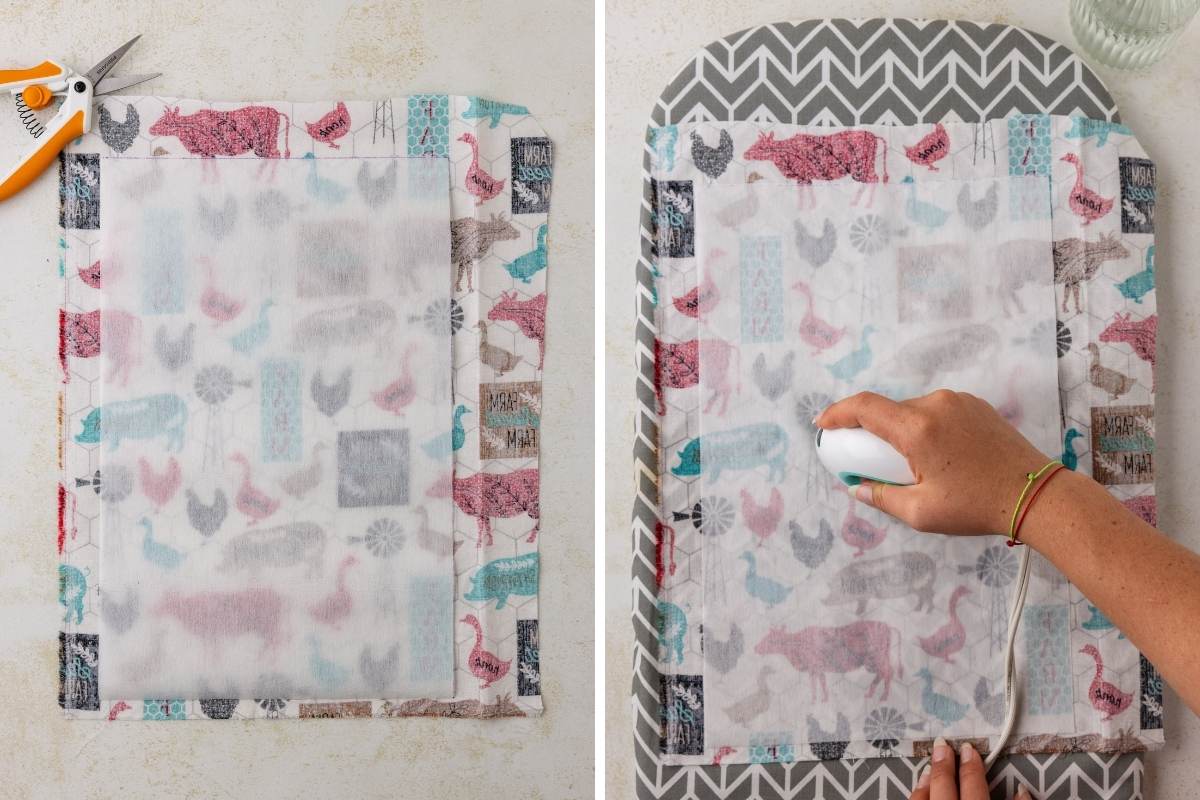
Lightly mist the interfacing with water, or use the steam setting if your iron has one. Then follow the directions on your interfacing package to adhere it to the fabric.
Trim and finish
Trim away the excess fabric, following the lines of the interfacing closely. This is the step that makes the liner look custom instead of homemade, so take your time with the scissors.
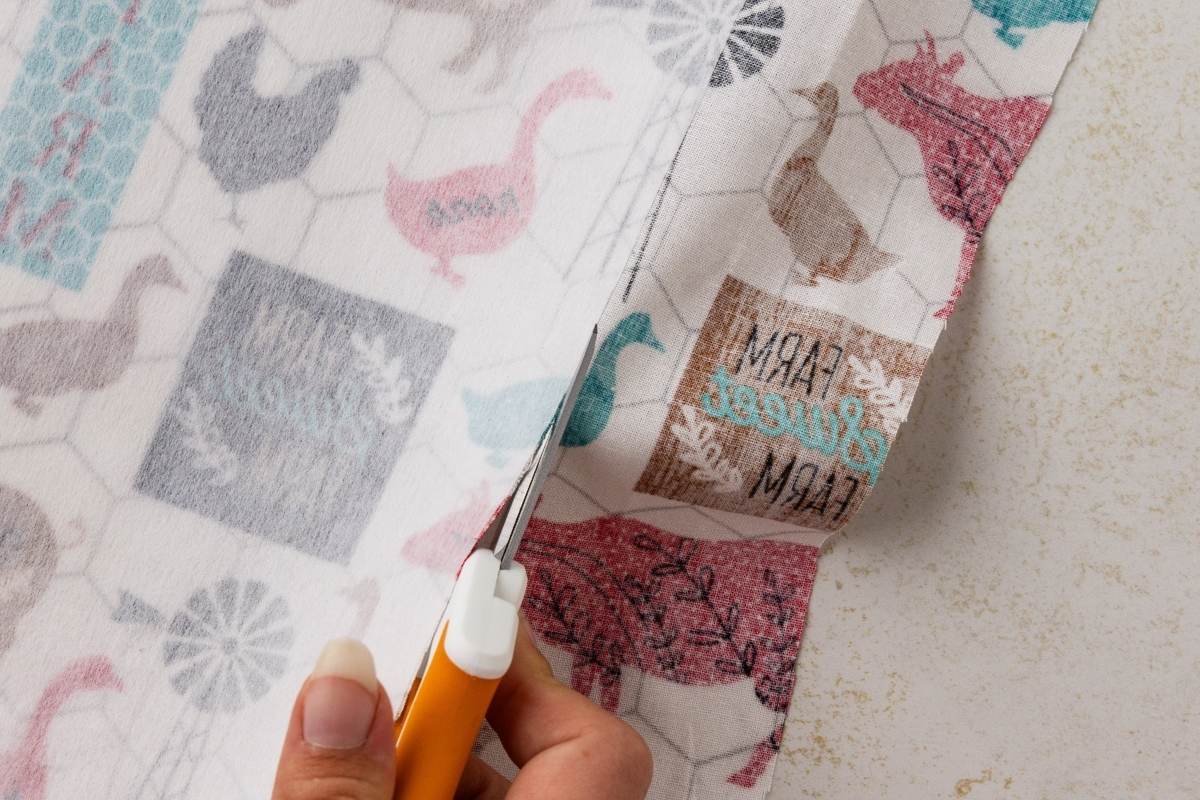
If fraying worries you, there’s an optional finish: instead of cutting right at the interfacing, leave a border of fabric about ½ inch out, then fold that extra material to the underside and secure it with fabric glue. Let the glue dry completely before you move on.
Scent and dry
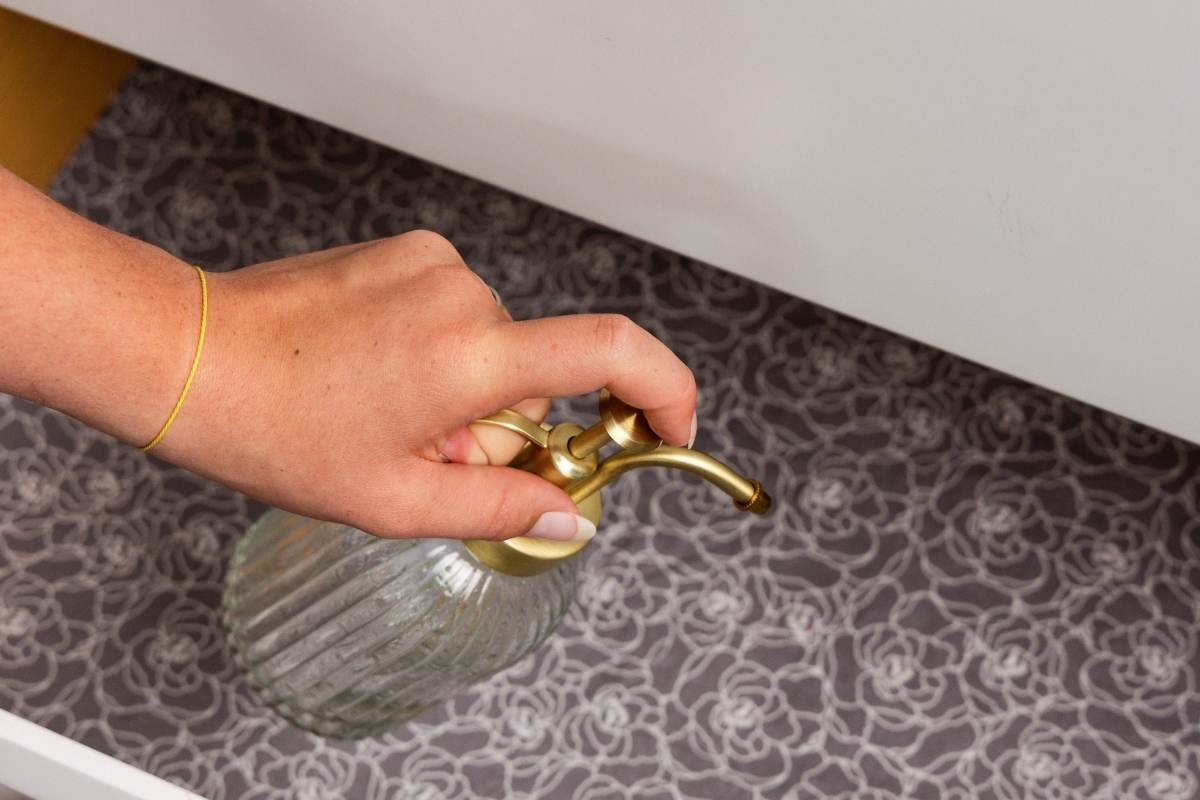
Mix the scented spray by adding about 1 teaspoon of essential oil to ¼ cup of water in the plant mister, then mist the liner evenly. I used gardenia oil and it smells absolutely amazing, but this is your drawer — pick whatever scent you like.
Save This Post
You'll join my email list which you will love. And if you don't, unsubscribe in one click. ❤️
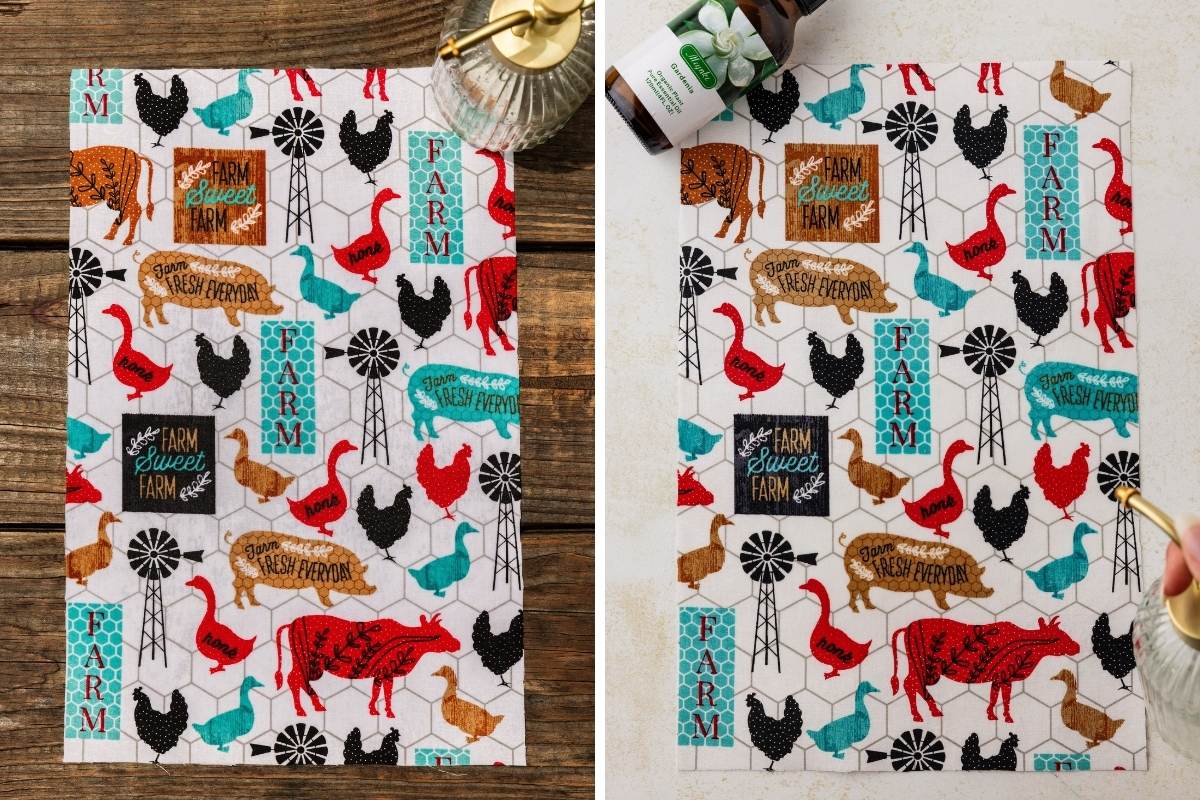
Set the liner in the sun or in a room with low humidity to air dry.
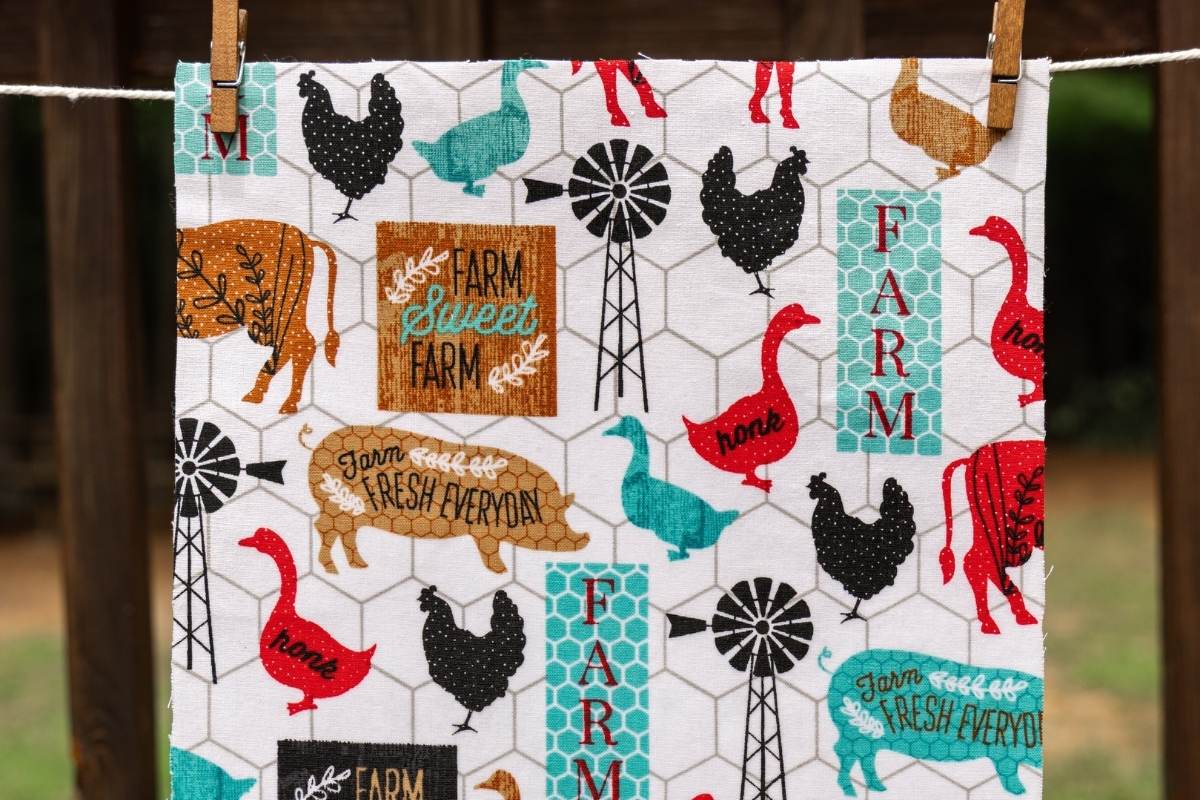
It needs to be completely dry before it goes in your drawer. A damp liner can lead to mold or staining. Give it more time than you think it needs. Just keep checking the liner!
Place in drawer
Once the liner is fully dry, set it into your drawer. That’s it. You’re done!
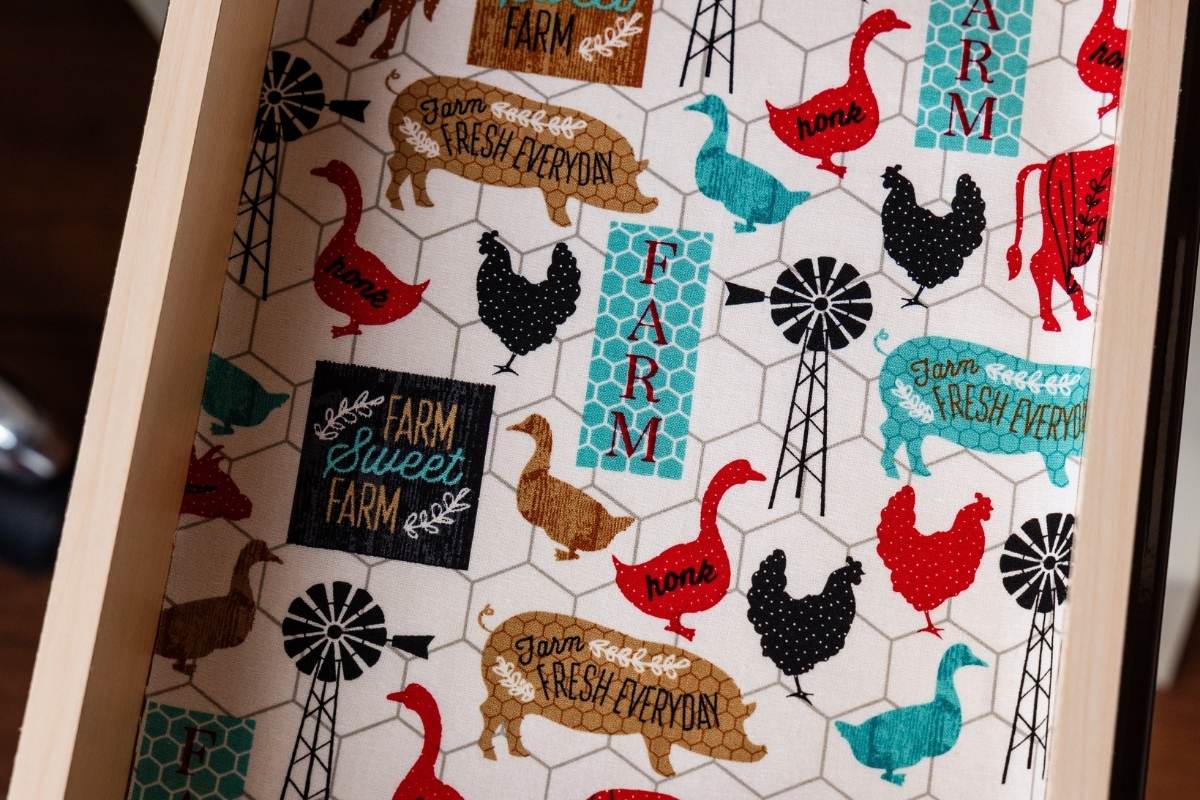
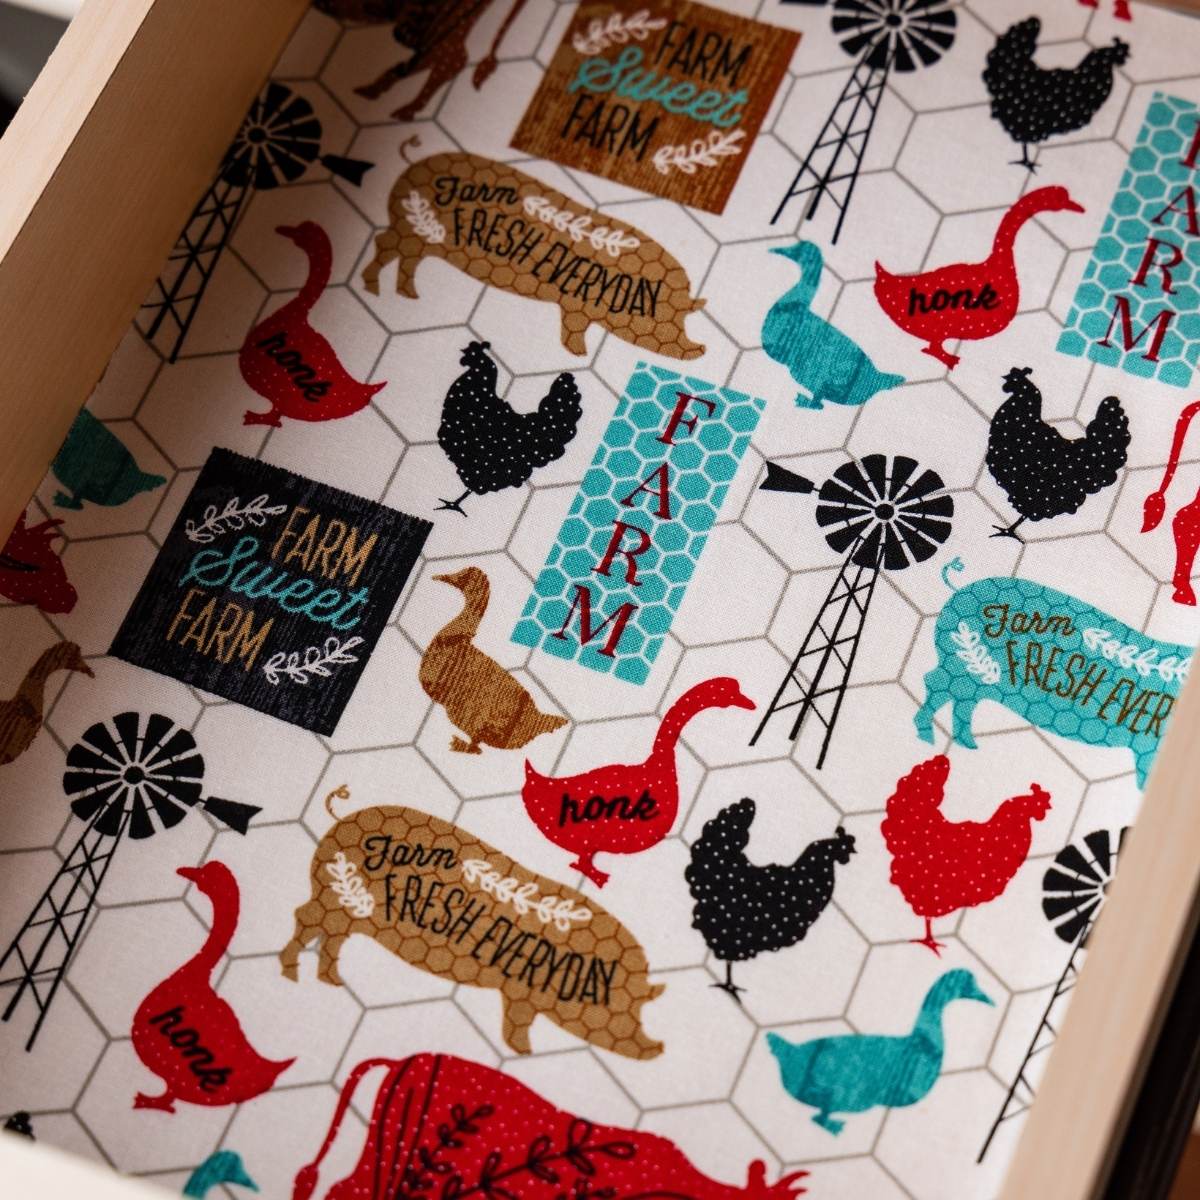
Every time you open the drawer, you’ll get a little hit of scent and a flash of pretty fabric where a bare board used to be. It’s a small thing that makes an ordinary dresser feel special.
Best Places to Use Drawer Liner
- Dresser drawers are the classic. I started with my pajama drawer, since that’s the one I open every single day.
- Linen closet shelves: measure the shelf instead of a drawer, and your sheets smell freshly washed even after sitting for months.
- Desk or craft room drawers that could use a little brightening.
- These make such a cute housewarming or hostess gift! Roll up a set and tie it with twine. They can trim them to fit their own drawers.
Questions and Troubleshooting
Do I really have to pre-wash the fabric first?
Yes. New cotton has sizing on it that keeps the interfacing from bonding well, and it can shrink later. We machine washed and sun-dried ours before starting. I relate, though. I am also the type to want to rush in. 🙂
Can I skip the interfacing and just cut the fabric to fit my drawer?
You could, but don’t. Plain fabric will fray, curl, and slide around every time you open the drawer. The interfacing is what turns it into an actual liner instead of a loose scrap of fabric.
Do I need a plant mister, or will any spray bottle work?
Any bottle with a fine mist setting works. You want a light, even coating on the liner, not wet spots.
My interfacing is peeling up at the edges. What went wrong?
It probably didn’t get enough moisture or enough time under the iron. Mist that spot again and press for a few more seconds; it should re-bond just fine.
Can I wash my drawer liners?
Yes! If you use a washing machine, put the liners in a washing machine bag and run a cold, delicate cycle or just hand wash them. Line dry only! The dryer can wreck the bond between the fabrics.
Can I apply more scent to my drawer liners?
Definitely. If the scent fades over time, hand wash and line dry first, then spritz with more of the scented mixture. Let them dry all the way before they go back in the drawer. Damp liners = mold and stains. No thanks.
More DIY projects to freshen up your home
- Homemade bar dish soap
- How to strip laundry (sheets and towels)
- DIY washing machine cleaning tabs
- Fragrance oil diffusers
Scented Drawer Liners
Ingredients
Liner
- cotton fabric pre-washed and dried
- fabric scissors
- fusible midweight interfacing
- tape measure and ruler
- pen or pencil and scrap paper
- iron
Scented mixture
- ¼ cup water
- plant mister
- 1 teaspoon essential oil or fragrance oil
Instructions
Measure and mark
- Measure the drawer. Use the tape measure to find the length and width of the inside of the drawer you’re going to line.
- Trace the outline. Use your measurements to draw an outline of the drawer on the smooth side of the fusible interfacing.
- Rough-cut the fabric. Cut out a piece of pre-washed fabric larger than the interfacing — no need for perfect measurements, you’ll trim it down later.
Fuse the interfacing
- Layer the pieces. Place the fabric face down on an ironing board, then place the interfacing bumpy side down on top; the bumpy side is the side that fuses to the fabric.
- Mist with water. Lightly mist the fusible interfacing with water, or use your iron’s steam option if it has one.
- Iron to fuse. Follow the interfacing directions to adhere it to the fabric.
Trim and finish
- Trim the excess. Cut away the extra fabric, following the lines of the interfacing closely.
- Finish the edges (optional). If you’re concerned about fraying, trim a border of fabric about ½ inch beyond the interfacing, fold it under, and secure with fabric glue; allow time to dry before continuing.
Scent and dry
- Mix the scent. Add about 1 teaspoon of essential oil to ¼ cup of water in the plant mister.
- Mist the liner. Spray the liner evenly with the scented mixture.
- Air dry completely. Set the liner in the sun or a room with low humidity and let it dry completely before it goes in the drawer.
Place in drawer
- Place the liner. Set the completely dry liner in your drawer.
Notes



















This is a great idea but I wonder – what do yo suggest for keeping the liner from moving around every time you open the drawer without ruining the liner itself?
Thanks and blessings, Donna