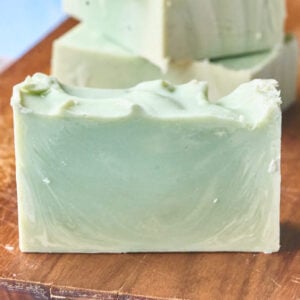
Create Your Own Bold Men’s Soap with This Cold Process Recipe
If you want to make soap at home, this men’s soap recipe is a great starting point. It makes a tough, super-cleansing bar with a strong, outdoorsy fragrance that’s perfect for the rugged individual in your life (or anyone who appreciates a thorough clean!). The best part is you need a few basic supplies and ingredients; before you know it, you’ll make your own soap.
Whether you’re after a personal project or a unique, handmade gift, this soap is bound to make an impression. It’s among my top picks for deeply cleansing cold-process soap recipes. The chosen color and scent are hits with men, though you can pick whatever you like.
Men’s Soap Recipe
Equipment
- Safety gear (gloves, eye protection, and long sleeves)
- digital scale (I use this every single day)
- soap mold (silicone or wooden molds work well)
- Heatproof Containers
- Stainless Steel Pot
- Thermometers
- Soap Cutter or Knife
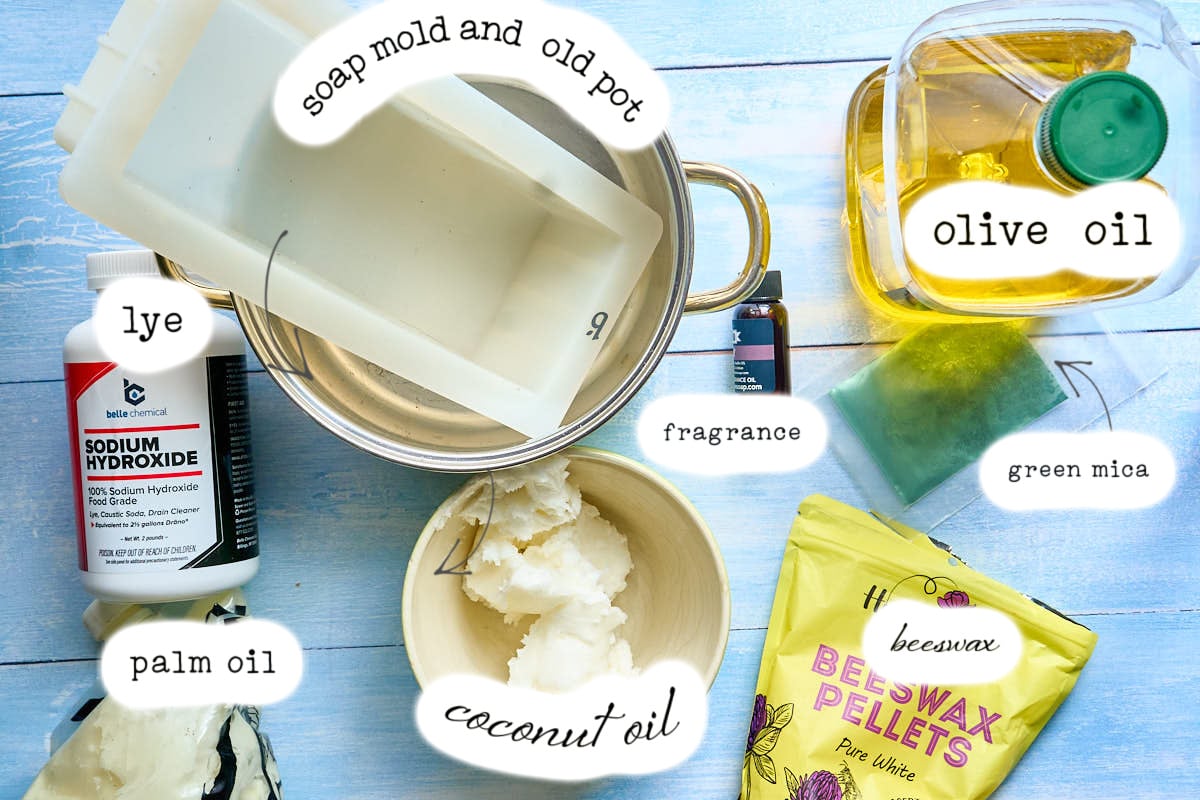
Ingredients
- 9 ounces water
- 3.75 ounces lye
- 9 ounces coconut oil
- 9 ounces palm oil
- 8 ounces olive oil
- 2 ounces beeswax
- 2 tablespoons Cavalier fragrance oil
- 1 teaspoon green mica
Save This Recipe
You'll join my email list which you will love. And if you don't, unsubscribe in one click. ❤️
Instructions
- Prepare the lye solution. Before handling all the ingredients, wear your safety gear (gloves, eye protection, long sleeves). Then, measure the lye and water in separate containers. Slowly add the lye to the water (never the other way around), and stir carefully until the lye is completely dissolved. Set the lye solution aside in a safe place to cool.

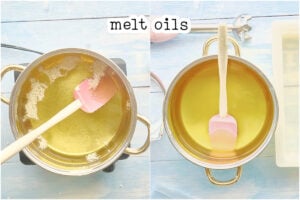
- Prepare the oils and beeswax. Measure the coconut oil, palm oil, olive oil, and beeswax. Melt them over low heat in a large pot. The beeswax will take longer to melt, so be patient. Once fully melted, remove from heat and allow the oils to cool to 140°F.

- Cooling and Mixing. When both the lye solution and the oils have cooled to 120°F, slowly pour the lye solution into the oils. Use a stick blender to combine the mixture. Blend until “trace” is achieved—the soap thickens slightly, and a trail of soap rests on top without immediately sinking.
- Add the fragrance and color. Add the fragrance oil and green mica (if using) to the soap mixture. Stir gently by hand to incorporate.Tip: Avoid over-blending at this stage, as the mixture can seize up if you continue to blend with the stick blender.
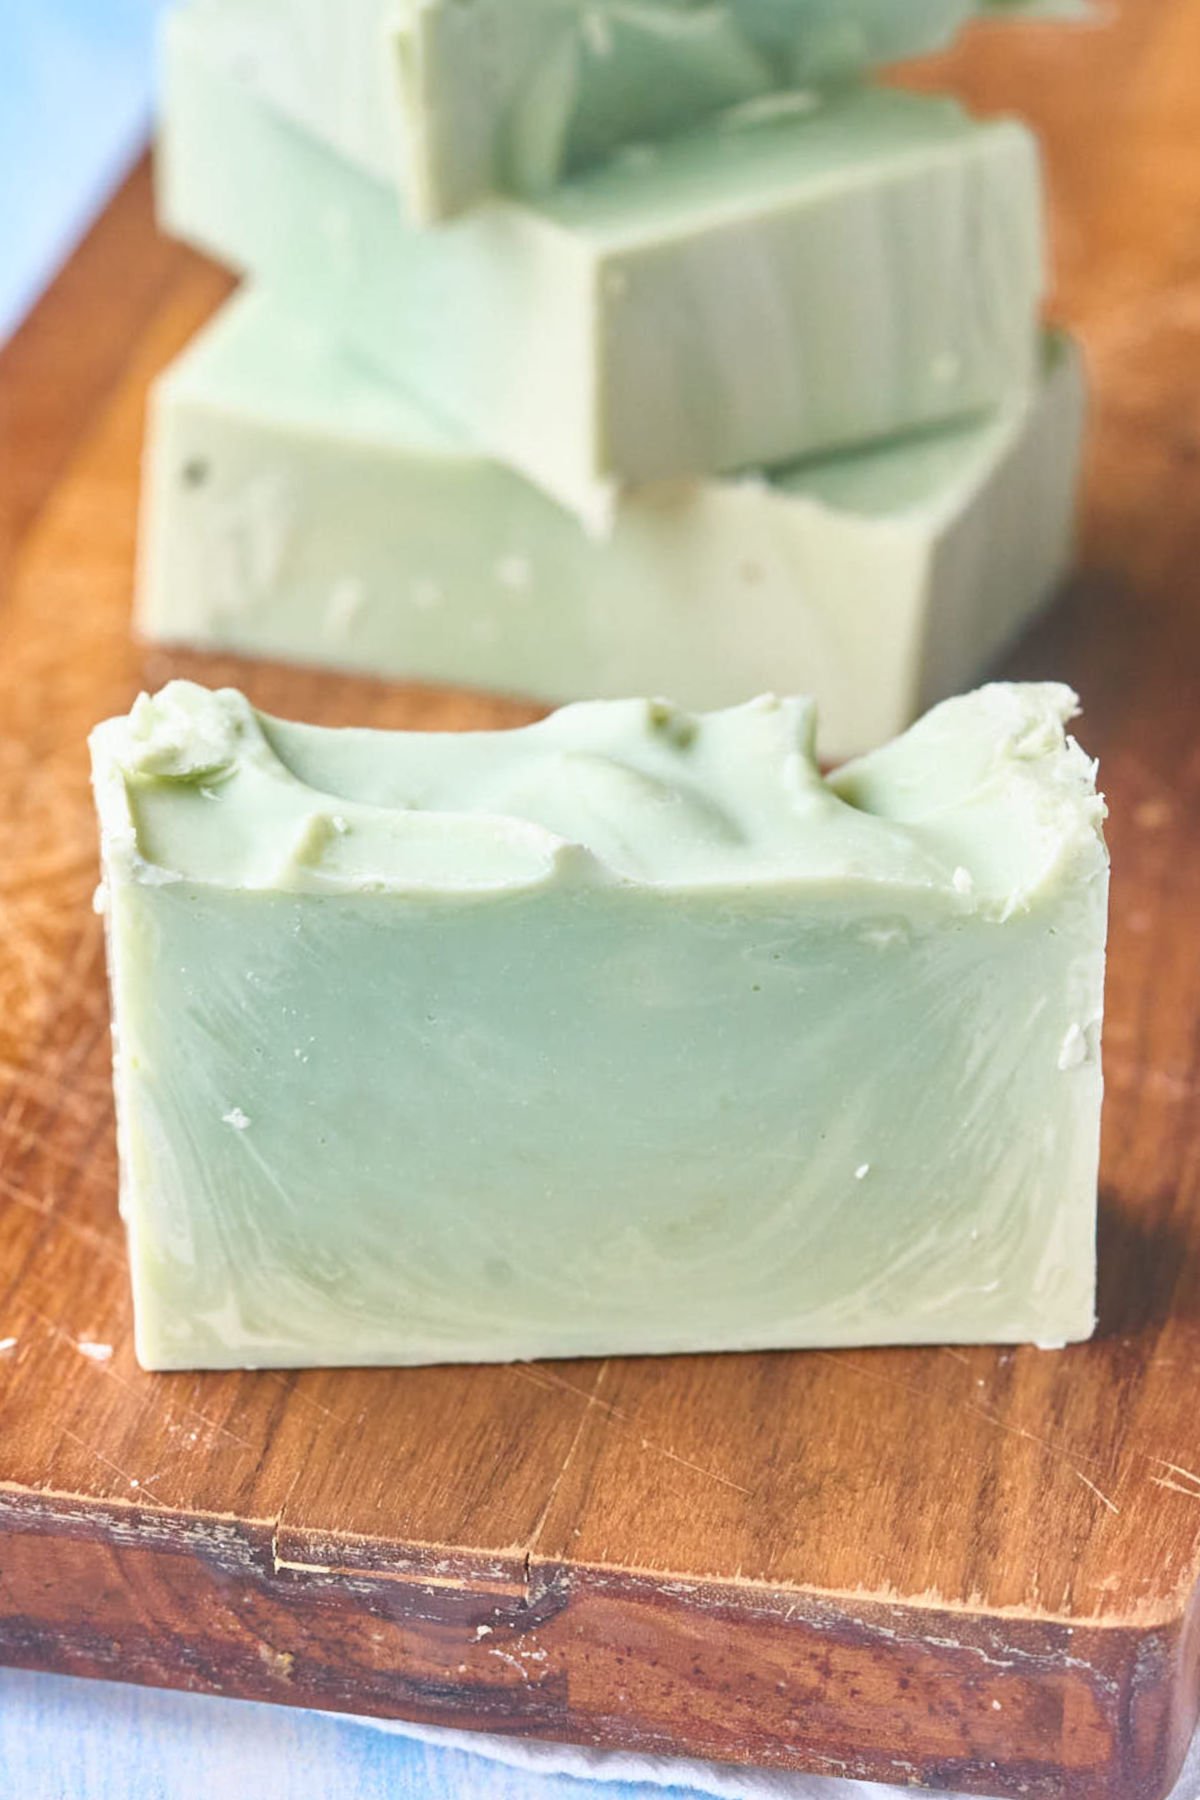
- Pour into mold. Pour the soap batter into your prepared mold, smoothing the top as needed. Leave the mold at room temperature to set for 24 hours.
- Unmold and cure. After 24 hours, carefully unmold the soap and cut it into bars. Allow the bars to cure for at least 2 weeks in a well-ventilated area before using them for optimal hardness.


Notes
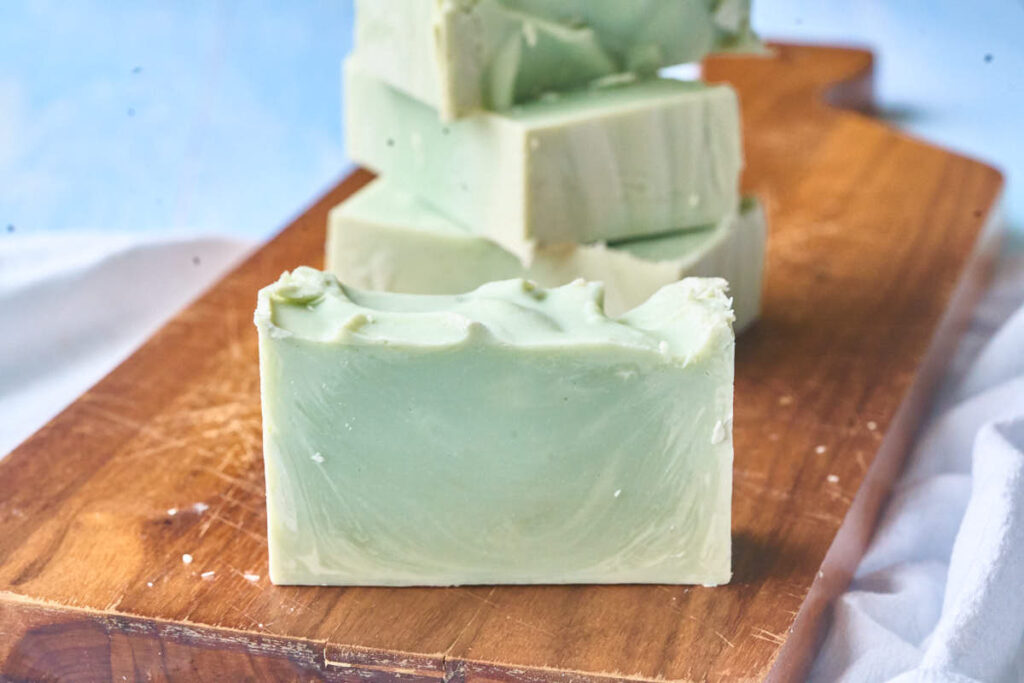
This soap recipe is great for anyone looking to make a strong, effective soap. It features a bold scent called Cavalier and a bit of green mica for color, making it look and smell good. The best part is it uses all-natural ingredients, so you can feel good about what you’re putting on your skin. The soap deeply cleans and hydrates, leaving skin feeling very clean. You can also tweak it with different colors or scents to match any guy’s taste. Plus, this durable soap bar will last for many washes.
If you love making cold-process soap, you might want to try Cold Process Soap for the Shower recipe. It’s perfect for crafting everyday bars that work great in the shower!
I hope it becomes a favorite for you, too.
Key Ingredients and Tools
Here’s a simple list of the basics to make this soap recipe work. Knowing what each one does helps a lot before you start.
- Lye (sodium hydroxide): You need lye to change oils into soap, a process called saponification. You can find it online or in hardware stores, but make sure it’s pure sodium hydroxide without anything else mixed in.
- Beeswax: Beeswax makes the soap harder, so it doesn’t wear out too quickly. It melts slower than oils, so take your time to melt it properly and avoid any clumps in your soap. Try using cocoa butter or shea butter for more moisture, but know your soap might become a bit softer.
- Palm oil: Palm oil helps make the soap hard and creates a good lather. You can buy it from soap supply websites, but if you care about the environment, look for palm oil that’s got an RSPO certification, which means it’s sourced in a way that’s better for the planet. Lard or tallow can also work in its place to keep the soap hard, though the feel might be a bit different.
- Stick blender: A stick blender is helpful because it mixes your soap quickly, getting it to the right thickness (“trace”) quicker than mixing it by hand.
- Cavalier fragrance oil: This strong, earthy-smelling oil gives your soap its unique smell. Make sure to use fragrance oils that are safe for soap making, as not all oils are okay for the skin. Choose any skin-safe fragrance or essential oil you like instead.
- Green mica: Mica is a natural coloring that adds color to your soap without changing its feel. It’s simple and won’t leave color on your skin or counters. Feel free to use different mica colors or skip it for a soap that’s all-natural in color.
These basic tools and ingredients will help make sure your soap comes out well, and knowing why they’re used makes the whole process smoother.
Troubleshooting and Help
“Trace” is when the soap batter thickens enough to leave a little trail on the surface after lifting the blender. It’ll look like a light pudding or custard. Don’t worry if it’s not perfect at first—it gets easier to recognize with practice!
That’s soda ash, and it’s harmless! It happens when lye reacts with carbon dioxide in the air. To prevent it, spray the top of the soap with rubbing alcohol right after pouring it into the mold. If you already see it, you can wipe it off or leave it—no big deal.
While you can mix by hand, it’s going to take a lot longer to reach trace—sometimes up to an hour! A stick blender makes the process much faster and more consistent. If you don’t have one, mixing by hand is fine, but be ready for a good arm workout!
Definitely! Essential oils work great in soap, but make sure you use skin-safe oils that won’t irritate. Also, some essential oils can be more potent than others, so you might want to adjust the amount based on the strength of the scent.
Soap can seize (harden quickly) if you blend too long or if certain fragrances cause a reaction. If this happens, don’t panic! You can try to quickly scoop the mixture into the mold and smooth it out. It might not be as pretty, but it will still be usable. Next time, try mixing the fragrance by hand instead of with the blender.
Fresh herbs and flowers look beautiful, but they tend to turn brown in soap due to the high pH levels during the saponification process. If you want to add natural color, dried herbs work better, or you can use natural colorants like clays or powdered botanicals.
You should let the soap cure for at least 2 weeks, but the longer, the better! The excess moisture evaporates during this time, making your bars harder and longer-lasting. Trust me, the wait is worth it! If you’re short on time and want a quicker method to make soap ready to use faster, check out my guide on Hot Process Soap. It’s another great way to create homemade soap with a different technique.
These are just a few questions people might have. Feel free to ask if something else comes up!
Making your cold process soap is a rewarding and enjoyable activity. With natural ingredients and patience, you can create a high-quality bar perfect for everyday use or as a thoughtful gift. Follow the steps carefully, and don’t be afraid to experiment with different oils and fragrances to find your favorite combination.


I just made your recipe for my husband’s birthday gift and he loves it! I made it using the hot process method and it turned out lovely! It lathers and cleans well! Also, the fragrance ratio is perfect! It’s nice and subtle (I used black ice fragrance oil)! Next time around, I’ll double the batch! Thanks so much for sharing your recipe!
hi! I’m so happy to hear this! good fragrance choice!
Can I use goats milk instead of water?
yes 🙂
Me suscribo a tu canal. Me encantaron tus fórmulas!! Yo peso en gramos, pero no es problema en la calculadora cambiaré onzas a gramos. Muchas felicidades por tu hermoso canal 👏👏😍🥰
I haven’t scoured the web for this but I’m curious if the water used in handmade soap is fine from the tap or if you use bottled, distilled or otherwise not treated city water. TIA!
i use tap well water! no issues ever
Hi Katie,
I just have one question about this men’s soap recipe. Is it supposed to have palm oil in it?? In the overview photo palm oil is featured but in the recipe it isn’t???
goodness! yes! it is. terrible that i left that out. 9 ounces of palm, it’s in there now. Thanks!