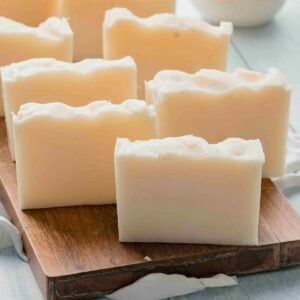
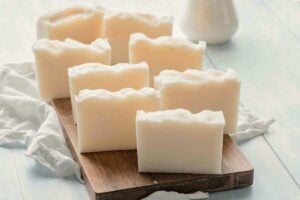
Shea Butter Soap Recipe
If you’re looking for a nourishing bar that’s not overly complicated, try my shea butter soap recipe. It’s one of the best soap recipes without too many oils. It’s also great for beginners, leaving the skin feeling wonderfully soft and moisturized after each use.
With just a few simple ingredients, you can whip up your luxurious soap that’s a treat for your skin. And the best part? You can customize the scent to make it uniquely yours.
Shea Butter Soap Recipe
Equipment
- Safety gear
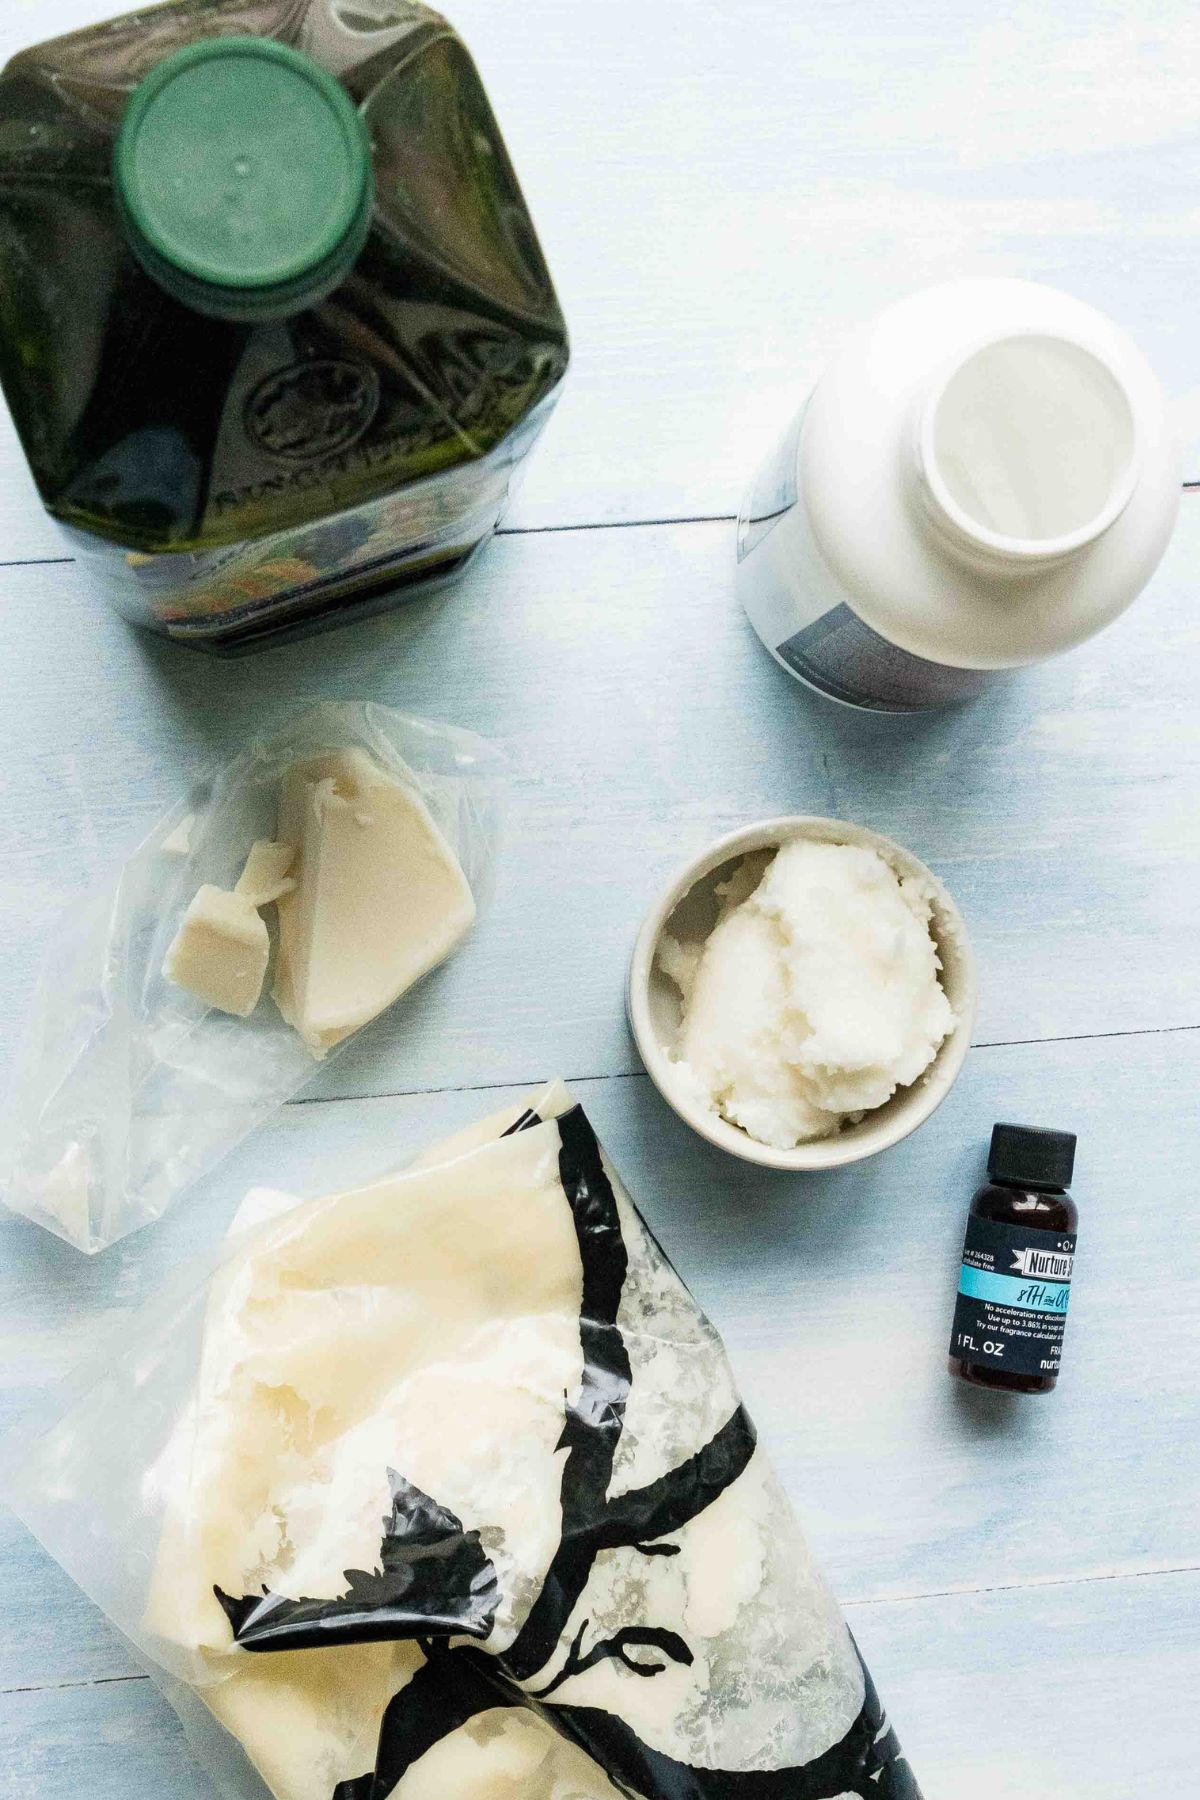
Ingredients
- 11 ounces coconut oil
- 11 ounces olive oil
- 11 ounces palm oil
- 5 ounces shea butter
- 5.43 ounces lye
- 10-14 ounces water (I use 12)
- 3 tablespoons fragrance oil (can vary by fragrance)
Save This Recipe
You'll join my email list which you will love. And if you don't, unsubscribe in one click. ❤️
Instructions
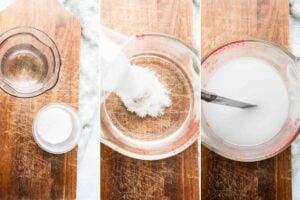
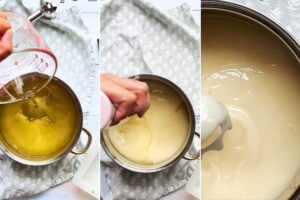
- Make the lye water. Using a digital scale, carefully measure out the lye and water in separate glass containers. Then, slowly add the lye to the water (never the other way around—remember, "snow floats on the lake"). Stir until the lye is fully dissolved. The temperature will rise quickly. Set the lye water in a safe, well-ventilated place to cool. Safety Tip: Be cautious during this step as the mixture releases fumes and can cause burns if spilled.
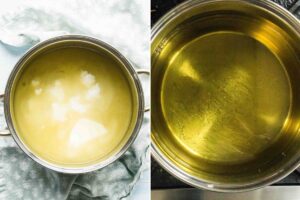
- Melt the oils and shea butter. While the lye solution cools, measure out the coconut oil, olive oil, palm oil, and shea butter. Combine them in a large stainless steel pot and melt over low heat. Heat the oils to a temperature of 130-140°F (54-60°C). Once melted, set the pot aside and allow the oils to cool.

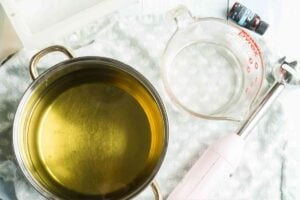
- Check temperatures. After about 2 hours, check the temperature of both the lye water and the melted oils. Both should be around 110°F (43°C) for the best results. A range of 100-120°F (38-49°C) is acceptable. If either solution is too warm, allow it to cool further until within this range.
- Prep mold and mix-ins. While the solutions are cooling, prepare your soap mold and measure out any fragrance or color additives you plan to use. If using colorants, mix them with a small amount of the melted oils for better blending.
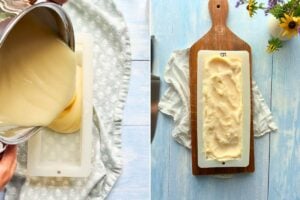
- Stick blend to trace. Once both the lye water and oils are at the correct temperature, slowly pour the lye solution into the pot with the melted oils. Use a stick blender to mix the solutions until a thin trace is reached—this is when the soap batter thickens slightly, and a trail of soap remains on the surface for a moment before sinking. This usually takes about 1 minute. If using color or fragrance, add them now and stir by hand until evenly incorporated.
- Pour into mold. Immediately pour the soap batter into your prepared mold. Smooth the top with a spoon or spatula. Leave the mold uncovered and allow the soap to cure at room temperature for 24 hours.
- Unmold and cut. After 24 hours, carefully unmold the soap and cut it into bars. Allow the bars to cure in a well-ventilated area for at least 3 weeks before use. This curing time allows the soap to harden and makes sure a better-quality bar.
Notes
Brand new to soapmaking? Be sure to read my Soap for Beginners article first!
More Tips:
If you’re uncertain about reaching trace, use a spatula to test the batter. If you can drizzle some soap on the surface, and it leaves a faint trace before sinking back in, then it’s ready to go.
When working with lye, make sure your workspace is well-ventilated. Open windows or use a fan to help dissipate any fumes, especially when mixing lye with water.
Although it’s tempting to use the soap immediately, a proper cure makes sure a harder, longer-lasting bar and a gentler cleanse. It allows the saponification process to complete, and the water evaporates, resulting in a milder bar.
A white powdery substance can form on the surface of cold-process soap during the curing phase. While harmless, it can be unsightly. Spritzing the top of your soap with 99% isopropyl alcohol right after pouring it into the mold can help prevent its formation.
Every batch of soap can be a learning experience. Documenting your process, including temperatures, ingredients, and weather, can help you replicate successes and learn from less-than-perfect batches.
It’s important to achieve “trace” in cold process soap making. This is when the oils and lye water have combined. The desired consistency is when a drizzled line of the mixture leaves a visible trace before sinking in. It might not set properly if it’s too thin; if it’s too thick, it may become hard to work with.
You might enjoy trying out this pink grapefruit recipe for more inspiration on cold-process soap making.
Key Ingredients and Tools
When making shea butter soap, there are a few important tools and ingredients you should know about for success:
- Lye (Sodium Hydroxide): This is essential for soap making because it turns oils into soap through saponification. You can purchase lye online or at some hardware stores. Handling it carefully is important as it can be dangerous if not used properly. Here’s a comprehensive guide from Bramble Berry on how to handle lye safely.
- Shea Butter: This rich, creamy butter provides the soap with moisturizing properties. Using raw, unrefined shea butter for the greatest skin benefits is best. You can find it in health food stores’ natural or skincare section.
- Stick Blender: This tool makes it quick and easy to blend the lye and oils to trace. A stick blender is preferred over a regular hand whisk because it speeds up the process and ensures a smooth, even texture.
- Fragrance Oils: These oils add scent to your soap, making it a more luxurious experience. Make sure to use fragrance oils specifically labeled for soap making, as not all are skin-safe.
Using these tools and ingredients will help make sure your soap turns out beautifully and is gentle on your skin.
You can swap these ingredients in the shea butter soap recipe:
- Coconut Oil: Replace it with babassu oil or palm kernel oil for similar cleansing properties.
- Olive Oil: Use rice bran or sunflower oil for a milder, less greasy soap.
- Shea Butter: Mango butter or cocoa butter can be used, but they will change the soap’s hardness and moisturizing qualities.
- Fragrance Oils: You can use essential oils like lavender or peppermint instead of fragrance oils, but the scent may be less intense.
Remember that these substitutions will affect the final soap’s texture, hardness, and scent but can still result in a lovely bar.
If you’re interested in experimenting with more luxurious ingredients, try this triple butter soap recipe for a rich, creamy alternative. You can also customize the shea butter recipe with mix-ins, fragrances, colors, and anything else you like!
Plant Therapy Organic African Shea Butter Raw, Unrefined USDA Certified 16 oz Jar For Body, Face & Hair 100% Pure, Natural Moisturizer, Best for DIYs Like Lotion, Cream, Lip Balm and SoapLily Flower Soap Mold Pretty Flower Soap Silicone Mould for Handmade DIY Soap Making Lotion Bars Scented Candles Resin Crafts Aromatherapy Gypsum Moulds Cake Ice Cube MoldsThe Boyer Lye for Soap Making, Sodium Hydroxide Pure High Test Lye Food Grade, Caustic Soda, Drain Cleaner and Clog Remover, 2 Pack 2.2 lbs
Troubleshooting and Help
I totally get why you’d want to skip the lye—handling it can be a little intimidating. But unfortunately, lye is essential in soap making. It’s what turns the oils into soap through a process called saponification. If you’re not ready to work with lye, you could try a melt-and-pour soap base instead, which has already gone through that process for you.
If you use the soap too soon, it might still be too soft and won’t last as long in the shower. The curing time helps the bars harden and allows the excess water to evaporate, so you end up with a longer-lasting, higher-quality soap. I know it’s hard to wait but trust me, the end result is so worth it!
Absolutely! You can swap out the shea butter for mango butter or cocoa butter. Just keep in mind that each butter will change the texture and moisturizing qualities of your soap a bit. Shea butter is super moisturizing, so if you substitute it, your soap might feel a little different on your skin.
Great question! Trace is when the soap batter thickens just enough that if you drizzle a bit on top, it leaves a faint trail before sinking back in. If you’re using a stick blender, it usually takes about a minute. Just be careful not to over-blend, or your soap might get too thick to pour into the mold easily. If you want more tips on reaching trace, I’ve got a detailed guide on making cold process soap for the shower that you might find helpful.
Yes, you can definitely add exfoliants! Just mix them in after you’ve reached trace and before pouring the soap into the mold. Be sure to use finely ground exfoliants so they’re gentle on the skin. It’s a fun way to customize your soap and add a little extra scrub power.
Hope that helps! If you have any more questions, feel free to ask—soap-making is a lot of fun once you get the hang of it.
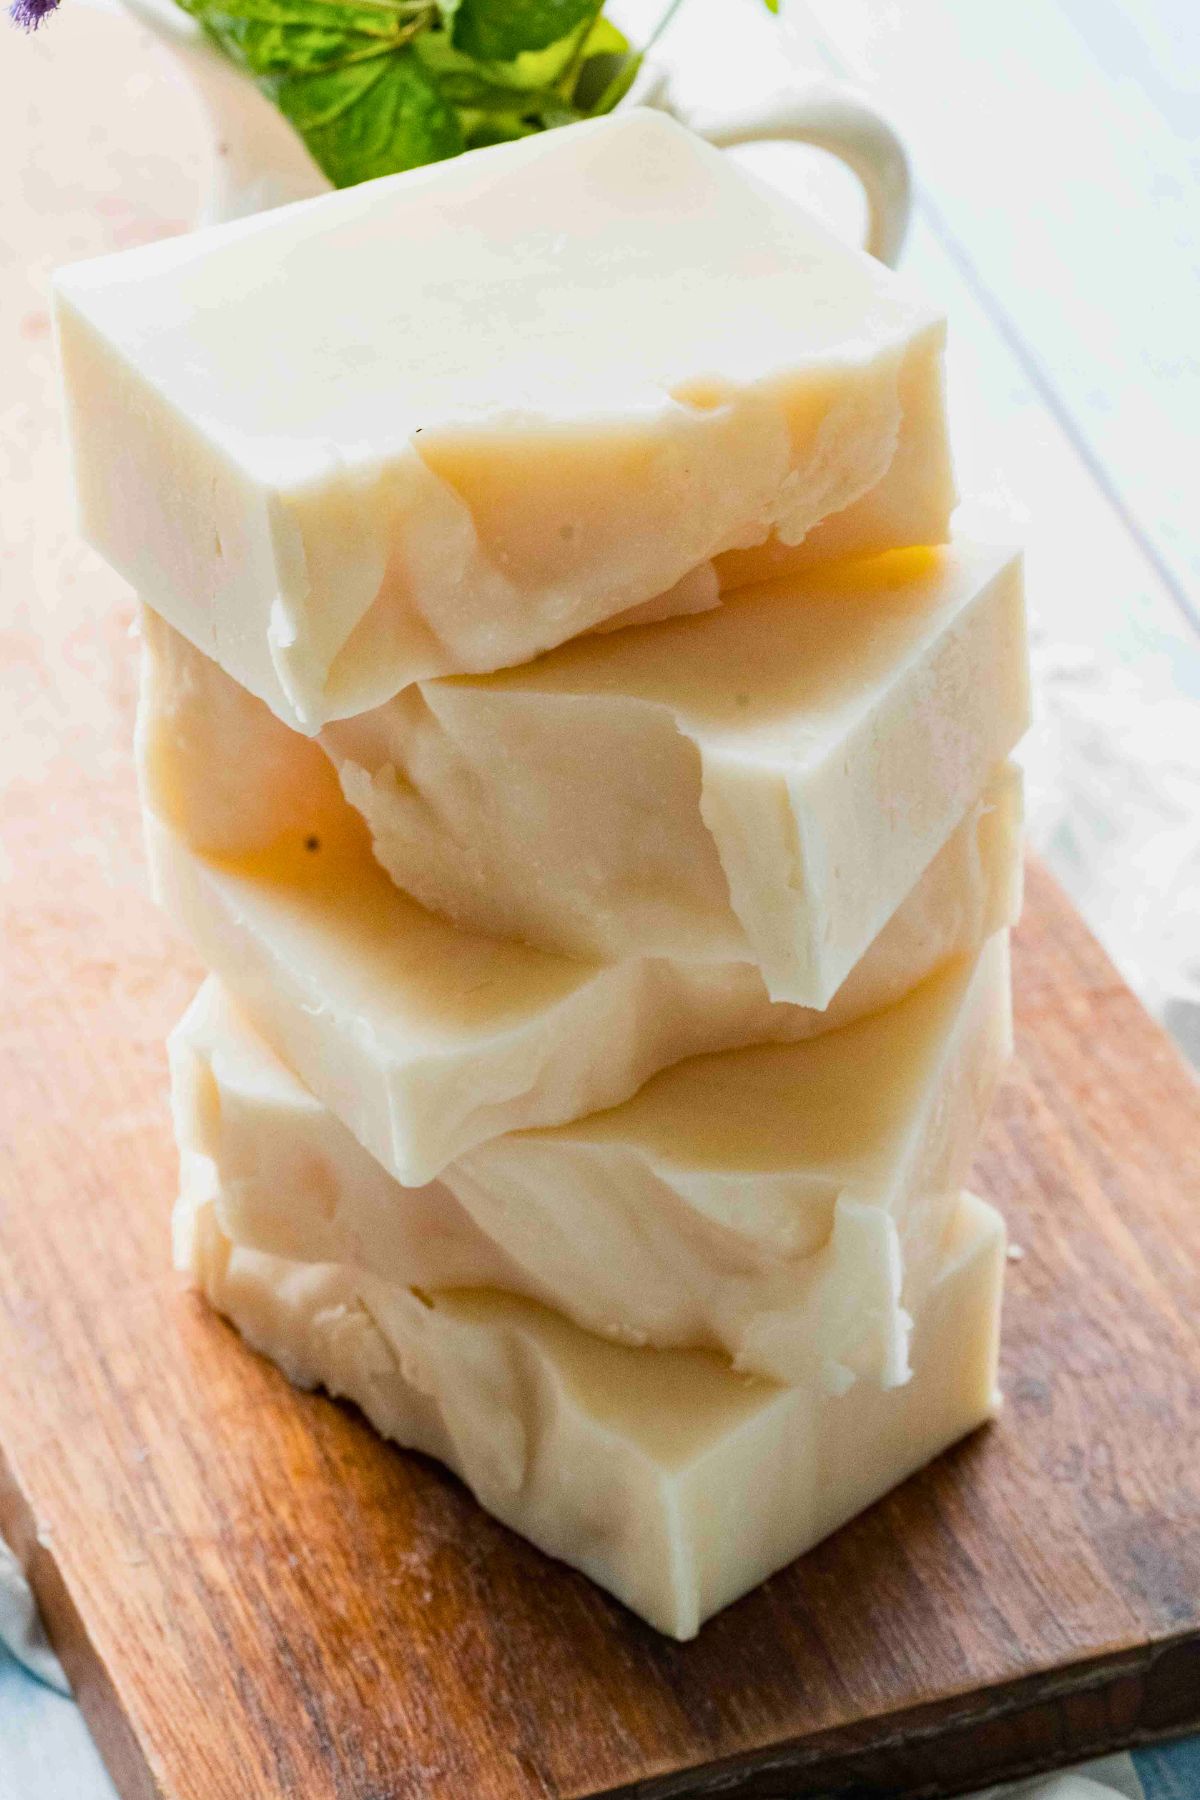
Making your own shea butter soap is a simple and rewarding process that leaves you with a product you can feel good about using every day. With just a few basic ingredients and some patience, you’ll have beautiful, moisturizing bars of soap that are perfect for your skin or as thoughtful gifts.
Whether you’re brand new to soap making or looking to customize your own blend, this recipe is a great place to start. Give it a try and discover the joy of creating something special with your own hands!


It was great . I haven’t made any soap for awhile and although i did make soap a few years ago i was still a novice. I love this recipe and it was very easy to follow. I especially like how you told exactly when to add the fragrances. My soap came out perfect.
Hello! I asked a question yesterday about using coffee infused oil but have since learned that the scent would be lost during saponification. I’ve also since learned that my husband would like cedar scented soap and not coffee, haha. So my new question is, do I use 3T of EO in place of the FO? I understand the scent may not be as pronounced, but just need to know if I use the same amount. Thank you! 😊
it really depends. every EO is different so you’ll need to look up that specific oil and how much to use per pound of oil, this will require you to do a little math 🙂
Hello! This will be my first shot at making body soap! I’d like to make a vanilla-coffee version of this. I was thinking I could infuse the olive oil with coffee, then add some grounds to the batter, and then use vanilla FO. Do you think the coffee scent would be strong enough with just the infused oil and grounds? Thank you!
hey Alex. I have a coffee soap recipe on my blog that goes over some of this. in short, no you’ll lose the coffee scent and in fact with smell gross (briefly!) as it interacts with the lye!
I’m sure I’ll figure it out before you can get back to me, but I love your website and value your opinion anyway- I refuse to use palm oil and I want to use something else to try some of your recipes and I wanted to ask what your first pick substitute would be?!
hey eliza! i’d recommend switching out 80% of it for more olive oil and 20% for shea butter. I do have a few palm free recipes on here,the lemon soap, apple cider soap, and i’m sure a few others.
Hi,
Your recipe for Shea butter soap , calls for a certain amount of water per recipe but in all 3 sizes,s,normal, large after the water amount it says” I use 12”
Please explain. Thank you.
i am not sure exctly what you mean by s, normal large, maybe the 1x 2x button on the recipe? those double or triple the amounts but they don’t change the notes that come after each ingredient. when i am making a single batch (so 1x), i use 12 ounces. hope that helps.